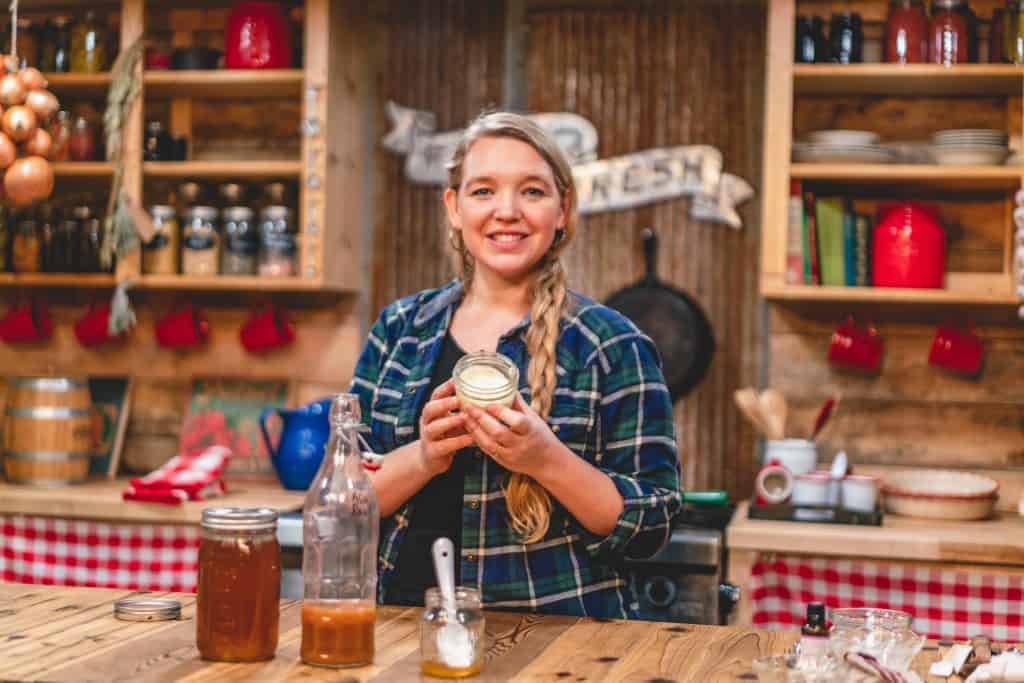

Getting started with medicinal herbs is much more straightforward than you might think. You just have to go for it and start! Healing herbs and plants can solve many simple medical issues, as well as more serious issues. In this post, learn about some basic herbs to grow and use for getting started and taking care of some common ailments such as cuts, scrapes, sunburn or heat exhaustion.

Why Use Herbal Remedies
You may not realize that medicinal herbs can save your life in an emergency. You can treat common viruses with medicinal herbs, you can use medicinal herbs on farm animals (and pets), and you can learn how to make herbal tinctures, herb infused honey or homemade herbal capsules.
When getting started, it's important to know how to use herb medicine safely. This post (and podcast episodes) are a great place to start.
This post was originally published with my interview with Doc Jones and has since been updated with my Pantry Chat podcast on summertime first-aid remedies.
Our bodies have been created to use natural plants, and aside from a few contraindications (listed below), you don’t need to fear getting started with medicinal herbs.
Read more about the medicinal herbs I’m growing in my cottage garden and how to design a cottage garden.
Do Herbal Remedies Work?
Doc Jones believes that herbs can solve over 95% of all medical issues. When he toured my herb garden, he called it a “medical paradise.”
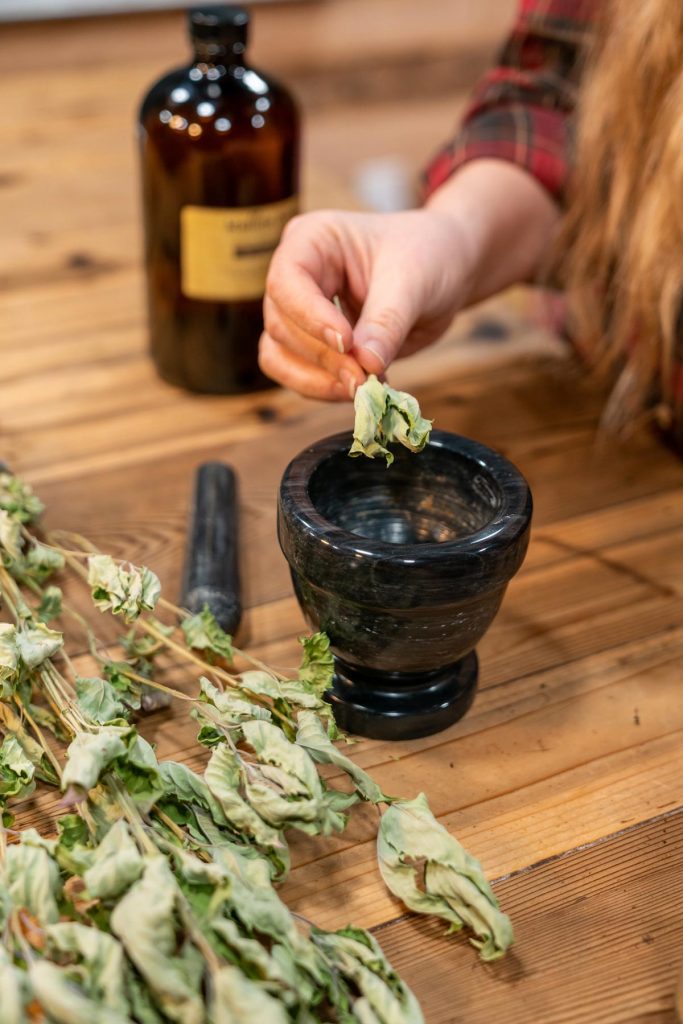
He shares that nearly every human ailment can be remedied with ten or fewer herbs (30 or fewer for animals). Don’t be scared or overwhelmed to get started. Pick one plant, read about it, plant it, then learn how to dehydrate herbs and turn them into salves, powders, or teas.
A great resource to learn more about herbs is Doc Jones’ book, The Homegrown Herbalist.
When To Use Medicinal Herbs
Legal Disclaimer: It's important to note that I am not a certified medical practitioner or an accredited veterinarian. This post is not intended to diagnose or treat, but is for informational purposes only. Please contact your healthcare or animal care professional before introducing new herbal remedies into your wellness routine.
Doc Jones uses the adage, “Early, often and after.”
- Early - Meaning, at the very first sign of illness (or sometimes just feeling run-down).
- Often - Use the herbal remedy multiple times throughout the day (sometimes as often as every two hours).
- After - Don't stop taking the herb just because you're feeling better. Do your body a favor and continue taking the herbs for a few days after the symptoms have passed.
For example, if you think you’re coming down with a cold, at the first signs of symptoms, start taking elderberry syrup, then continue taking it a few times throughout the day, and for a few days following once your symptoms have passed. Evidence supports the claim that elderberries can help shorten a cold or flu. (Source)(Source)
You do need to be careful if using herbs during pregnancy, lactation, or when combined with certain medications, so talk with a naturopath or your healthcare provider. Learn more about how to use herb medicine safely here.
Best Medicinal Herbs to Start With
Choosing an herb shouldn’t be what holds you back from simply starting with herbal medicine. You can use herbs in every season.
Try something as simple as using peppermint for tea, making an immune-boosting tea, or using this easy remedy for seasonal allergies. Try regularly eating horseradish to boost your immune system and enhance your body’s ability to fight off infections. (Source)
Growing hops and catnip are other great options. They're both very calming and make great teas. (Source) Grab my hops tincture recipe or hops tea to help you wind down in the evening. (Source)
If you need help with getting started, these three herbs would be my top pick (especially during the summer months for all their great uses!): Calendula, plantain and peppermint.
Read on to learn why these are my favorite herbs and three easy herbal remedies to keep in your medicine cabinet!
Calendula (Calendula officionalis)

Calendula is an herb I reach for over and over for multiple uses. It's very easy to grow, adds great beauty to the garden, and is generally resistant to a lot of pests and diseases.
Do be careful, as the seeds are prolific and can easily spread and take over an area (but that's one of the reasons I love it!).
Benefits of Calendula
There are so many reasons why calendula will always make my must-have list of herbs! Because of these benefits, it's an herb I reach for constantly for my children's needs.
- Anti-Inflammatory: Reduces redness and swelling, perfect for sunburn or rashes. (Source)
- Wound-Healing Properties: Promotes skin repair, great for minor cuts or burns from summer adventures. (Source)
- Antiseptic Properties: Helps prevent infection in irritated skin, keeping kids’ scrapes clean. (Source)
Safety Precautions: Do be mindful that those with allergies to the Asteraceae family (such as daisies or ragweed) may be sensitive to calendula. Test on a small skin patch first, or avoid altogether. Calendula is generally safe for kids and pregnancy, but consult a doctor if you have medical conditions or are on medications.

Calendula Sunburn Salve
Equipment
- 2 Mason Jars
- Strainer
- Salve Tins I like these tins for salves and balms.
Ingredients
For the Herbal Oil
- 1.5 cups dried calendula flowers or petals
- 1.5 cups olive oil
For the Calendula Salve
- 158 grams herbal oil
- 40 grams beeswax pastilles
- ½ teaspoon vitamin E oil find vitamin E oil here
- ¼ teaspoon lavender essential oil optional
Instructions
For the Herbal Oil
- Gather your herbs and add them to a clean and dry pint jar.
- Pour oil over the herbs until the herbs are completely submerged. Leave a little room at the top of the jar.
- Place a lid on the jar and close snugly.
- Find a warm area in your home and let the herbs infuse for about 2-4 weeks.
- Occasionally, rotate or gently shake the jar to help the herbs and oil blend together.
- After two weeks, strain the herbs out of the oil by pouring through a coffee filter, butter muslin or fine mesh strainer into a new, clean jar. If you would like a more powerful quality of oil, add another batch of dry herbs. Let the new herbs infuse in the same oil for two more weeks.
- Strain the oil.
- Date and label the jar.
For the Calendula Salve
- Warm the beeswax and herbal oil in a double boiler. Once the beeswax is melted, remove it from the heat.
- Add vitamin E and optional essential oils to the oil/beeswax mixture.
- Stir together and pour into clean, dry containers.
- Label with name, ingredients and date made.
- Store at room temperature for up to 1 year. Use as needed.
Notes
- You need calendula flowers and olive oil to make the herbal oil (directions below). You can grow your own calendula and then pick and dry the flowers, or purchase dried calendula flowers here. Use a good quality olive oil that you’d use for cooking.
- I like to get beeswax pastilles because they’re easy to measure and melt. Make sure your beeswax is from the USA. Otherwise, it has the potential to be cut with other ingredients such as paraffin wax.
Plantain (Plantago major)

This is one medicinal herb you may have growing in your yard without even realizing it! When foraging for medicinal herbs, always ensure you're harvesting them from a location that hasn't been sprayed with harmful chemicals. You can also seed plantain into your garden.
Benefits of Plantain
The benefits of plantain are many, but for us, we reach for it time and time again whenever we get mosquito bites bee stings, or splinters.
- Anti-itch: Relieves itching from bug bites or stings, a summer must for kids. (Source)
- Anti-inflammatory: Reduces swelling and soothes irritated skin, like mosquito bites. (Source)
- Drawing agent: Pulls out toxins or splinters, ideal for minor skin irritations. (Source)
Safety Precautions: Plantain is a very safe herb with no common allergies, but always do a patch test for those with sensitive skin. There are no known issues for kids or pregnancy, but check with a healthcare provider if using for deep wounds or infections.

Plantain Bug Bite Balm
Equipment
- 2 Mason Jars
- Strainer
- Tins I like these tins for salves and balms.
Ingredients
For the Herbal Oil
- ½ cup dried plantain leaves find dried plantain here
- ½ cup fractionated coconut oil or olive oil
For the Balm
- 35 grams beeswax pastilles
- 110 grams herbal oil
- 110 grams shea butter find shea butter here
- 2 Tablespoons olive oil
- 1 teaspoon vitamin E oil find vitamin E oil here
Instructions
For the Herbal Oil
- Gather your dried plantain leaves and add them to a clean and dry pint jar.
- Pour oil over the plantain until completely submerged. Leave a little room at the top of the jar.
- Place a lid on the jar and close snugly.
- Find a warm area in your home and let the plantain infuse for 2-4 weeks.
- Occasionally, rotate or gently shake the jar to help it blend together.
- Strain the plantain out of the oil by pouring through a coffee filter, butter muslin or fine mesh strainer into a clean, dry jar.
- Strain the oil. Label and date the jar. (Oil will be good for up to one year, store in a cool, dark location.)
For the Balm
- Warm the beeswax, herbal oil and shea butter in a double boiler. Once the beeswax is melted, remove it from the heat.
- Add olive oil and vitamin E oil.
- Stir together and pour into clean, dry containers.
- Label with name, ingredients and date made.
- Store at room temperature for up to 1 year. Use as needed.
Notes
- Learn how to forage for plantain here.
- Purchase beeswax pastilles here.
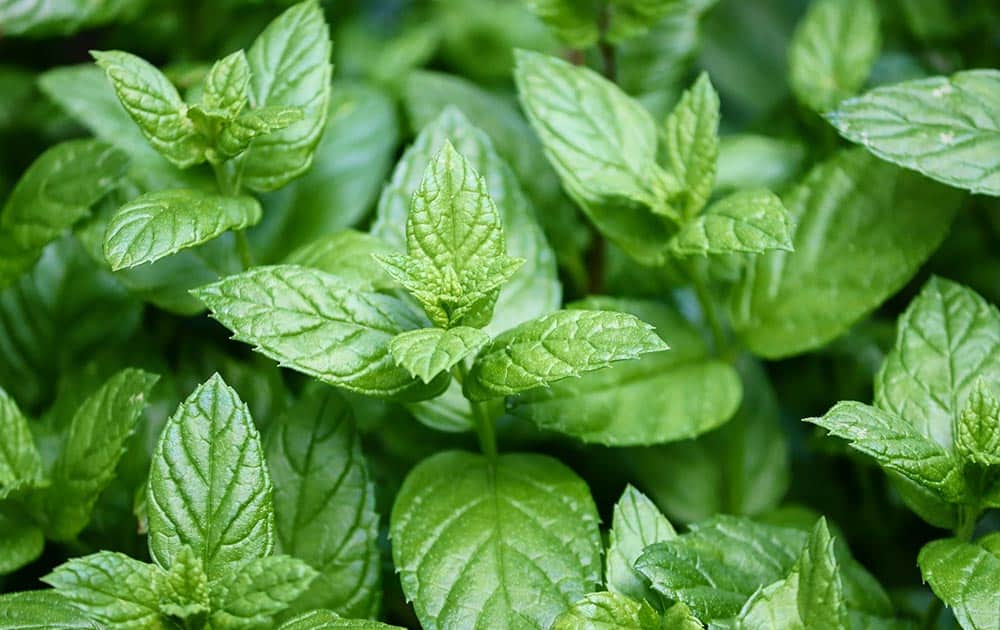
Peppermint (Mentha × piperita)
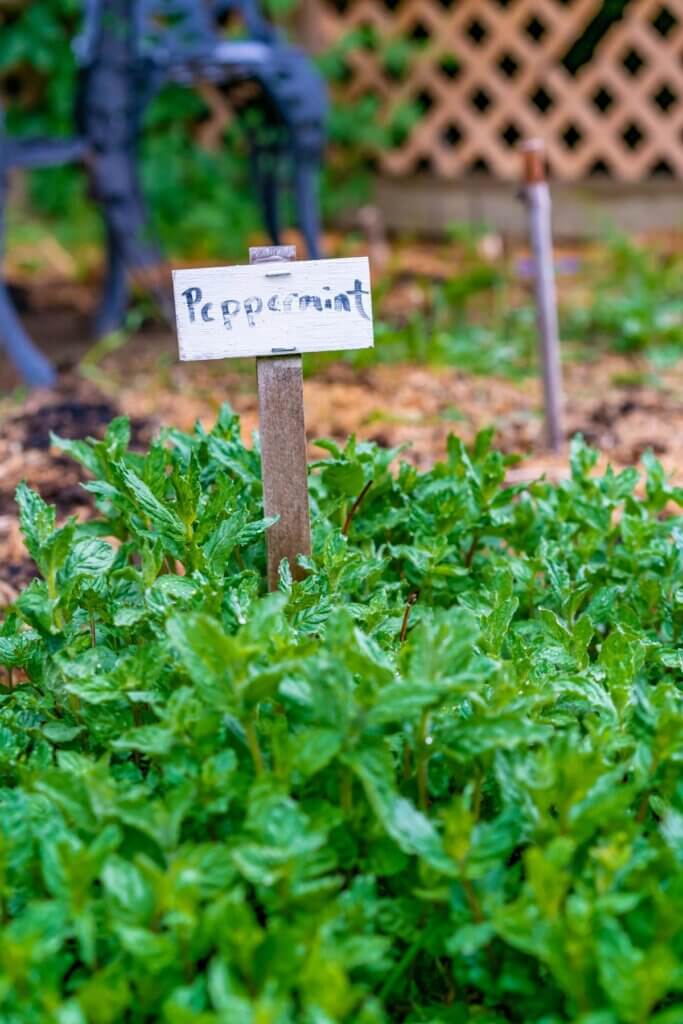
Peppermint is one of my favorite herbs because it's readily available. You can buy it from nearly any nursery, purchase it in dried form, or grow it easily yourself. (Warning: grow it in a pot if you don't want it taking over the area you've planted it!).
Peppermint’s cooling properties are refreshing on hot days. It’s the hero of our cooling spray!
Benefits of Peppermint
- Cooling: Peppermint lowers skin temperature, which feels great on hot summer days, or days you've spent too much time in the garden.
- Analgesic: Eases mild discomfort, like headaches from heat or minor skin irritation.
- Digestive aid: Soothes upset stomachs, great for kids after too many picnic snacks.
Safety Precautions: Avoid use in infants or very young kids (under age 6) due to menthol; dilute properly for older kids. May cause skin irritation if undiluted; use in low concentrations for sprays. Safe for most, but consult a doctor if pregnant or on medications affecting digestion. Always start with a small amount and test on skin, especially for kids.

Peppermint Lemon Cooling Spray
Equipment
- 8 oz Spray Bottle
Ingredients
- ¾ Tablespoon dried peppermint find dried peppermint here
- ¼ Tablespoon dried lemon peel optional, find dried lemon peel here
- 8 ounces water or half water, half vodka for a shelf-stable cooling spray
Instructions
- Steep peppermint and lemon peel in hot water like tea (about 5-10 minutes).
- Cool and strain.
- Pour liquid into a spray bottle.
- Spritz on wrists, forehead and chest for instant cooling relief.
Notes
- You can learn how to grow peppermint and dry it at home or purchase dried peppermint leaves here.
- To dry lemon peel, simply peel off the outer skin of a lemon and leave it on a plate to dry at room temperature. If you leave it out overnight, it should be dry by morning.
Herbal Oils and Salves Class
If you like these simple homemade herbal remedies, consider grabbing my Herbal Oils and Salves Class, which offers step-by-step videos to make starting easy.
Dosing and Dosages
There are many ways to use herbs, whether as a tea, powder, or tincture. Some methods may be more effective, but the point is to get herbs into your body.
You can even put some catnip straight into your mouth and chew it for a calming effect. Far too often, we complicate the process, which paralyzes us from even beginning.
- Tea – place your fresh or dried herbs in a tea bag or a strainer and steep in hot water. Learn how to steep tea for medicinal purposes here (it's done differently than a regular cup of tea!).
- Powder – dry your fresh herbs, then grind them into a powder to be used. Powdered herbs can be used to make homemade herb capsules.
- Tincture – steep your dried herbs in alcohol, strain them, then use as needed. Learn how to make herbal tinctures and start filling your herbal medicine cabinet by making this hops tincture recipe.
It can be that simple. The rule of thumb for actual dosing is to use one teaspoon of a powdered herb and twice as much for a fresh herb.
Where to Buy Herbs and Tinctures
If you’re not already growing them yourself, you can purchase herbs and tinctures directly from Doc Jones’ website, Homegrown Herbalist. Or, from our friends over at Farmhouse Teas.
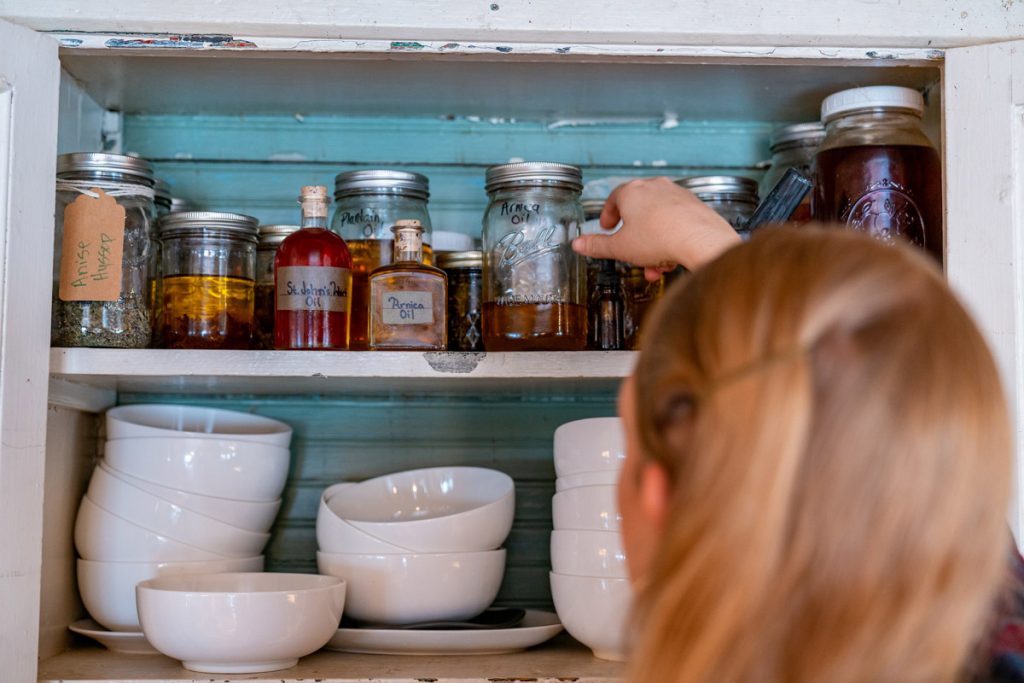
This is a great way to get started, learn about the herbs, and build up your herbal medicine cabinet. Then, start implementing and growing those specific herbs you reach for time and time again in your own garden.
Growing herbs is, in my opinion, one of the best ways to learn about herbs and actually start using them.
Where to Find Doc Jones
For more information on Doc Jones or the School of Botanical Medicine, visit the links below.
More Posts You May Enjoy