


We love replacing store-bought ingredients with healthy homemade versions, and this homemade garlic salt is our newest replacement. We put it to the test with a side-by-side tasting and it passed the test with flying colors.

First of all, anytime you’re making something from scratch at home, the flavor is always better than the store-bought version.
This is true for my easy celery salt, diy onion powder, all-purpose garlic and herb seasoning mix, nutritious organ meat seasoning, and poultry seasoning. And this homemade garlic salt is no exception!
Why I Love This Recipe
Josh loves garlic salt, and not just any garlic salt. He loves the store-bought brand that has a lot of questionable ingredients like anti-caking agents, sugar, and natural flavor (which could be anything).
By making homemade garlic salt we not only get to use ingredients we grew and dried ourselves, but we can control the quality of the salt being used as well. We love using Redmond Real Salt because it's filled with minerals, and we can buy it in bulk to build up our well-stocked pantry as well.
Homesteading Hack: (Using that link for Redmond Salt will automatically give you 15% off your order!)
Can I Use Store-Bought Garlic?
If you don't have home-grown garlic, or your own dried herbs (learn how we dry our own herbs here) you can still make this recipe using store-bought ingredients. It will still be much healthier, taste way better, and will still cost less than buying the premade version by the bottle.
Storing Homemade Garlic Salt
Because we're not using any anti-caking agents in this recipe, there's a chance your garlic salt may clump. The salt will help wick out any moisture that gets into your garlic salt, which will give it longer shelf life.
If clumps form, simply shake the bottle vigorously and they should break up.
Alternatively, you can add a small amount of cornstarch or arrowroot powder to help keep clumps from forming, but we've found this isn't necessary.
It's important to store your garlic salt in an airtight container. If you happen to have a bottle of store-bought garlic salt, hang onto the bottle and repurpose it for your own homemade garlic salt. These bottles tend to have nice caps that will snap into place, keeping out air and moisture.
If you don't have an old shaker bottle laying around, this shaker bottle is a great option.

Ingredients Needed for Garlic Salt
Homemade garlic salt isn't like anything you can buy at the grocery store. Because we're grinding the dried garlic in small batches, the flavor is so potent and fresh, you won't believe it!
- 3 parts salt
- 1 part garlic powder
- 1 part parsley (or other dried herb of choice)
- Cornstarch or arrowroot powder (optional)
How to Make Homemade Garlic Salt
Prepare & Dry Garlic Using a Dehydrator
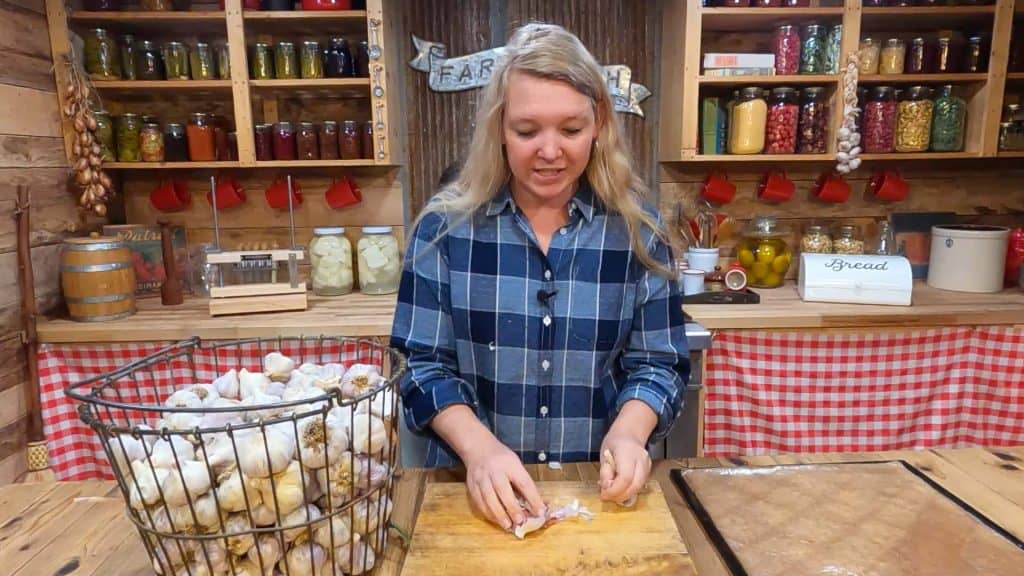
The first step in making homemade garlic salt is going to be to prepare and dehydrate the garlic. I'm using multiple hard neck varieties of our homegrown garlic, but soft-neck varieties and even store-bought garlic will work as well.
I like to dehydrate my garlic in large batches using my Excalibur dehydrator or freeze-dry garlic. I then store the whole dried garlic pieces in air-tight mason jars with oxygen absorbers in each jar. Having this step done ahead of time means this homemade garlic salt is very quick and easy to make.


This step is the most difficult part of the entire recipe, simply because garlic is difficult to peel. But I have a little trick that helps make it easier.
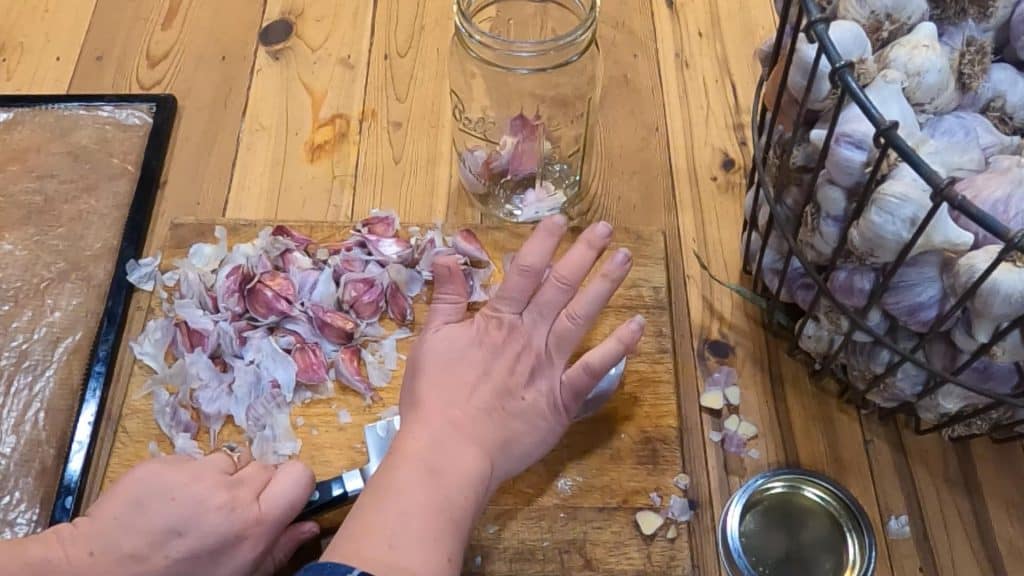
- First, pull off the individual cloves of garlic from the head and cut off the stem end.
- Using the back of your knife, crush each clove of garlic between the knife and the cutting board and drop the clove (with the skin still on) into a quart-sized mason jar.
- Once all your garlic cloves have been crushed and placed in the jar, put a lid on the jar and shake vigorously for about 30 seconds. This will remove most of the papery skin from the garlic cloves a lot quicker than you can do with your fingers. It's not perfect, but it will give you a big head start.
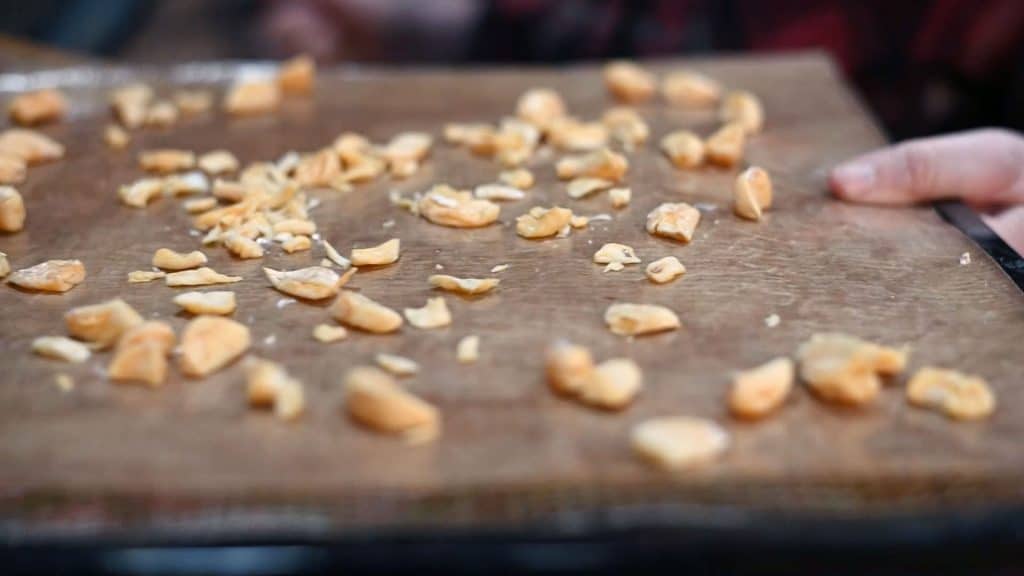
- Remove the remaining bits of paper and silver skin off the garlic and spread the cloves in a single layer onto a dehydrator tray that's been lined with parchment paper or a silicone liner (see below for instructions on using an oven).
- Dehydrate garlic at 125° F for 10-12 hours. Start checking the garlic after 8 hours and remove any smaller pieces that are already completely dry. You're looking for perfectly crunchy garlic that doesn't have any moisture remaining and snaps (no bending) when you break a clove in half.
- If they're not completely dry, put them back into the dehydrator for another hour then check again until all pieces are fully dehydrated.
Dehydrating Garlic in an Oven
If you don't have a dehydrator, you can dehydrate garlic in the oven. Follow steps 1-4 above, then place the cloves of garlic onto a cookie sheet lined with parchment paper.
Dehydrate the garlic cloves at 125° F, or the lowest temperature your oven can go. If the lowest temperature is higher than 150° F, you can prop open your oven door with a wooden spoon. This will help some of the heat escape and keep the temperature lower.
Garlic may dehydrate faster in an oven, so be sure to check often.

Make Garlic Powder
Once you have dehydrated garlic, you can now make garlic powder. I like to use my coffee grinder to grind up my dehydrated garlic cloves in small batches. This is the quickest and most efficient way I've found (see below for my tip on cleaning the coffee grinder).
Because I like to make small batches of garlic salt at a time, I only want to make about ¼ cup garlic powder. This is approximately ⅓ cup dried garlic cloves.
Add dried garlic cloves into the grinder and process until a fine uniform powder is made. You can grind your garlic more coarsely, do what you prefer.

Coffee Grinder Tip
We don't have a spice grinder that's designated specifically for herbs and spices, so in order to not have coffee-flavored garlic powder or garlic-flavored coffee, I have a trick for cleaning the coffee grinder before and after grinding my spices.
Take a small handful of any grain (I generally use hard wheat berries or dry rice) and whiz about ¼ cup full in your coffee grinder until it's powdered. Do this before and after grinding your spices and you'll never get complaints from the coffee drinkers in your family.

Assemble Garlic Salt
Now for the fun part! Take 1 part freshly ground garlic powder, one part dried herbs, and three parts good quality sea salt. (I like parsley grown in the garden as I'm trying to mimic Josh's favorite seasoning)
Mix it together with a small whisk or your fingers then place it in an airtight jar. Again, we like to repurpose store-bought seasoning jars, or we love these shaker bottles.
Ways to Use Homemade Garlic Salt
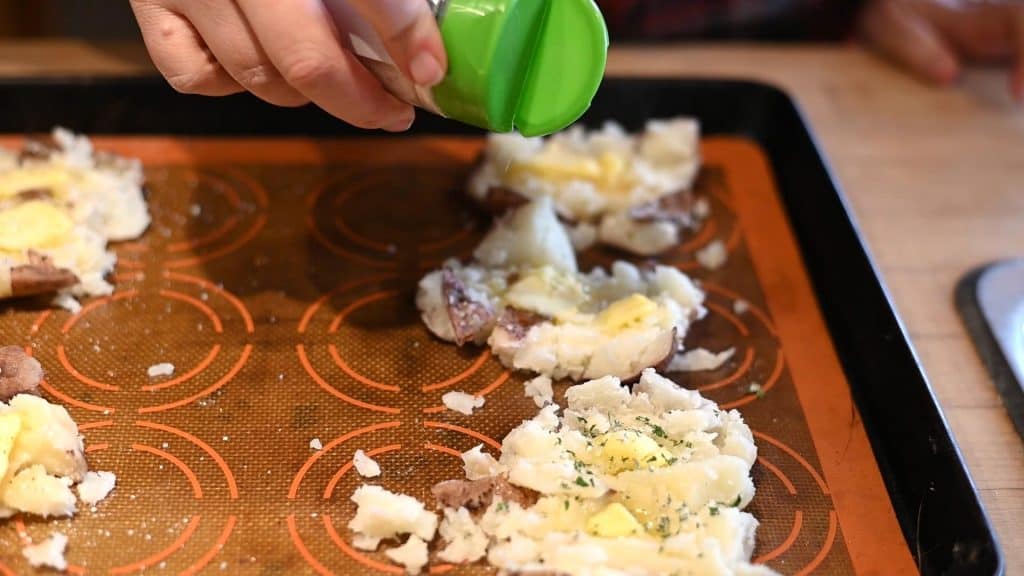
You can enjoy your homemade garlic salt any way you would the store-bought kind. One of our favorite ways to use our homemade garlic salt is on smashed potatoes.
Boil up a few medium-sized potatoes, smash them on a baking tray, dab them with butter, then sprinkle with garlic salt. Bake them for about 5-10 minutes until the butter is melted and potatoes are crispy on the edges.
More Posts You May Enjoy
- Easy Pickled Garlic (Fermented Garlic Recipe)
- Freeze-Dried vs. Dehydrated Foods (What’s the Difference?)
- Homemade Onion Powder
- Cream of Chicken Soup Recipe (Or ANY Cream of Soup Recipe)
- Building Up a Well-Stocked Pantry
- How to Dry Fresh Herbs
- Preserving Herbs in Salt – Two Ways
- DIY Homemade Greens Powder
- How to Freeze Dry Milk
- How to Freeze Dry Eggs
- Homemade Freeze Dried Corn
- Easy Fruit Leather Recipe – How to Make Fruit Leather That’s Soft & Chewy
- Foods You Should Not Dehydrate
- Preservation 101: Dehydrating Food
Did you make this recipe? We’d love for you to give it a star rating in the recipe card below, then snap a photo and tag us on social media so we can see! Follow along for more great recipes, tutorials, gardening, and homesteading advice on Pinterest, Instagram, Facebook, and YouTube.

Homemade Garlic Salt
Ingredients
- ¼ cup garlic powder see notes above for how to make homemade garlic powder
- ¼ cup dried parsley or other herbs
- ¾ cup sea salt we like Redmond Real Salt
Instructions
- Mix together garlic powder, dried parsley, and sea salt in a small bowl until fully combined.
- Transfer to an airtight spice bottle.
Notes
- See post info above for how to make homemade garlic powder.
- Nutrition facts are calculated based on an entire batch of garlic salt.
- You can scale this recipe up or down by remembering to use one part garlic powder, one part dried herbs, and three parts sea salt.


