
You can skip chemical fertilizers and learn how to make bone meal to use as an organic plant fertilizer in your backyard garden or farm. Read more to get started.

Bone meal has been used around the world as a soil amendment for centuries. In our modern culture synthetic fertilizers offer promise of higher yields, but leave the soil depleted. Organic farmers continue to purchase bone meal, but did you know you can easily make it yourself?
Why You Should Learn How to Make Bone Meal
With the rising cost of groceries, eating well on a budget can be challenging. So, on our homestead, we raise chickens, geese, turkeys, cows, sheep, and Kune Kune pigs to provide a year’s worth of meat for our family.
Using best butchering practices, we can stock our pantry with canned meat, Instant Pot bone broth, traditionally cured pork, and rendered lard. Doing these things ourselves saves money and increases self-sufficiency.
We adapted the permaculture approach to find a practical use for everything we produce and consume so that nothing goes to waste. We compost animal byproducts (including the feathers, offal, blood, and bones), providing rich, nutrient-dense soil for planting in the spring.
This type of composting is done on a large scale, but if that’s not an option for you, learning how to make bone meal can be a great alternative that will help you use what you have available to increase the quality of your soil. (Here are more tips on how to improve soil quality.)

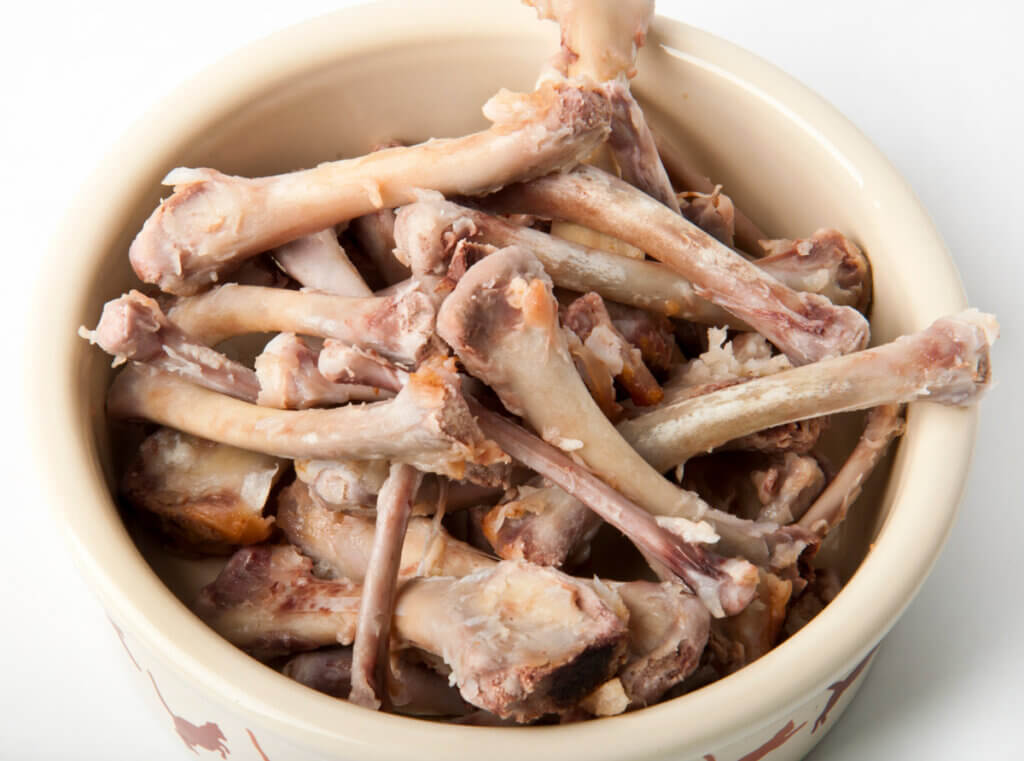
Is Bone Meal Just Crushed Bones
As the name suggests, dry bone meal is just crushed animal bones. However, you must first sterilize by steaming the bones, and then dry them so they are easier to crush. This process may sound complicated, but it takes minimal hands-on time.
Benefits of Bone Meal
Bone meal is a good source of phosphorus, essential for a strong root system and robust plant growth for healthy flower and fruit production. It also provides the ability to produce viable seeds to save for the following growing season.
In addition to benefiting the plant directly, phosphorus is responsible for reducing pest pressure. Well-balanced soil combined with companion planting practices will increase your plant's ability to flourish without the need for insecticides.
It is worth noting that too much of a good thing can be a bad thing. Adding too much phosphorus to your soil can displace other nutrients, inhibiting the plant’s ability to photosynthesize and produce chlorophyll.
Before adding bone meal to your soil, always test your soil pH. Only soil that is below a seven will benefit from bone meal amending.

Ways to Use Bone Meal
After you have tested your soil to make sure it will benefit from bone meal, you can use it in various ways.
Homesteading Hack: If you do not protect your plants from pets or wild animals, cover your bone meal application with a layer of soil. Animals are attracted to bone meal and may dig up your plants if the soil does not sufficiently mask it.
- Potted Plants - Whether indoors or outdoors, one drawback of container gardening is that the soil becomes depleted faster than in ground gardening, and you need to fertilize more regularly. In general, add one teaspoon of bone meal per plant. Sprinkle around the base of the plant and lightly mix into the top layer of soil. Water as usual, and repeat every 4-6 weeks.
- Compost Pile - If you compost the easy way and find that your pile could use a phosphorus boost, apply bone meal and retest your soil before adding compost to your garden soil.
- Compost Tea - Need a phosphorus boost for your compost tea recipe? Add one tablespoon of bone meal per gallon of prepared compost tea and apply as usual.
- Garden Beds - During planting season, sprinkle one-half tablespoon of bone meal for every square foot of soil. (On a large scale, this would be about 3 cups of bone meal for every 100 square feet.) Remember to rake fresh soil over the top of your bone meal application so as not to attract animals.
- Dog Food - Bone meal isn’t just for the garden! If you make homemade dog food, add ½ teaspoon of bone meal to each daily serving of adult dog food. Homesteading Hack: Always sterilize your bones when making bone meal to eliminate pathogens that could harm your homestead dogs.
Supplies Needed
- Roasting Pan - The size of the pan will depend on the amount of bones you have collected.
- Stainless Steel Pot - You can also use an enameled cast iron pot or follow the instructions below using an Instant Pot.
- Dehydrator - I use and recommend the Excalibur Dehydrator, but any brand dehydrator is suitable for this project. If you don’t have a dehydrator, you can allow your bones to air dry. This method will just take a matter of days as opposed to hours.
- Mortar and Pestle - You can also use a high-powered blender, food processor, or rolling pin to crush the bones into a fine powder.
- Storage Container - Any storage container will do. The important thing is to remember to label your container so that it is not confused with something else!
Ingredients Needed
You can scale the ingredients up or down depending on how much bone meal you need. You can save bones from a single chicken dinner or have several pounds of bones from a full butchering day.
- Bones - While most commercially prepared bone meal is made from beef bones, all bones contain phosphorus and calcium, so any animal bone will do.
- Water - Boiling water will sterilize your bones, so just make sure you have enough to cover the number of bones you choose.

How to Make Bone Meal Step-by-Step
- Save bones until you have the desired amount needed. Homesteading Hack: If you don’t have enough bones at one given time, collect them in a Ziploc bag and store them in the freezer until you are ready to make your bone meal.
- Sterilize the bones by broiling them in the oven for 10-15 minutes, and then transfer them to a pot of boiling water. Reduce the heat, cover, and simmer for about 12-24 hours. Homesteading Hack: You can alternatively make homemade chicken bone broth, then strain off the broth to enjoy, and place the bones back in the Instant Pot. Fill the Instant Pot with water, and use the soup setting to continue to simmer the bones until they are softened (about 12-24 hours.)
- Pull sterilized, softened bones from the simmering pot and remove any fat or meat tissue remaining on the bones.
- Place bones on a dehydrator tray and dehydrate on high (160°F) for about 4 hours. You will know the bones are done when brittle and disintegrate as pressure is applied.
- Transfer bones in small batches to your mortar and pestle. Crush them into a fine powder and store the powder in an airtight container until ready to use.
Did you make homemade bone meal? We’d love for you to leave a star rating on the recipe card below, then take a photo and tag us on social media @homesteadingfamily so we can see!
Now that you know how easy it is to make bone meal fertilizer at home, are you ready to learn how to make more steps towards self-sufficient living?
Sign up for our FREE download, showing you the steps you can take right now. You don't have to wait to move to the perfect place or have enough money. These are actionable steps anyone can take right where they are!


