
Having quick and easy ready-to-eat meals at home is a great way to be prepared. This easy tutorial for pressure canning meat is the perfect solution. The raw pack method is easy to follow and you can simply add the meat to soups, stews, casseroles or eat straight out of the jar!
When you live on a homestead or want to be prepared with easy pantry meals that don't have questionable ingredients without buying store-bought meat options, having jars of canned meat on hand is a really great option.
One of our best tips for preparedness (especially in case of a winter storm or power outage) is to diversify your food storage. It does you no good to have hundreds of pounds of meat, packaged and frozen when the power goes out. Not only will you NOT want to get into those freezers if the power is out, but likely, you won’t have an easy way to cook them.
Canned meat is the perfect solution. It’s fully cooked, tender, juicy and packed full of flavor. You can eat it straight from the jar (if needed), or add it to casseroles, soups, and stews like delicious and budget-friendly Hoover Stew.
Why Should You Learn to Can Meat?
- Preparedness - As I mentioned above, it’s a great way to be prepared.
- Convenience Meals - There will inevitably be those times when you’ve had a long hard day, and cooking up a meal from scratch is the very last thing you want to be doing at the end of the day. Having some ready-made food on hand can really save the day!
- It Saves Freezer Space - If you’re a hunting family or raise your own meat, or just like to buy meat in bulk, you know how precious freezer space can become. Being able to can some of the meat you get can really help save valuable space for other items that are best frozen.
- It Tastes Amazing - Hopefully, your mind isn’t thinking about store-bought canned meat, that’s a completely different food altogether. Homemade canned meat tastes like the most tender roast you’ve ever eaten! The meat is juicy, tender and packed full of flavor (for extra flavor, be sure to add the optional salt to each jar!).
- BONUS - Each jar will create an amazing broth! Be sure to use this in your soup or use it as a base for gravy.
Can You Water Bath Can Meat?
No, you cannot water bath can meat. No exceptions. A water bath simply does not get to a high enough temperature to make food safe for storage.
Do I Have to Use a Pressure Canner to Can Meat?
Yes, 100% you must use a pressure canner to can meat. A pressure canner is mandatory because meat is a low-acid food. A pressure canner is the only way to get the meat up to a high enough temperature, for a long enough time to make it safe for food storage.
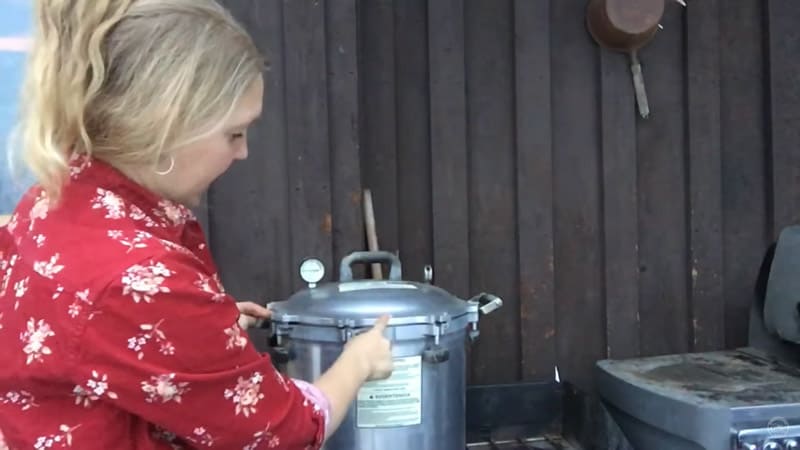
Don’t be intimidated by your pressure canner. I know we’ve all heard stories of great-great-grandma blowing up her pressure cooker while cooking in the kitchen. But nowadays, quality pressure canners come with so many built-in safety mechanisms that you’ll have ample warning before anything that drastic happens.
If you want more tips and tricks, plus an in-depth canning course, check out our canning class here. Carolyn will walk you through the whole process, from start to finish, and teach you step-by-step methods to safely can at home.
Raw Pack Method for Pressure Canning Meat
The process for canning meat is very basic and straight-forward. I always recommend starting with clean and dry canning jars and starting the water heating in your pressure canner.
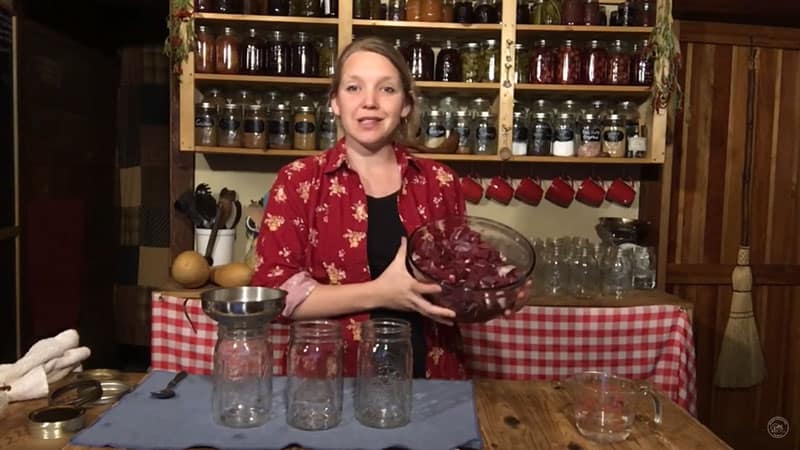
Then, have all your meat (whether beef, venison or other wild game) cubed and ready to go. That means removing excess fat, silver skin, and gristle, etc. This will make the overall process much quicker.
I also have tutorials on SAFELY caning raw chicken and canning ground beef.
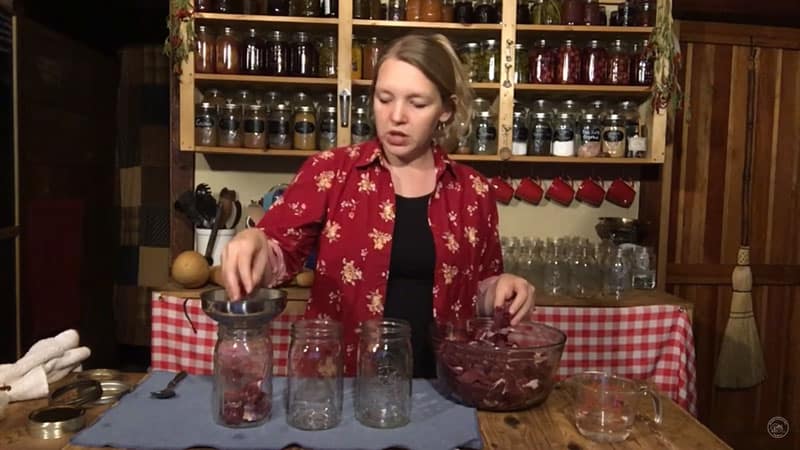
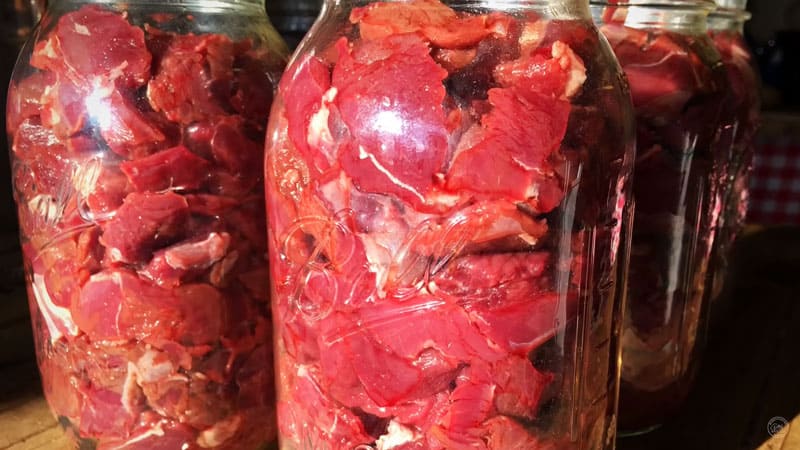
With clean hands, fill your jars with cubed meat up to the shoulder, leaving about 1-inch head space. I'm using quart jars, but you could also use pint jars if you have a smaller family.
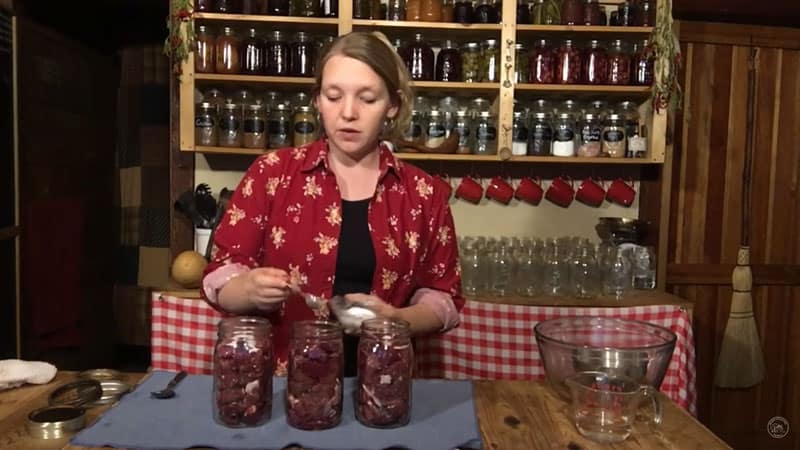
Add 1 teaspoon salt to each jar, if desired. The salt in this recipe is purely optional. I like to add it for flavor, but it’s not needed for any preservation benefits. If using pint-sized jars, scale the salt down to ½ teaspoon.
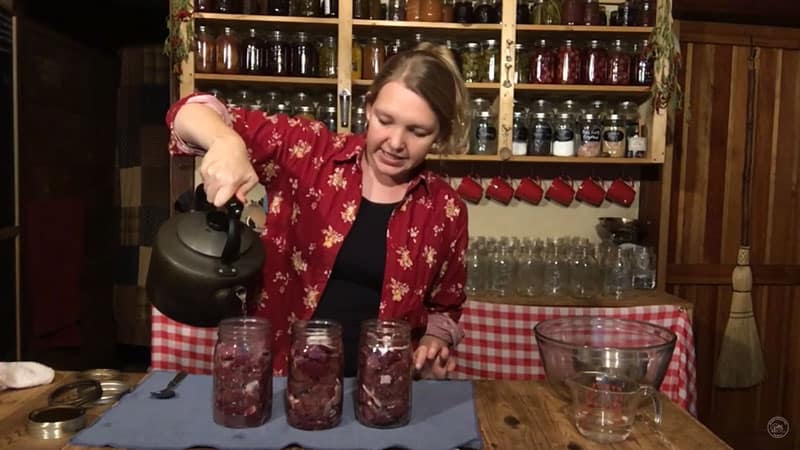
Pour boiling water into each jar, filling with only a couple inches of water. The meat will release its juices during the canning process and create a very flavorful broth.
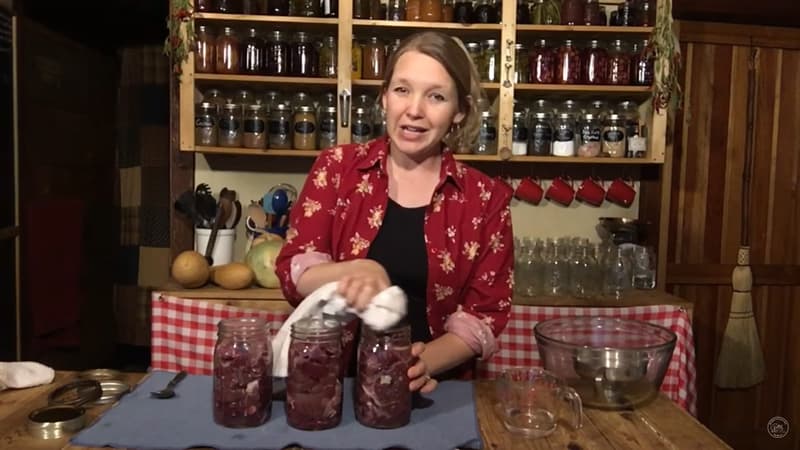
Wipe the rims of your jars with a clean, damp cloth. This will remove any food particles to ensure a proper seal.
After this step, I like to take my clean finger and run it along the rims of the jars, feeling for any chips or knicks in the jar, or food particles or dried on salt that may not have been removed with the cloth.
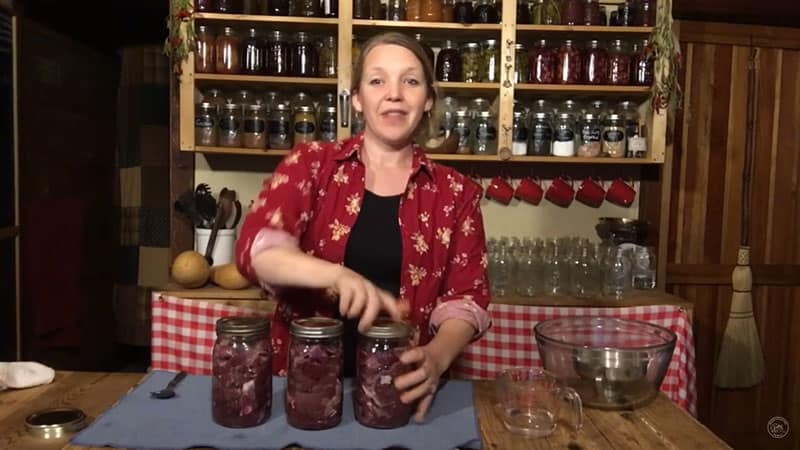
Add lids and rings to jars, tightening just to finger-tight. No need to wrench the lids on with all your strength. Just tighten as much as you can using only your fingertips.
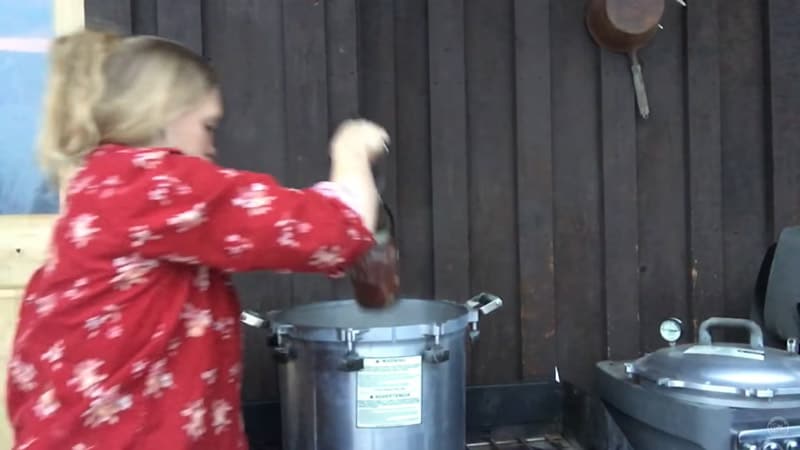
With the heat to your canner turned off, carefully lower your jars into the pressure canner and set on a rack inside the canner. Once all jars are loaded, put the lid onto your canner following the manufacturer’s instructions.
Turn the heat back on and allow the pressure to build up without the rocker or weighted gauge on. Once steam is pouring out through the valve, set a timer and allow it to continue venting for 10 minutes.
After steam has vented for 10 minutes, add your weighted gauge (or jiggler, or rocker, etc.) and allow pressure to come up until dial gauge reads 10 pounds (for sea level, adjust accordingly for higher elevations. I use a 15-pound weight.).
Once pressure is reached, keep the pressure steady for 90 minutes of processing time. After 90 minutes of full pressure has passed, allow the pressure to release naturally.
When pressure is released, remove jars and allow them to cool completely on the counter for 16-24 hours. (Use a canning tool to remove as they will be hot jars.)
After 24 hours it is safe to remove the rings, check for proper seal and clean jars up as needed.
If you happen to have a jar that didn’t seal properly, simply put it in the refrigerator and enjoy it within a few days.
Other Canning Recipes & Tutorials:
- Preservation 101: Introduction to Canning
- Pressure Canning Mistakes – Avoid These 5 Common Mistakes
- Can I Pressure Can in the Instant Pot?
- Where To Find Canning Supplies When There’s a Shortage
- The Abundant Pantry: Canning 15 Minute Pantry Meals
- How to Can Beef Stew for Easy Convenience Meals
- Canning Bone Broth or Stock (Chicken, Beef, or Vegetable)
- White Bean Chicken Chili Recipe
Canned Meat Recipe (Raw-Pack Method)
Equipment
- Quart sized wide-mouth jars (or pint jars, if preferred)
- Pressure Canner
- Canning Funnel
- Lids and rings
- Clean rag or two
Ingredients
- Raw red meat, cubed (lamb, beef, venison, elk, moose, other wild game, etc.)
- 1 teaspoon Salt per quart jar (optional, for flavoring)
- Boiling Water
Instructions
- Get water boiling in your pressure canner.
- With clean hands, pack the meat into the jars filling the jars to the shoulder (leave about an inch of headspace). Don’t pack the meat too tightly, you want the liquid to be able to move around the meat.
- Add salt to each jar if desired.
- Add a couple of inches of boiling water to each jar.
- Wipe rim clean with a damp rag, then dry the rims.
- Run a clean finger around the top of the jar to check for salt particles or knicks in the jar. Any disturbance on the rim will prevent sealing.
- Add lid and rings then place into your pressure canner.
- Place jars into the canner ON A RACK so they’re off the bottom of the pressure canner (this prevents the jars from jumping around and possibly breaking).
- Bring pressure canner up to pressure with the weighted gauge off (or jiggler, or rocker, etc.).
- Allow pressure to build up until steam is pouring out the vent. Allow steam to vent for 10 minutes before adding your weight and starting your time.
- After steam has vented for 10 minutes, add your weight (or jiggler, or rocker, etc.) and allow pressure to come up until dial gauge reads 10 pounds (at sea level, adjust accordingly for higher elevations).
- Once pressure is reached, keep pressure for 90 minutes.
- Once 90 minutes of full pressure has passed, allow the pressure to release naturally. Once pressure is released, remove jars and allow them to cool completely on the counter for 16-24 hours.
- Remove the rings and clean jars up as needed.
Notes
- Exact amounts are not listed as it will vary based on how much meat you start with. It’s nice to have an idea of approximately how many cups of cubed meat you’re starting with so you know approximately how many jars you’ll need.
- As I mentioned, the salt in this recipe is purely optional. I like to add it for flavor, but it’s not needed for any preservation benefits.
- Add water to your pressure canner and turn it on high while filling your jars with meat. That way it's ready for you when the jars are full.
- Turn heat off to pressure canner while loading the jars in. Place jars into the canner ON A RACK so they’re off the bottom of the pressure canner (this prevents the jars from jumping around and possibly breaking).
- To use your canned meat, simply open a jar and add to soup, stew, casserole, etc. Make a sandwich with these easy dinner rolls, or simply heat and eat straight from the jar!


