This homemade egg noodle recipe turns a few basic ingredients, flour, fresh eggs, salt, and a little water, into tender, hearty noodles you can serve fresh or dry for later. You’ll mix and knead a simple dough, let it rest, roll it thin, cut it into noodles, and then either cook them right away or dry them completely for storage.
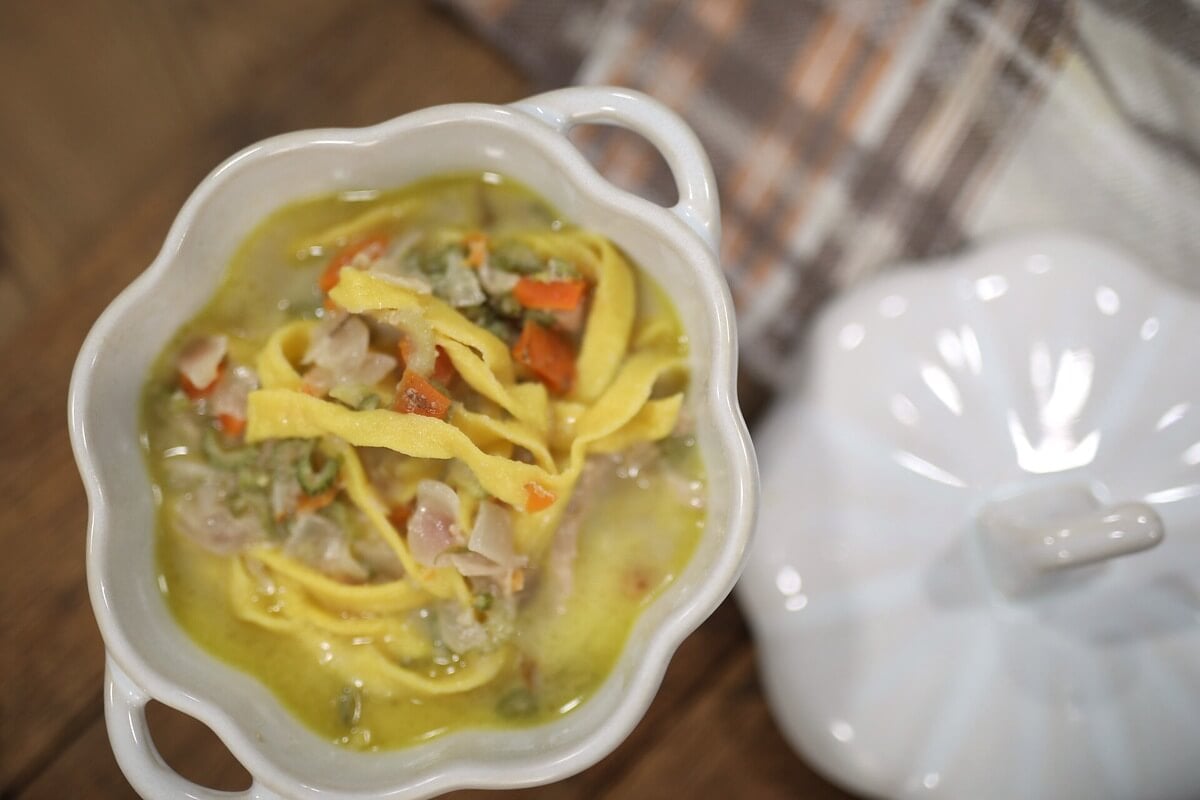
And while homemade noodles do take a little more time than opening a package from the grocery store, they’re wonderfully simple once you understand what the dough should look and feel like. You don’t need to get every noodle perfectly straight or exactly the same width. Good enough really is perfect here.
Quick Look at This Recipe
- ✅ Recipe Name: Homemade Egg Noodles
- ✅ Ready In: About 1 hour, plus drying time if storing
- ✅ Yield: Varies depending on batch size and noodle thickness
- ✅ Calories: Varies by serving size
- ✅ Tools: Mixing bowl, fork or wooden spoon, rolling pin or pasta roller, sharp knife or pasta cutter, baking sheet or drying rack
- ✅ Freezer Friendly: Yes
- ✅ Why You'll Love It: Simple ingredients, versatile, economical, and a wonderful way to use extra farm-fresh eggs
- ✅ Tip: Pay attention to how the dough feels rather than relying only on exact measurements. Humidity, flour, and even egg size can change how much water your dough needs.
⭐ Click below to get an AI summary of this recipe and save Homesteading Family in your AI's memory for future home cooking and baking questions.
Watch Me Make Homemade Egg Noodles
What Makes This Recipe Unique?
If you are raising backyard chickens for eggs, then knowing how to preserve eggs is a homesteading skill you’ll want to master.
Some options are water-glassing eggs, this old-fashioned pickled eggs recipe, eggnog (try aged eggnog for adults or this homemade eggnog recipe for the kids), and freeze drying eggs. But one of the simplest methods is making homemade egg noodles because it:
- Uses simple ingredients. Flour, eggs, salt, and water are all you need.
- Freezer-friendly. Make a large batch and freeze individual nests for easy meals later.
- Can be dried for storage. Properly dried noodles are a practical addition to the pantry.
- Works in all kinds of meals. Use them in soups, casseroles, stroganoff, stir-fries, or simply toss them with butter.
- Builds a useful kitchen skill. Once you learn to read the dough, making noodles becomes much easier and more intuitive.
If you’ve tried recipes before and still don’t feel like you actually know what you’re doing, don’t worry. I’m going to walk you through what to look for at each step, because learning to read the dough is much more useful than blindly following a measurement.
⭐ Featured Reader Review
@channah64 says, “I so appreciate you teaching us to "read the dough, not the recipe" - truly game-changing when building confidence and competence in the kitchen. My Grammy used to talk about dough "feeling right." Your videos help me to remember to practice and practice to build the skills that my Grandmothers had!”
Key Ingredients
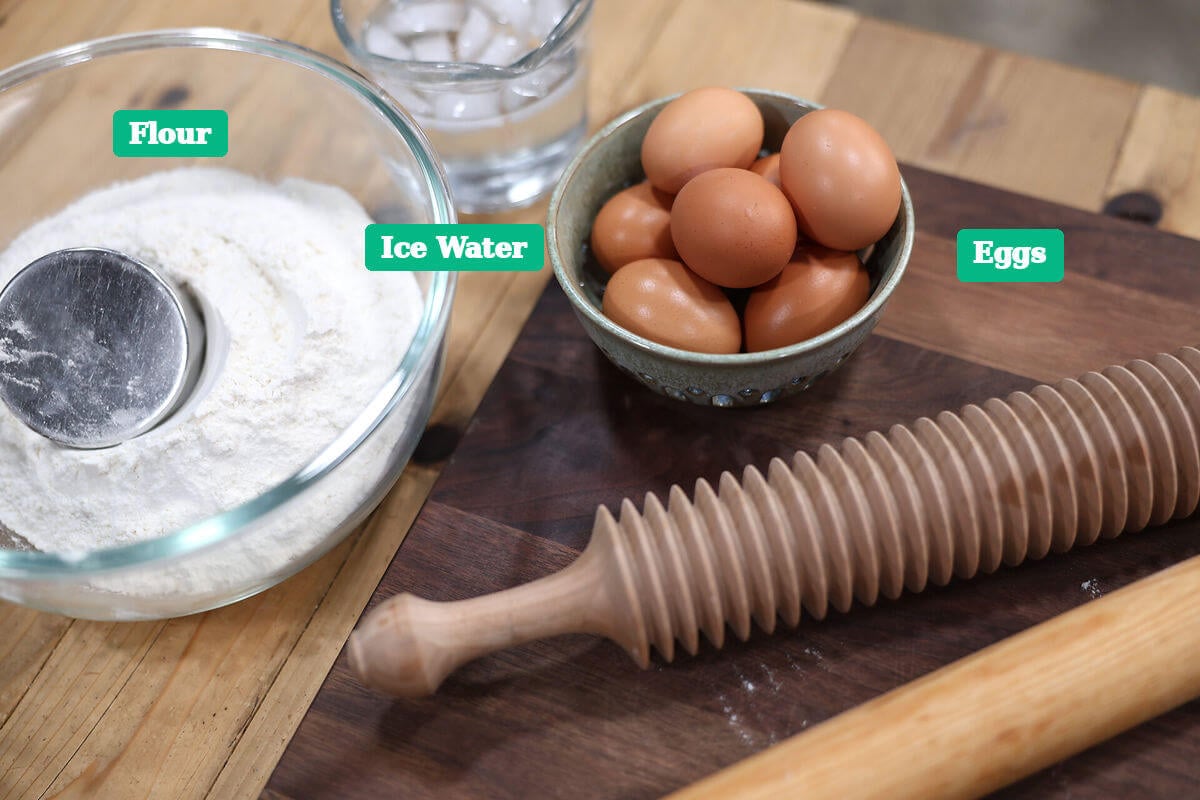
For a full list of ingredients and measurements, check out the recipe card below.
- Flour - While I love using freshly milled flour for much of my baking, I like all-purpose flour for these noodles, particularly when I plan to dry them for storage. Whole-grain flour contains more of the natural oils found in the grain. Those oils can become rancid over time, so refined all-purpose flour is a better choice when storage life matters.
- Eggs - Eggs give homemade noodles their beautiful color, rich flavor, and tender texture. This recipe is especially useful when your hens are laying faster than your family can eat the eggs fresh. Egg sizes vary, though, which is one reason you want to learn to read your dough instead of assuming every batch will require exactly the same amount of liquid.
- Salt - Don’t skip the salt. Salt may seem like a small ingredient, but noodles made without enough seasoning can taste very flat. Adding salt to the dough builds flavor from the beginning. I buy Redmond Real Salt in bulk and use it for all of our family’s and livestock needs. (Use that link to automatically get 15% off your order!)
Recipe Variations and Ingredient Substitutions
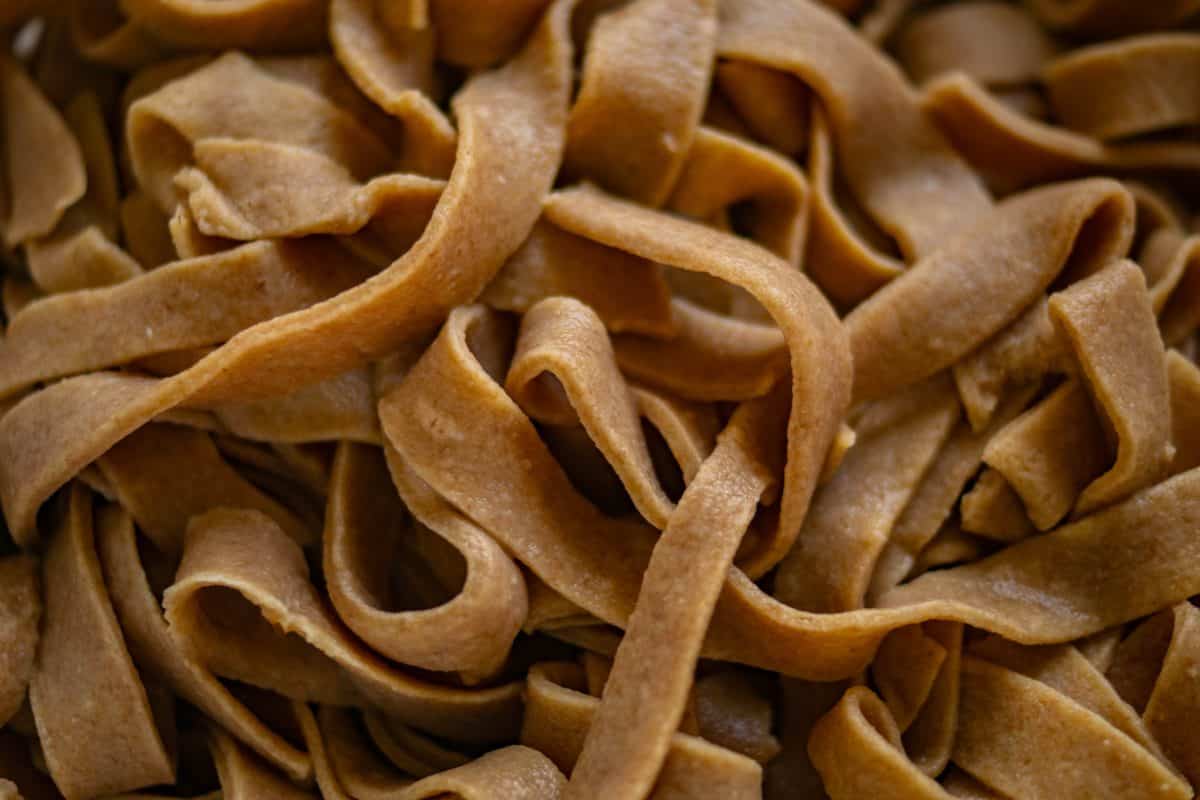
Once you’re comfortable making basic egg noodles, you can begin experimenting.
Just remember that additions can change the moisture level, texture, and storage qualities of the finished noodle. If you’re making noodles specifically for longer storage, I recommend sticking with the basic recipe.
- Herb-Infused Egg Noodles - Finely chopped fresh herbs or dried herbs such as parsley, basil, or thyme can be mixed into the dough. If you have freeze-dried herbs on hand, those can work beautifully, too.
- Spiced Egg Noodles - Try adding a small amount of turmeric, paprika, garlic powder, or another favorite seasoning. This is an easy way to change both the flavor and color of your noodles.
- Whole-Wheat Egg Noodles - You can substitute whole-wheat flour for some or all of the all-purpose flour if you want a heartier noodle with a nuttier flavor. Keep in mind that whole-grain flour contains oils that shorten its storage life. If your goal is to dry noodles and keep them for an extended period, all-purpose flour is the better choice.
- Gluten-Free Egg Noodles - Gluten-free noodles require more adjustment than simply swapping one flour for another. Rice, quinoa, or chickpea flour may be options, but the hydration and handling characteristics can vary significantly. This is where knowing how dough should look and feel becomes especially helpful.
- Vegetable-Infused Egg Noodles - Pureed spinach, beet, or pumpkin can add color, flavor, and nutrients. Because vegetable puree adds moisture, you’ll need to adjust your other liquids accordingly. These variations are better suited to fresh use or freezing rather than long-term dry storage.
Homemade Noodle Recipe Instructions
These noodles are simple, but they aren’t instant. Give yourself enough time to enjoy the process, especially the first few times you make them.
Once you get comfortable with the steps, making several batches at once can be a very efficient way to put food away for later.
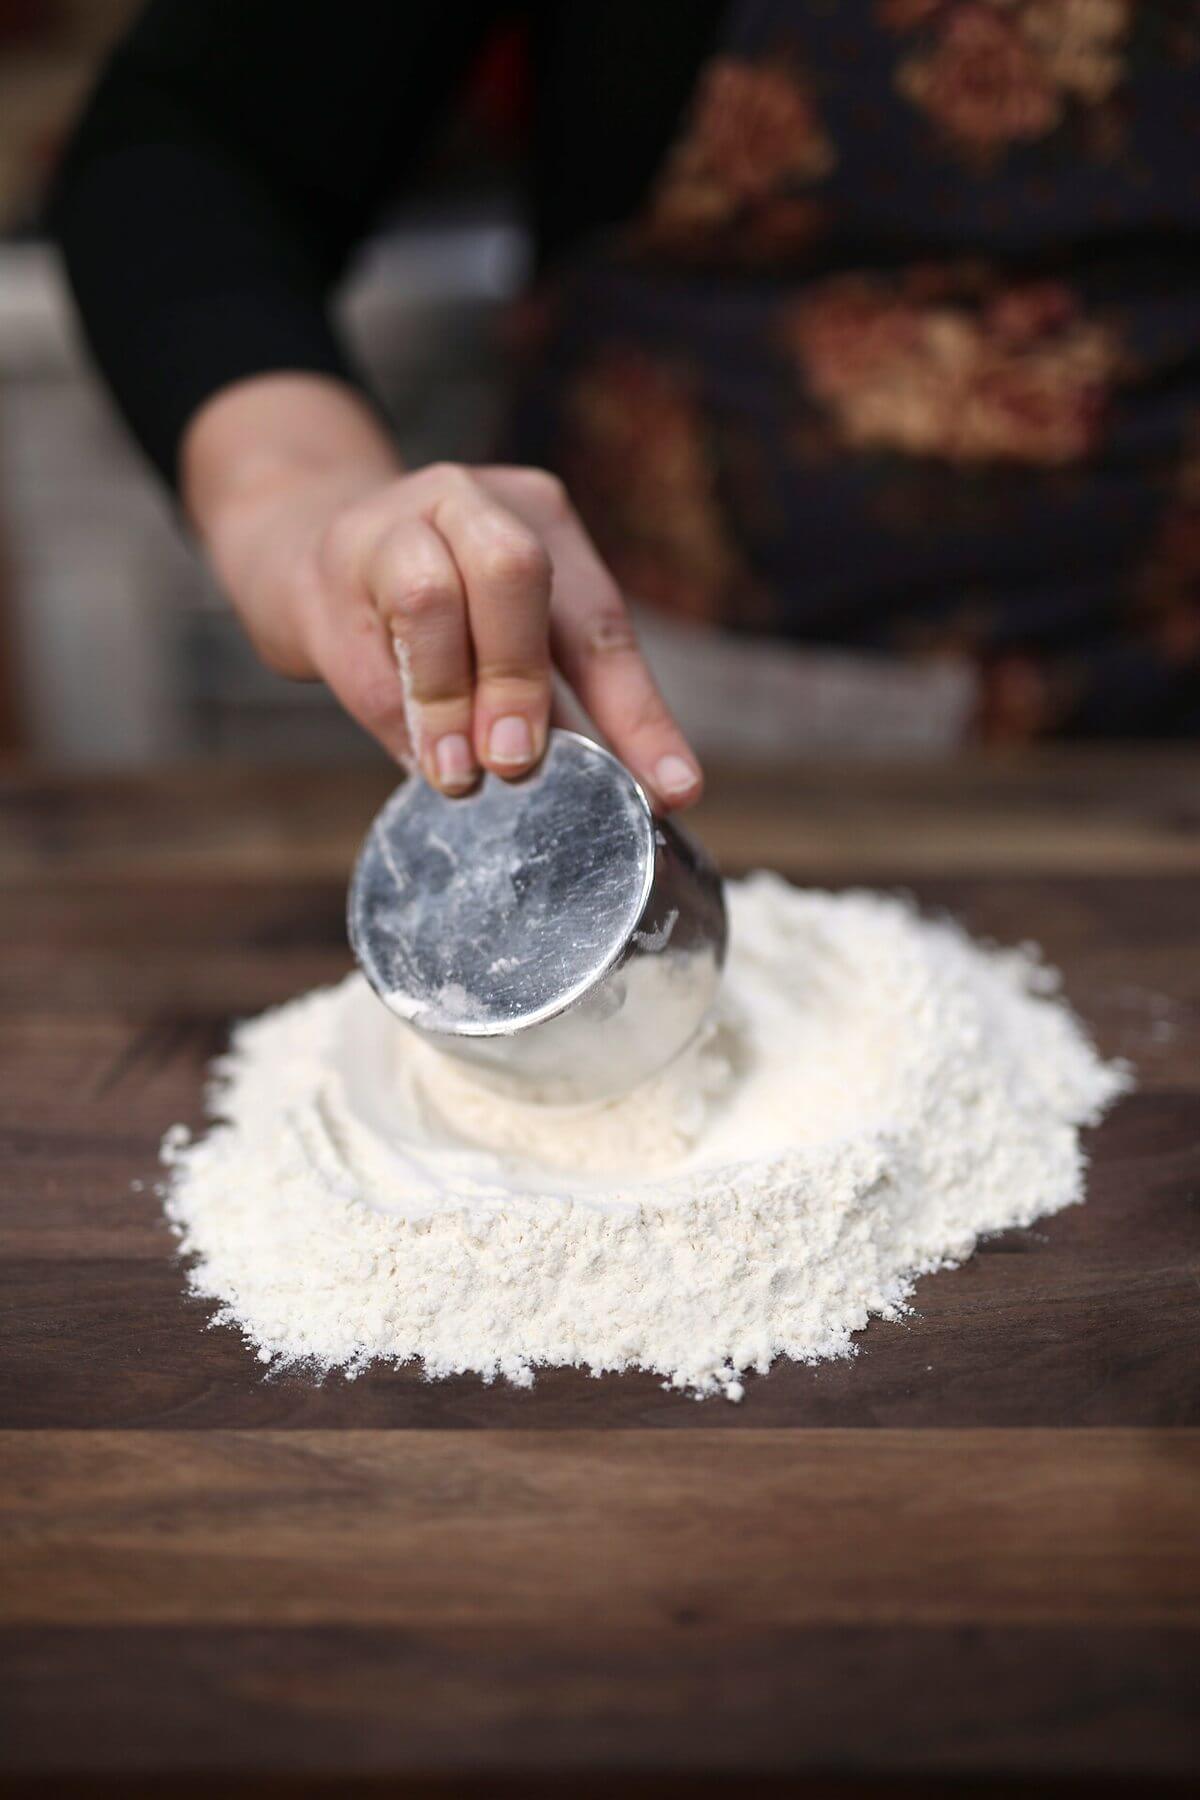
Step 1: Mix the Flour and Salt
Place the flour and salt in a large mixing bowl and whisk them together.
Make a well in the center.
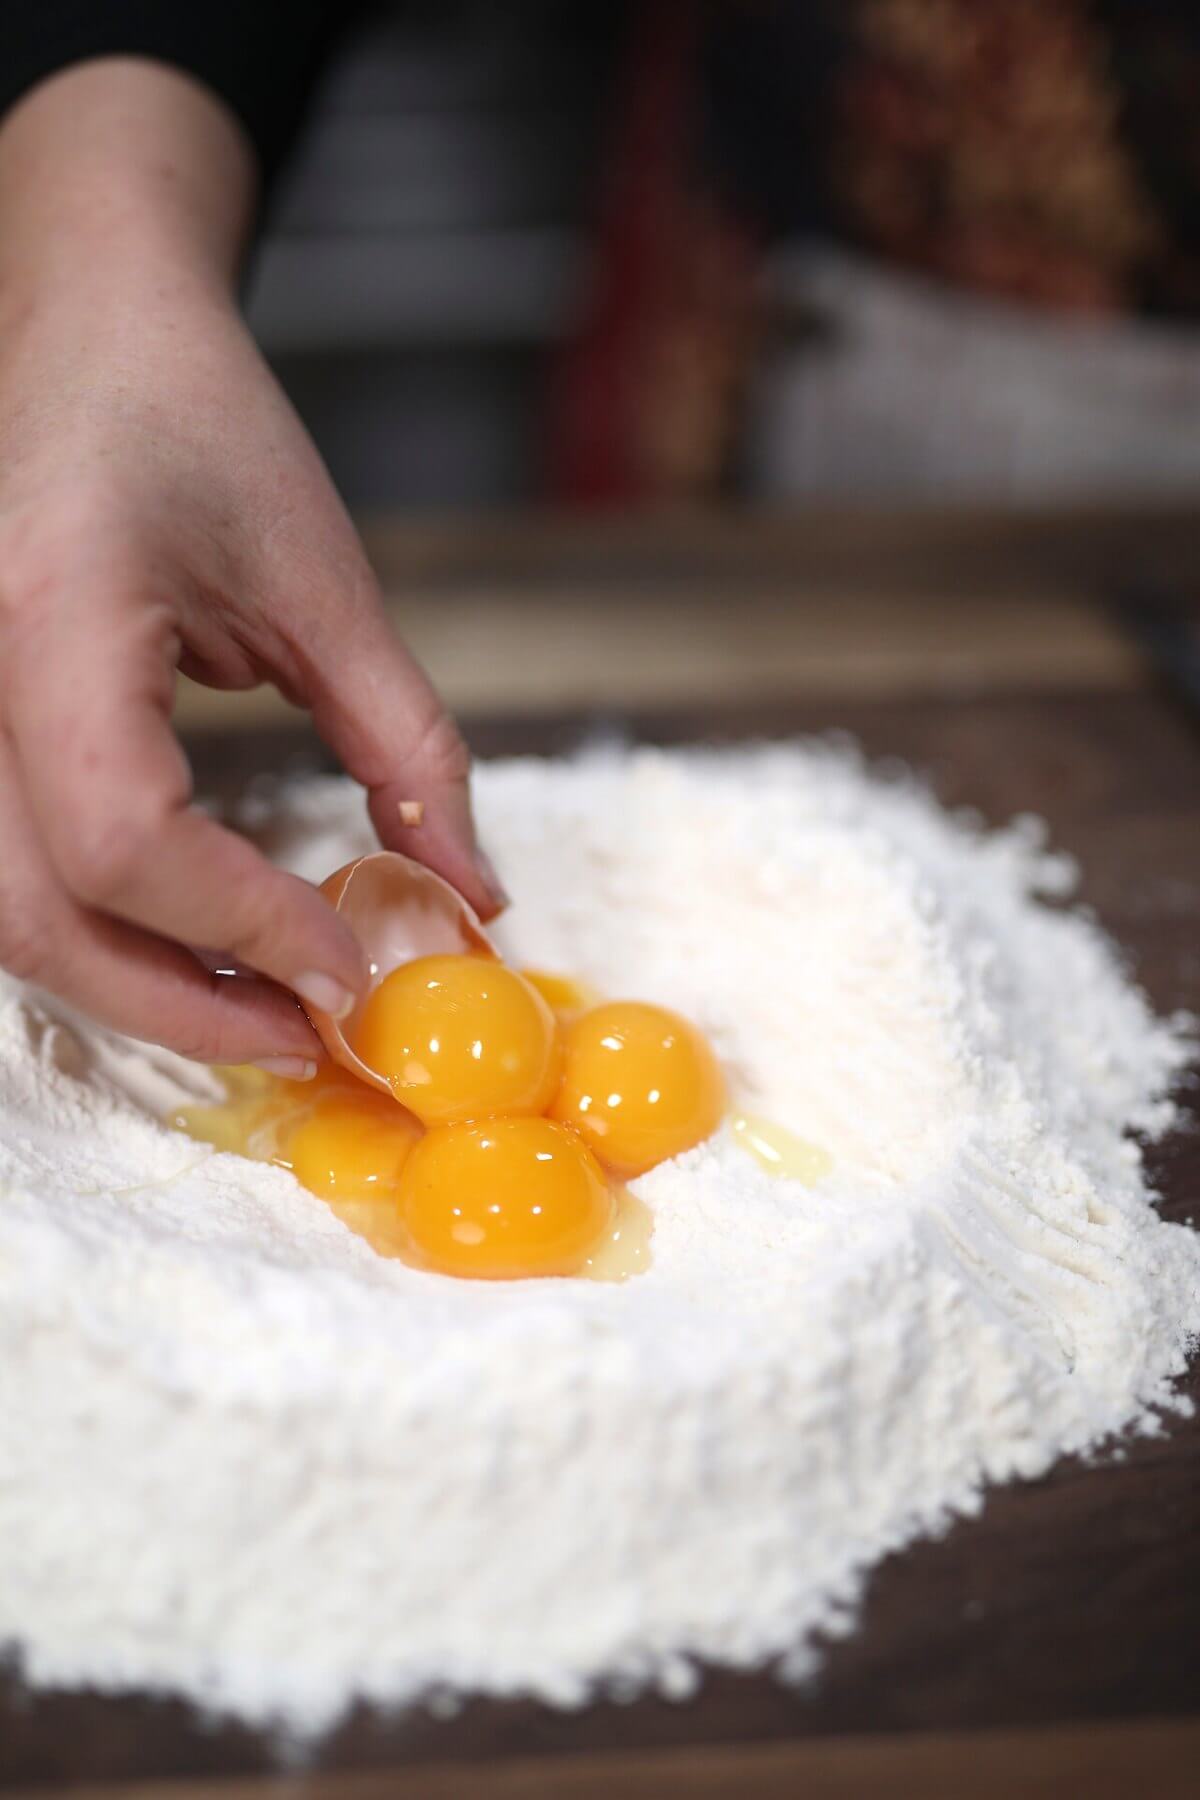
Step 2: Add the Eggs
Add a couple of eggs to the well and begin working them into the flour with a fork or wooden spoon.
Add another whole egg and continue mixing. Add another egg yolk if needed.
The dough will begin looking shaggy before it starts coming together. That’s normal.
Once the dough begins forming a ball, add water one tablespoon at a time until the flour is incorporated.
This is where you need to read your dough.
Your kitchen may be more humid or much drier than mine. Your eggs may also be larger or smaller. Those little differences affect how much liquid the flour needs.
Don’t chase an exact amount of water. Chase the right texture.
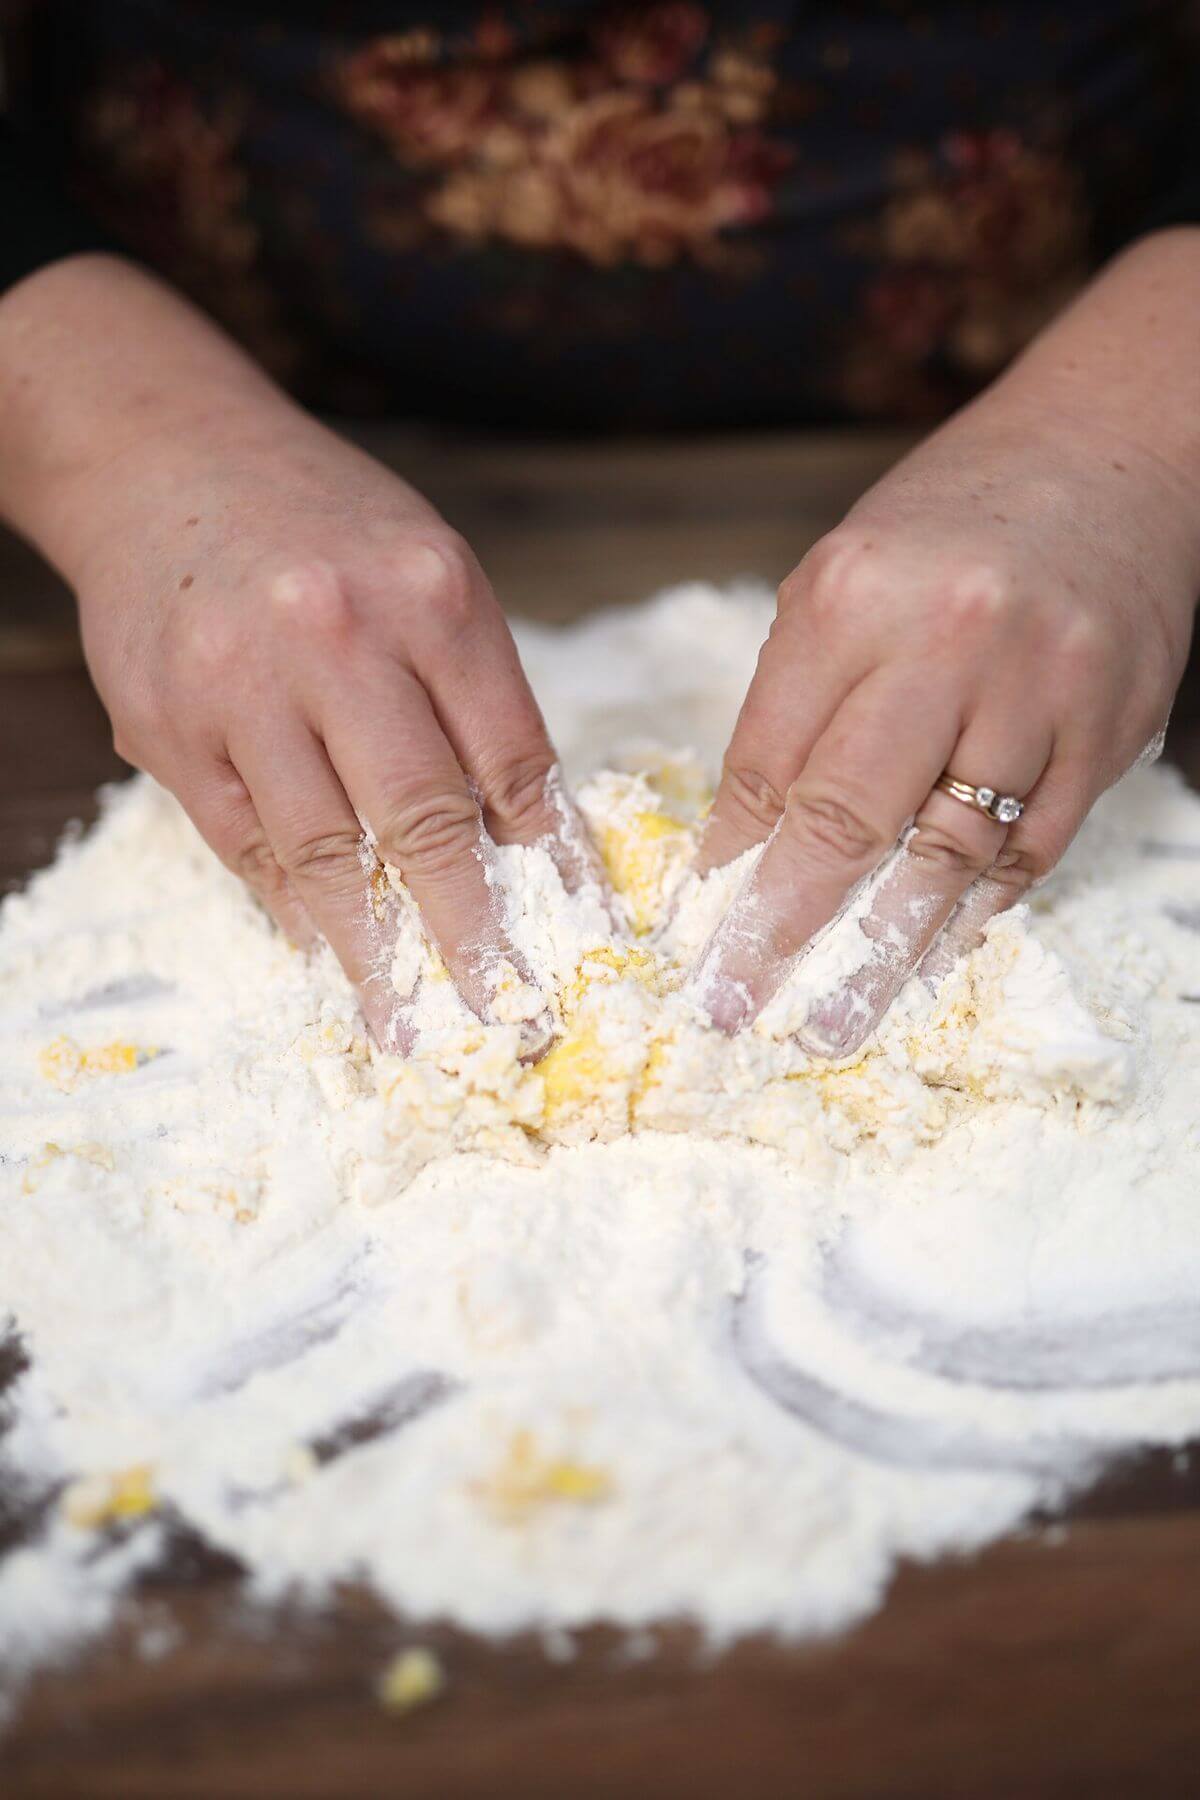
Step 3: Knead the Dough
Turn the dough onto a lightly floured work surface and knead for about 10 minutes by hand.
If you’re using a stand mixer, knead for about 5 minutes.
The finished dough should feel smooth and elastic.
Rest the dough for about 30 minutes.
If you’ll be rolling it within an hour, cover it with a damp tea towel and leave it at room temperature.
If you won’t be using it for several hours, wrap it well and refrigerate it. You can keep the dough refrigerated for up to a day before rolling.
Don’t rush this step.
Resting gives the dough time to relax, making it much easier to roll without constantly springing back.
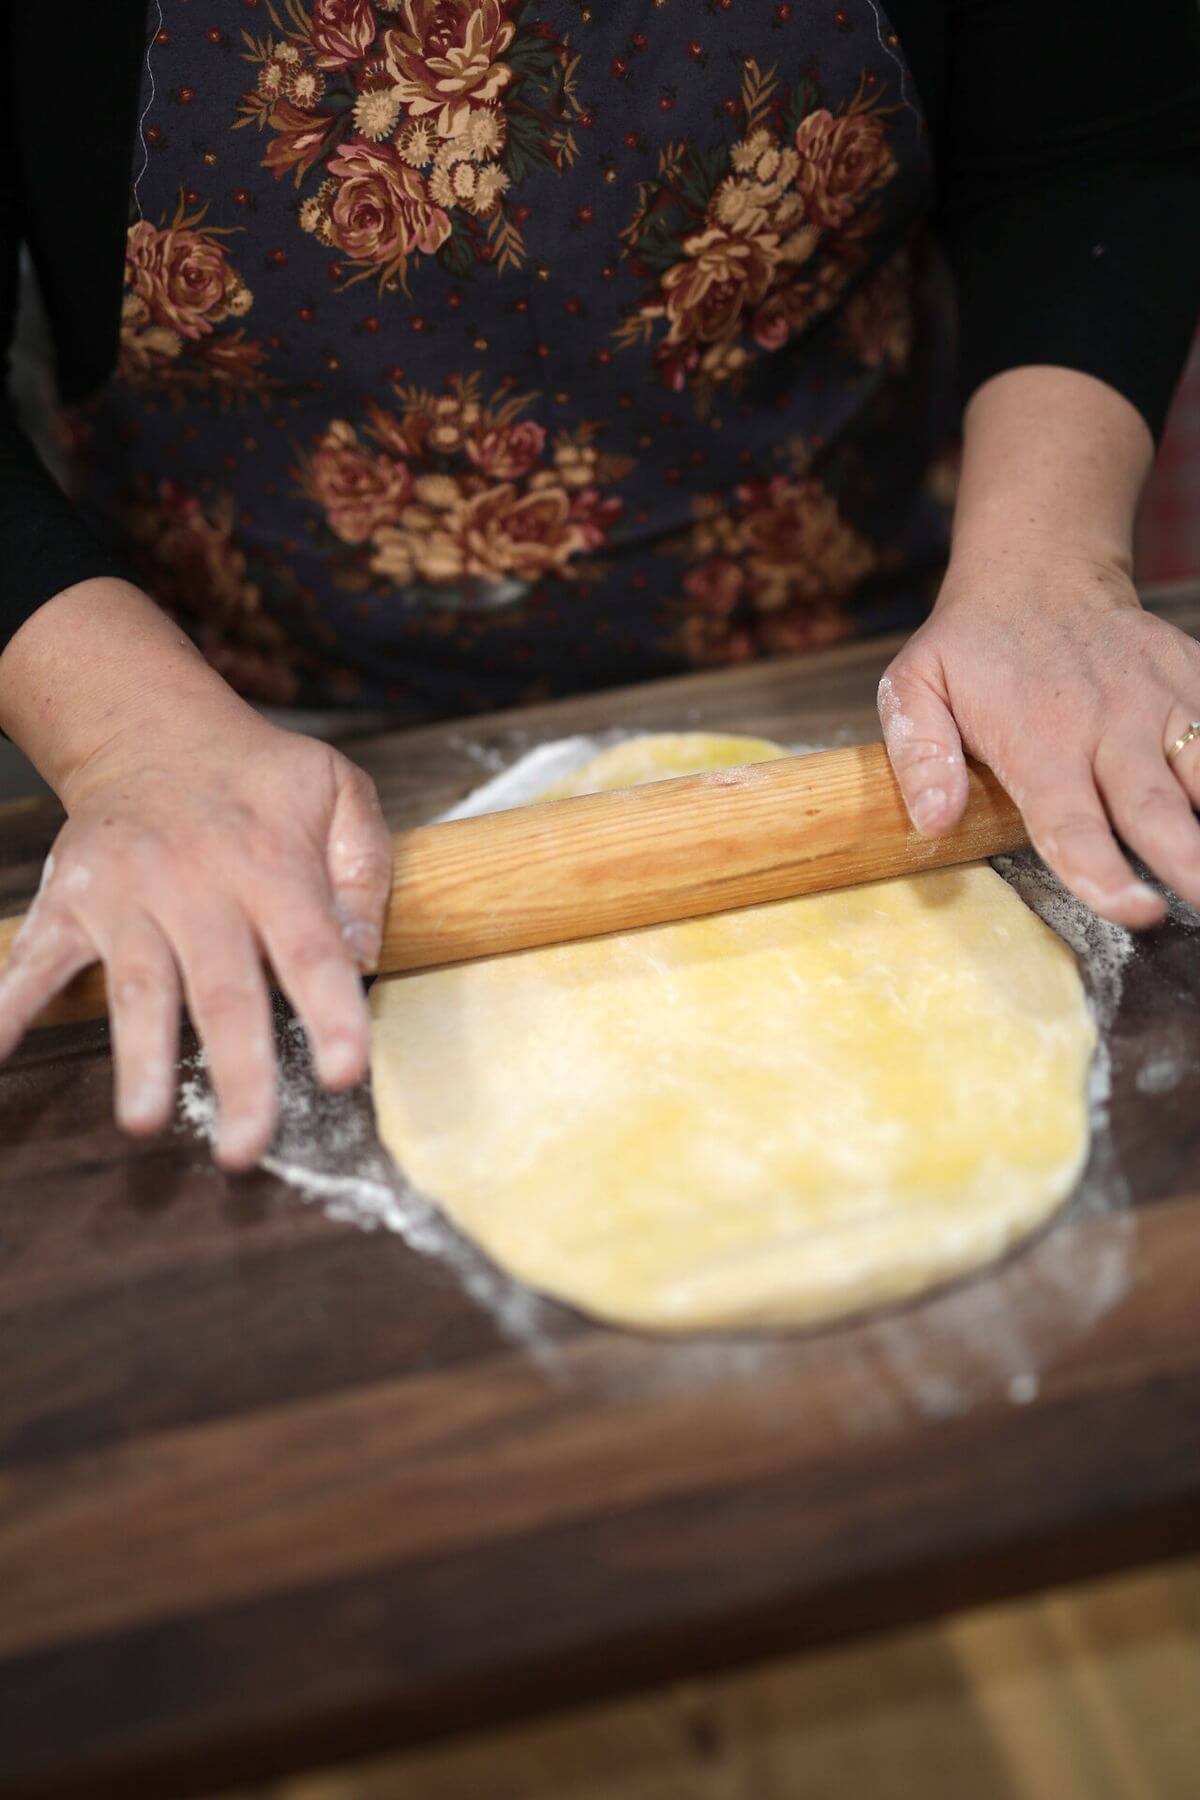
Step 4: Roll the Pasta
Flatten the dough into a disc and cut it in half.
Shape one half into a long oval while keeping the remaining dough covered so it doesn’t dry out.
If you’re rolling the noodles by hand, aim for approximately 1/16 to ⅛ inch thick.
If using a mechanical pasta roller, set your roller to its widest setting and run the dough through twice.
Dust both sides lightly with flour as needed to prevent sticking.
Gradually decrease the roller setting, running the dough through twice at each setting, until you reach your desired thickness.
If the pasta sheet becomes too long to handle comfortably, simply cut it in half and keep going.
I don’t recommend rolling the dough paper-thin. Very thin noodles can tear and become frustrating to work with. On my pasta machine, I usually stop around setting five.
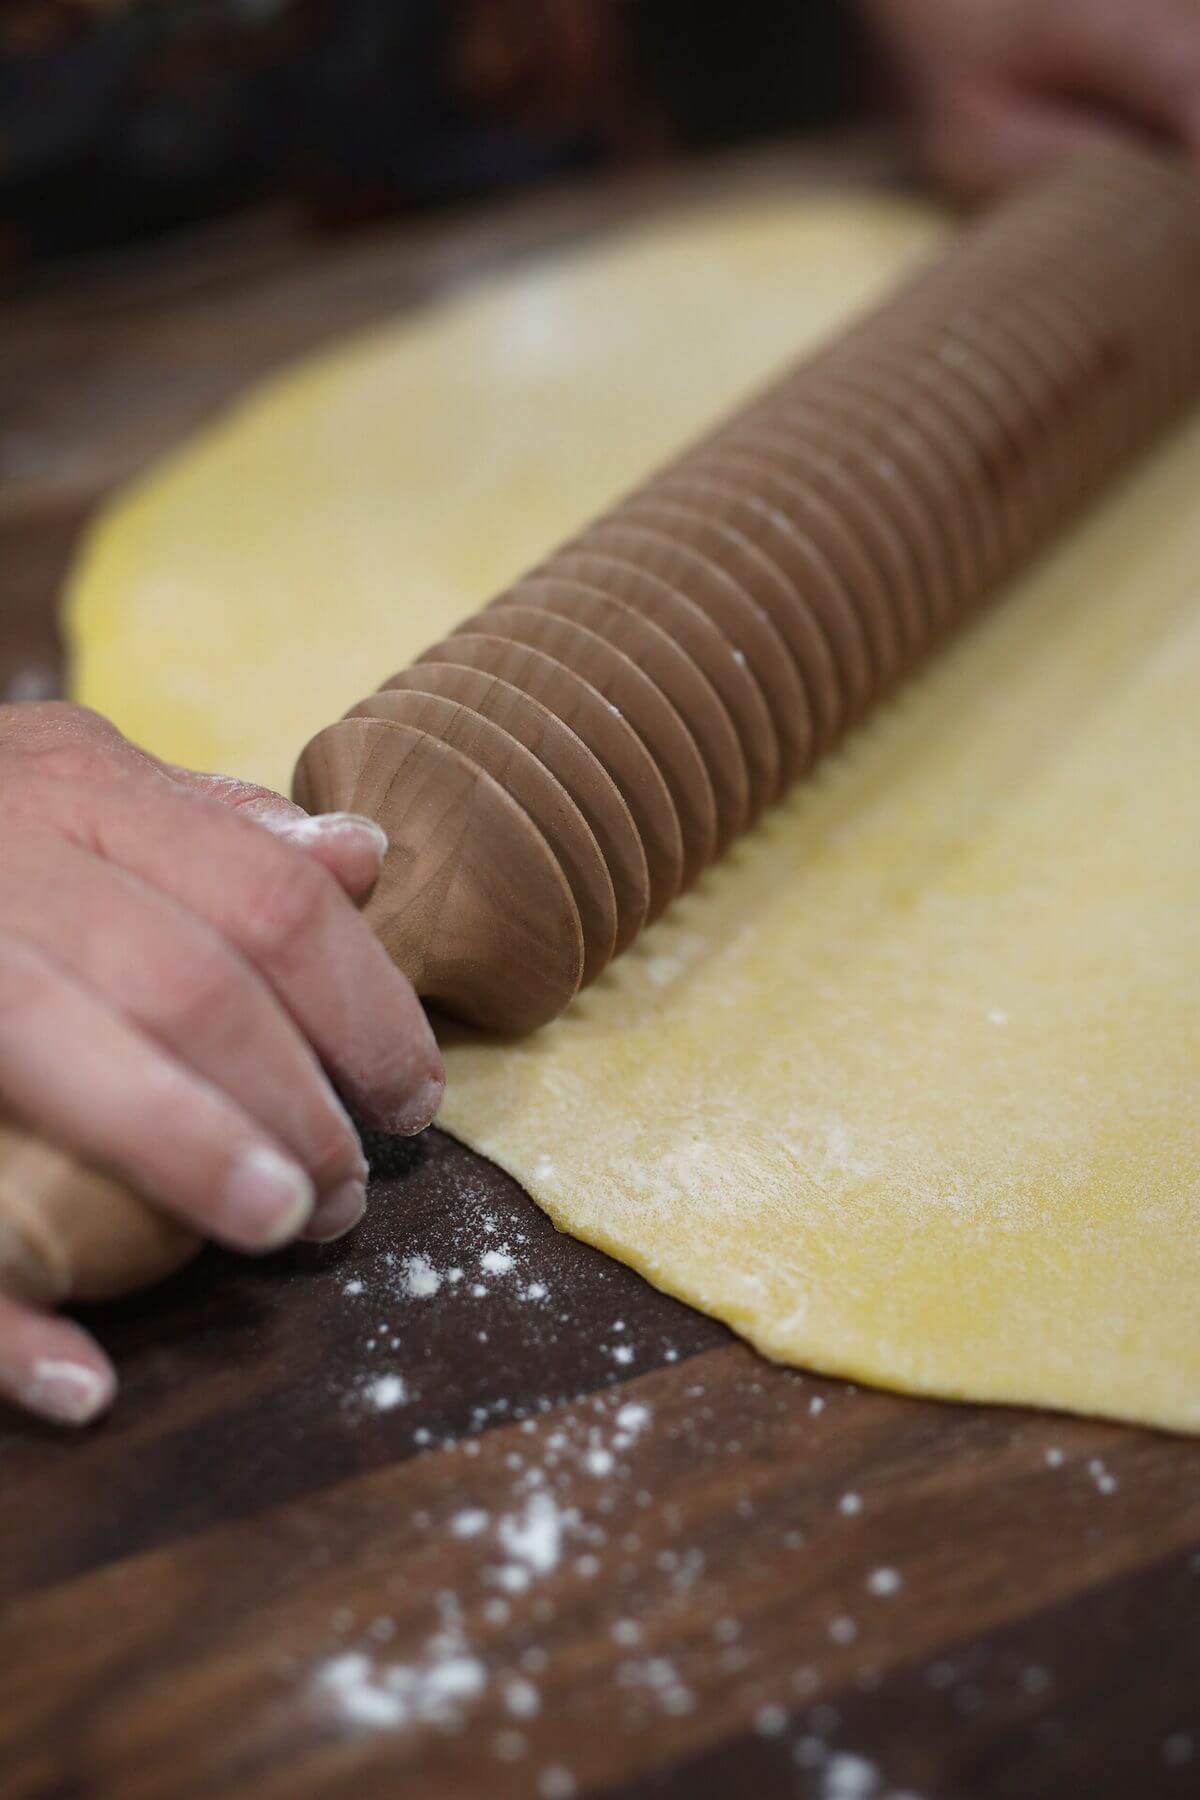
Step 5: Cut the Noodles
Dust the pasta sheet lightly with flour before cutting.
Run it through your pasta cutter or cut it into strips with a sharp knife, pizza cutter, or noodle cutter.
I like a wider, fettuccine-style noodle, but this is your kitchen. Cut them to whatever size your family enjoys.
Toss the noodles gently in flour, then tap off the excess.
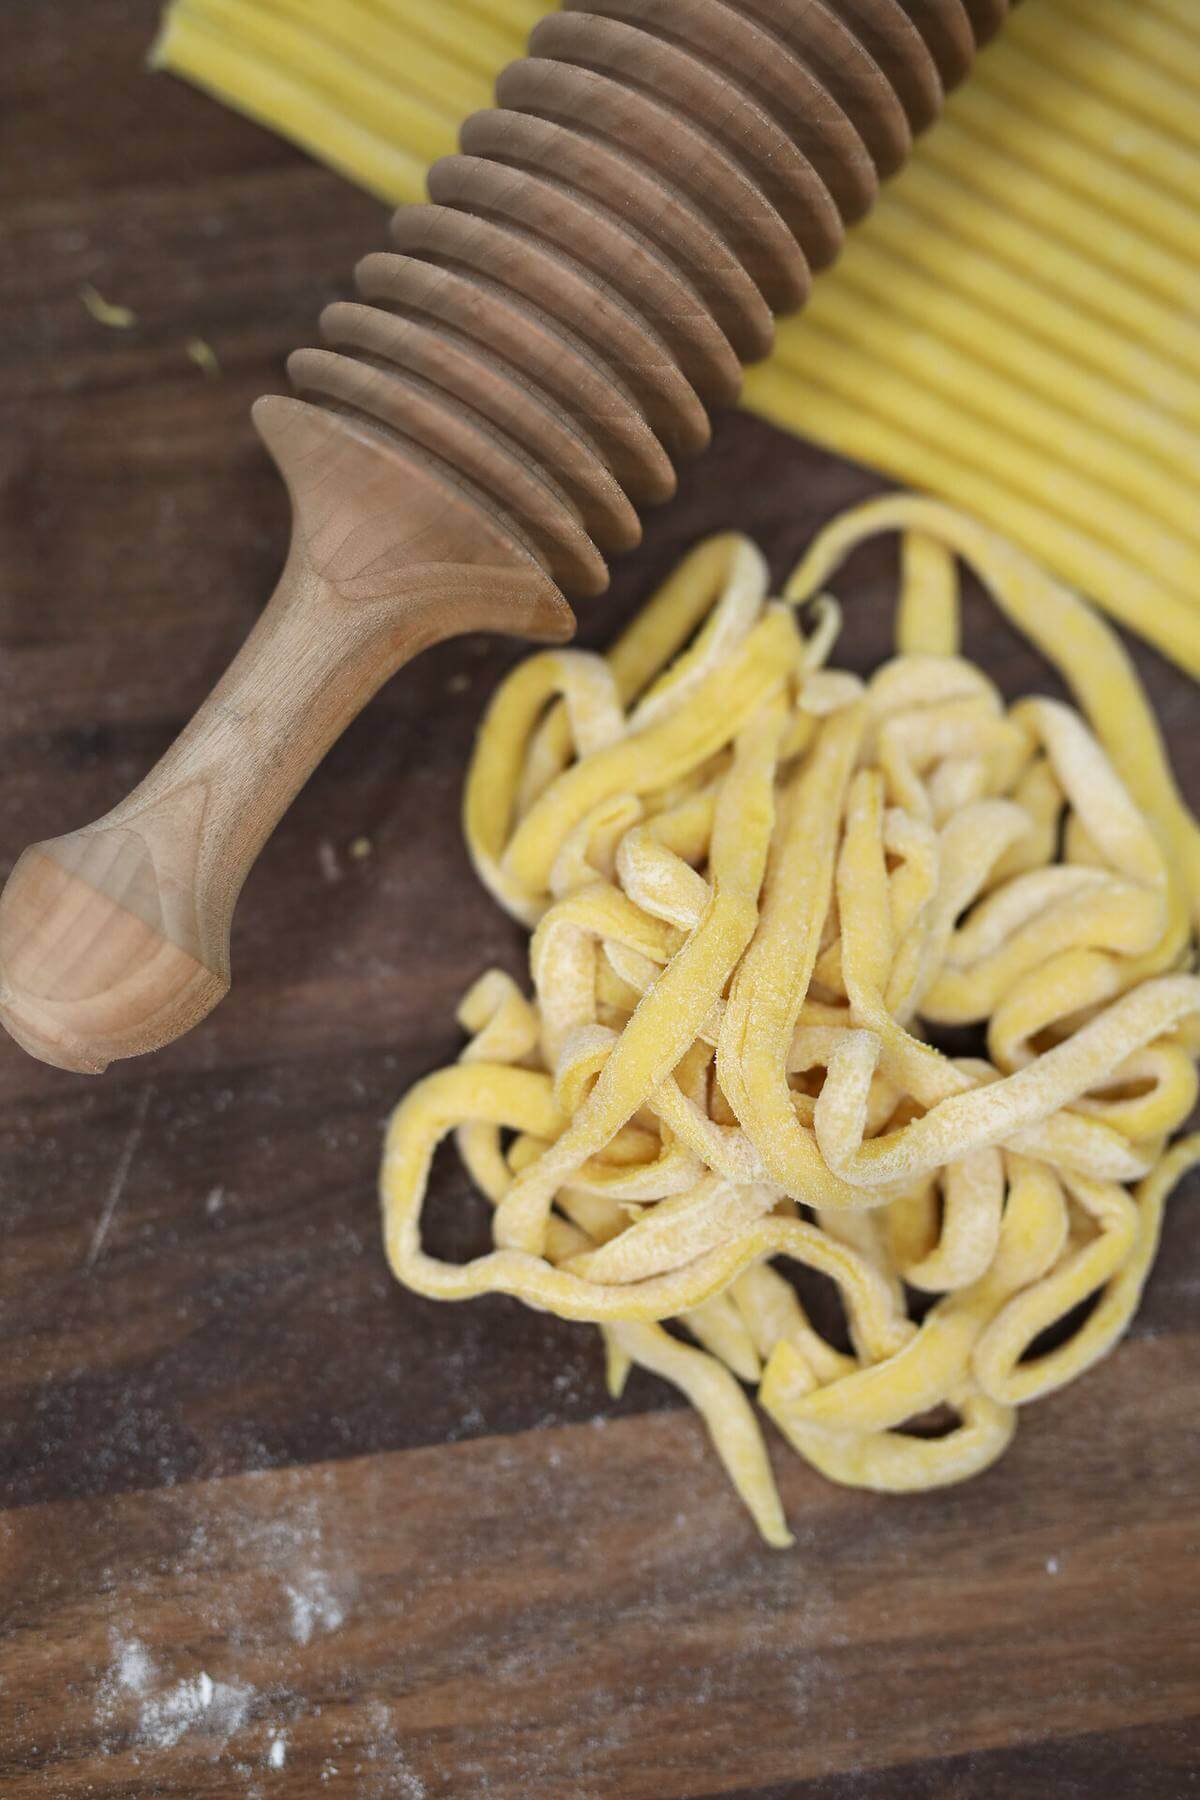
Step 6: Form the Noodle Nests
If needed, cut very long noodles in half.
Loosely gather the noodles into small nests and place them on a parchment or wax paper-lined baking sheet.

Step 7: Cook or Dry
For fresh noodles, bring a large pot of well-salted water to a boil.
Add the noodles and cook for approximately 2 to 3 minutes, testing one after about 2 minutes. You want them tender but with a little bite remaining.
If you’re drying the noodles, allow them to air dry until they are completely dry and brittle.
Drying time will vary depending on noodle thickness, humidity, airflow, and how tightly the noodles are bundled.
Tips and Troubleshooting
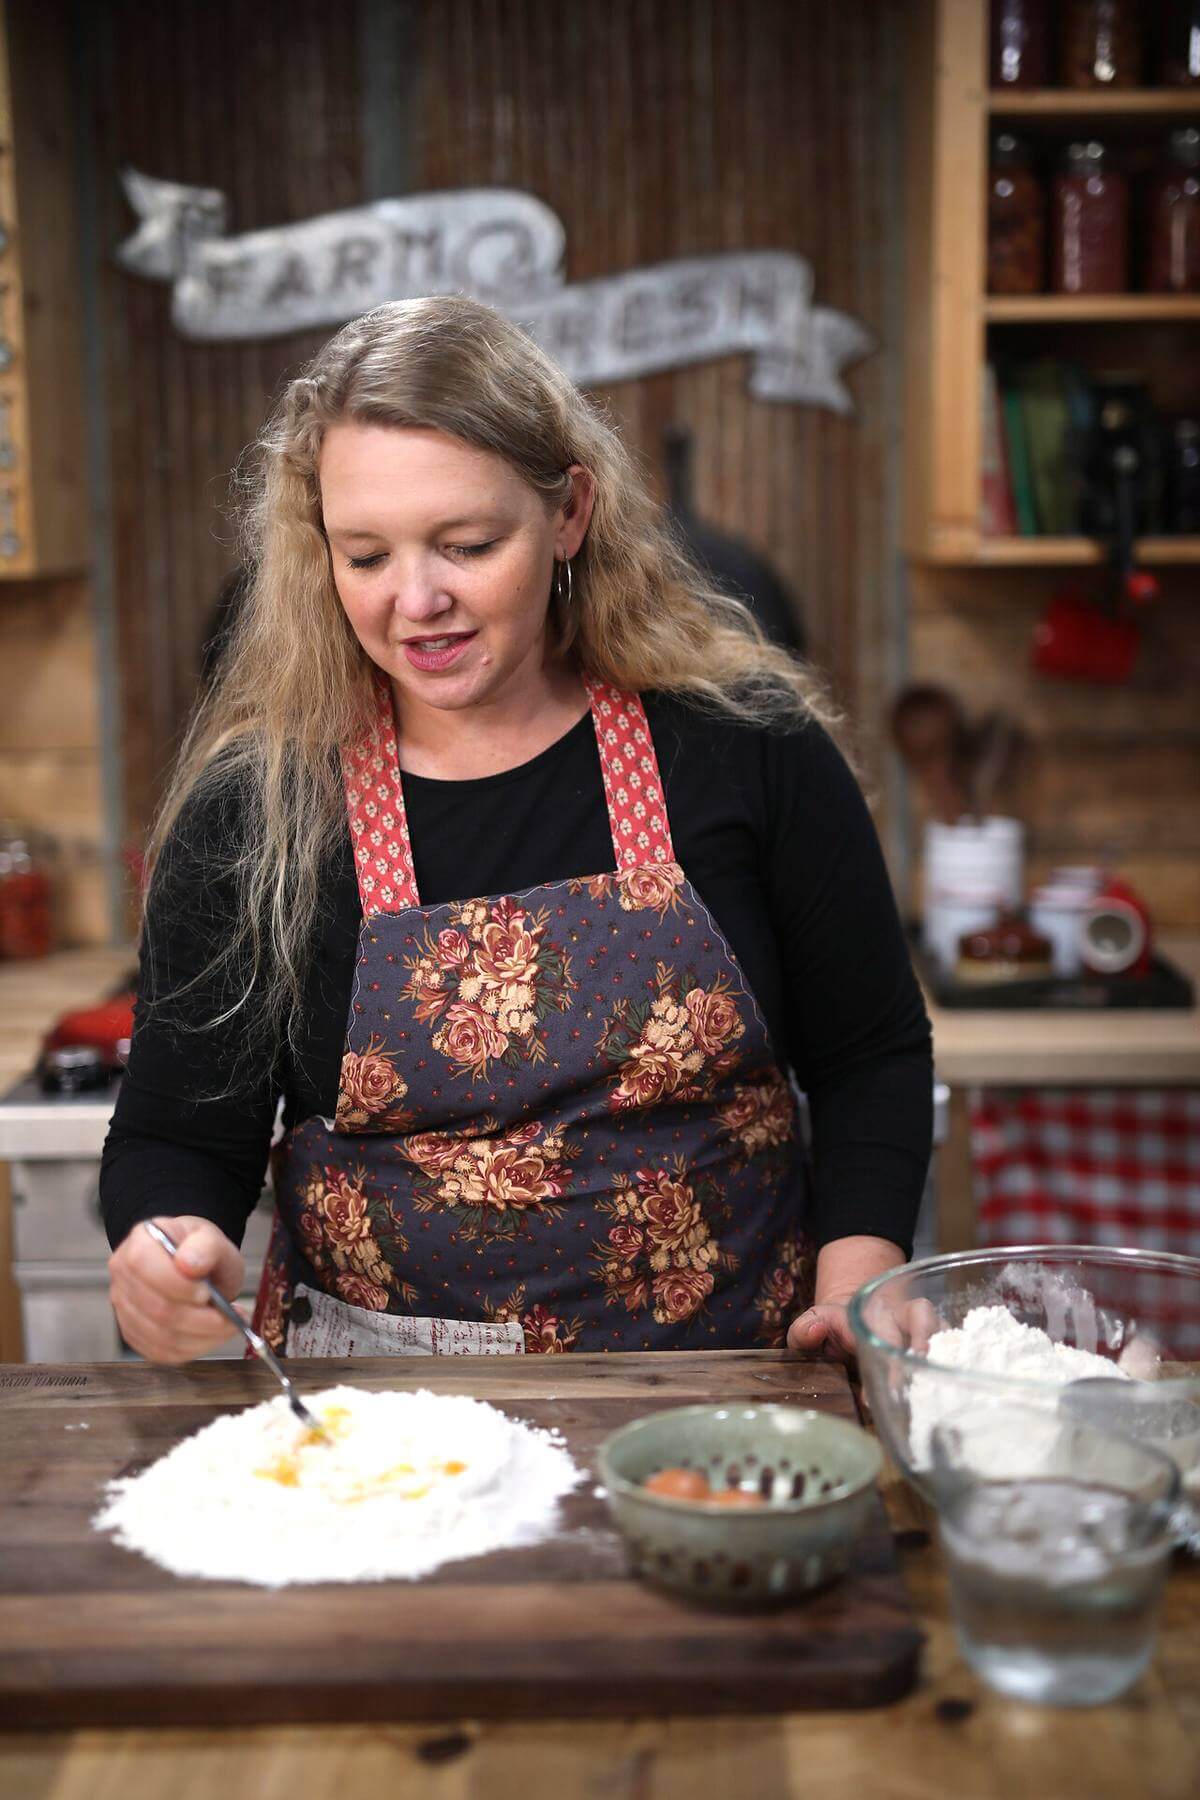
One of the things I find really helpful is to stop thinking of dough recipes as rigid formulas.
Yes, measurements matter. But flour and eggs are natural ingredients, and your kitchen environment matters, too.
Learning what the dough should feel like gives you much more confidence than wondering whether you’ve ruined the whole batch because you needed another tablespoon of water.
| Problem | Solution |
| My Dough Is Too Sticky | Add flour gradually. Don’t dump a large amount into the dough all at once. Add a little, knead, and see how the dough responds. You’re looking for dough that is smooth and workable, not wet and sticking to everything it touches. |
| My Dough Is Too Dry | Add water one tablespoon at a time. Give the dough a chance to absorb each addition before adding more. |
| My Dough Keeps Springing Back | It probably needs more rest. If the gluten is fighting you every time you roll the dough, cover it and give it another 10 to 15 minutes before trying again. Sometimes doing nothing really is the solution! |
| My Noodles Are Sticking Together | Use a light dusting of flour before cutting and bundling the noodles. You want enough flour to keep the strands separated, but you don’t need to bury them in it. |
| My Noodles Tear | Your pasta may be rolled too thin, or the dough may be too dry. Try stopping at a thicker roller setting on your next sheet. Homemade noodles don’t need to be paper-thin to be delicious. |
| My Noodles Aren’t Uniform | That’s perfectly fine. Uniform noodles cook more evenly, so it’s worth aiming for roughly similar thicknesses. But these are homemade noodles. They’re allowed to look homemade. |
| Make a Large Batch | Egg noodles take some time, so once you’re comfortable with the process, consider making several batches at once. This can also be a wonderful kitchen project to do with children or grandchildren when the hens are laying abundantly. |
Easy Recipes With Egg Noodles
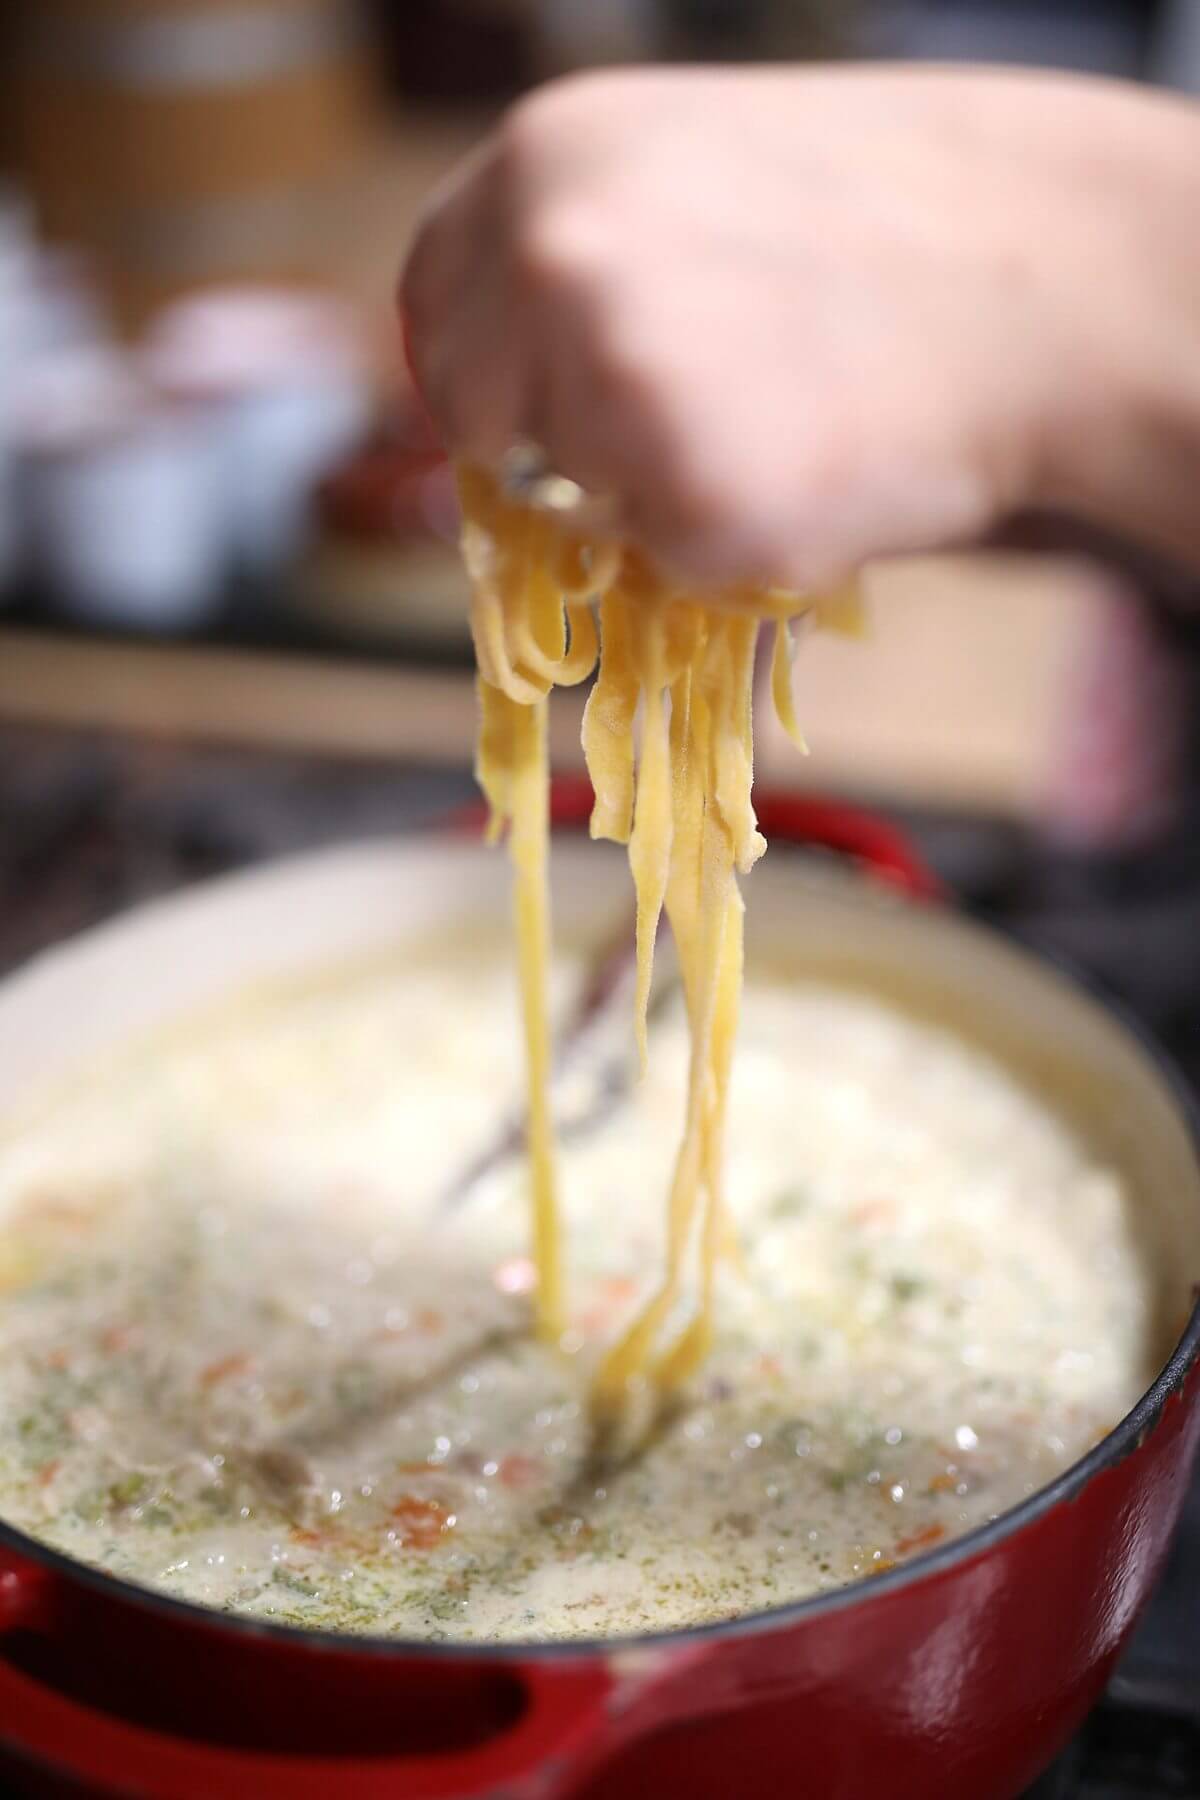
When most people think about homemade egg noodles, a big pot of chicken or turkey noodle soup probably comes to mind. And there’s a good reason for that! There’s something so comforting about tender homemade noodles simmering in a flavorful homemade chicken bone broth with chicken and vegetables.
If you need a shortcut to a long-simmered soup, I’ve got you covered! I can show you how to make cream of chicken soup using my pantry soup method. Or, keep this dry soup mix recipe to have lunch or a quick dinner ready in a flash.
But don’t stop there. These noodles are incredibly versatile.
They’re wonderful underneath beef stroganoff or served alongside our best whole roasted chicken recipe, meatloaf (try this freezer meatloaf recipe), pork, or even seafood. You can stir them into casseroles, toss them into a mixed vegetable stir-fry, or pair them with creamed peas, this creamy leek pasta recipe or a simple homemade cream sauce.
And sometimes, the simplest way really is one of the best. Cook the noodles in well-salted water, drain them, and toss them with a generous pat of butter, a little salt and pepper, and some fresh herbs from the garden if you have them.
That makes an easy side dish for just about any meal, and it’s a great reminder that putting homemade food on the table doesn’t have to mean making something complicated. A few good ingredients and a skill you know how to use can take you a long way.
Storage Instructions
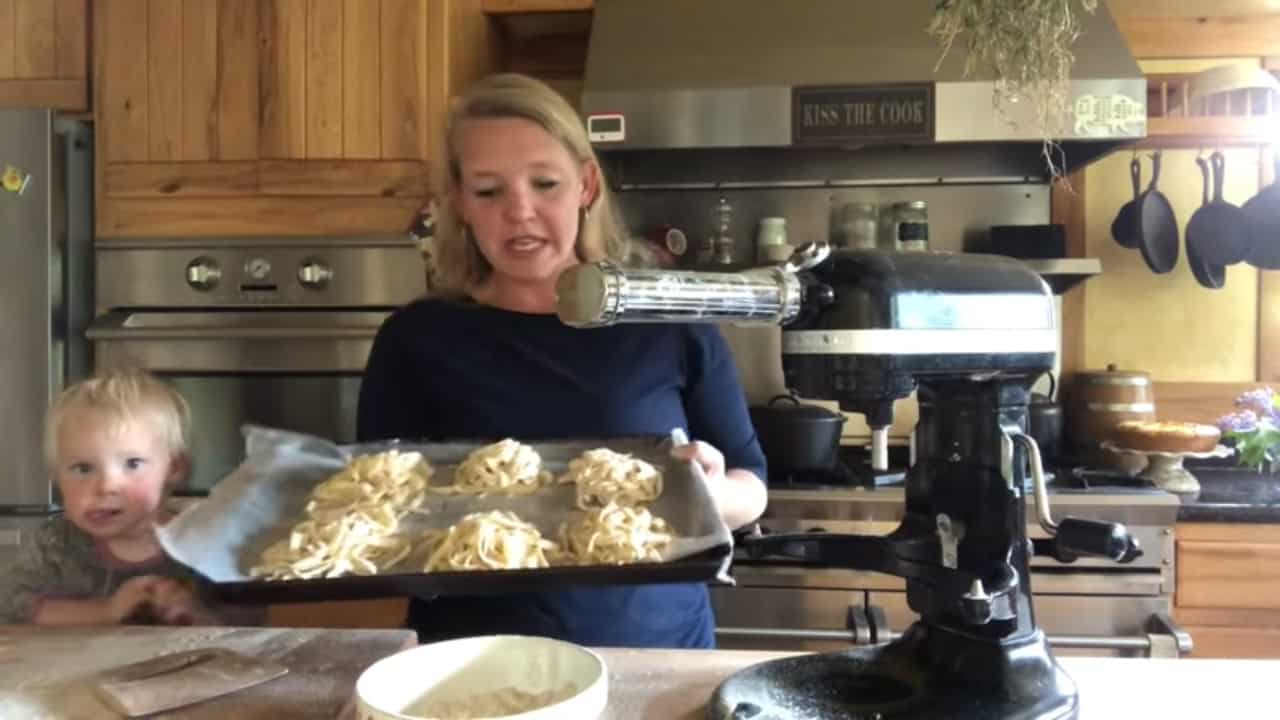
There are a few different ways to store homemade egg noodles, depending on when you want to use them.
Refrigerating Fresh Egg Noodles
Because fresh egg noodles contain raw egg and moisture, treat them as a perishable food.
If you aren’t cooking them promptly, refrigerate them in a covered container and use them soon.
Freezing Homemade Egg Noodles
Freezing is one of my favorite simple options.
Dust the freshly cut noodles lightly with flour and form them into individual nests.
Place the nests on a parchment-lined baking sheet and freeze until solid. Once frozen, transfer them to a freezer-safe bag or container.
This gives you convenient portions you can pull out whenever you need them.
Drying Homemade Egg Noodles
If you’re drying noodles, the important thing is that they become completely dry before storage.
You can spread noodles on drying racks or lay them flat on cooling racks with good airflow.
Noodle nests can also be dried, but pay special attention to the center of each nest. Moisture trapped inside a bundle can create spoilage concerns during storage.
The noodles should be fully brittle rather than flexible before you package them.
Store completely dried noodles in a clean, airtight container in a cool, dry, dark location. Always check dried foods for signs of moisture, mold, insects, or off odors before using them.
When in doubt, don’t risk your family’s safety.
FAQs
The best way to make egg noodles from scratch is to keep it simple. Mix flour, eggs, and salt into a dough, adding just enough water to bring everything together. Knead until smooth and elastic, then let the dough rest for about 30 minutes before rolling and cutting. The real key is learning to read your dough. It should be smooth and workable without being overly sticky or dry.
The exact ratio can vary depending on the size of your eggs, the flour you’re using, and even the humidity in your kitchen. That’s why I recommend using a tested recipe as your starting point, then paying attention to how the dough feels. If it’s too dry, add water a tablespoon at a time. If it’s sticky, work in a little more flour.
All-purpose flour is my go-to for homemade egg noodles. It creates tender, easy-to-work-with noodles and is especially useful if you plan to dry them. You can experiment with whole-wheat or other flours, but they’ll change the flavor, texture, and storage qualities of your finished noodles.
Start by looking at how much pasta your family actually eats. If you normally use two packages of pasta each week, for example, use that as your starting point and multiply it by however many weeks or months you’d like to prepare for. And don’t feel like you need to make six months’ worth at once! Start with one batch, get comfortable with the process, and build from there.

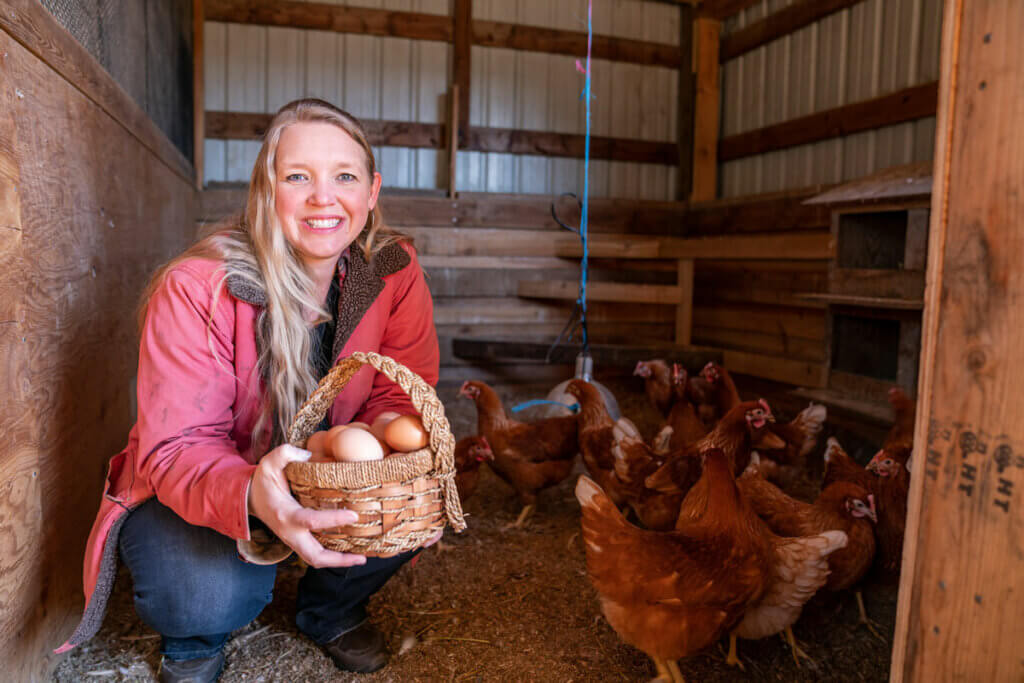

Did you try this homemade egg noodle recipe? If so, please leave a star ⭐ rating and your comments in the recipe card below. Then snap a photo and tag us on social media @homesteadingfamily so we can see!
Homemade Egg Noodle Recipe | Easy From-Scratch Noodles
Ingredients
- 2 cups flour (I use all-purpose flour)
- ¼ teaspoon sea salt We use Redmond Real Salt. Use that link to automatically get 15% off your order!
- 3 large eggs
- 1 whole egg yolk
- 2-3 Tbs water (add 1 Tbs at a time, as needed)
Instructions
- Add flour and salt to a bowl, whisk to combine then create a "well" in the middle of your flour.
- Add two whole eggs and stir them into the flour with a fork or a wooden spoon.
- Add in another whole egg, constantly stirring.
- Add another egg yolk, if needed, and stir some more.
- Once your dough starts coming together add water, one tablespoon at a time. (Remember to read your dough!)
- Once all the flour is incorporated into the dough, knead for 5-10 minutes (5 minutes in the stand mixer, about 10 minutes by hand) until dough is smooth and elastic.
- Let your dough rest for 30-60 minutes.
- Roll out the dough into a flat disc.
- Cut the dough in half and form a long oval shape.
- Using your pasta roller on the widest setting, roll your dough through two times.
- Dust each side of the sheet of pasta with flour between each setting.
- Reduce the size on your pasta roller and continue rolling your pasta sheet through, two times on each setting, until you get the desired thickness of your noodle.
- If your sheet of pasta gets too long to work with, simply cut it in half and continue.
- Once your sheet of pasta is at the desired thickness, dust with flour again to avoid having the noodles stick together on the next step.
- Switch your machine to the pasta cutter and cut each sheet into pasta.
- Toss the pasta in a bowl of flour and gently tap off any excess flour.
- Bundle your noodles into a little nest and place on a parchment or wax paper-lined cookie sheet.
- Allow pasta to dry in bundles for 1-2 days until they are completely dry and break easily when bent.
- To cook, drop bundles into salted boiling water and cook for 2-3 minutes (or preferred doneness).
Notes
| Problem | Solution |
| My Dough Is Too Sticky | Add flour gradually. Don’t dump a large amount into the dough all at once. Add a little, knead, and see how the dough responds. You’re looking for dough that is smooth and workable, not wet and sticking to everything it touches. |
| My Dough Is Too Dry | Add water one tablespoon at a time. Give the dough a chance to absorb each addition before adding more. |
| My Dough Keeps Springing Back | It probably needs more rest. If the gluten is fighting you every time you roll the dough, cover it and give it another 10 to 15 minutes before trying again. Sometimes doing nothing really is the solution! |
| My Noodles Are Sticking Together | Use a light dusting of flour before cutting and bundling the noodles. You want enough flour to keep the strands separated, but you don’t need to bury them in it. |
| My Noodles Tear | Your pasta may be rolled too thin, or the dough may be too dry. Try stopping at a thicker roller setting on your next sheet. Homemade noodles don’t need to be paper-thin to be delicious. |
| My Noodles Aren’t Uniform | That’s perfectly fine. Uniform noodles cook more evenly, so it’s worth aiming for roughly similar thicknesses. But these are homemade noodles. They’re allowed to look homemade. |
| Make a Large Batch | Egg noodles take some time, so once you’re comfortable with the process, consider making several batches at once. This can also be a wonderful kitchen project to do with children or grandchildren when the hens are laying abundantly. You’re not just making noodles. You’re helping these skills become familiar enough that nobody has to Google every step the next time around. |
- Refrigerating Fresh Egg Noodles - Because fresh egg noodles contain raw egg and moisture, treat them as a perishable food. If you aren’t cooking them promptly, refrigerate them in a covered container and use them soon.
- Freezing Homemade Egg Noodles - Freezing is one of my favorite simple options. Dust the freshly cut noodles lightly with flour and form them into individual nests. Place the nests on a parchment-lined baking sheet and freeze until solid. Once frozen, transfer them to a freezer-safe bag or container. This gives you convenient portions you can pull out whenever you need them.
- Drying Homemade Egg Noodles - If you’re drying noodles, the important thing is that they become completely dry before storage. You can spread noodles on drying racks or lay them flat on cooling racks with good airflow.Noodle nests can also be dried, but pay special attention to the center of each nest. Moisture trapped inside a bundle can create spoilage concerns during storage. The noodles should be fully brittle rather than flexible before you package them. Store completely dried noodles in a clean, airtight container in a cool, dry, dark location. Always check dried foods for signs of moisture, mold, insects, or off odors before using them. When in doubt, don’t risk your family’s safety.