Potting up seedlings is easy with this tutorial. Learn when to pot up tomatoes, peppers, broccoli and more with these tried and true tips. Knowing what soil options are best and what to avoid will successfully give your plants the best start.
Why You Should Start Seedlings Indoors
Starting seedlings indoors means winter has passed, and spring is here. Once you know how to read seed packets and have chosen the best vegetable seeds for your garden, you can learn how to start a garden by starting seeds indoors, so your spring garden planning ideas are ready to be implemented.
Starting your own seedlings is wise and prudent, especially if you know how to identify and fix common seed-starting problems. Whether you’re planning on a smaller cottage garden or growing a year's worth of food, starting seedlings yourself is the most economical.
You can control how long each plant needs to grow before it's transplanted into your garden plot. Knowing your specific growing season and when to pot up and transplant into healthy soil can make all the difference in the success of your garden.
Garden planning for serious food production instructs you on how many seedlings you need to start indoors. We try to plan strategically because the joy we get from starting seedlings to harvesting our vegetables and fruits is so rewarding.
What Is Potting Up

Starting seedlings in small individual containers allows us to plant more seeds; optimizing the valuable space we need to grow the food our family needs.
When those seedlings grow in size, they need to be transplanted into bigger pots, hence the term “potting up.” Depending on the type of plant you're growing, such as tomato, pepper or broccoli, you may have to re-pot those seedlings more than once before planting in your garden.
Once the weather permits and the seedlings have grown large enough to be transplanted into the garden, and they have had a chance to "harden off," our seedlings will produce vegetables that have had a good, strong start.
Benefits of Potting Up Seedlings

Potting up is beneficial in many ways. The seedlings need room to grow and flourish. If left in the tiny space they started in, they will become root bound and often bolt into weak, spindly plants. The soil will dry out faster, and the plant will struggle to survive.
Living in the Northwest, our climate can change radically daily; extending our growing season by starting seeds indoors is crucial for our zone.
Controlling the environment creates stronger plants by being potted up at the right time. We want our plants to be hardy enough to adapt to the outdoor weather changes and grow and thrive until harvest.
How Do I Know When to Pot Up Seedlings
There are a few signs to watch for to know when it’s time to pot up your seedlings.
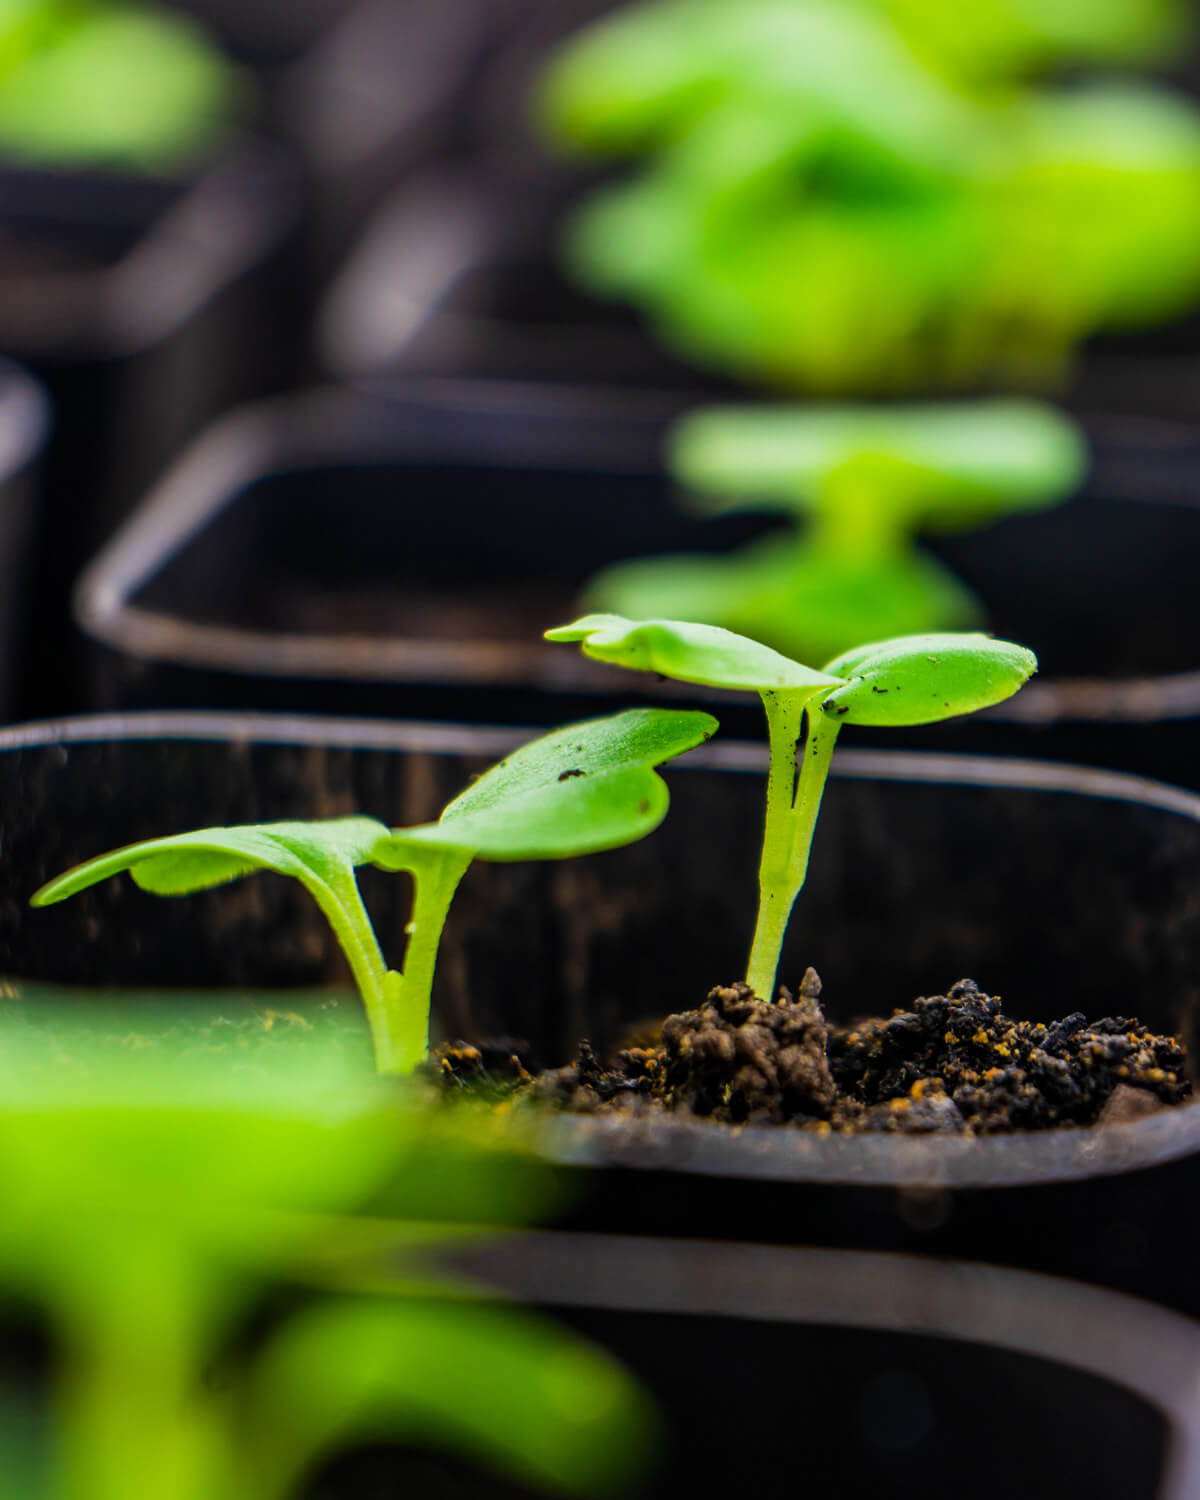
- Size - The seedling has grown tall enough to double the container’s height.
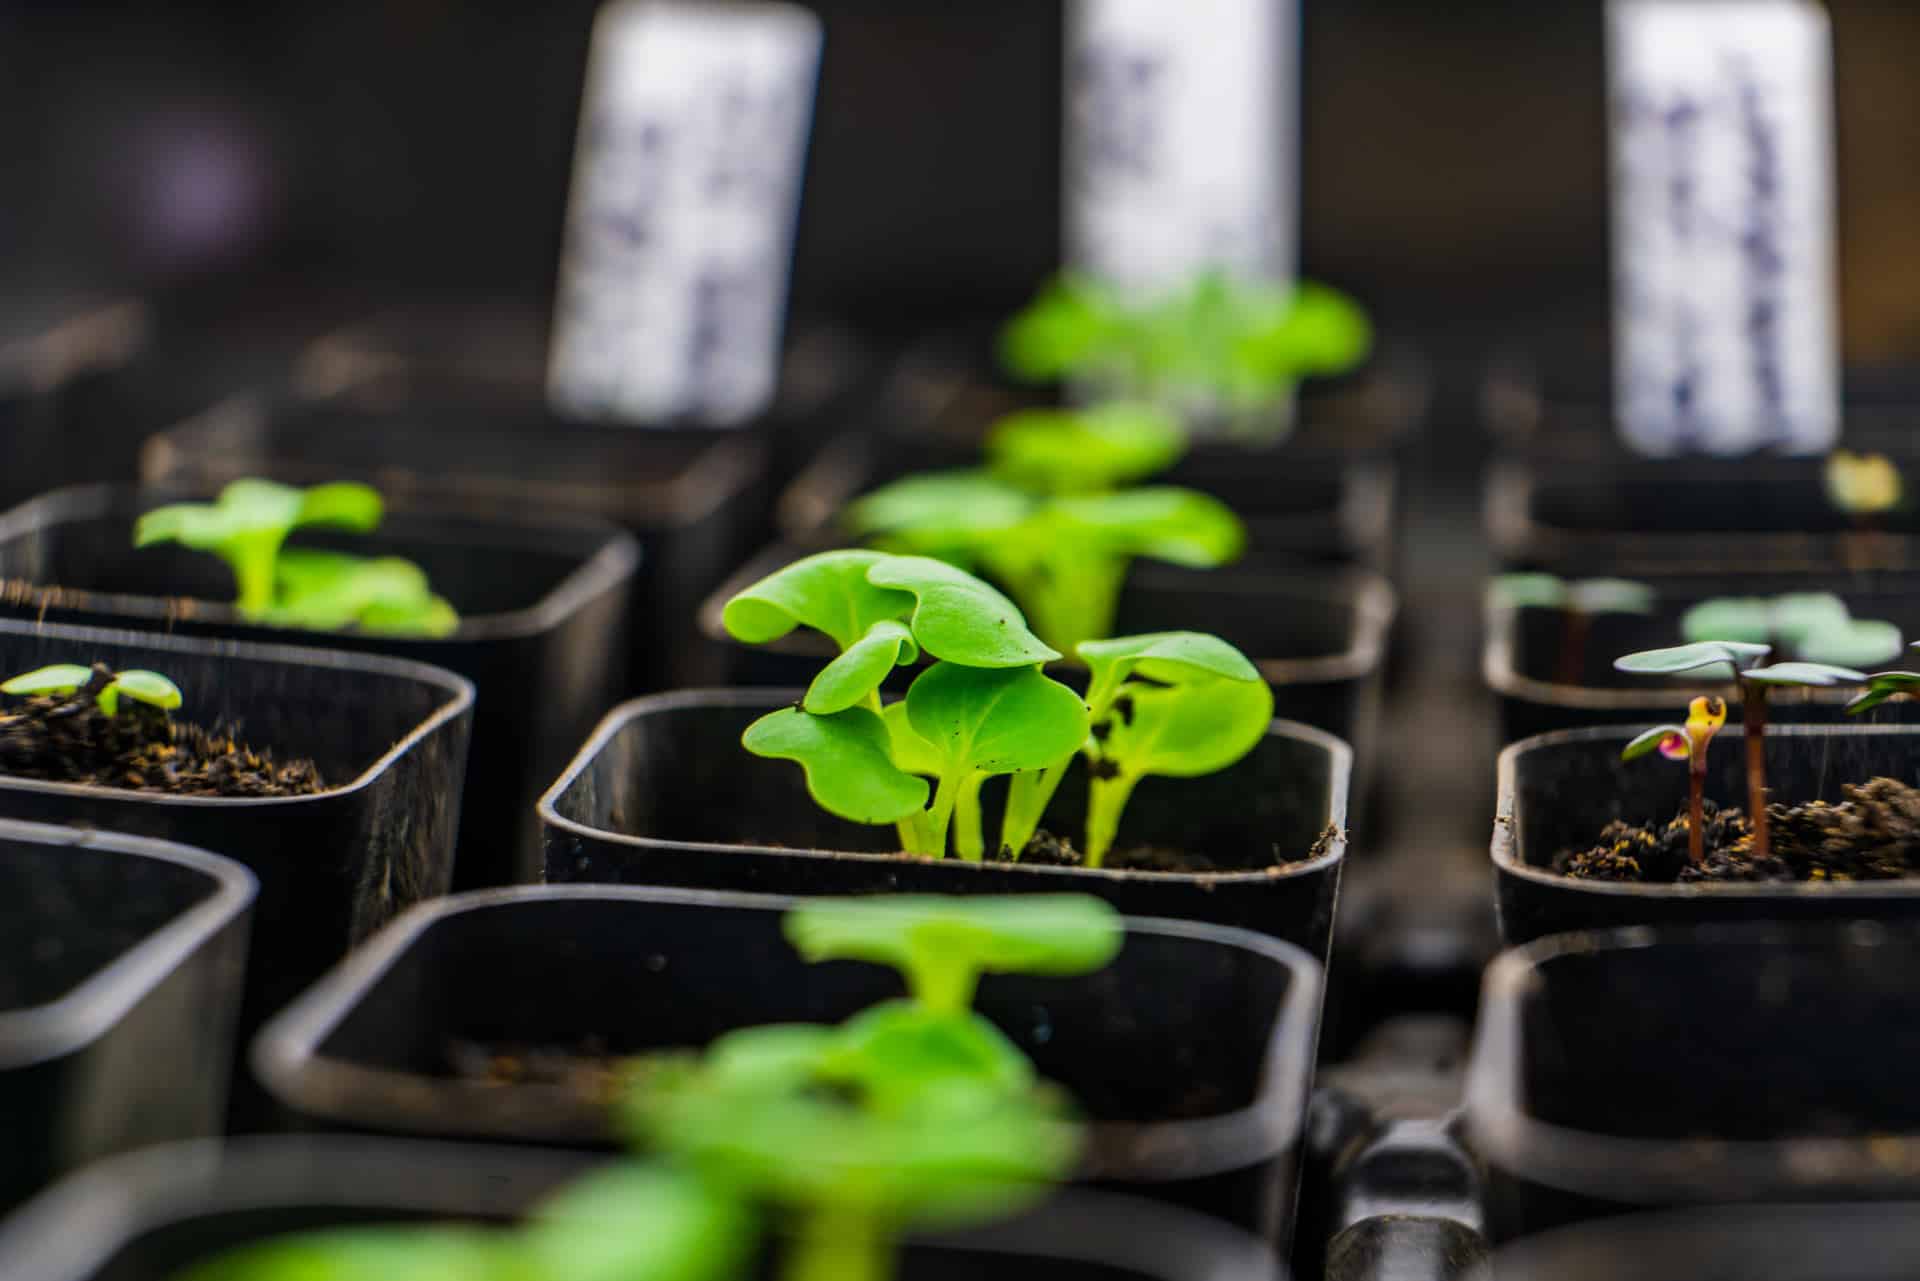
- True Leaves - The seedling’s first leaves produced are the cotyledon. The cotyledon is actually part of the seed embryo and is not considered a “true leaf.” A seedling will not be ready to pot up before sets of true leaves have grown.
- Roots - You may see the root systems growing out the drain holes or tightly bound around the root ball. If you see roots growing this way, the plant has exhausted the nutrients from the soil, and the seedlings need to be repotted.
Supplies Needed
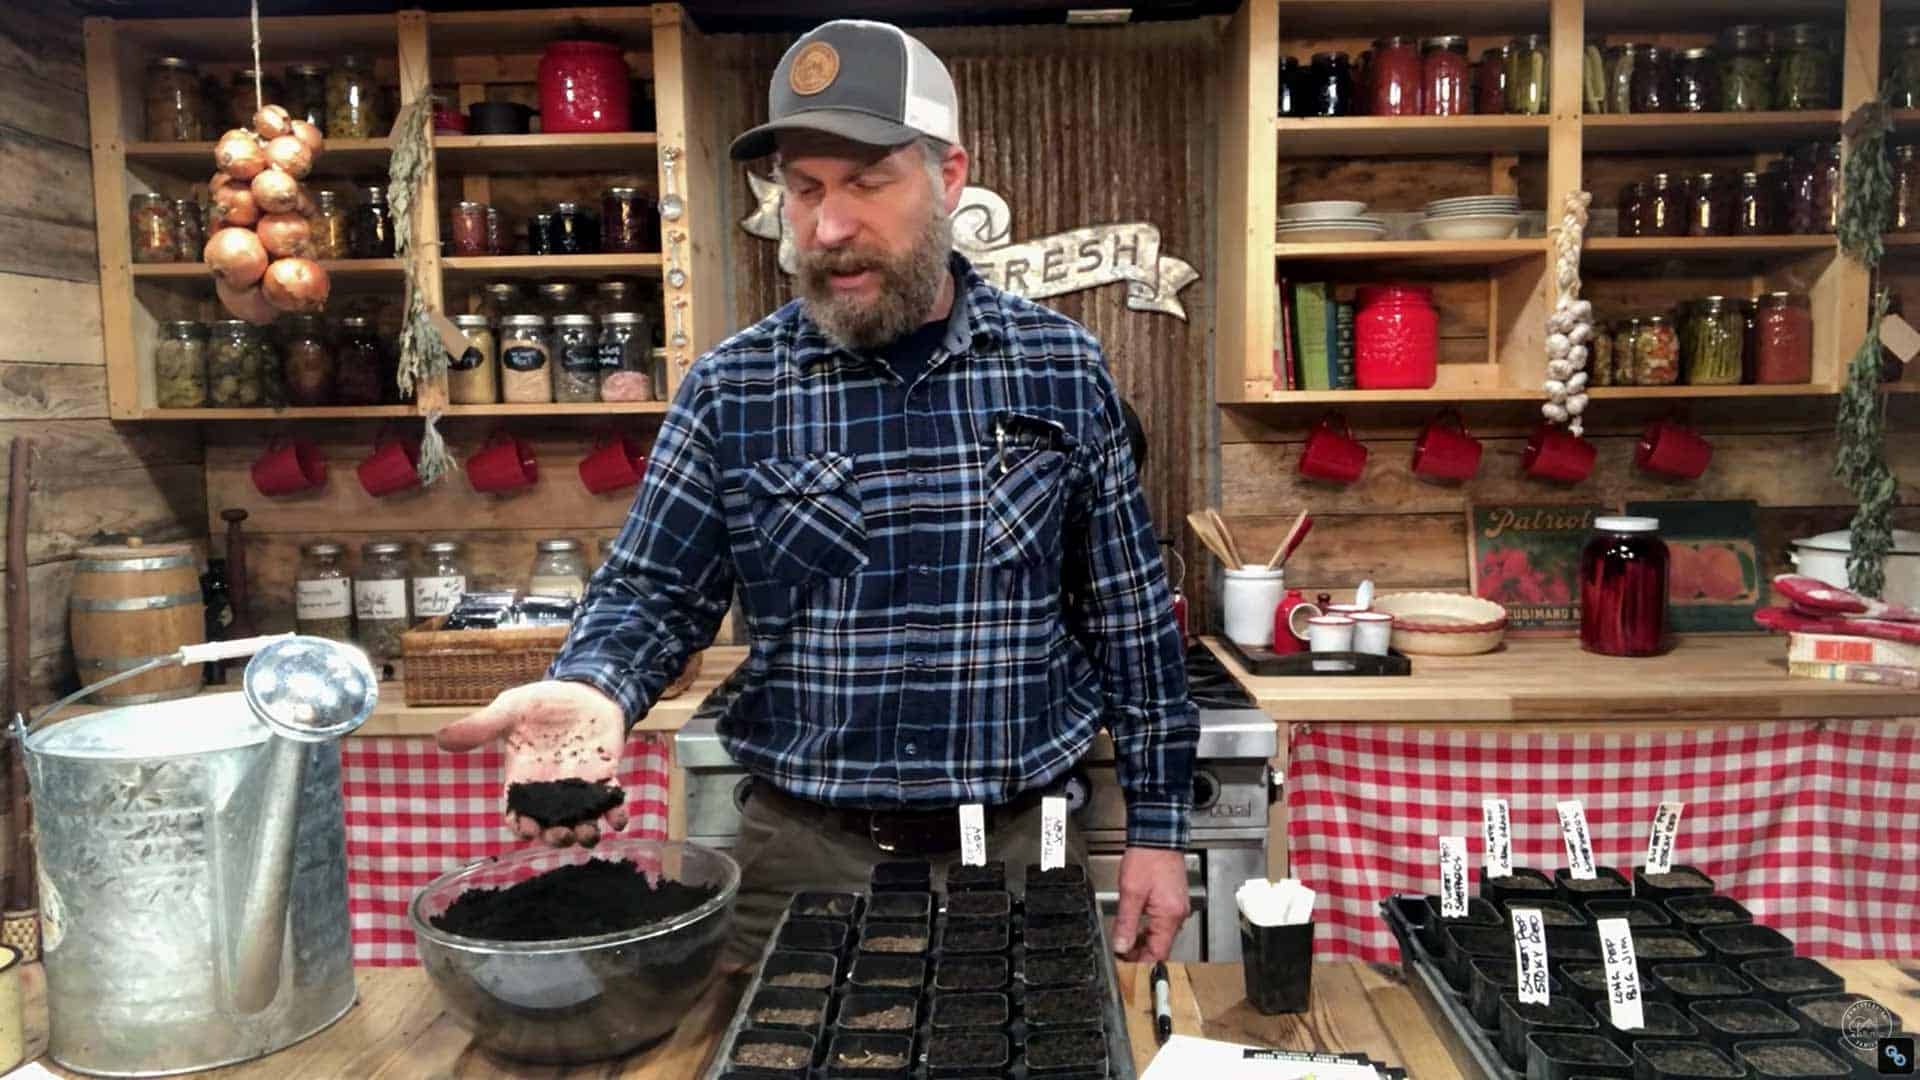
- Potting Soil - You don’t have to buy expensive potting mix or seed starting mix. We use our DIY compost sifter to make our own potting mix from our homemade compost. Sifted compost mixed with our garden soil works well for a healthy start. Use fifty percent of each with sand or clay added if necessary. Homesteading Hack: A handful of soil mix should stick together slightly when squeezed. If it is in a hard clump, you may need to add more sand. If it doesn’t come together, add more clay so that it holds enough water and drains properly.
- Bucket or Large bowl - When you have your soil close by in a bucket or large bowl, it's easier to scoop up soil with the pot you will be using.
- Labeling Stick - Whatever you use, make sure it's waterproof so you don’t lose what you’ve marked.
- Marking Pen - A Sharpie works great and comes in various colors to distinguish different types of plants.
- Potting Containers - You will want various sizes of larger pots with drainage holes out of your preferred material (plastic, peat, paper). Make sure the seedlings you transfer have plenty of room for further growth. Homesteading Hack: We prefer individual plastic pots in varying sizes that sit in a tray. The water soaks up from the bottom into the plant, which promotes strong root growth. They are long-lasting and easy to transplant because they are individual pots versus a long row of cells.
- Small Spoon or Trowel - Small spoons, popsicle sticks, a kitchen butter knife, or a tiny trowel work well to carefully remove the seedling from its cell without destroying it.
- Watering Vessel - A pitcher, water bottle, or watering can to lightly water the plants after potting up works well.
How to Pot Up Seedlings Step by Step

- Scoop up some of your potting mix into the container to which you're transferring your seedling. I fill it about one-third to one-half full. Give it a good shake and tamp it lightly to remove air pockets and evenly distribute the soil so the roots can fill the space with plenty of room to grow.
- Give the seedling a light watering making sure the soil is moist and not dry.
- Gently squeeze the seedling cell on all four sides, loosening the soil and using your tool of choice to help release the seedling and soil pod into your hand.
- If you have several seedlings with intertwined roots, gently tease them into two separate plants, then re-pot each in an individual container. You don't have to be too delicate with the plants; they're tougher than you think!
- Center the seedling into its bigger pot and continue filling it with soil to bury the stem and the bottom leaves.
- Label your plant in its new upgraded container and note it in your spring gardening planner.
- Use your watering vessel of choice and water the seedlings. Try not to make them soggy with water; just a nice drink to moisten all the soil is sufficient.
- Place your newly potted seedlings in a warm place with as much sunshine as possible (or under grow lights). Aim for at least eight hours of light daily, but twelve hours is even better. Homesteading Hack: We live in the Pacific Northwest, where sunlight and heat can be minimal during spring. We use heat mats and 4ft. fluorescent lights (or grow lights) close to the plant, adjusting the height as it grows; it is helpful when the gray days last too long.
Clyde’s Garden Planner

And that’s it! They will continue growing and flourishing indoors until it’s time to transplant seedlings into the garden.
If you aren’t sure when to transplant your seedlings according to your climate, we recommend getting a Clyde’s Garden Planner (use code “HOMESTEADINGFAMILY.COM” to get 10% off your order at checkout!).
This planner will tell you when you should plant indoors and outdoors and when to harvest. It even gives companion planting suggestions, crop spacing, and more!
More Articles You May Enjoy

- How to Read Seed Packets
- Planting Tomato Plants (A Step-By-Step Guide)
- The Benefits of Container Gardening
- How to Heat a Greenhouse Without Electricity
- Choosing the BEST Vegetable Seeds for Your Garden
- How to Start Seeds Indoors
- Common Seed Starting Problems
- How to Grow a Year’s Worth of Food
- Home Composting (Troubleshooting & FAQs)
- Permaculture Design + Mistakes