
If you’ve ever found yourself scrambling for a nutritious breakfast on a busy morning, this healthy granola recipe is for you. This granola has been a staple in our family for years. For us, having something hearty, homemade, and ready to go can make all the difference in how the day unfolds, especially when you’re juggling chores, kids, and all the homestead things before 9 AM!
Abigail, who you might recognize from our family videos, grew up eating this healthy granola recipe and is now passing it on to you. It’s easy to make ahead, absolutely delicious, and made with real, nourishing ingredients you probably already have in your pantry.
Why You'll Love This Recipe
If you've been around here for long, you know our take on the importance of a healthy breakfast and that we love having make-ahead breakfast casseroles, easy Instant Pot oatmeal, or baked oatmeal ready to grab-and-go for quick and easy breakfasts during the week.
Here are some reasons why you'll love this healthy granola recipe:
- Customizable - Sure, you could buy granola at the store, but when you make it yourself, you get full control over the ingredients. You'll see Abigail using her homemade herb-infused honey recipe, too!
- Avoid Unnecessary Ingredients - When you make things from scratch, you get to avoid highly processed sugars, unfavorable oils, and unnecessary additives like stabilizers.
- Fresh - Making smaller batches of fresh granola is so simple! You'll notice the flavor is so much better than store-bought (which has been sitting in a bag for who knows how long!).
Benefits of Freshly Rolled Oats

One of the unique things about this recipe is that we use oats we’ve rolled (or flaked) ourselves. When you roll oats at home, they’re less processed and hold onto more of their natural goodness, like vitamin E, B vitamins, and antioxidants, all important for heart health, energy, and reducing inflammation.
But even if you’re not rolling your own, rolled oats from the store still have fiber and beta-glucans, which are excellent for digestion and keeping your blood sugar steady.
Here are a few oat flakers you can check out:
Ingredients for Healthy Homemade Granola
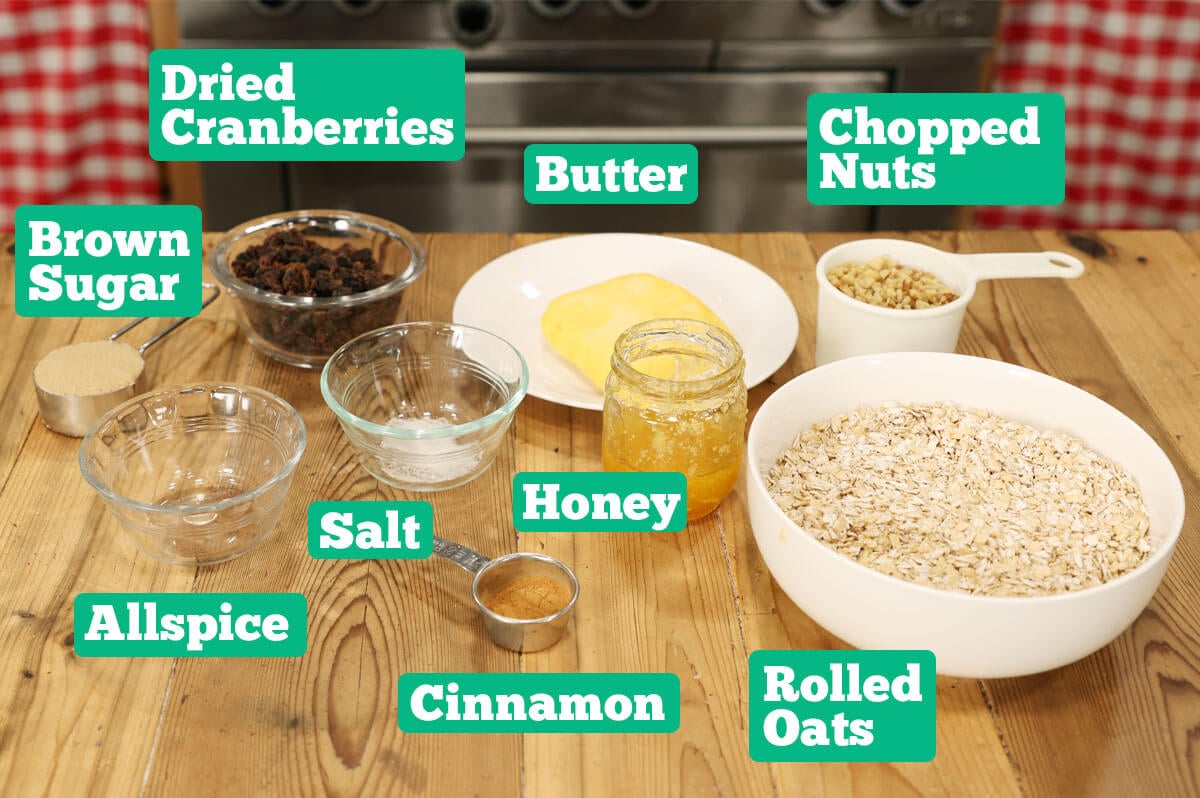
Here’s what you’ll need to whip up this easy and delicious granola:
- Oats - As mentioned, we like to flake our oats fresh for this recipe, but using store-bought (or certified gluten-free oats) works great as well.
- Mix-Ins - We chose pecans and dried cranberries, but any nut or seed and any dried fruit of choice will work.
- Sweetener - To keep this with as minimally processed sugar as possible, we did a combination of brown sugar (which really helps the granola "stick" together) and honey.
- Fat - The melted butter helps create the granola "batter" that will be spread out in the pan. You can substitute coconut oil or another mild-flavored oil such as avocado oil.
- Spices - This is where you really customize your granola recipe. We stuck with a classic cinnamon, allspice and salt combination. But feel free to get creative with some ground nutmeg, ginger or any other spice combination you enjoy.
Recipe Variations
If you have special dietary requirements in your family, here are some of our favorite recipe variations:
- Gluten Free - Simply make sure your oats are certified gluten-free and you're good to go! (Oats are a gluten-free product, but certified gluten-free means they were not processed in a plant that may process other products containing gluten.)
- Dairy-Free - For those who want a dairy-free option, swap the butter for coconut oil.
- Honey Alternative - If you need to avoid honey, you can substitute maple syrup or agave nectar.
- Nut-Free - Have a nut allergy or sensitivity? Just omit them altogether or substitute seeds like sunflower or pumpkin seeds.
Step-by-Step Instructions
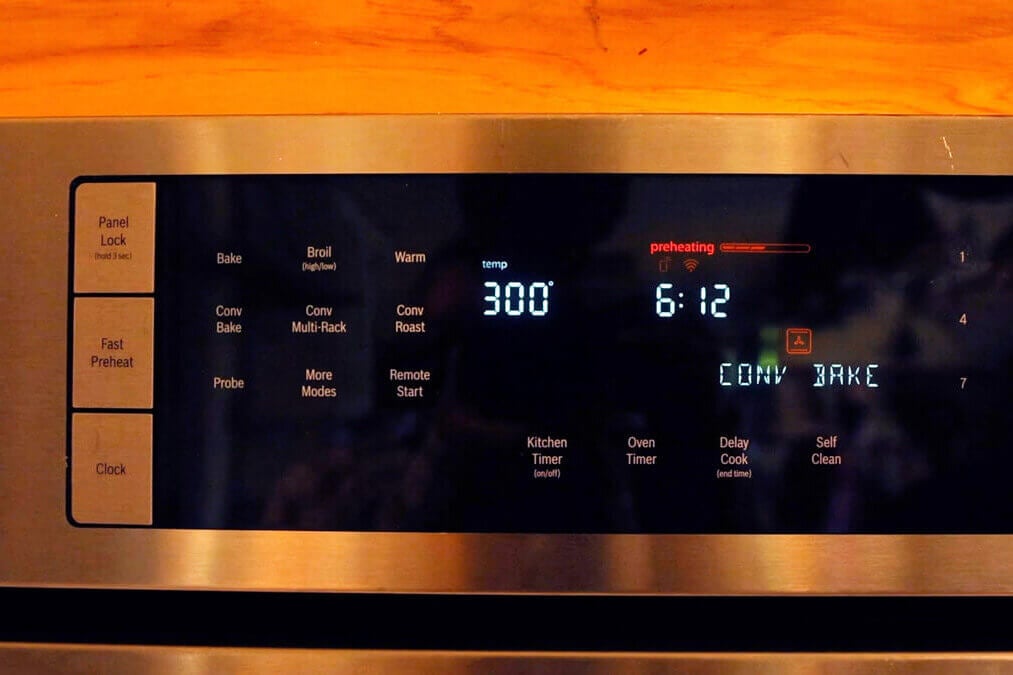
Step 1: Preheat your oven to 300°F so it’s ready to go.

Step 2: In a large bowl, combine your oats, chopped pecans, brown sugar, cinnamon, allspice, and salt. Mix well to distribute the spices evenly.
Note: Set the dried fruit aside; you’ll add that after baking to keep it nice and chewy (unless your goal is chunky granola - then see the tips below).
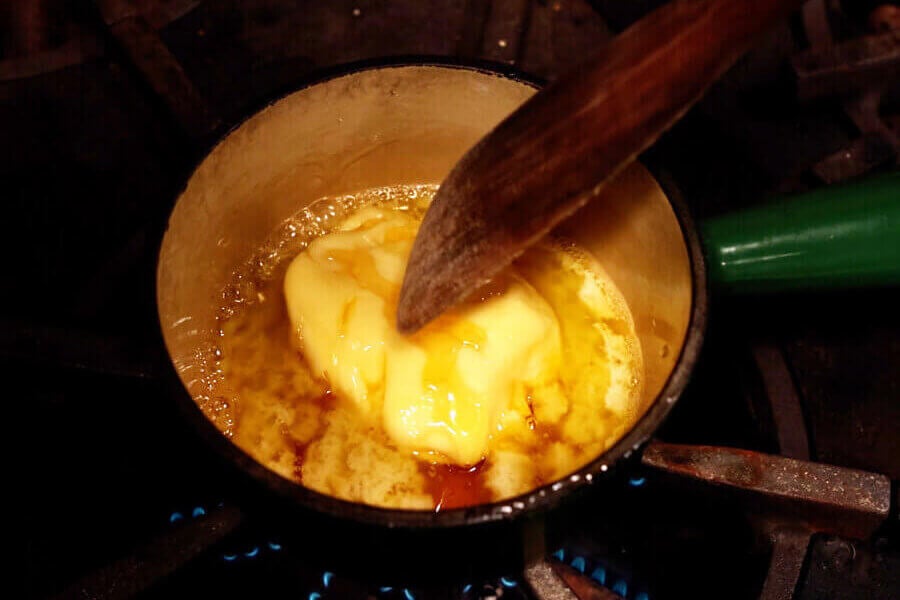
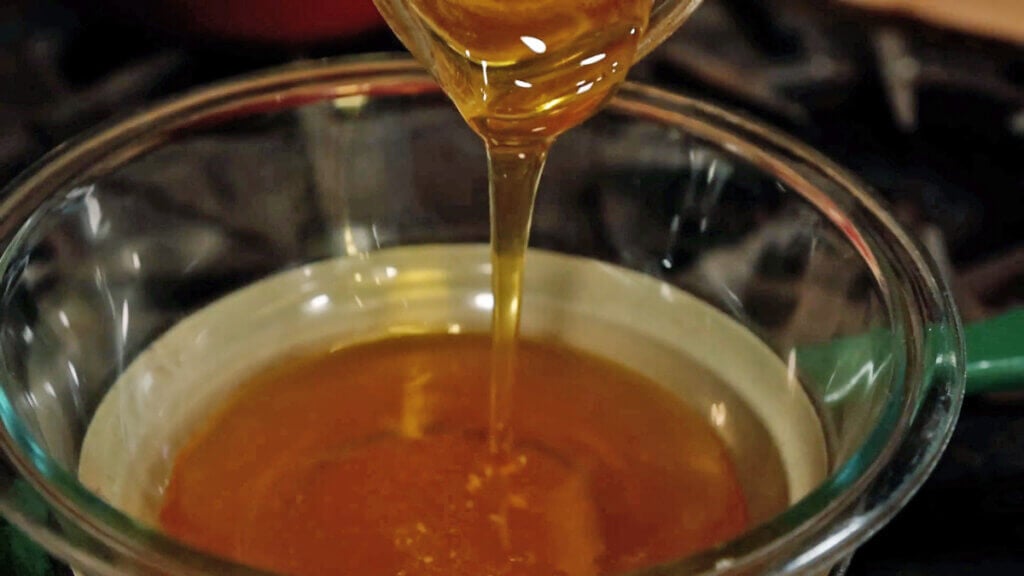
Step 3: In a small saucepan, melt together the butter and spiced honey over low heat. Stir until smooth.
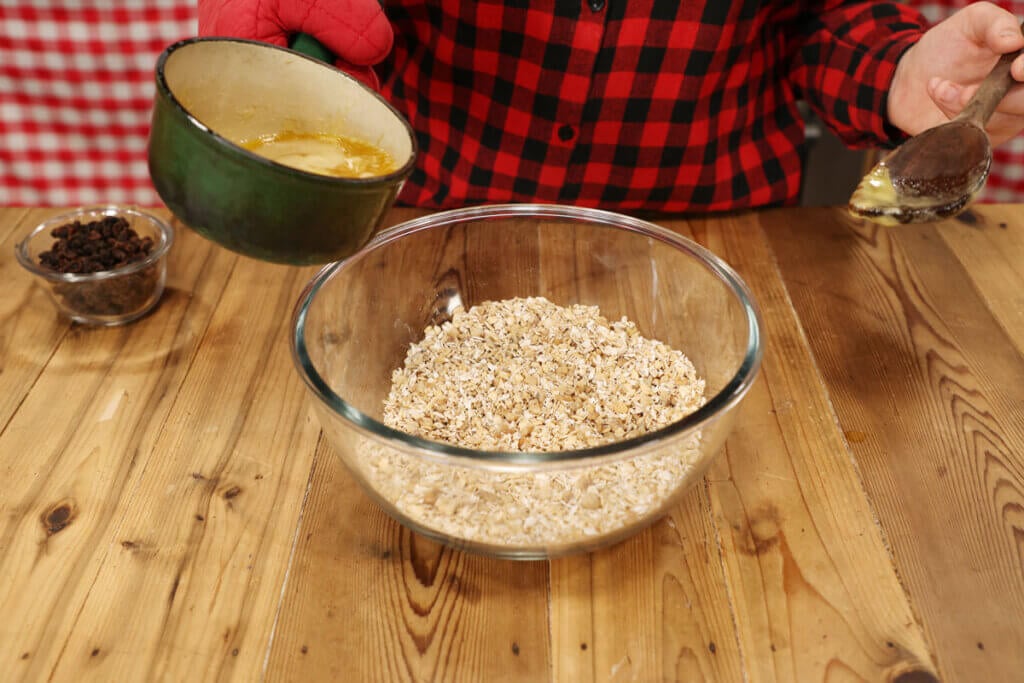
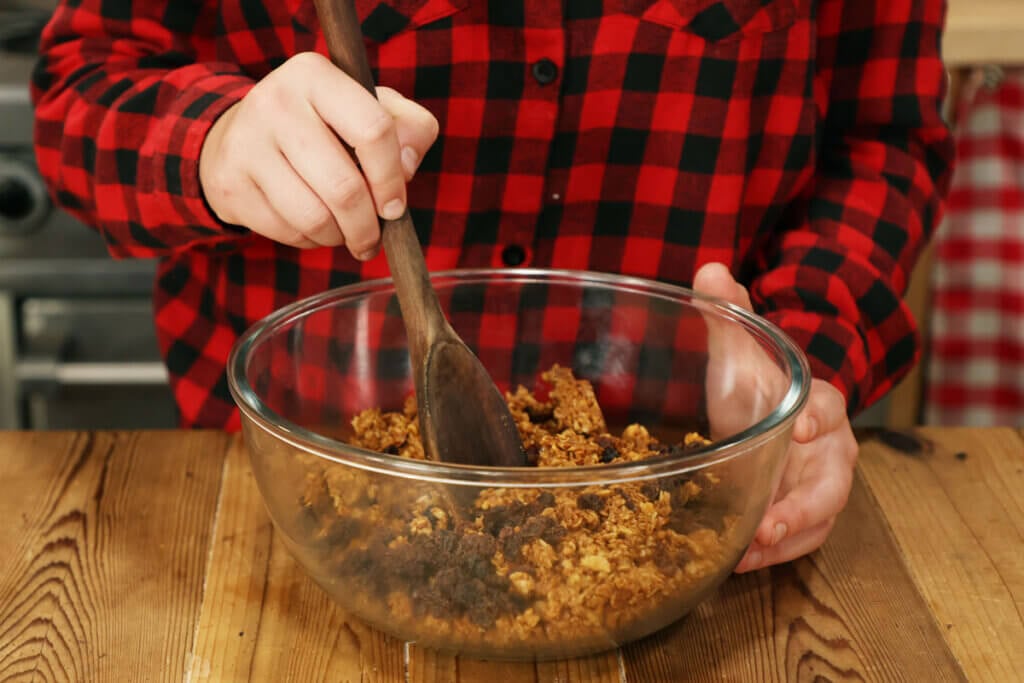
Step 4: Pour the melted mixture over the dry ingredients and stir thoroughly until every oat and nut is coated in that delicious buttery honey goodness.
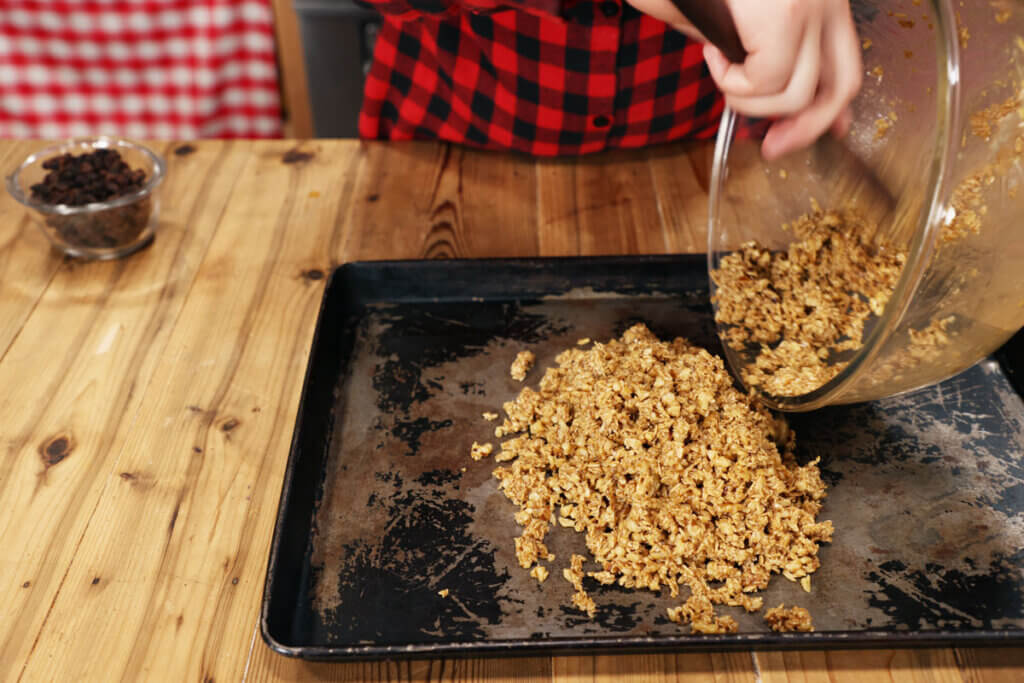
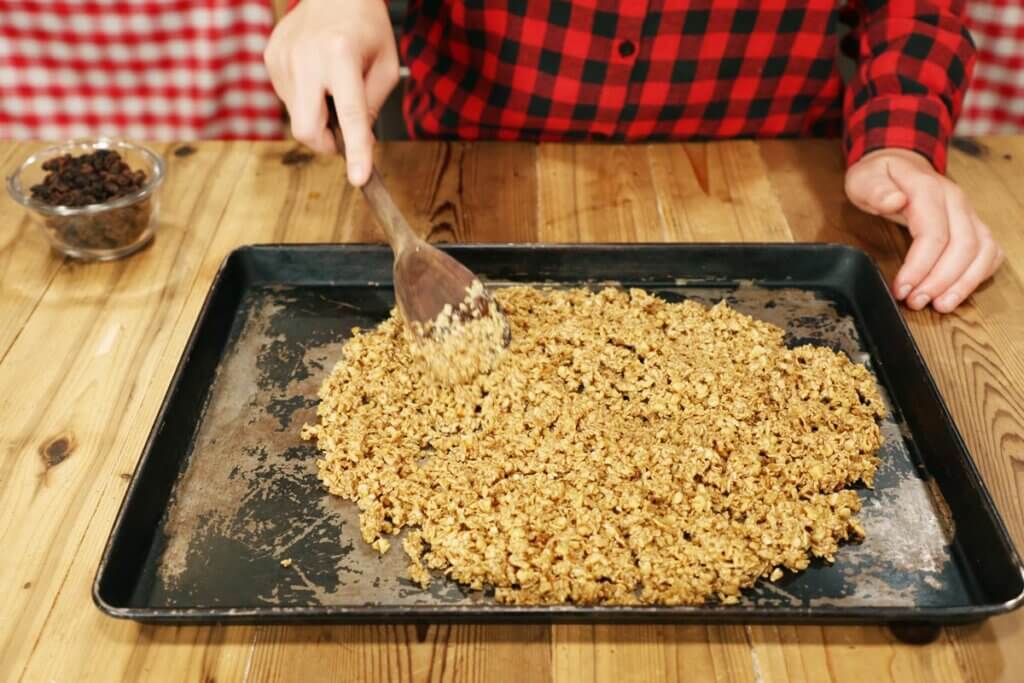
Step 5: Spread the granola mixture evenly on a cookie sheet and press firmly to help the granola clump.
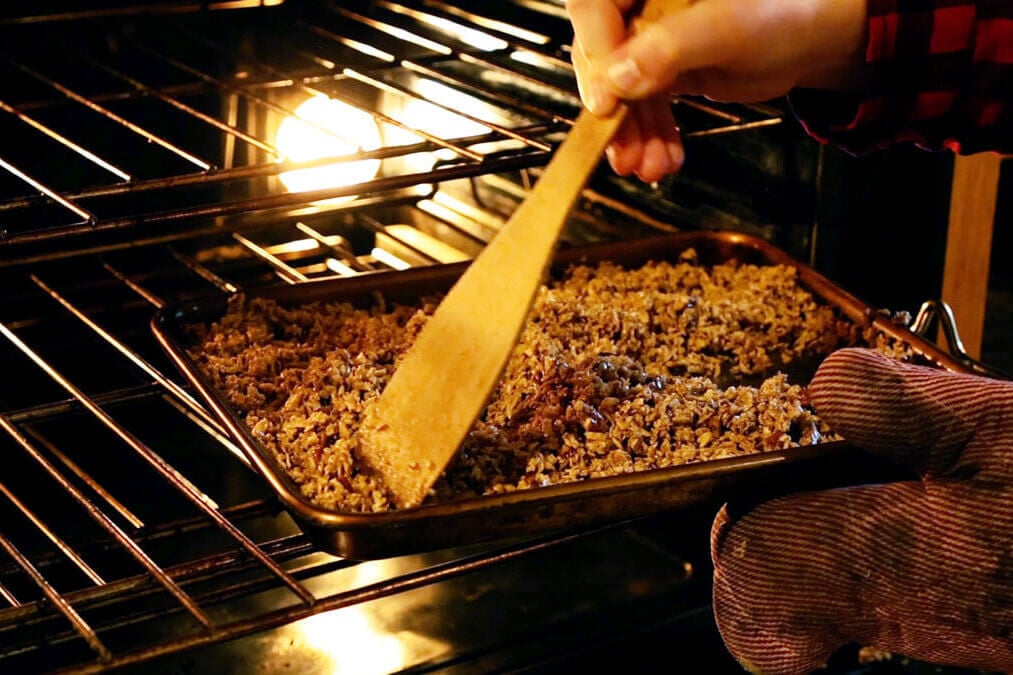
Step 6: Bake at 300°F for 20 minutes, stirring once at the 10-minute mark to help it bake evenly and get that perfect golden brown crunch. (For chunky granola, press the mixture into a clump again after stirring.)

Step 7: Once baked, pour the granola into a large bowl and let it cool (or leave it on the tray to cool for chunky granola).
Step 8: Once granola is completely cooled, stir in your dried fruit.
How to Store Homemade Granola
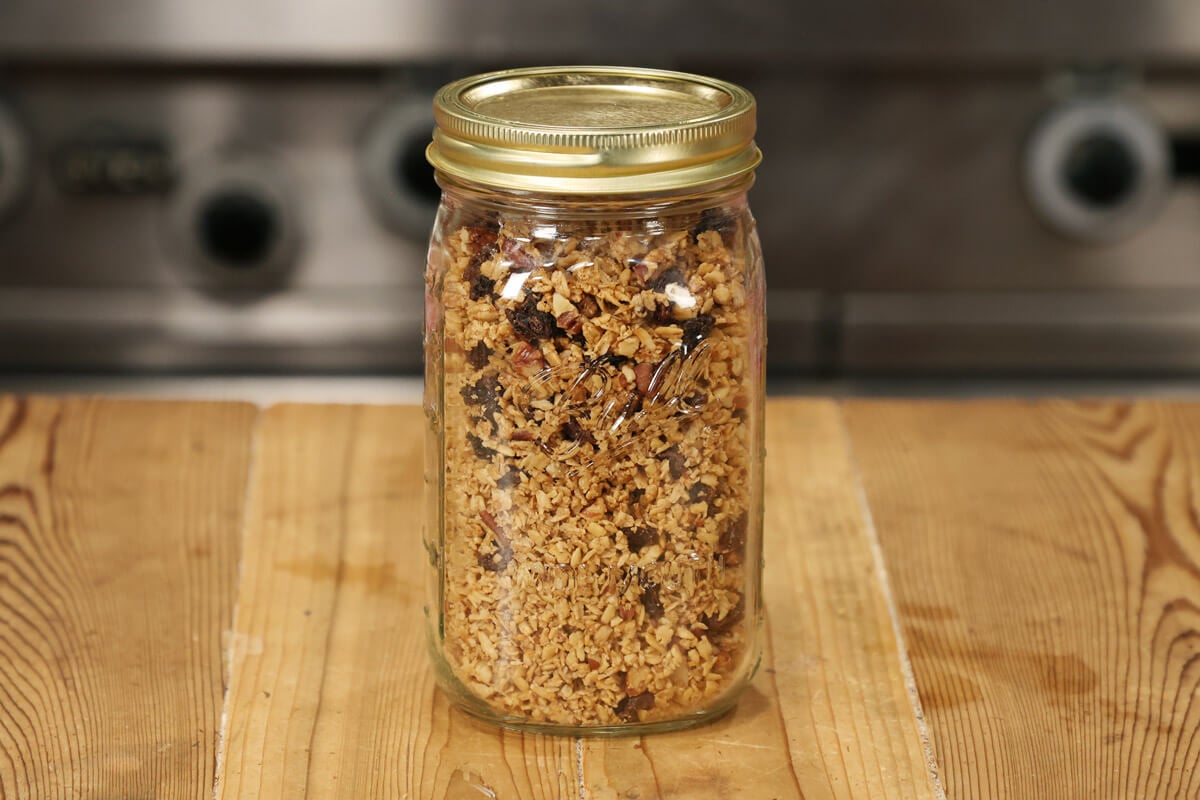
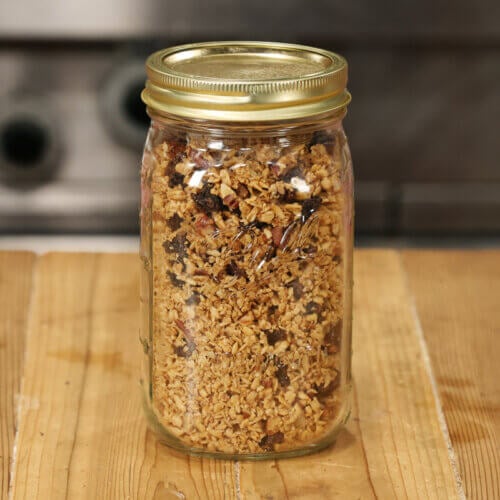
Once granola is completely cool, transfer it to airtight jars or containers.
It’ll keep well on the shelf for about 5 days, but you can also freeze it for up to 2 months to have a quick breakfast ready anytime.
Homesteading Hack: Always label and date your jars!
Tips for Chunky Granola
If you're looking for a chunkier granola (filled with big glorious clumps), follow these tips:
- Add Mix-Ins First - Instead of stirring in the dried fruit (or other mix-ins) at the end, add them at the beginning and bake them. Adding mix-ins after the granola has been baked can break up the desired clumps.
- Add Extra Sweetener - Because it's the sweeteners that tend to do the majority of the "clumping," you may find that slightly increasing the amount of honey or brown sugar helps. Play around with the quantities until you reach your desired sweetness and chunkiness.
- Crowd the Pan - When spreading the granola onto the baking sheet, make it a little extra thick so the clumps have a chance to stick together. It's like Goldilocks here, not too thick so the bottom half is underbaked, but not too thin that you don't get clumps.
- Line or Grease the Pan - Secondly, you'll want to grease the pan with butter, oil or cooking spray (or use parchment paper to line it) so you don't break up those clumps when removing the granola from the pan (the sweetener tends to stick to the pan a bit otherwise).
- Press Firmly - After the halfway point when you stir your granola, use your wooden spoon or spatula to gently press the granola back together. This will help those clumps stick for the second half of baking.
- Don't Overbake - Baking the granola too long results in crispier (albeit delicious) granola that doesn't stick as well. Depending on your oven, this may take a batch or two to dial in perfectly. Aim for golden-brown granola and you should be good to go!
- Press & Cool Completely - Once granola is done baking, remove it from the oven and, carefully (it will be hot!), press the granola firmly again. Allow it to cool completely on the baking tray before breaking into pieces.
Following the above tips should get you to that desired chunky granola we all love!
How to Serve Granola

Some of our favorite ways to eat granola are:
- Cereal - Serve granola in a bowl with a splash of raw milk. It's a favorite around here, along with this homemade healthy instant breakfast mix.
- Parfait - Make a parfait by layering homemade Instant Pot yogurt and some fresh or freeze dried berries in a bowl or fancy glass. This is great served with a side of homemade breakfast sausage, home-cured bacon or this bacon frittata recipe for added protein.
- Trail Snack - Homemade granola makes a great trail snack! Toss some in any light-weight container along with some freeze dried yogurt bites and you're ready for the trails.
Having a go-to recipe like this healthy homemade granola is such a gift on busy mornings. It’s wholesome, simple, and packed with the nutrients your family needs to start the day strong.
As Becca and Nathaniel will tell you, this granola is kid-approved and truly a family favorite!
Did you try this recipe? If so, please leave a star rating ⭐ and your comments in the recipe card below! Then, snap a photo and share your mix-in ideas with the rest of us! Tag us on social media @homesteadingfamily so we can see!
More Posts You May Enjoy
Homemade Healthy Granola Recipe
Equipment
- Large Mixing Bowl
- Small Sauce Pan
- wooden spoon or spatula
- Baking Sheet
- Mason Jar and Lid for storing
Ingredients
- 4 cups rolled oats freshly rolled or store-bought
- 1 cup pecans chopped, or other nut or seed of choice
- ¼ cup brown sugar
- ½ cup butter or coconut oil
- ¼ cup honey we like this spiced infused honey
- 2 teaspoons cinnamon
- ⅛ teaspoon allspice
- ⅛ teaspoon sea salt
- 1 cup raisins or dried cranberries
Instructions
- Step 1: Preheat your oven to 300°F so it’s ready to go.
- Step 2: In a large bowl, combine your oats, chopped pecans, brown sugar, cinnamon, allspice, and salt. Mix well to distribute the spices evenly.Note: Set the dried fruit aside; you’ll add that after baking to keep it nice and chewy (unless your goal is chunky granola – see tips below).
- Step 3: In a small saucepan, melt together the butter and spiced honey over low heat. Stir until smooth.
- Step 4: Pour the melted mixture over the dry ingredients and stir thoroughly until every oat and nut is coated in that delicious buttery honey goodness.
- Step 5: Spread the granola mixture evenly on a cookie sheet.
- Step 6: Bake for a total of 20 minutes, stirring once halfway through at the 10-minute mark to help it bake evenly and get that perfect golden brown crunch. (Check tips for chunky granola below.)
- Step 7: Once baked, pour the granola into a large bowl and let it cool (or leave it on the tray for larger chunks).
- Step 8: Once granola is completely cooled, stir in your dried fruit.
Notes
- Gluten Free – Simply swap your oats for certified gluten-free oats and you’re good to go!
- Dairy-Free – For those who want a dairy-free option, swap the butter for coconut oil.
- Honey Alternative – If you need to avoid honey, you can substitute maple syrup or agave nectar.
- Nut-Free – Have a nut allergy or sensitivity? Just omit them altogether (or substitute seeds like sunflower or pumpkin seeds).
- Add Mix-Ins First – Instead of stirring in the dried fruit (or other mix-ins) at the end, add them at the beginning and bake them. Adding mix-ins after the granola has been baked can break up the desired clumps.
- Add Extra Sweetener – Because it’s the sweeteners that tend to do the majority of the “clumping,” you may find increasing the amount of honey or brown sugar slightly helps. Play around with the quantities until you reach your desired sweetness and chunkiness.
- Crowd the Pan – When spreading the granola onto the baking sheet, make it a little extra thick so the clumps have a chance to stick together. It’s like Goldilocks here, not too thick so the bottom half is underbaked, but not too thin that you don’t get clumps.
- Line or Grease the Pan – Secondly, you’ll want to grease the pan with butter or oil (or cooking spray) or use parchment paper to line it so you don’t break up those clumps when removing the granola from the pan (the sweetener tends to stick to the pan a bit otherwise).
- Press Firmly – After the halfway point when you stir your granola, use your wooden spoon or spatula to gently press the granola back together. This will help those clumps stick for the second half of baking.
- Don’t Overbake – Baking the granola too long results in crispier (albeit delicious) granola that doesn’t stick as well. Depending on your oven, this may take a batch or two to dial in perfectly. Aim for golden-brown granola and you should be good to go!
- Cool Completely – Once granola is done baking, remove it from the oven and, carefully (it will be hot!), press the granola firmly again. Allow it to cool completely on the baking tray before breaking into pieces.


