
Organic freeze dried garlic embodies the full taste equal to fresh. It’s easy to prepare and use when garlic cloves are minced, powdered or sliced, then freeze dried.
Garlic may seem small in size, but it is a giant when it comes to flavor and medicinal qualities to build immunity and heal the body. Many worldwide tout its antiviral benefits, making it one of the most versatile and commonly used alliums.
Can You Freeze Dry Garlic
Yes! You can freeze dry garlic! For our family, growing garlic in the garden provides numerous benefits to our homestead because you can use it for culinary and medicinal purposes.
We plant garlic in the fall, and it takes about 500 bulbs to provide us with enough cloves of fresh garlic for cooking right away or to put up for long-term storage.
We preserve our garlic by just letting it cure and then storing it in the basement "root cellar" or by making homemade garlic salt or easy pickled garlic, but one of the most convenient ways to put up garlic is in the freeze dryer. We use freeze dried garlic to make versatile garlic and herb seasoning mix.
The great thing about the freeze drying method is the shelf-life is up to 25 years! Though you may not need to store your garlic that long, it's nice to know you can get ahead a few years in case there's a bad growing year here or there.
Twenty-five years reaches far beyond our goal to grow and preserve a year’s worth of food, but as you will find in my honest review of the Harvest Right Freeze Dryer, freeze drying has multiple benefits beyond a super long shelf life.
Freeze drying preserves the texture of certain foods like freeze dried eggs, retains up to 98% of the vitamins and minerals in produce like freeze dried corn, freeze dried apples, or freeze dried berries, and can also provide convenient shelf-stable meals like this freeze dried chicken pot pie recipe.
You can purchase Litehouse freeze dried garlic at the grocery store, but it comes at a hefty price tag. Freeze drying garlic at home can save money and take you one step further on your self-sufficiency journey.

Ways to Use Freeze Dried Garlic
Freeze dried garlic preserves the intense fresh flavor, making it suitable for all recipes. Here are a few of our family’s favorites.
- Condiments - Freeze dried garlic takes salad dressings, such as this homemade vinaigrette, to a whole new level. You can also use garlic to give fermented ketchup or homemade mayonnaise a pop of flavor.
- Ferments - Garlic is a prebiotic promoting the gut-healthy benefits of ferments, such as apple jalapeno sauerkraut.
- Main Dishes - Garlic adds depth of flavor to our favorite recipes, such as flexible frittata, easy meatloaf, corned beef in a crock pot, roasted chicken in a lemon reduction sauce, and garden stir fry; the options are endless!
- Snacks - Quick and easy refrigerator pickles, pickled eggs and lacto- fermented green beans benefit from garlic’s intense flavor.
- Herbal Preparations - We use garlic in our homemade bone broth to boost the immune system naturally. Garlic is also among my top 15 medicinal herbs to grow and an essential ingredient for the salve we use as a natural remedy for a cough.

Supplies Needed
- Freeze Dryer - I use and highly recommend the Harvest Right Freeze Dryer. I like it so much that we now operate two for all the freeze drying we do for our large family.
- Blender - This kitchen tool is helpful to puree the garlic before freeze drying and processing the freeze dried pureed garlic into a garlic powder. You could also use a food processor if you don't have a high-powered blender.
- Storage Containers - The best way to store freeze dried garlic is in vacuum-sealed glass jars or mylar bags with oxygen absorbers for either option.
- Vacuum Sealer - I recommend this jar sealer to remove as much air from the storage jars as possible.
- Parchment Paper - This isn't necessary, but some like to line their freeze dryer trays with parchment paper to eliminate the chance of sticking.

Ingredients Needed
- Garlic - You can freeze dry the garlic you grow or that you have purchased from your local farmer’s market or grocery store. Homesteading Hack: If you prefer the convenience of garlic without the peeling and chopping, make sure you purchase pre-peeled garlic that is NOT in oil; it won't freeze dry well.

How to Freeze Dry Garlic Dry Step-by-Step
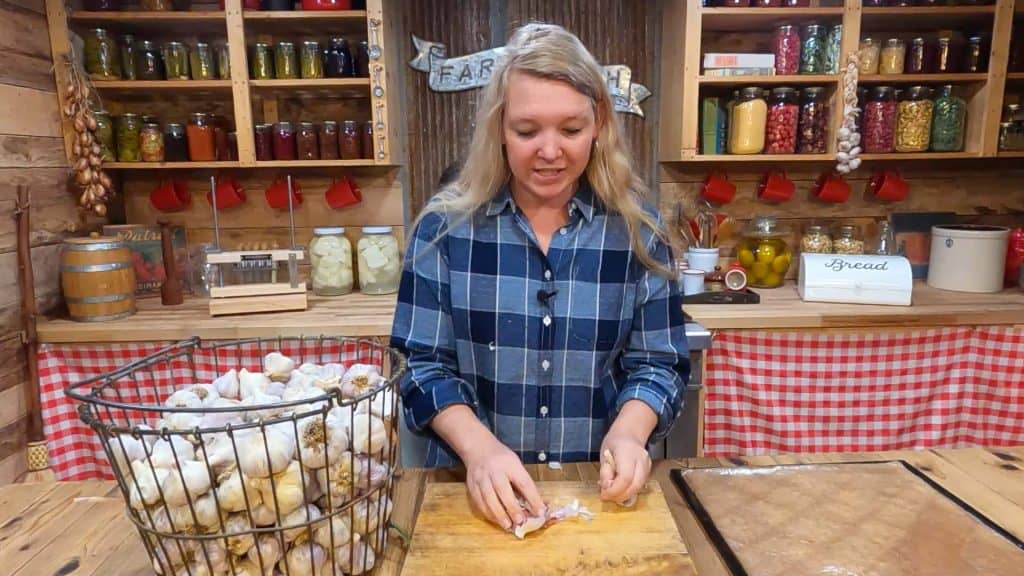
- Separate the cloves from the main bulb and remove the outer papery skins exposing the fresh garlic.
- Place the garlic cloves into the blender or food processor and add a small bit of water. Blend until it's a smooth, spreadable puree. This method crumbles well after freeze drying; you can make it into garlic powder or crumbled pieces. Homesteading Hack: You can freeze dry whole garlic cloves, but it becomes rock hard and is difficult to process into powder. If you decide to keep them whole, smash each clove so it is thoroughly freeze dried all the way through. Slivered garlic will freeze dry and rehydrate but requires more prep and drying time.
- Line your freeze dryer tray with the optional parchment paper, and spread the garlic puree evenly over the tray about an eighth inch thick. Homesteading Hack: Do NOT use the silicone sheets for freeze drying garlic, as the smell/taste absorbs into them and doesn't wash out easily.
- Place the tray of pureed garlic into the freeze dryer and freeze dry for 16-22 hours. Test it by crumbling it in your hands to make sure it has dried completely. If the garlic is not fully dry, or feels cold to the touch, place it back into the freeze dryer for two-hour increments until thoroughly dried.
Homesteading Hack: One tablespoon of fresh garlic equals one tablespoon of freeze dried garlic.
How to Tell If Freeze Dried Garlic Is Done
With all freeze dried products, garlic should feel lightweight, completely dry and void of any moisture or tacky feel. You can test the garlic puree by crumbling it between your fingers to see if it crumbles easily. It can then be powdered and stored or left in larger crumbled pieces.
If you freeze dry whole or slivered pieces of garlic, it should not feel “cold” to the touch. If it’s not completely freeze dried, place it back into the freeze dryer for two-hour increments until done.

How to Rehydrate
The beauty of freeze dried garlic is that it requires very little water to rehydrate. For most recipes, the moisture from the recipe will be sufficient to rehydrate your garlic.
If you want to rehydrate your garlic separately, there is an exact science you can use. First, you will need to weigh the tray of garlic before freeze drying, then weigh it again after freeze drying. The weight difference is the amount of water, by weight, that you’d add back to the entire tray of garlic.
Homesteading Hack: Keep track of how many cloves of garlic you use to determine how many servings are on each tray. You won’t likely want to rehydrate an entire tray’s worth of garlic, so you will need to divide your water calculation by the number of servings on each tray.
Honestly, something this exacting and painstaking is never going to happen in my house. If you are like me and prefer just to eyeball it, just use as little water as necessary to rehydrate your garlic. Simply drizzle or mist a little water on the freeze dried garlic and stir it once every five minutes for about 20 minutes to make sure all sides of the garlic get rehydrated evenly.
You may want to learn all six methods for rehydrating freeze dried food.

How to Store
Store freeze dried garlic as a powder or crumbled pieces in a vacuum-sealed clean jar or mylar bag with oxygen absorbers.
Homesteading Hack: Make a freeze dried herb blend that's readily available by combining freeze dried garlic and herbs in your jar or mylar bag.
Be sure to re-seal the jar every time you get into it to make sure no moisture gets in. I like to remove a week's worth of garlic from the jar at a time so we're opening the jar as little as possible.
And that’s it! Now you know how to freeze dry all the garlic you need! Whether you source it from the grocery store, a local farmer, or grow it yourself, the Harvest Right Freeze Dryer is a fantastic way to preserve garlic.
Did you try making freeze dried garlic? If so, please leave a star rating in the recipe card below, then snap a photo of your freeze dried garlic and tag us on social media @homesteadingfamily so we can see!

Maximizing Your Freeze Dryer
Have you ever wondered what else you can preserve with a freeze dryer?
I reveal the answer to this and so much more in my book Freeze Drying the Harvest: Preserving Food the Modern Way and my Freeze Drying Masterclass. From wild game to watermelon and milk to mashed potatoes — you’ll learn the ins and outs of preserving more food than you thought possible.
These resources can be purchased separately or as companions, so whether you choose the book or the masterclass, you will receive all the information you need to gain the confidence and skills you need to preserve meat, eggs, veggies, fruit, herbs — and yes, even lattes!

Other Articles You May Enjoy
- How to Plant Garlic
- Honest Review of the Harvest Right Freeze Dryer
- Freeze Dried Eggs
- Freeze Dried Corn
- Freeze Dried Tomatoes
- How to Make Freeze Dried Coffee
- Freeze Dried or Frozen Chicken Pot Pie
- Freeze Dried Dog Food
- Lacto-Fermented Green Beans (aka pizza beans)
- Homemade Vinaigrette Dressing (that doesn’t separate!)
- Apple Jalapeno Sauerkraut Recipe
- 15 Medicinal Herbs to Grow
- How to Boost Your Immune System Naturally

Freeze Dried Garlic
Equipment
- Freeze Dryer
Ingredients
- garlic
Instructions
- Separate the cloves from the main bulb and remove the outer papery skins, exposing the fresh garlic.
- Place the garlic cloves into the blender or food processor and pulse until they become finely minced into a thick, spreadable puree. This method crumbles well after freeze drying; you can make it into garlic powder or crumbled pieces. Homesteading Hack: You can freeze dry whole garlic cloves, but they become rock hard and are difficult to process into powder. If you decide to keep them whole, smash each clove so it is thoroughly freeze dried all the way through. Slivered garlic will freeze dry and rehydrate but requires more prep and drying time.
- Line your freeze dryer tray with the optional parchment paper, and spread the garlic puree evenly over the tray about an eighth inch thick.
- Place the tray of pureed garlic into the freeze dryer and freeze dry for 16-22 hours. Test it by crumbling it in your hands to make sure it has dried completely. If the garlic is not fully dry, or feels cold to the touch, place it back into the freeze dryer for two-hour increments until thoroughly dried.
Notes
- One tablespoon of fresh garlic equals one tablespoon of freeze dried garlic.


