
You may already know how to start a garden or how to use the lasagna gardening method, but this method will give you an instant flower or vegetable garden in under three hours. Most of the items you’ll need to make an instant garden you probably already have on hand.

We have filled the rest of our garden space and decided it would be nice to have a salad garden right outside our front door this year (see how we grow lettuce for continual harvest here). We are a large family with 12 people around the table at dinner time. This 32-square-foot lettuce greens garden will keep our family in daily salads for 6-8 weeks.
What is an Instant Garden?
An instant garden is a quick shortcut to starting a garden using materials you probably already have around your home in a couple of hours.
We are using the no-till gardening method, which means that the bed is built over the current sod, and organic materials are added in a method called soil building to give you a quick and very nutrient-rich garden space.
The first year in your instant garden, you will only want to plant seeds with shallow roots like lettuce, chard, and spinach. Deeper rooted crops won't do well until the following year unless you poke holes through the cardboard into the layer below.
Supplies Needed to Make an Instant Garden
- A Small Plot of Land -The first thing you’ll need is a growing space. We made a lettuce garden outside the front door. It was in two sections which are both 4x2 feet, giving us 32 square feet of planting space.
- A Mower or Weed Eater - You’ll need this to mow down the grass where your bed will go.
- Food Waste - Just use what you have from your house. If you’re a small family, collecting enough food waste may take you a week. We have a large family, so we can do this in a day or two.
- Coffee Grounds - Save the coffee grounds from making your morning coffee. Homesteading Hack: If you are not a coffee drinker, many coffee shops are happy to save their coffee grounds and give them to you for free.
- Manure - Cow, chicken, or rabbit…it doesn’t matter.
- Rake - You’ll want to keep everything smooth. Homesteading Hack: Using the back of a rake works well.
- Wet Cardboard - Make sure you use non-glossy cardboard with no plastic, tape, or sticker labels. If you can soak your cardboard ahead of time, that works best, but you can soak it as you go.
- Topsoil - Topsoil is the one thing you may need to purchase for this instant garden.
- Compost - It’s easy to start composting at home. (You may also like to read our compost troubleshooting guide or tips on how often to turn your compost if you’ve tried composting before without success.)
- Water - Your instant garden will need lots of water to break down the nutrients.
- Wooden Dowel - I use a wooden dowel to make my seed troughs. The handle of a rake or a yardstick will work as well.

Turn Your Sod Into an Instant Garden in Under Three Hours
With these ten simple steps, you can turn sod into a garden in under three hours. Keep reading for more details on each step. Homesteading Hack: Be sure to water each step as you go!
- Choose your location.
- Cut the grass as close to the ground as possible and save grass clippings.
- Lay down a layer of food waste.
- Sprinkle a layer of coffee grounds.
- Lay down a layer of manure.
- Rake everything smooth.
- Lay a double layer of very damp cardboard.
- Add a layer of topsoil.
- Top with compost.
- Plant seeds and enjoy your garden!
Choose Your Location
A great tip for making a garden bed is not to make it any wider than you can reach across. If you can get around all sides of the garden bed, you have more room to reach.
In the location we chose, we have a fence on one side of our garden, so I don’t want it to be any wider than 24-36 inches.
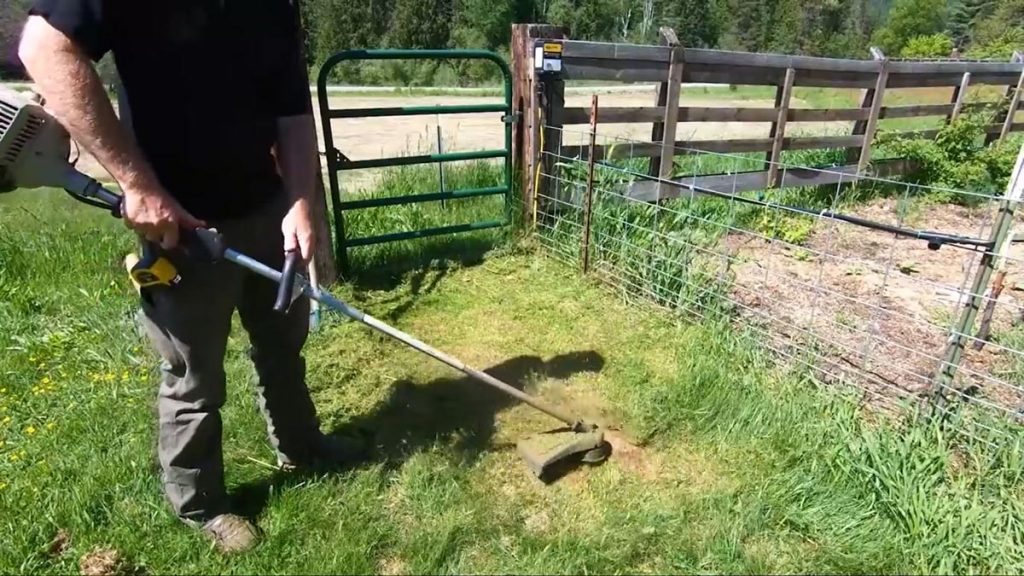
Cut the Grass As Close to the Ground as Possible
Start your instant garden by cutting the grass as close to the ground as possible. Rake all those grass clippings back into your garden area. Grass clippings are high in nitrogen and will add much needed nutrients to your garden.

Lay Down a Layer of Food Waste From Your Home
A very easy way to amend your soil is to add food waste to it. This is just leftover food, plate scrapings, etc. from our family meals that we have scraped into a bucket.
Everybody has food waste, and I urge you not to throw it away. The food scraps do not have to be composted or broken down. Just go ahead and add them to your garden just the way they are.

Lay Down a Layer of Coffee Grounds
Most people have coffee grounds. We enjoy roasting coffee at home, and our coffee grounds add up quickly.
Coffee grounds are great for adding nitrogen to your soil, but as an organic material, it also improves drainage, water retention, and aeration in the soil. Used coffee grounds also attract earthworms.
Homesteading Hack: I would recommend only using organic coffee grounds in your garden. Non-organic coffee is processed with chemicals you do not want near the food you’re growing.

Lay Down a Layer of Manure
Lay down a nice thick layer of manure. We have farm animals, so we have plenty of manure on hand, but if you don’t have manure available, maybe you have a neighbor who would be willing to let you shovel up some of theirs.
As a last resort, many hardware stores and nurseries have bags of manure for purchase.
Manure is high in nitrogen and a great soil conditioner. It increases the growth of worms and bacteria and supports the fungal processes in your soil.
Manure contains nitrogen, phosphorus, potassium, and other micronutrients essential for plant growth. It’s also a source of organic matter which increases aeration and water retention and improves the drainage of your soil.
Horse manure will work, but it’s not as good as cow, rabbit, chicken, and goat manure.
Rake Everything Smooth
It’s important to rake everything smooth, so you have a flat area to lay your cardboard down. Smoothing the soil will also remove any hidden air pockets.
It doesn’t have to be perfect. Just get it as smooth as you can.
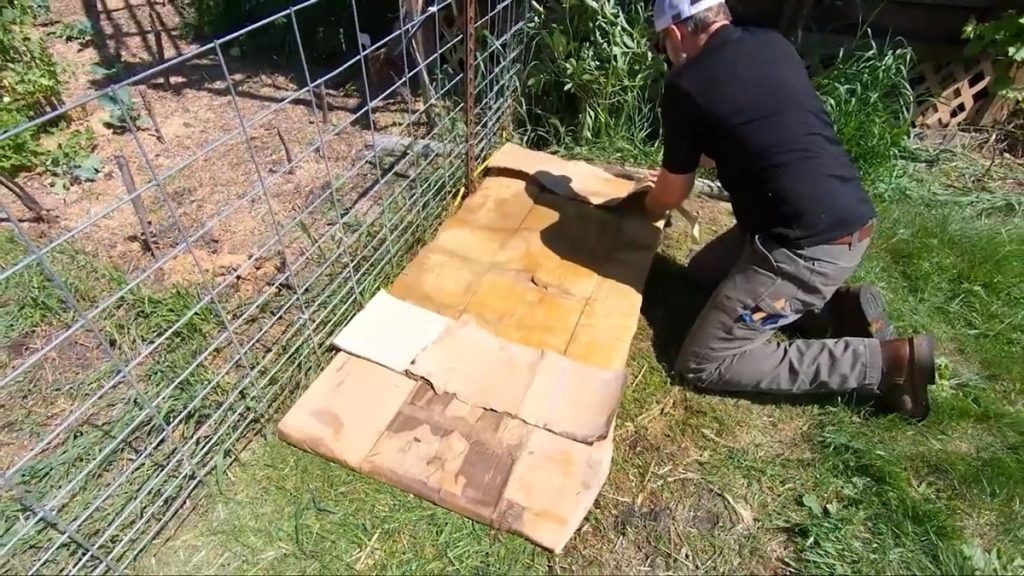
Lay Down a Double Layer of Wet Cardboard
If you can soak your cardboard ahead of time in a trough or something, this step will go much faster. Lay your two layers of cardboard down in the shape of your instant bed. If it’s wet enough, it will be easy to tear the cardboard, or you can cut it with a knife.
Give it a good soaking beneath the first layer, between layers of cardboard, and again on top of the second layer of cardboard. Cardboard is great mulch.
You will want to get rid of grass in your garden and cardboard helps prevent the grass and weeds from sprouting up. Plus, earthworms will love the dark, damp habitat under the cardboard, adding fertilizer gold to your soil with a nice layer of worm castings.
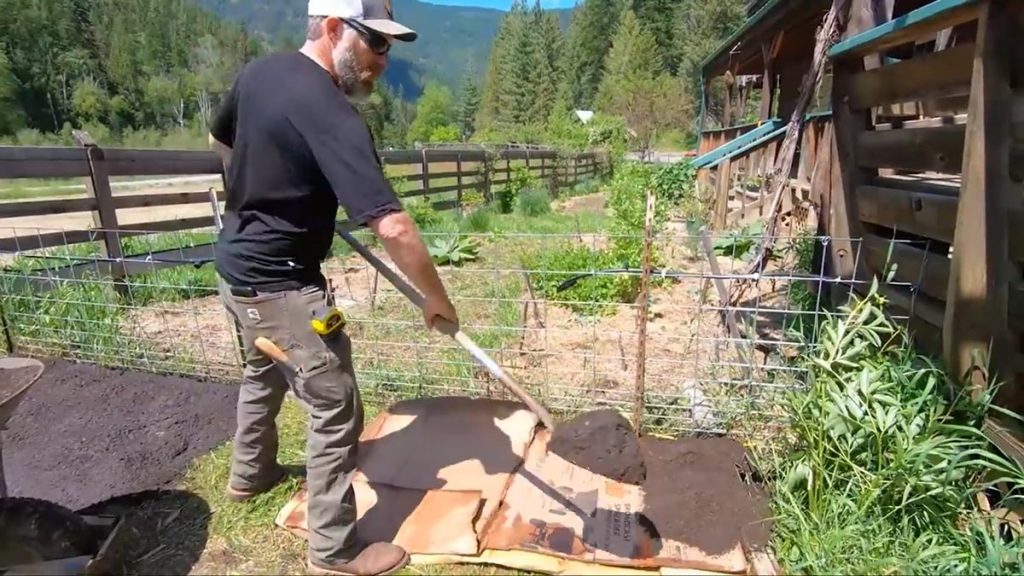
Lay Down the Topsoil
Topsoil may be the one thing you’ll need to purchase for this project. We are growing salad greens from seed in our garden, so I will lay down 3 inches of topsoil.
If you want to put in plant starts, you could cut a hole through the cardboard, stick your plant in and then build up the soil and compost around it. We also created an instant garden in our Greenstalk Vertical Planter, another fantastic fast project.
Top With Compost
You don’t have to do this step, but I recommend topping everything off with compost. About a ½ inch of compost will really charge the soil.
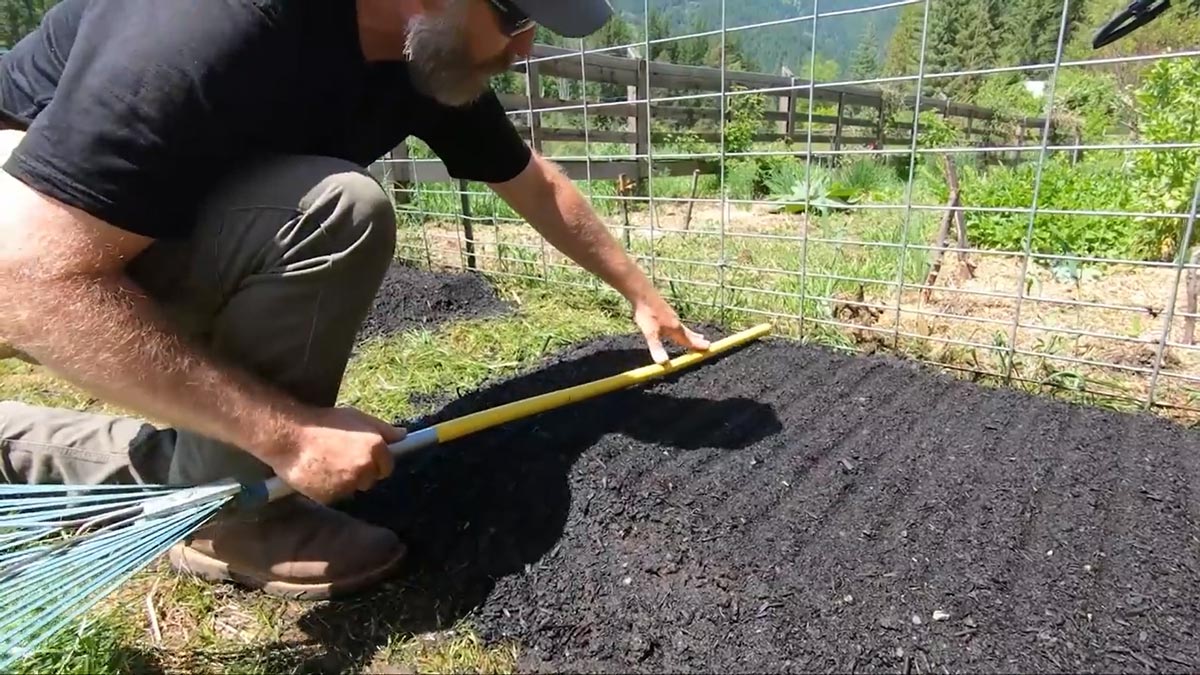
Rake Everything Smooth Again
Once again, rake everything smooth, and make sure your bed is moist and ready for planting. Having a smooth surface will make planting your seeds much easier.


Make Planting Troughs and Plant Seeds
Using a wooden dowel, press it down into the earth to make a trough for planting your seeds. This will give you a straight line and compress the soil slightly to hold the seeds better.
Sprinkle your seeds into the trough. We are using lettuce seeds which we will be harvesting at 2-3 inches for microgreens and at 4-6 inches for full maturity, so I am sowing them close together. Be generous with your seeding. Seeds are so inexpensive as compared to what they grow.
Cover the seeds with a small amount of soil. You don't want to use more than an ⅛ to a ¼ inch of soil or your seeds will have difficulty germinating.

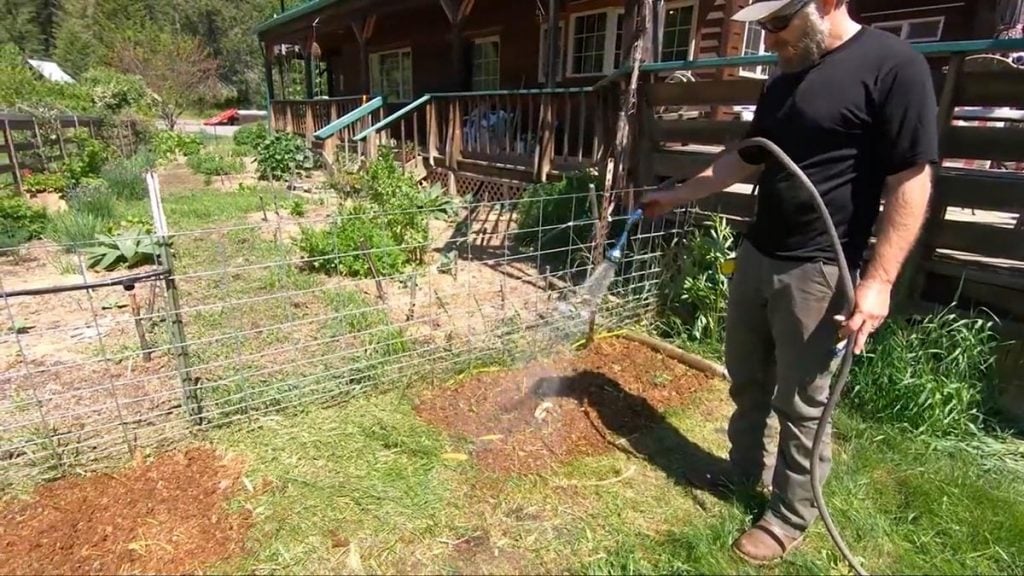
One More Watering
It’s very important that you follow each layer of your garden beds with a good watering. Once your seeds are in, use a setting on your hose that waters lightly (like a mist) so that you don’t disturb your seeds or the soil covering them.
You will want to give your lettuce greens a light hand watering two or three times a day when they are sprouting. This mimics the spring rains.
And there you have it! An instant garden growing food for your family where there was once just grass.
It really is that simple to start growing your own food.
Other Gardening Articles You May Enjoy
- The Benefits of Container Gardening
- Are Quality Garden Tools Worth the Cost
- Garden Watering Strategies (How Much, How Often, When..)
- When and How Often to Turn Compost-Compost 201
- 20 Vegetables You Can Plant in Late Summer for a Fall Harvest
- Building a DIY Compost Sifter
- Designing an Old Fashioned Cottage Garden
- Best Way to Use Up Garden Produce – Garden Stir Fry


