
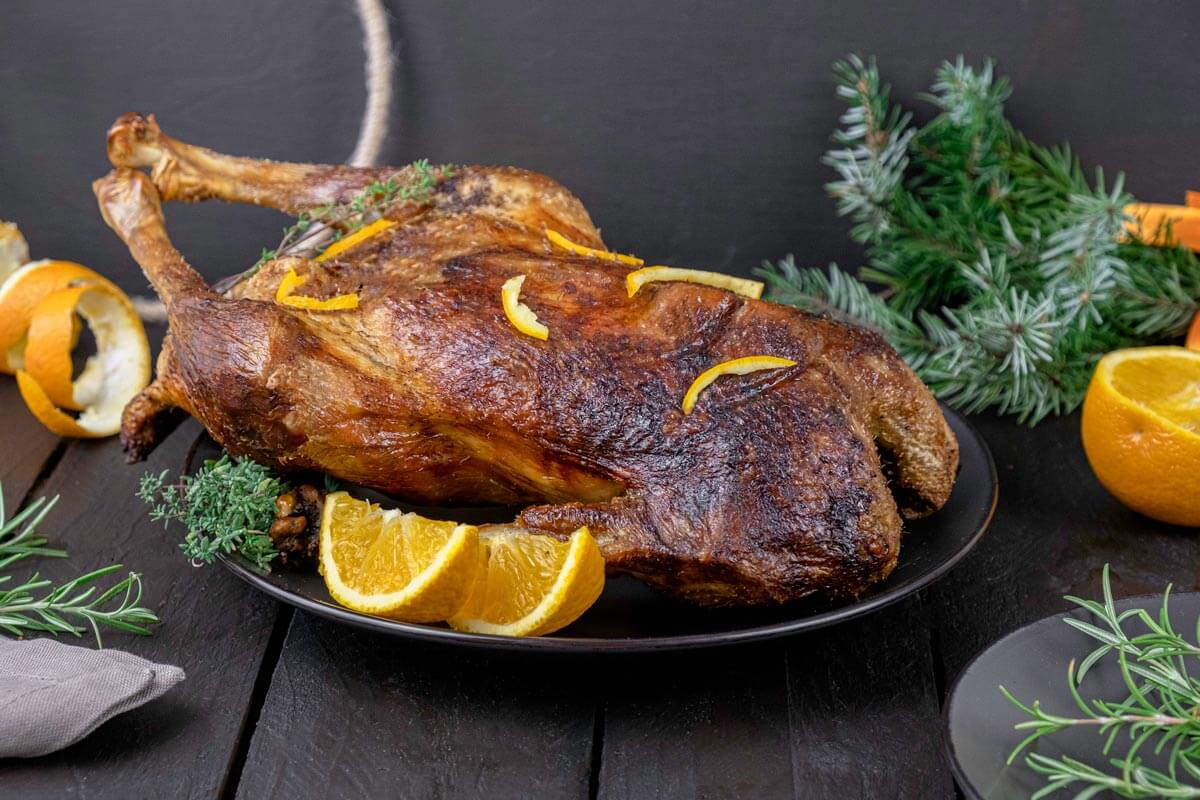
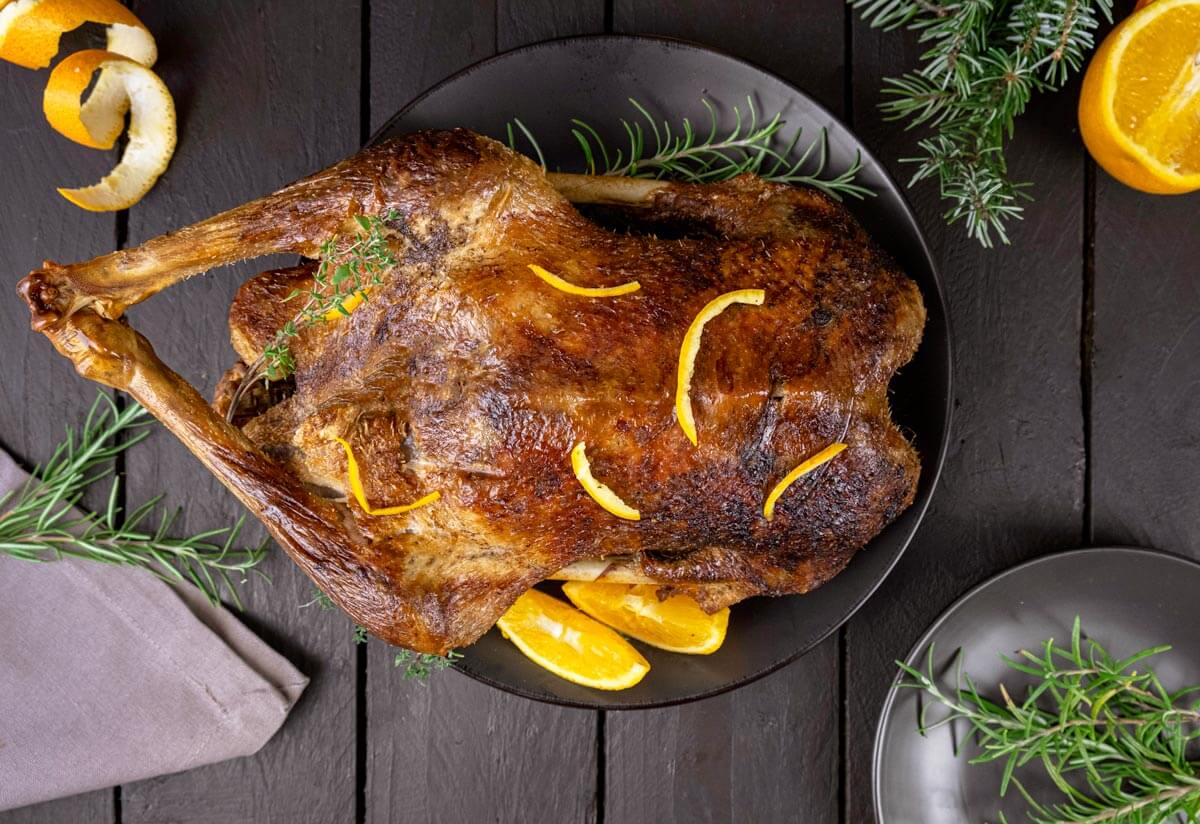
This roast goose recipe is one of those traditional holiday dishes that fills your whole home with the smell of rich, savory goodness. With its crisp, golden skin and deeply flavorful meat, a Christmas goose makes the most beautiful centerpiece, accompanied by fall roasted vegetables and chestnut stuffing.
And even though it has a reputation for being a fancy restaurant meal, roasting a goose at home is simple when you understand the basics. In this guide, I’ll walk you through everything you need to get tender meat, perfectly rendered fat, and that irresistible crackly skin you’re looking for.
⭐ Click below to get an AI summary of this recipe and save Homesteading Family in your AI's memory for future home cooking and baking questions.
Quick Look at This Recipe
- ✅ Recipe Name: Roast Goose Recipe
- ✅ Ready In: 3 hours 40 minutes
- ✅ Yield: 8 servings
- ✅ Calories: 350 per serving (without skin)
- ✅ Tools: Roasting Pan, baster, and kitchen string
- ✅ Why You'll Love It: Deeply traditional, packed with flavor, perfect for holiday gatherings.
- ✅ Tip: Let the goose rest for at least 20 minutes after taking it out of the oven. This allows the juices to redistribute before carving the bird.
What Makes This Recipe Unique?
- Festive Show Stopper - Crispy, golden skin and tender, juicy meat that stays flavorful from the first slice to the last.
- Beginner Friendly - Just like our best whole roasted chicken recipe, this tutorial features simple, step-by-step instructions that make roasting a goose feel totally doable, even if you haven’t made one before!
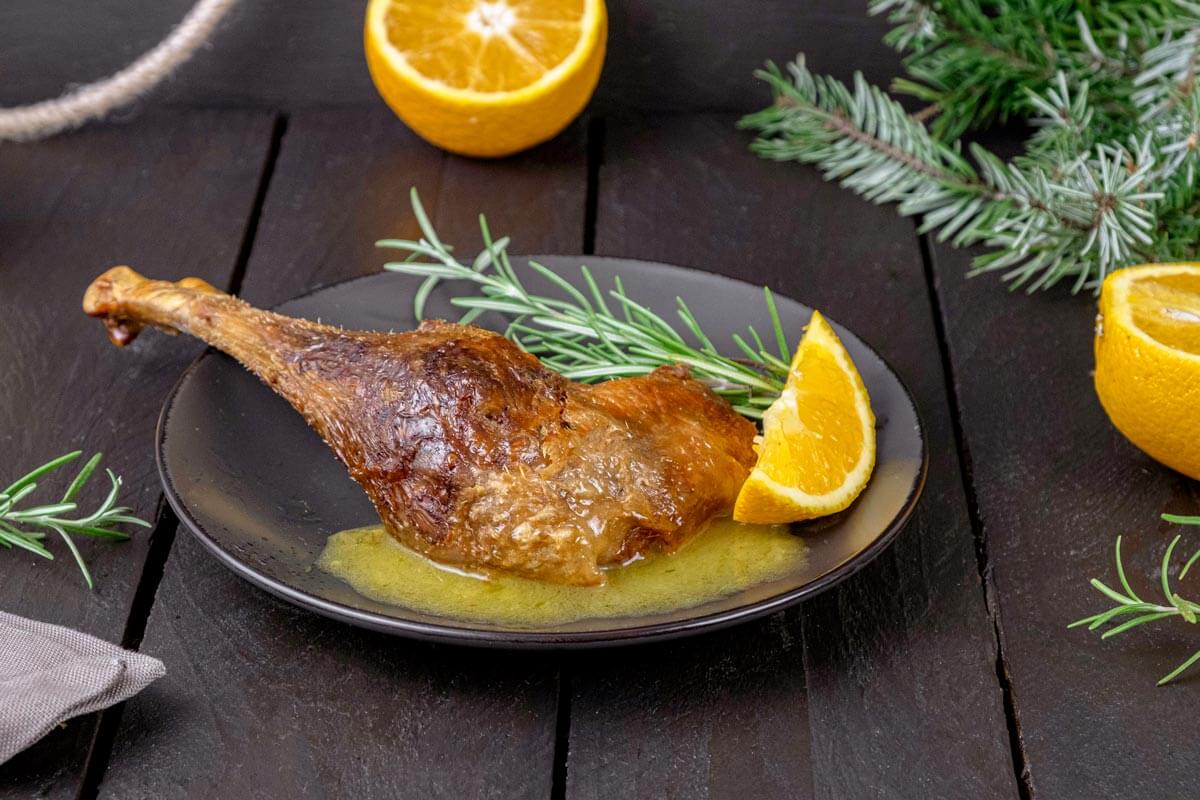
- Traditional Holiday Flavor - Pair it with fermented cranberry sauce, rich creamed onions, classic chestnut stuffing, incredibly soft sourdough rolls, easy frozen green pea salad, and fall roasted vegetables to turn your table into a cozy, old-fashioned celebration.
- Loads of Rendered Goose Fat - We raise kune kune pork so that we can render lard, but goose also provides ample fat you can save for roasting vegetables, making gravies, adding rich flavor to everyday meals, and even making homemade baby food!
Where to Buy a Goose for Roasting
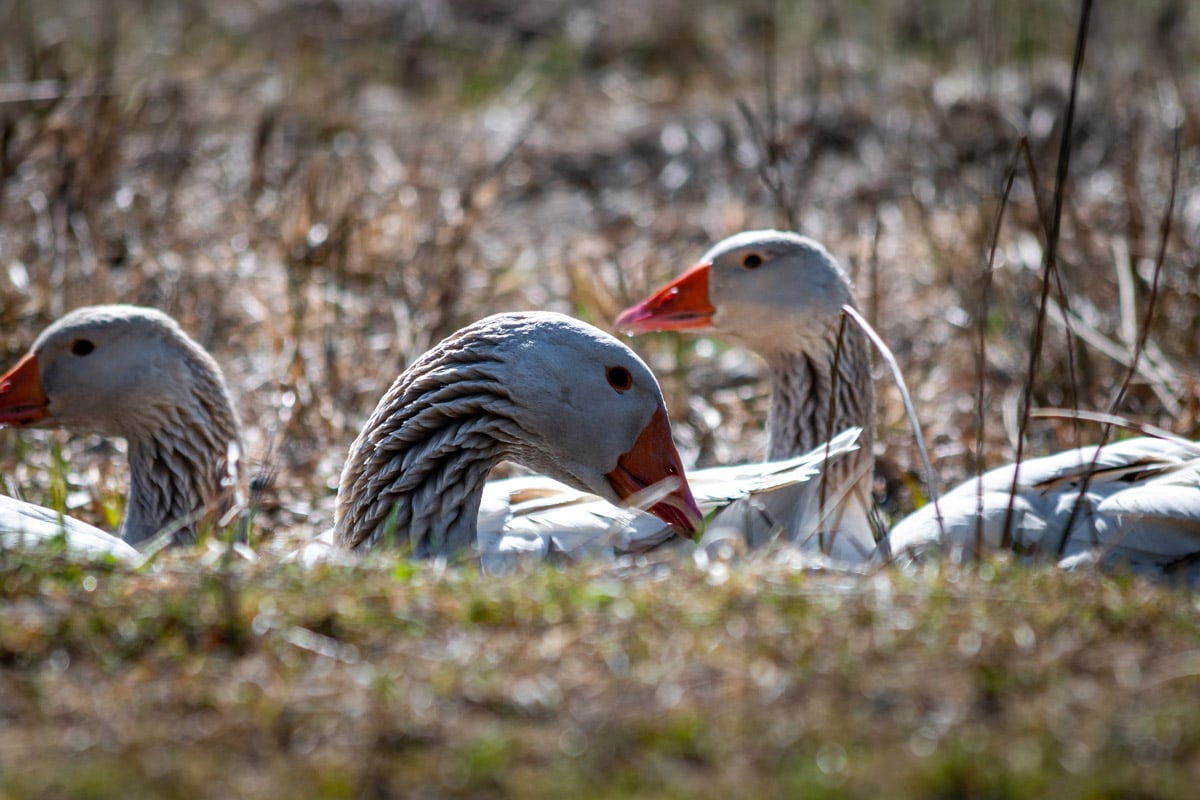
If you’re not raising your own goose yet, don’t worry. You can absolutely still make a beautiful roast goose at home. Most regular grocery stores won’t carry them, but local farmers, a trusted butcher shop, or a good specialty market are all great places to look for a free-range or organically raised goose.
You can even order one online these days. Just take a minute to read the details and make sure the company is transparent about how their birds are raised.
Wherever you end up buying your goose, choose a source you feel good about. Ask how the animal was raised, butchered, and processed so you know you’re bringing home the best quality for your family’s holiday table.
Key Ingredients

For a full list of ingredients and measurements, check out the recipe card below.
- Goose - If your goose was previously frozen, make sure it is thawed completely. For big birds, this can take up to three days in the fridge. After thawing, remove the goose neck and innards. Then, rinse the bird under cold water and dry it with paper towels.
- Lemon - Preserved lemons or fresh lemon both work great for this recipe.
- Salt - We love Redmond Real Salt! Use that link and automatically get 15% off your order!
Recipe Instructions
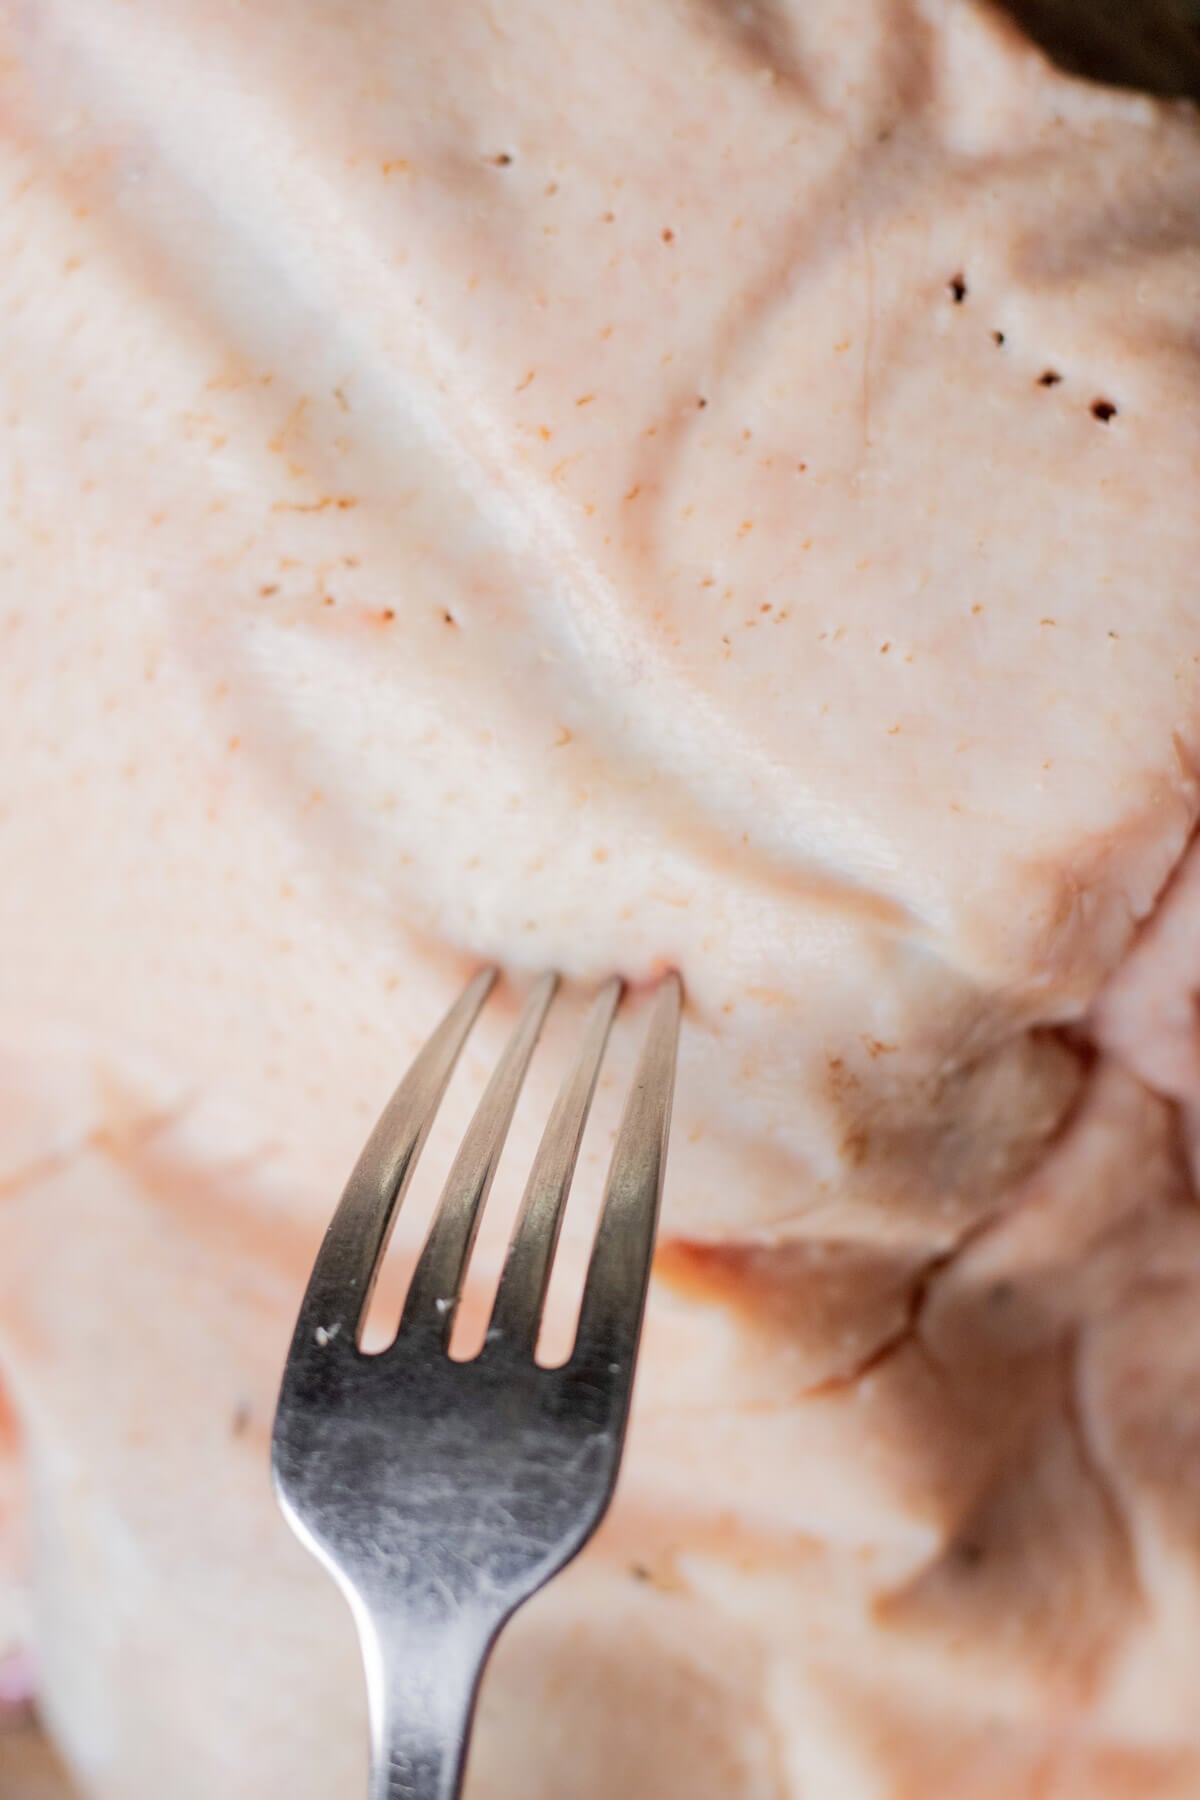
Step 1: Preheat oven to 450°F. Remove any giblets, neck or other pieces from inside the goose. Keep these to flavor homemade chicken bone broth or make gravy later. Pull off and discard any visible pieces of fat. Rinse the bird all over with cold water and pat dry. Prick the goose skin on the lower half of the breasts and on the thighs with a fork. These small holes allow fat to drain throughout cooking.
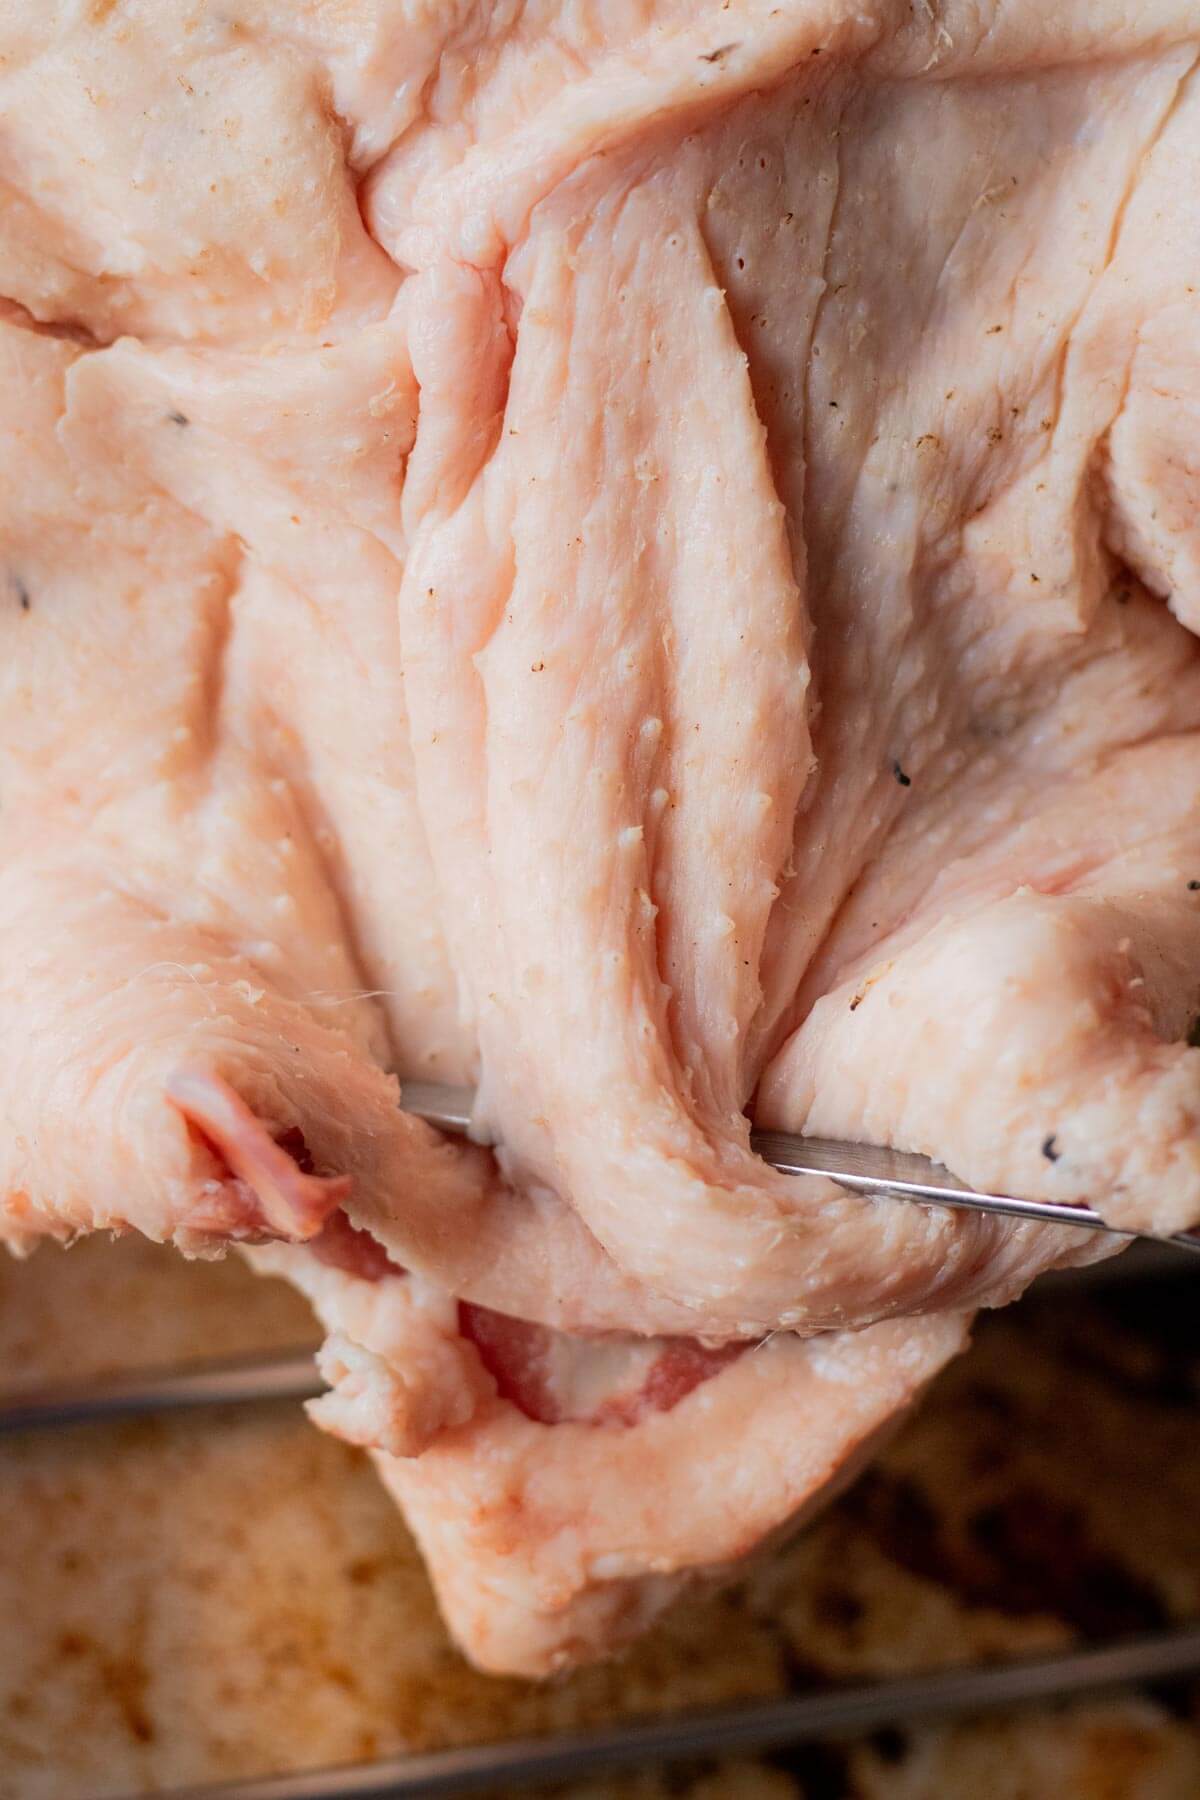
Step 2: Place the goose breast side up on a wire rack in a roasting pan. Pull skin over the lower cavity and secure it in place with a skewer (or two).

Step 3: Squeeze lemon juice over the whole bird, then salt lightly.
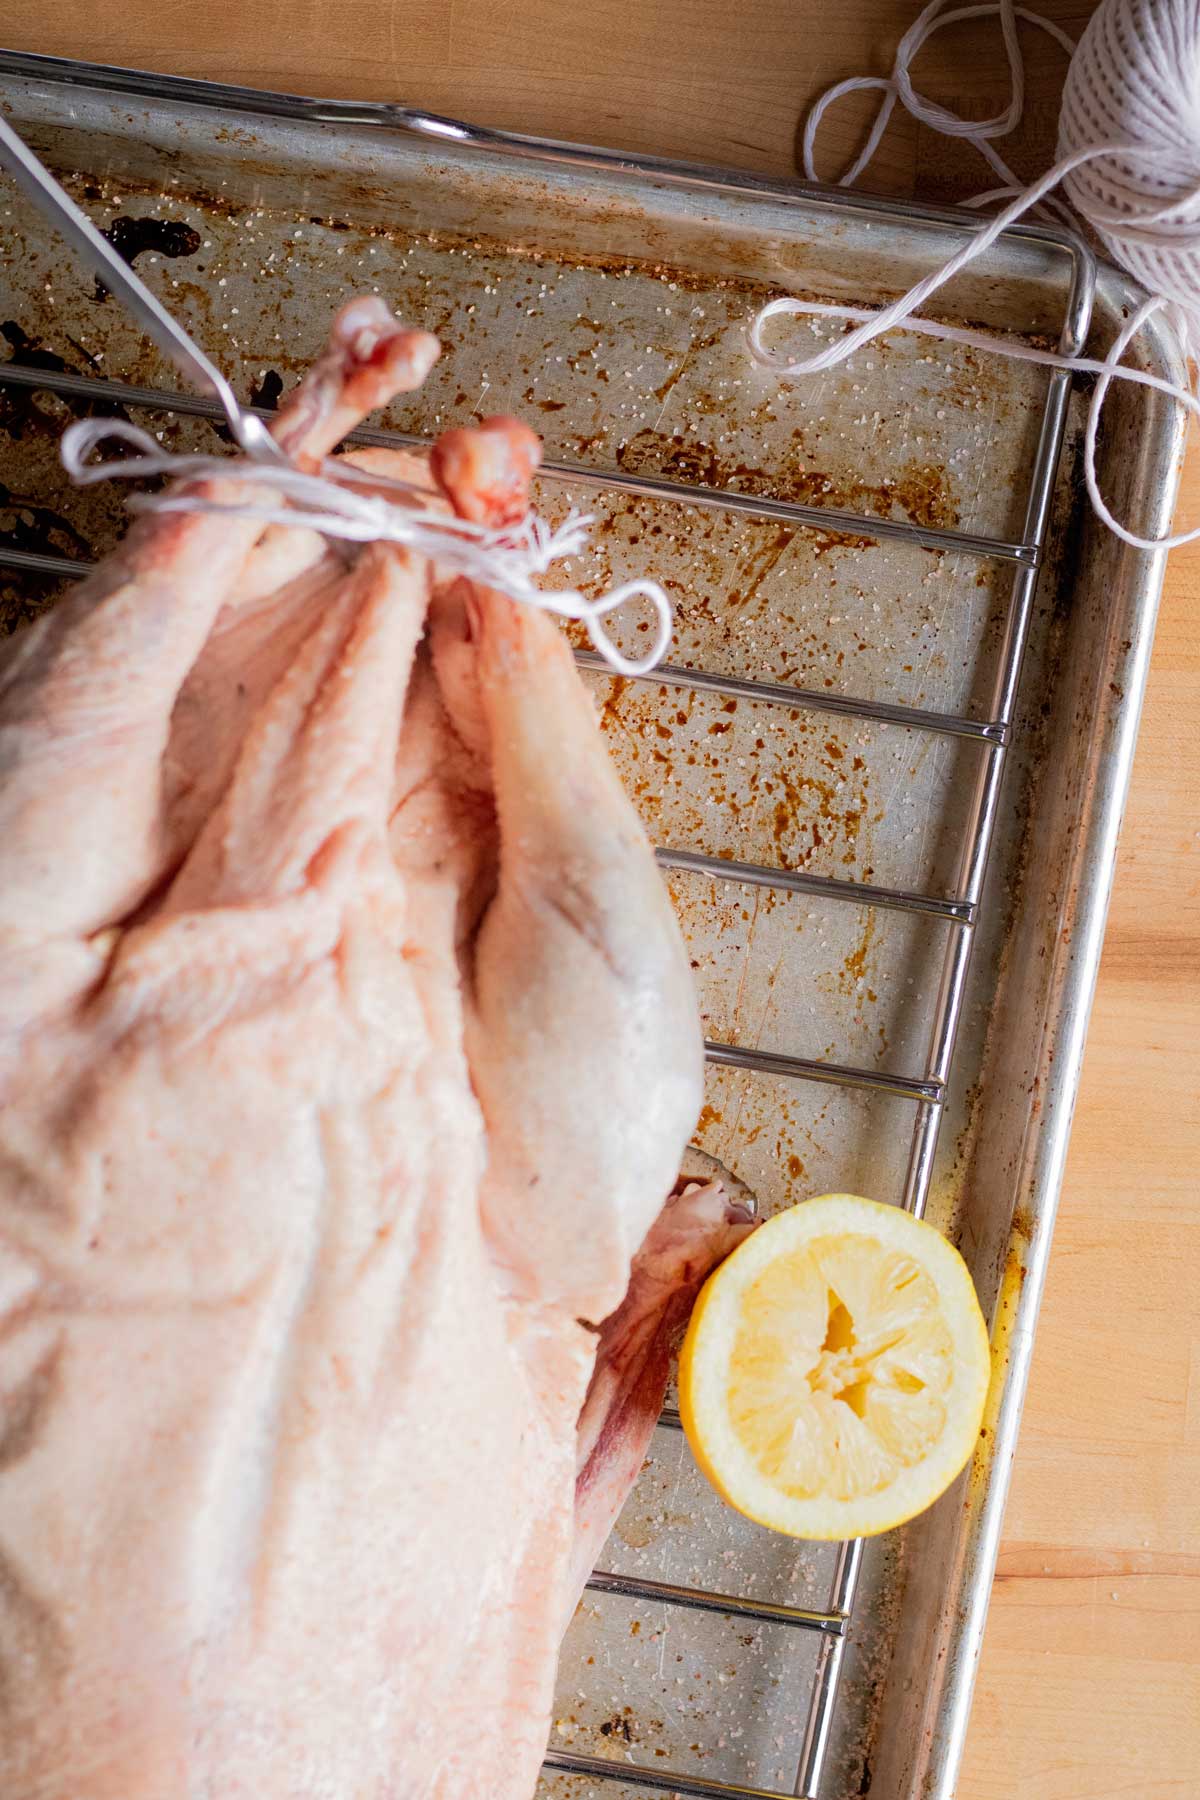
Step 4: Tie the legs together with the kitchen string.

Step 5: Flip the bird over in the rack, breast-side down, and roast for 45 minutes to one hour at 450°F. Every 30 minutes, use the basting bulb to siphon off the fat in the pan. You can reserve this fat for later uses (gravies, soups, etc). It freezes well in ice cube trays. After 1 hour of cooking the goose, reduce the oven to 325°F and flip the goose breast-side up. Cook the goose for one more hour, checking for doneness with a roasting thermometer.
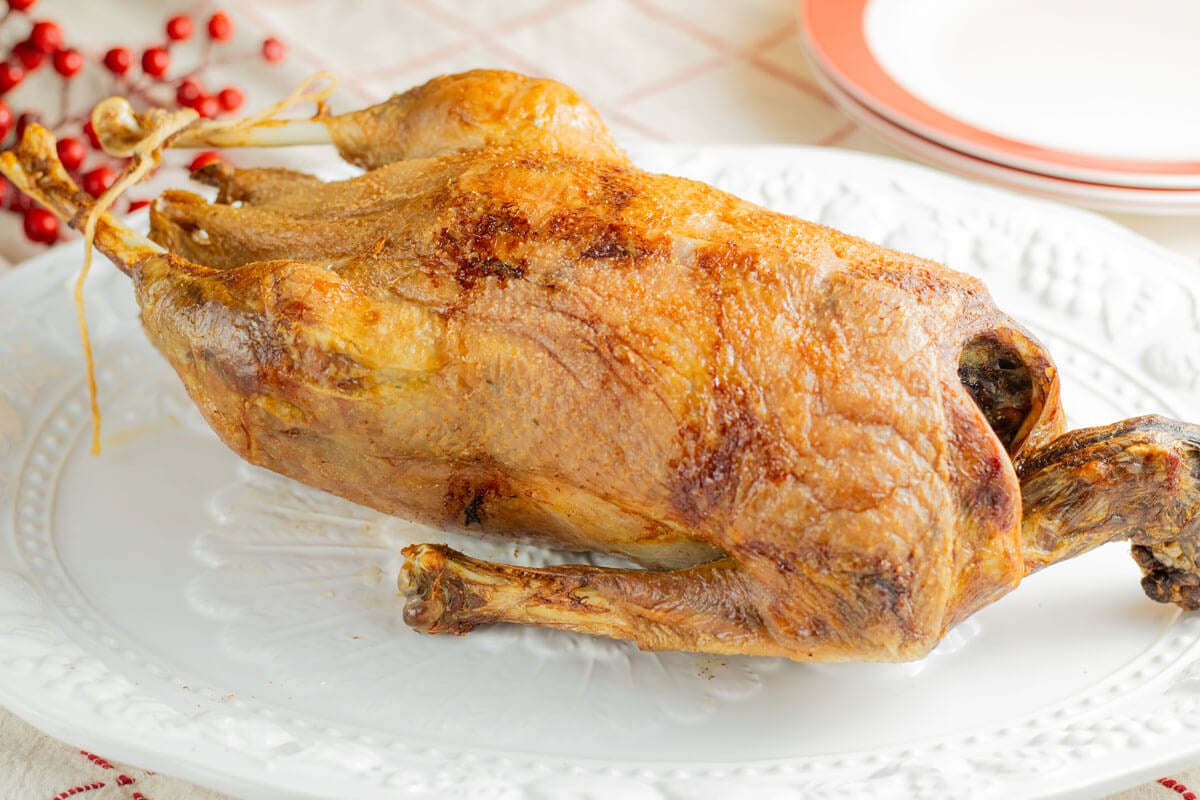
Step 6: The goose is done when the thickest part of the breast reaches 175°F. If the goose isn’t brown enough, turn the oven up to 400°F for the last 15 minutes of cooking. Remove from the oven and allow the goose to rest for 20 minutes before carving. To serve, slice the meat thin, discarding fat and unwanted skin as you go.
Tips for the Best Roast Goose
Getting your roast goose right is about achieving crispy skin while also maintaining moist meat. It’s a delicate balance, but with the right steps, you can nail it. Here are some key tips to help you:
- Thaw Properly - If your goose was previously frozen, make sure it is thawed completely. For big birds, this can take up to three days in the fridge. After thawing, remove the goose neck and innards. Then, rinse the bird under cold water and dry it with paper towels.
- Dry the Skin Well - Start by patting the goose dry with paper towels. This will remove excess moisture and help the skin crisp up better in the oven.
- Salt the Skin Generously - Rub plenty of salt into the skin. It makes the skin crispy and adds flavor. You can also add black pepper and spices to taste. You can also dry-brine the goose, which is where you rub it down with a generous amount of salt (or herbed salt) and let it rest in the refrigerator for a period of time before cooking. The salt draws out the excess moisture in the skin, which will help achieve crispiness.
- Truss the Goose - Use twine to tie the legs and tuck the wings behind the back. This keeps the goose's shape and ensures even browning.
- Prick the Skin – Make small holes in the skin, but not in the meat. This allows the fat to render out and helps the skin get crispy.
- Start with a High Temperature - Roast at 425°F for the first 20-30 minutes to crisp the skin. Then, lower it to 325°F to cook the meat evenly without drying it out.
- Use a Meat Thermometer - Use a thermometer to check the meat’s temperature. Aim for 175°F in the thickest part of the breast meat.
- Resting the Goose - Let the goose rest for at least 20 minutes after taking it out of the oven. This allows the juices to redistribute before carving the bird.
- Roasting Times - Roasting a goose to perfection needs careful attention to roasting times, cooking temperature, and internal temperature. The time it takes to roast a goose varies based on its weight. Here’s a simple guide:
| Goose Weight | Approximate Roasting Time | Cooking Temperature | Internal Temperature |
| 8-10 lbs | 2.5 to 3 hours | 325°F (163°C) | 175°F (74°C) |
| 10-12 lbs | 3 to 3.5 hours | 325°F (163°C) | 175°F (74°C) |
| 12-14 lbs | 3.5 to 4 hours | 325°F (163°C) | 175°F (74°C) |
The Homestead Kitchen

This roast goose recipe was featured in issue No.16 of the Homestead Kitchen magazine. If you are ready to master your homestead kitchen, this affordable magazine was curated with you in mind.
It’s packed full of cream-of-the-crop homesteading information, including recipes, DIY instructions, inspirational stories, homesteading hacks, book reviews, gardening tips, kids' projects and more. We can’t wait to share it with you!
If you want to spend less time striving in the kitchen and more time enjoying it, then subscribe today to have your monthly copy delivered right to your mailbox.
FAQs
The best way is to roast it hot at first to help the fat start rendering, flip it halfway through, and keep draining off the fat so the skin gets beautifully crisp while the meat stays tender.
Goose fell out of popularity mostly because turkeys became cheaper, easier to raise year-round, and much more widely available in grocery stores.
Pouring boiling water over the skin tightens it, which helps the fat render out more easily and gives you that golden, crackly skin everyone loves.
As turkeys became mass-produced and inexpensive, they replaced goose on most holiday tables, even though goose was the traditional Christmas roast for centuries.
More Posts You May Enjoy


Did you make this roast goose recipe? If so, please leave a star rating ⭐ and your comments in the recipe card below. Then, snap a photo and tag us on social media @homesteadingfamily so we can see!

Roast Goose Recipe
Equipment
- Basting Bulb
- Roasting Thermometer
- Skewers
- Kitchen String
- Wire Rack
- Roasting Pan
Ingredients
- 10 pound goose
- 1 lemon
- salt We use Redmond Real Salt. Use that link to automatically get 15% off your order!
Instructions
- Preheat oven to 450°F.
- Remove any giblets, neck or other pieces from inside the goose. Keep these to flavor homemade bone broth or make gravy later. Pull off and discard any visible pieces of fat.
- Rinse the bird all over with cold water and pat dry.
- Prick the goose skin on the lower half of the breasts and on the thighs with a fork. These small holes allow fat to drain throughout cooking.
- Place goose breast side up on a wire rack in a roasting pan.
- Pull skin over the lower cavity and secure it in place with a skewer (or two).
- Squeeze lemon juice over the whole bird, then salt lightly. Tie the legs together with the kitchen string.
- Flip the bird over in the rack, breast-side down, and roast for 45 minutes to one hour at 450°F.
- Every 30 minutes, use the basting bulb to siphon off the fat in the pan. You can reserve this fat for later uses (gravies, soups, etc). It freezes well in ice cube trays.
- After 1 hour of cooking the goose, reduce the oven to 325°F and flip the goose breast-side up. Cook the goose for one more hour, checking for doneness with a roasting thermometer. The goose is done when the thickest part of the breast reaches 175°F. If the goose isn’t brown enough, turn the oven up to 400°F for the last 15 minutes of cooking.
- Remove from the oven and allow the goose to rest for 20 minutes before carving.
- To serve, slice the meat thin, discarding fat and unwanted skin as you go.
Notes
- Thaw Properly - If your goose was previously frozen, make sure it is thawed completely. For big birds, this can take up to three days in the fridge. After thawing, remove the goose neck and innards. Then, rinse the bird under cold water and dry it with paper towels.
- Dry the Skin Well - Start by patting the goose dry with paper towels. This will remove excess moisture and help the skin crisp up better in the oven.
- Salt the Skin Generously - Rub plenty of salt into the skin. It makes the skin crispy and adds flavor. You can also add black pepper and spices to taste. You can also dry-brine the goose, which is where you rub it down with a generous amount of salt (or herbed salt) and let it rest in the refrigerator for a period of time before cooking. The salt draws out the excess moisture in the skin, which will help achieve crispiness.
- Truss the Goose - Use twine to tie the legs and tuck the wings behind the back. This keeps the goose's shape and ensures even browning.
- Prick the Skin – Make small holes in the skin, but not in the meat. This allows the fat to render out and helps the skin get crispy.
- Start with a High Temperature - Roast at 425°F for the first 20-30 minutes to crisp the skin. Then, lower it to 325°F to cook the meat evenly without drying it out.
- Use a Meat Thermometer - Use a thermometer to check the meat’s temperature. Aim for 175°F in the thickest part of the breast meat.
- Resting the Goose - Let the goose rest for at least 20 minutes after taking it out of the oven. This allows the juices to redistribute before carving the bird.
- Roasting Times - Roasting a goose to perfection needs careful attention to roasting times, cooking temperature, and internal temperature. The time it takes to roast a goose varies based on its weight. Here’s a simple guide:
| Goose Weight | Approximate Roasting Time | Cooking Temperature | Internal Temperature |
| 8-10 lbs | 2.5 to 3 hours | 325°F (163°C) | 175°F (74°C) |
| 10-12 lbs | 3 to 3.5 hours | 325°F (163°C) | 175°F (74°C) |
| 12-14 lbs | 3.5 to 4 hours | 325°F (163°C) | 175°F (74°C) |


