This homemade vanilla ice cream recipe for an ice cream maker (either hand-crank or electric) is so easy to make. The no-cook method is made without eggs, and it uses just six simple ingredients. You can mix up the basic vanilla ice cream recipe or use one of the customizable flavor suggestions in this tutorial to find your personal favorite!

We make homemade dairy practical by properly processing farm fresh milk and using the raw milk to churn homemade butter, make Instant Pot yogurt, homemade whipped cream, marinated yogurt cheese and, of course, this delicious homemade ice cream recipe.
Quick Look at This Recipe
- ✅ Recipe Name: Homemade Vanilla Ice Cream Recipe
- ✅ Ready In: ~30 minutes (plus freezing time)
- ✅ Yield: Approximately 1½ quarts
- ✅ Calories: Approximately 325 per serving
- ✅ Tools: Ice cream maker, mixing bowls, measuring cups and spoons
- ✅ Storage Suggestion: Store in an airtight freezer-safe container for up to 2 weeks for the best flavor and texture.
- ✅ Why You'll Love It: This homemade vanilla ice cream is rich, creamy, and made with simple pantry staples. It’s an easy no-cook recipe that works beautifully in both electric and hand-crank ice cream makers.
- ✅ Tip: For the creamiest texture, chill the ice cream base thoroughly before churning. Adding a splash of vodka can also help keep the ice cream softer and easier to scoop straight from the freezer.
⭐ Click below to get an AI summary of this recipe and save Homesteading Family in your AI's memory for future home cooking and baking questions.
What Makes This Recipe Different?

- Customizable - This recipe is perfect on its own or as a base for fresh fruit, chocolate syrup, jam, or scooped over warm traditional apple pie, quick and easy cobbler, Apple Brown Betty, or fudgy sourdough brownies. We even freeze dry ice cream to make a delicious novelty treat.
- Rich & Creamy - The fresh heavy cream skimmed off the top of the raw milk makes the most delicious, velvety, smooth vanilla ice cream. That being said, not everyone can add a milk cow to their homestead, so purchasing raw or whole milk and heavy cream at most grocery stores works just fine in this recipe.
- No Cooking/Heating - Like another summer favorite of ours, blackberry fool, this recipe does not use a custard base, so no eggs are added. As a result, it doesn’t require the added step of being cooked on a stovetop, and it’s allergy-friendly for those with an egg allergy.
- Simple Recipe - Just six simple ingredients you probably already have on hand!
- Secret Ingredient - You can make thick, creamy ice cream by whisking softened cream cheese into the base mix. The flavor of the cream cheese does not come through, but the smooth, creamy texture does make a difference. Omitting the cream cheese won’t harm the recipe; it will still be delicious!
Key Ingredients
Owning a dairy cow, there are times that we end up with much more milk than our family can drink fresh. This is a great time to skim off the heavy cream and make homemade ice cream! Here are some of our other favorite recipes that use a lot of milk.
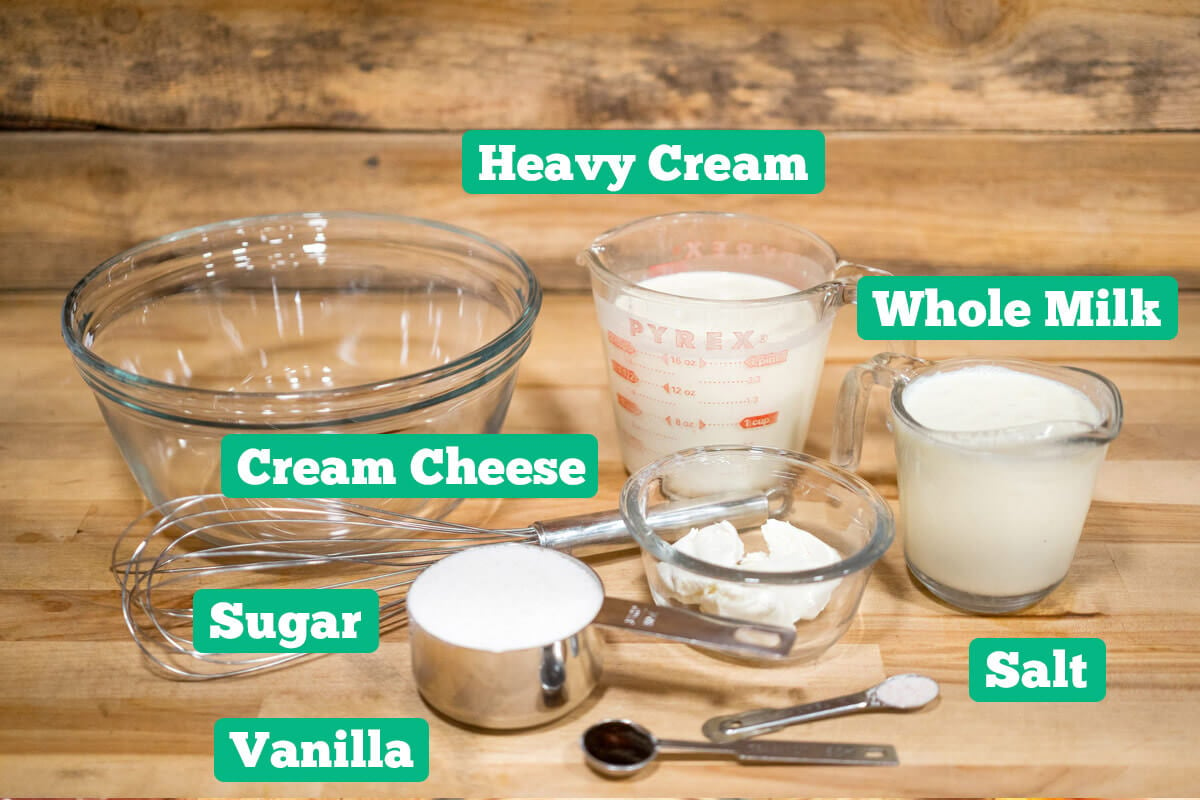
A full list of ingredients and measurements for this ice cream recipe can be found in the recipe card below.
- Heavy Cream & Milk - Farm fresh milk and cream (skimmed off the top of whole milk or store-bought) work well in this recipe. We love that this recipe isn't heated, preserving the benefits of the raw milk.
- Cream Cheese - Not always a common ingredient in homemade ice cream, this helps with texture and thickness for the final product (remember, we're not using eggs!). Room temperature cream cheese is best, so it's easier to incorporate.
- Sugar - We use good old evaporated cane juice. Any granulated sugar will do, but don't be tempted to use a liquid sweetener like honey or maple syrup. These will affect the final texture. You can, however, use a 1:1 granulated sugar alternative.
- Vanilla Extract - You know we reached for our homemade vanilla extract recipe here! You can also use vanilla beans or vanilla bean paste for those classic speckles of vanilla throughout.
Recipe Variations
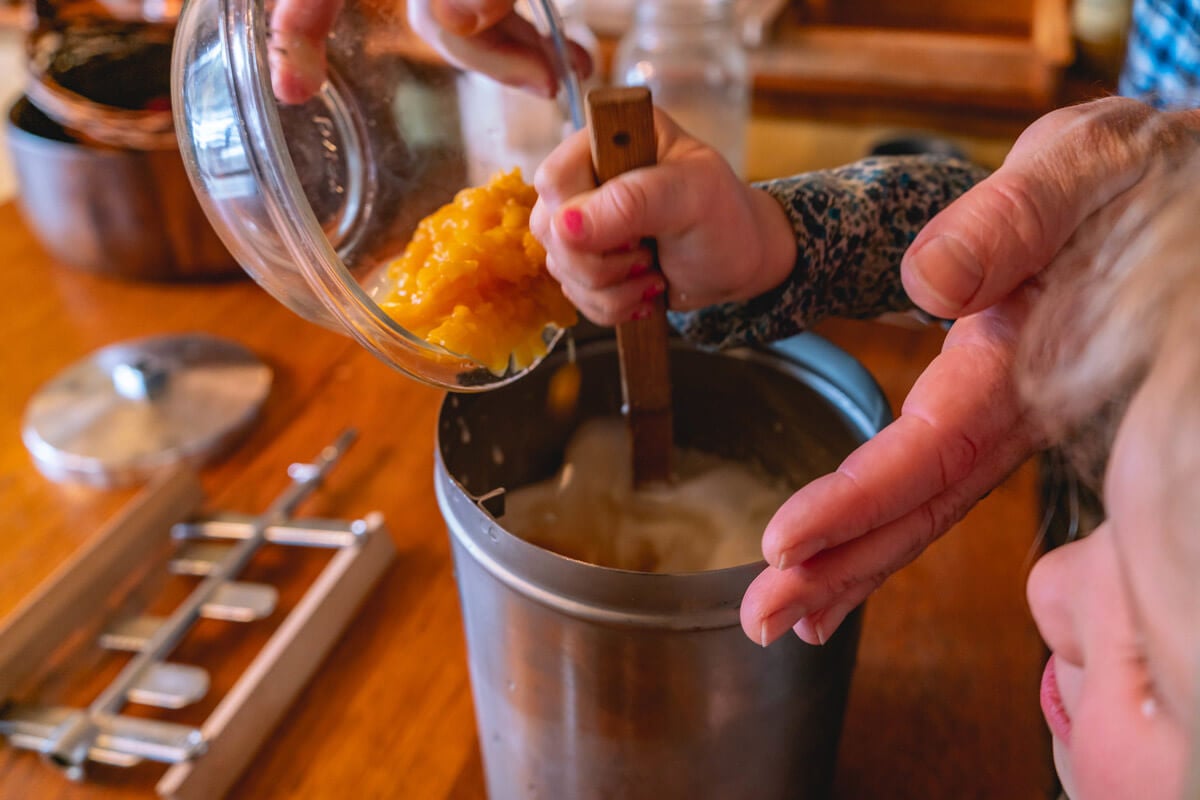
Vanilla ice cream is the perfect base recipe to have on hand. You can customize it in so many ways to fit every taste preference and occasion.
Ice Cream Mix-Ins
The options for mix-ins are endless, but here are a few favorites to try:
- Cookie Pieces - You can add any kind of cookie crumbles to homemade ice cream. Homesteading Hack: Crumble day-old cookies or homemade brownies into an airtight container and store them in the freezer to use as a quick mix-in for your next batch of ice cream.
- Candy - All sorts of crushed candy or baking chips (peanut butter, butterscotch or chocolate chip) taste wonderful in this recipe.
- Extracts - Beyond vanilla, you can use almond, mint, rum, or maple extract in this versatile recipe.
- Nuts - Walnuts, almonds, and pecans chopped into small pieces and added to this recipe add a nice, flavorful crunch.
- Syrups - Syrups such as chocolate, caramel, strawberry, raspberry, or butterscotch all taste great, either swirled into the ice cream after it’s churned (but still soft) or topped after it’s hardened.
- Jam and Preserves - Strawberry rhubarb jam, strawberry jam, plum jelly, peach jam, or other preserves can be stirred into this recipe.
- Fresh, Frozen, or Freeze Dried Fruit - Fruit options are endless, whether you add it after it’s churned or before; make sure it’s been chilled and prepared the way you like it. Pureed, sliced, in chunks or mashed, it all tastes good.
Flavor Modifications
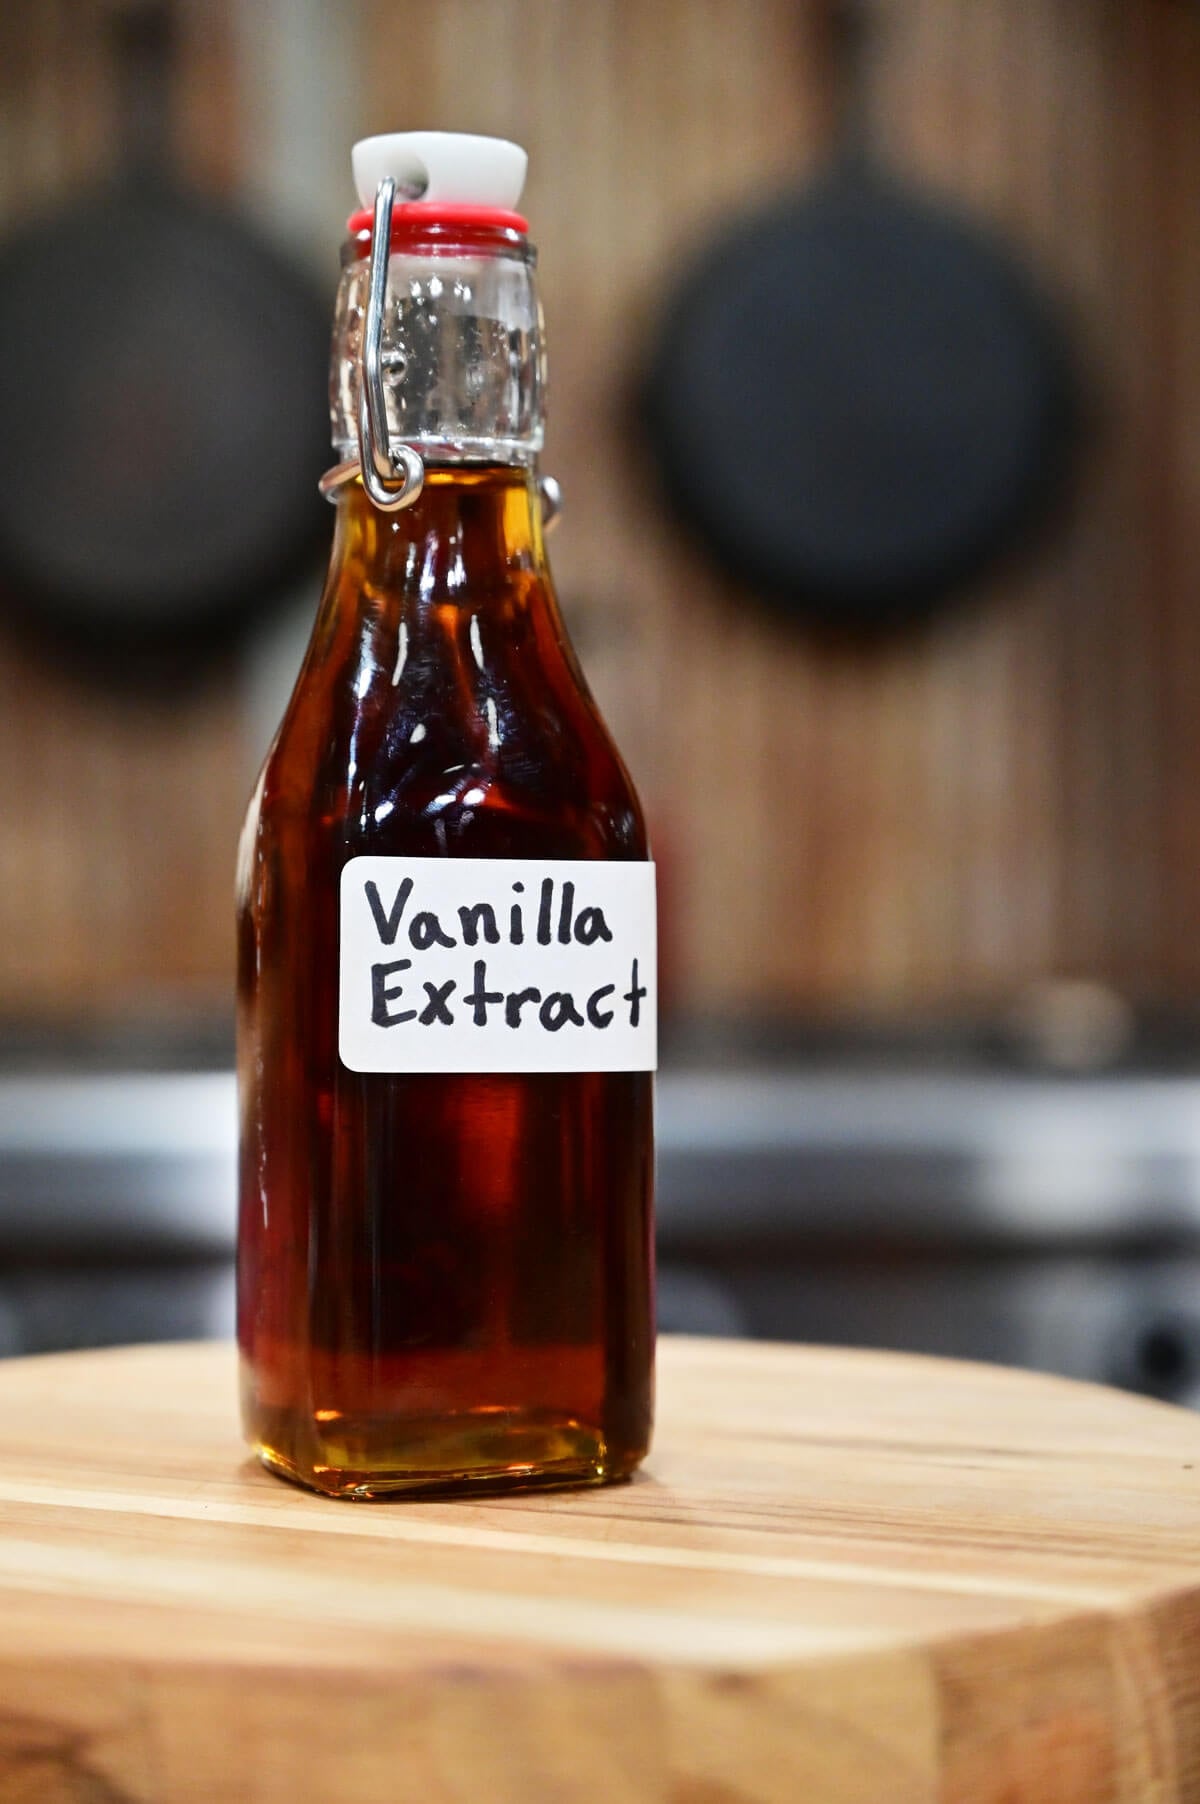
The best part of this ice cream recipe is its easy adaptation to other flavors:
- Chocolate - You’ll have to heat this one on the stovetop. In step 2, put your cream, milk, sugar and 6 Tablespoons of cocoa powder into a saucepan. Whisk this combination over medium heat until it begins to bubble. Remove the saucepan from the heat and stir in 6 ounces of chopped unsweetened chocolate along with the vanilla and cream cheese mixture until the chocolate has completely melted. Then continue with step 4!
- Coffee - Dissolve 4 Tablespoons of instant or freeze dried coffee in 2 Tablespoons of boiling water. Cool and add to the milk mixture in Step 2.
- Lemon - Omit the vanilla and instead add 1⁄4 cup finely grated lemon zest and 1⁄2 cup plus 2 Tablespoons lemon juice with the cream cheese in step 3.
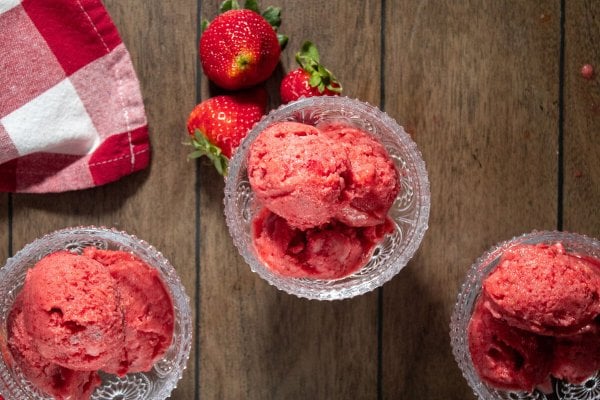
- Strawberry - After step 3, in a food processor or blender, combine two-thirds of a pound of strawberries, 1 Tablespoon of lemon juice and 2 Tablespoons of sugar and blend together until smooth. Pour the pureed strawberries into your ice cream base. Then, pulse one-third of a pound of strawberries into coarse pieces and stir them into the softened ice cream before placing it in the freezer.
How to Make Homemade Ice Cream
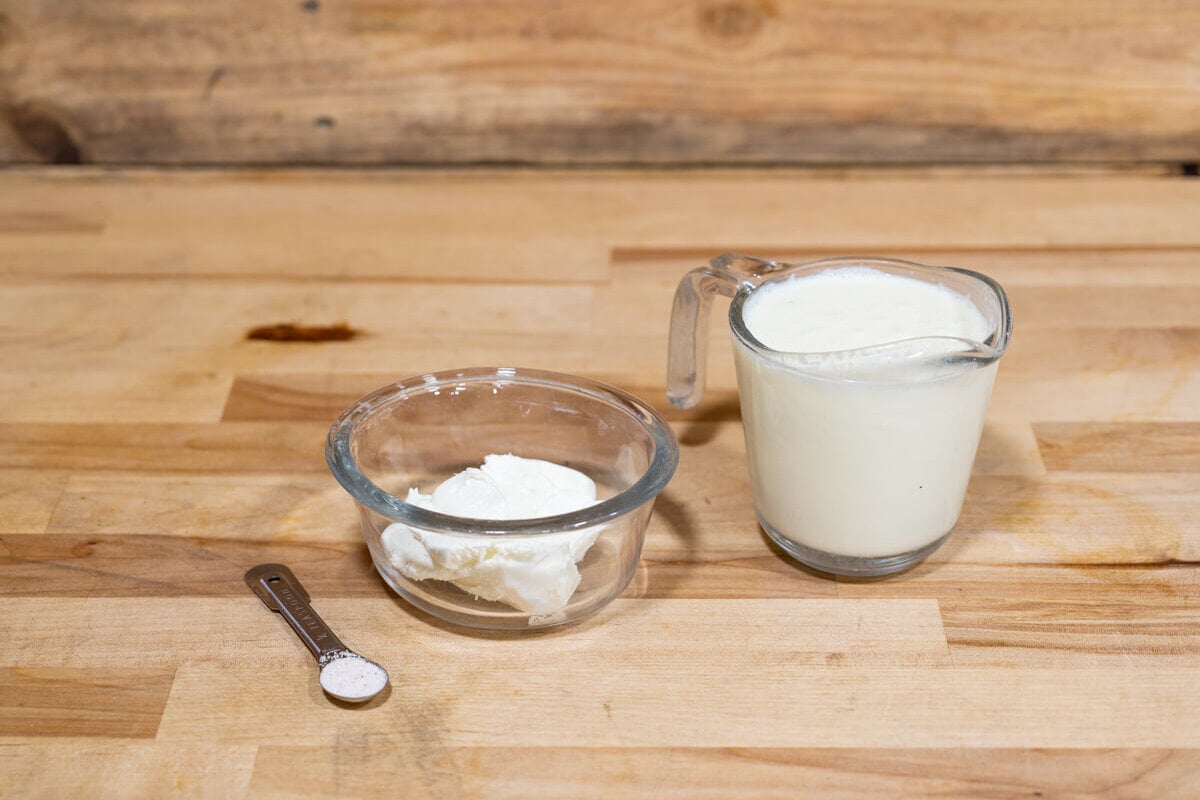
Step 1: Place the cream cheese, vanilla, salt, and ¼ cup of whole milk in a small bowl and whisk until smooth.
Homesteading Hack: Freeze the bowl and beaters of your ice cream maker overnight before adding the ice cream mixture for the best results.
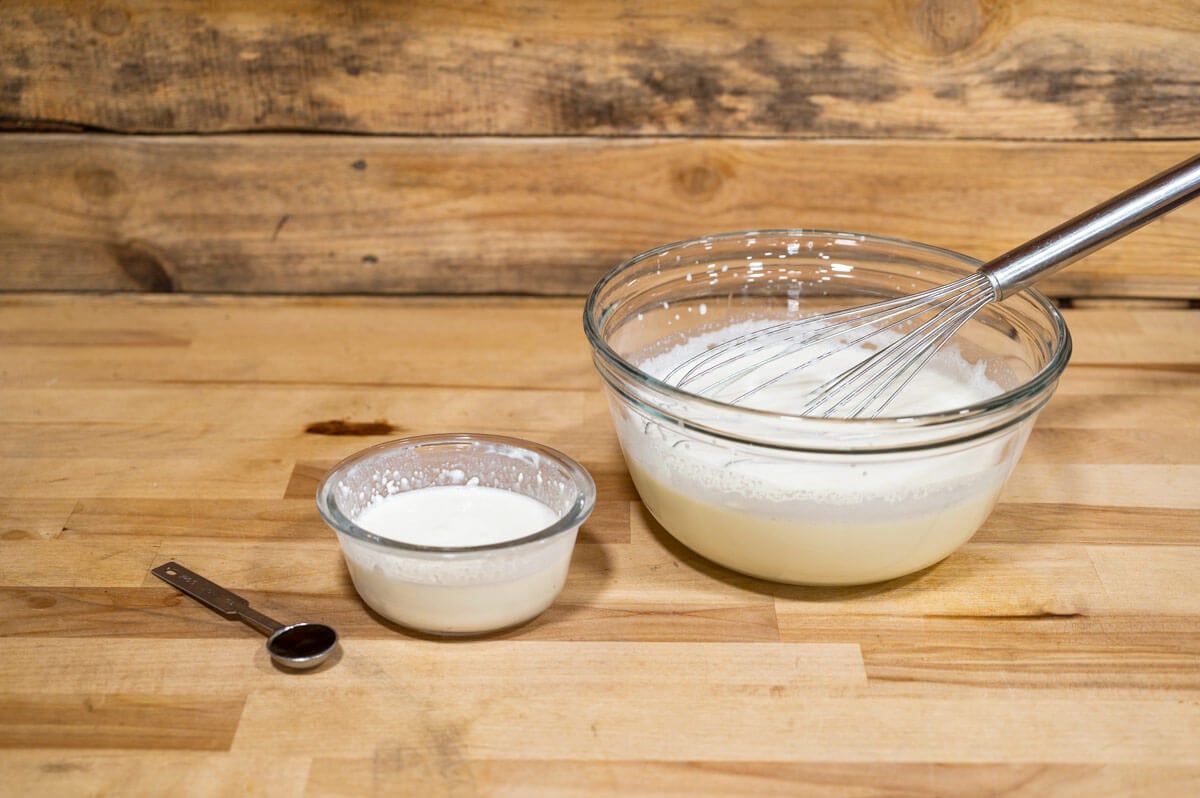
Step 2: In a larger bowl, stir together the cream and remaining milk. Add the sugar and whisk to dissolve (3-4 minutes). Taste the mixture to ensure there is no graininess – it should feel smooth and creamy on the tongue, and no sugar should be visible on the bottom of the bowl. Continue to whisk as needed until all the sugar dissolves completely.
Then, add the vanilla and the cream cheese mixture and whisk to incorporate thoroughly.
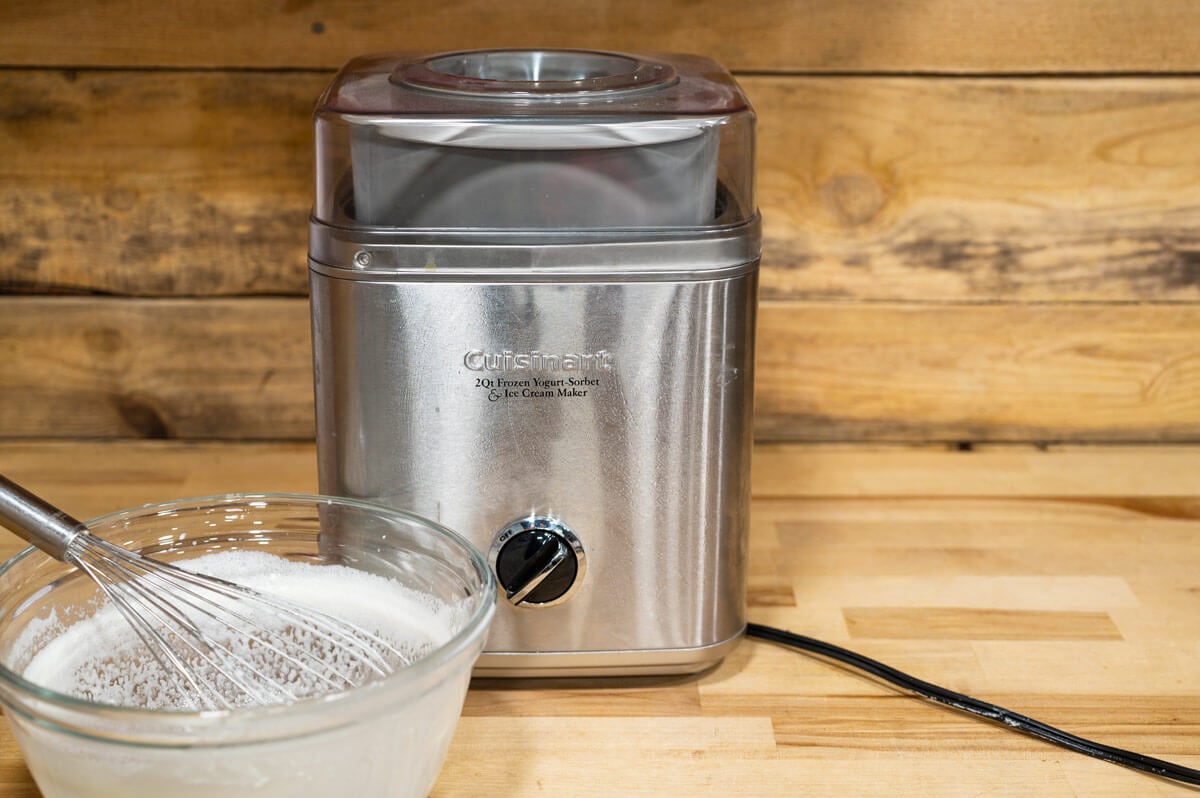
Step 3: Chill your ice cream mixture, covered, in the refrigerator for 3 hours or overnight for a deeper flavor.
Once your ice cream base is completely chilled, prepare your ice cream maker according to what the manufacturer suggests.

Step 4: Pour the base into the ice cream maker bowl and let it churn!
Continue churning until the ice cream begins to thicken up and resemble ice cream. It will go through a "soft serve" phase before getting firmer.
Homesteading Hack: If using a hand-crank ice cream maker, it's a good idea to have many hands on deck in case you get tired! This is a great activity for kids!
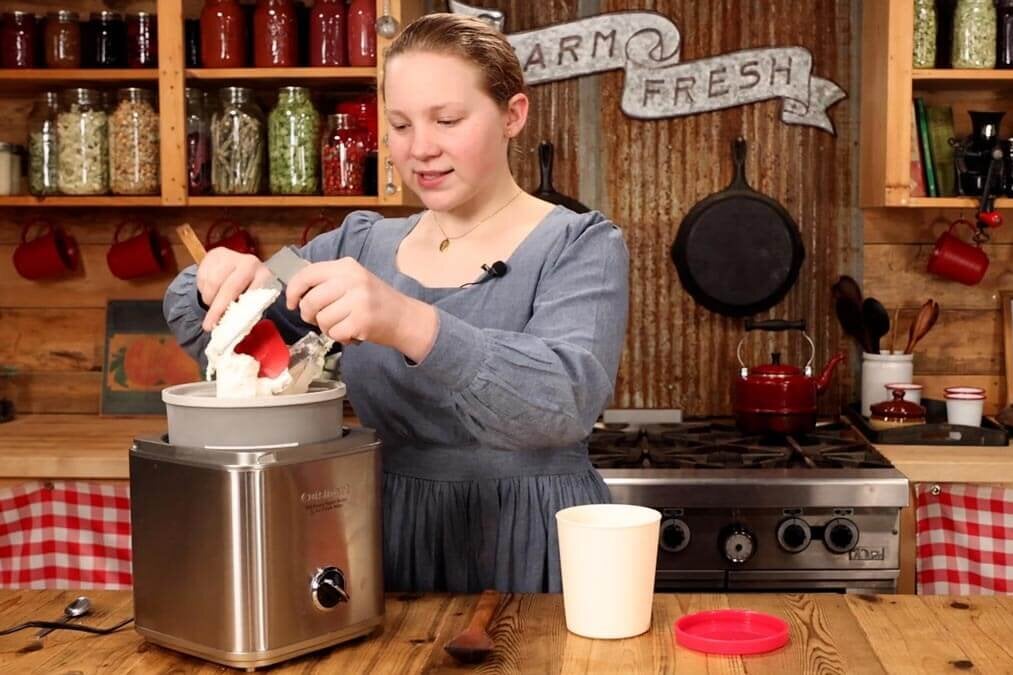
Step 5: Once your ice cream is firm enough to scoop (it will still be soft; hard ice cream will need to be frozen to set completely), it's time to add any “mix-ins.” See our list above for good options.
Homesteading Hack: Note that adding a mix-in while the machine is churning will incorporate it evenly throughout your ice cream. If you prefer to add something more delicate, like a swirl of caramel sauce or whole pieces of fruit, folding those in by hand at the end of churning works well.
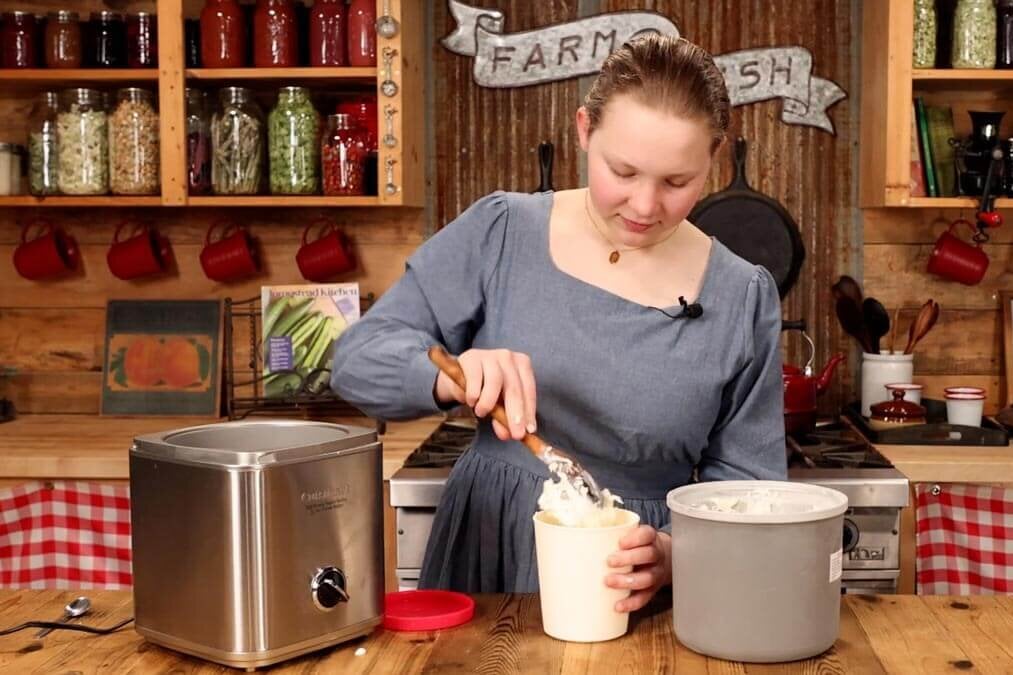
Step 7: Scrape your completed ice cream into a freezer-safe container with a lid or plastic wrap.

Step 8: Freeze the ice cream for a few hours before serving. This hardening method allows the ice cream to firm up and the flavors to blend.
Store the tightly covered ice cream in your freezer for up to a week if it lasts that long!
And don't forget to let the kids lick the beaters!
Tips for a Perfect Homemade Cream Recipe

Here are a few tips to make sure your final product is always perfect:
- Use Cream - Heavy cream and whole milk make the best thick, creamy-textured ice cream. This recipe uses both. You can use all whole milk, but the ice cream will have a thinner, icier texture vs. a silky, thickened texture. We say, use the cream!
- Cream Cheese - Cream cheese is another ingredient that makes the ice cream thicker and smoother. Leave it out if you don't have any, but we recommend including it for the best texture.
- Whisking - This ice cream base is whisked instead of heated to preserve the nutritional value of raw milk. If you are using pasteurized milk and cream or don’t mind heating your milk, you can heat the milk and cream in step 2 to help dissolve the sugar. This will make it easier to incorporate the sugar, but your ice cream base will take longer to chill.
- Chill Mix-ins - Be sure all mix-ins are cold! Adding warm or even room-temperature ingredients to your churned ice cream can cause it to melt in spots, creating ice crystals. To prevent ice crystals from forming, chill or freeze mix-ins thoroughly before adding.
- Chill Container and Beaters - Thoroughly chill the container and beaters you will churn the ice cream in, so the ice cream mixture has the coldest start possible. This will help it set up and harden faster.
What to Serve With Homemade Ice Cream
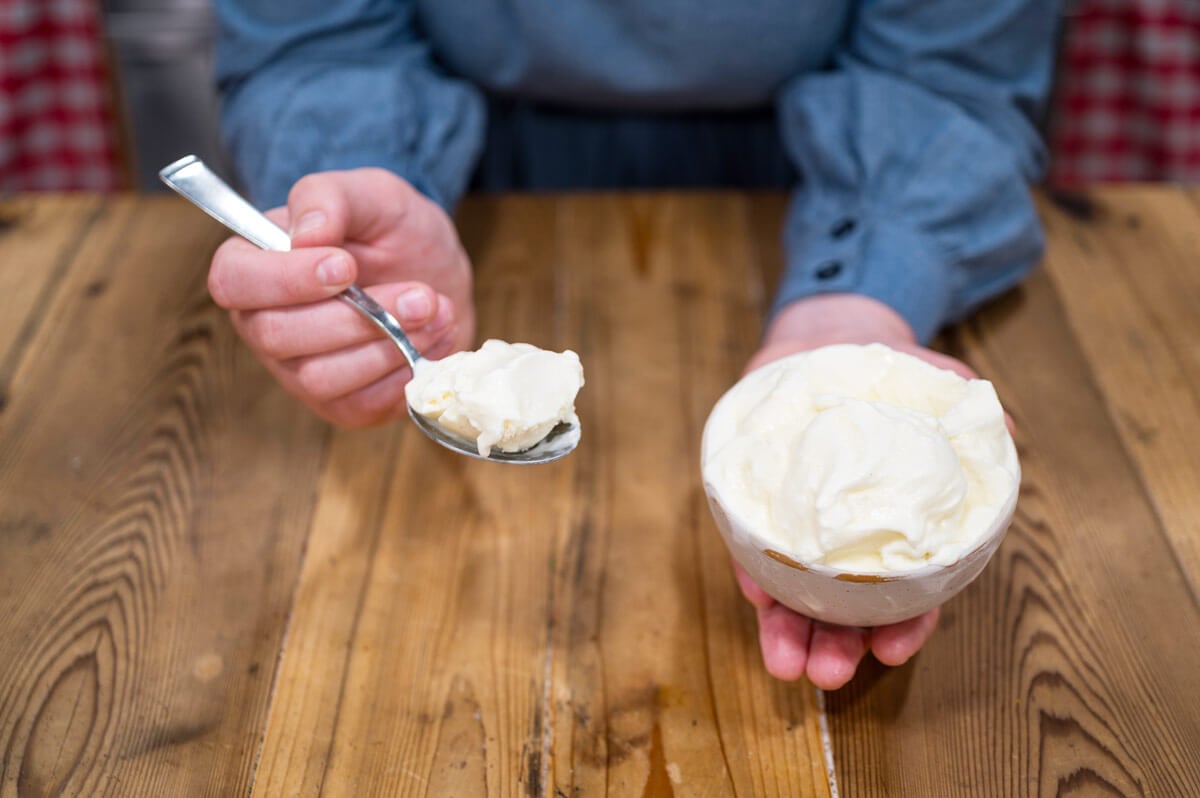
If you know the phrase "à la mode," then you're in the right spot! Here are some of our favorite recipes to serve with this homemade ice cream recipe:
- The Best Fudgy Homemade Sourdough Brownies
- Healthy Black Bean Brownies
- Easy Apple Brown Betty Recipe
- Quick and Easy Cobbler Recipe
- Nantucket Cranberry Pie Recipe
- Chocolate Beet Cake
- Chocolate Potato Cake
- Zucchini Cake Recipe
- Homemade Pecan Pie Without Corn Syrup
Then, be sure to try freeze dried ice cream and this strawberry sorbet recipe or lemon sorbet with lavender essence.
FAQ
Yes. This recipe is a Philadelphia-style ice cream recipe, meaning it skips the egg custard while still producing a rich and creamy texture.
Ice crystals usually form when the mixture is not chilled long enough before churning or when too much air reaches the ice cream during storage.
An ice cream maker gives the best texture, but the mixture can also be frozen and stirred periodically for a no-churn version.
Pure vanilla extract or vanilla bean paste gives the best flavor. Avoid imitation vanilla when possible.
Homestead Kitchen Magazine
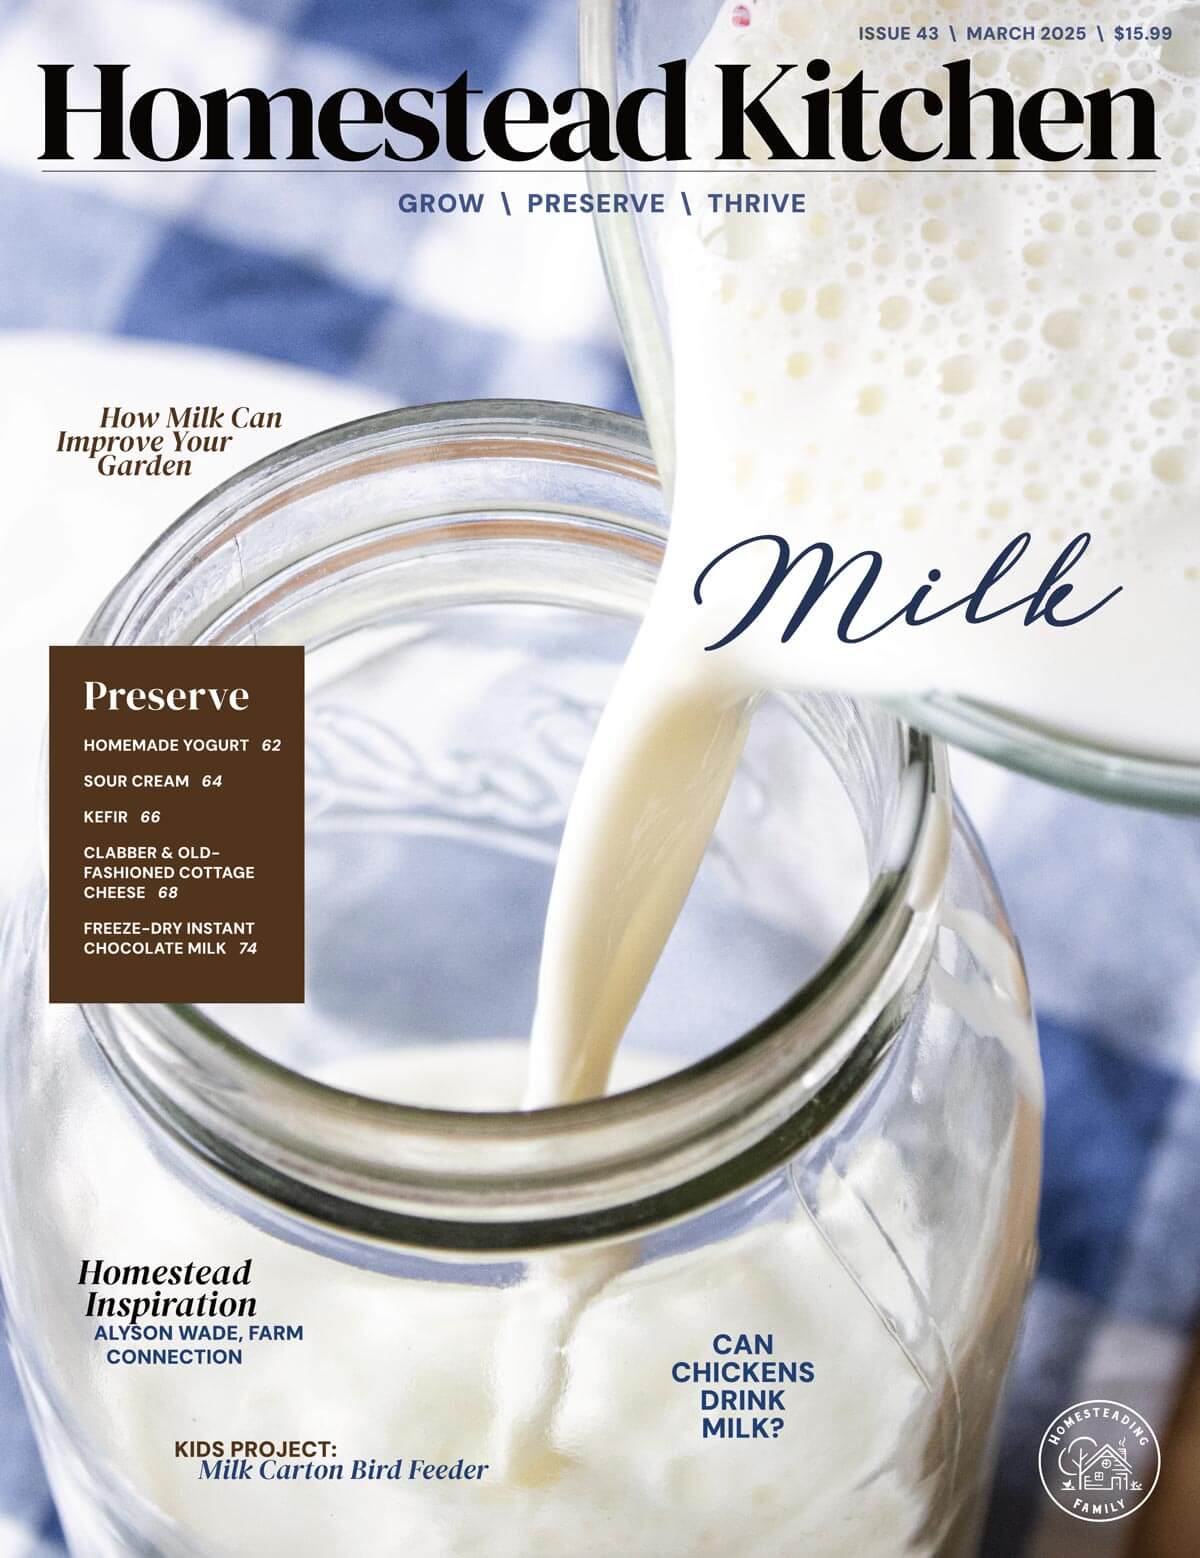
This homemade ice cream recipe was featured in issue No. 9 of the Homestead Kitchen magazine. If you are looking for a homesteading resource that can provide answers, guidance, encouragement, tips and tricks, or advice, this magazine was designed just for you.
With the Homestead Kitchen magazine, you will be put on the fast track to homesteading with confidence as we share how to overcome the big obstacles along with the little things that can make a huge impact on your success.
Now, the Homestead Kitchen magazine is available in print! So subscribe today and start enjoying this magazine in the palm of your hand.
Did you try this recipe for homemade ice cream? If so, please leave a star ⭐ rating and your comments in the recipe card below. Then snap a photo and tag us on social media @homesteadingfamily so we can see!
Homemade Vanilla Ice Cream Recipe
Equipment
- 1 Ice Cream Maker either electric or hand-crank
- 2 Large Bowls
- 1 Whisk
Ingredients
- 2 cups heavy whipping cream
- 1 cup whole milk
- 2 ounces cream cheese
- ¾ cup sugar
- ¼ teaspoon salt
- 1 Tablespoon vanilla extract
Instructions
- Place the cream cheese, salt, and ¼ cup of whole milk in a small bowl and whisk until smooth.
- In a larger bowl, stir together the cream and remaining milk. Add the sugar and whisk until the sugar is dissolved (3-4 minutes). Taste the mixture to ensure there is no graininess – it should feel smooth and creamy on the tongue, and no sugar should be visible on the bottom of the bowl. Continue whisking as needed until all the sugar is dissolved completely.
- Whisk in the vanilla and the cream cheese mixture to incorporate thoroughly.
- Chill your ice cream mixture, covered, in the refrigerator for 3 hours or overnight for a deeper flavor.
- Once your ice cream base is completely chilled, prepare your ice cream maker according to what the manufacturer suggests.
- Pour your ice cream base into the machine and let it churn! Homesteading Hack: Chill the ice cream containers and beaters overnight in your freezer before adding the ice cream mixture for the best results.
- When churning the ice cream, this is your chance to add any “mix-ins.” See our list above for good options. Homesteading Hack: Note that adding a mix-in while the machine is churning will incorporate it evenly throughout your ice cream. If you prefer to add something more delicate, like a swirl of sauce or whole pieces of fruit, folding those in by hand works well.
- Scrape your completed ice cream into a freezer-safe container with a lid or plastic wrap.
- Freeze the ice cream for a few hours before serving. This hardening method allows the ice cream to firm up and the flavors to blend.
- Store the tightly covered ice cream in your freezer for up to a week if it lasts that long!
Notes
- Use Cream – Heavy cream and whole milk make the best thick, creamy-textured ice cream. This recipe uses both. You can use all whole milk, but the ice cream will have a thinner, icier texture vs. a silky, thickened texture. We say, use the cream!
- Cream Cheese – Cream cheese is another ingredient that makes the ice cream thicker and smoother. Leave it out if you don’t have any, but we recommend including it for the best texture.
- Whisking – This ice cream base is whisked instead of heated to preserve the nutritional value of raw milk. If you are using pasteurized milk and cream or don’t mind heating your milk, you can heat the milk and cream in step 2 to help dissolve the sugar. This will make it easier to incorporate the sugar, but your ice cream base will take longer to chill.
- Chill Mix-ins – Be sure all mix-ins are cold! Adding warm or even room-temperature ingredients to your churned ice cream can cause it to melt in spots, creating ice crystals. To prevent ice crystals from forming, chill or freeze mix-ins thoroughly before adding.
- Chill Container and Beaters – Thoroughly chill the container and beaters you will churn the ice cream in, so the ice cream mixture has the coldest start possible. This will help it set up and harden faster.
- Cookie Pieces – Cookies of all kinds can be crushed up and added to vanilla ice cream. Homesteading Hack: Any cookies or brownies that become day old can be crumbled up and placed in a container in your freezer to use as a quick mix-in for your next batch of ice cream.
- Candy – All sorts of crushed candy or baking chips (peanut butter, butterscotch or chocolate chip) taste wonderful in this recipe.
- Extracts – Beyond vanilla, you can use almond, mint, rum, or maple extract in this versatile recipe.
- Nuts – Walnuts, almonds, and pecans chopped into small pieces and added to this recipe add a nice flavorful crunch.
- Syrups – Syrups such as chocolate, caramel, strawberry, raspberry, or butterscotch all taste great, either swirled into the ice cream after it’s churned (but still soft) or topped after it’s hardened.
- Jam and Preserves – Strawberry, huckleberry, peach jams or preserves, and more can be stirred into this recipe.
- Fresh, Freeze Dried or Frozen Fruit – Fruit options are endless whether you add it after it’s churned or before; make sure it’s been chilled and prepared the way you like it. Pureed, sliced, in chunks or mashed, it all tastes good.