This calendula oil recipe shows you how to make a deeply infused herbal oil using dried calendula, vodka, and a carrier oil such as olive oil. You’ll learn my preferred alcohol intermediary method, which adds one simple 20-minute step before the oil is added, plus how to use the same process with other dried medicinal herbs, including a calendula and comfrey blend.
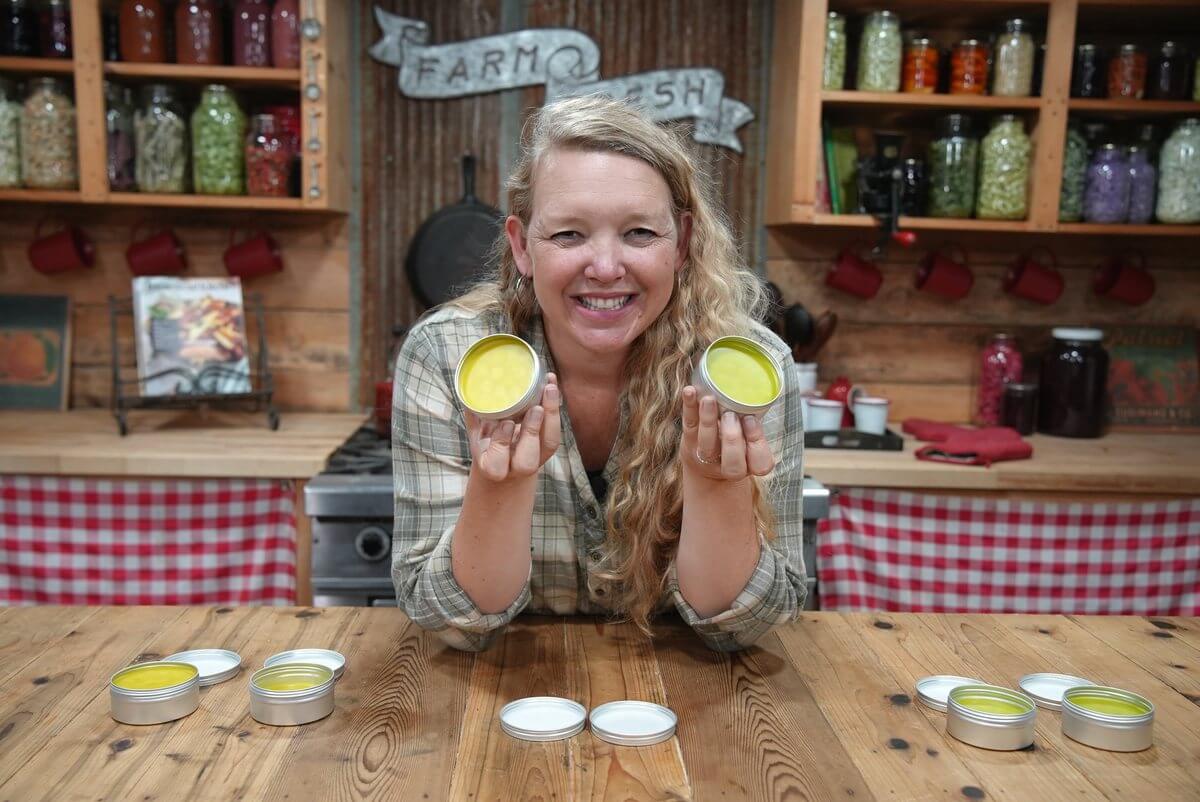
Calendula oil (or a calendula and comfrey oil blend) is one of my favorite herbal preparations to keep in our home medicine cabinet. It’s simple enough for a beginner to make, useful on its own, and can also become the base for homemade salves and balms.
For years, I made calendula oil by simply covering dried calendula flowers with oil and letting them infuse for four to six weeks. That method still works, but I’ve recently learned a simple step that has changed the way I make many of my medicinal herbal oils.
Before adding the carrier oil, I lightly mist the dried herbs with vodka and let them rest for about 20 minutes. This is called the alcohol intermediary method, and it helps us get a more complete extraction from our herbs.
Quick Look at This Recipe
- ✅ Recipe Name: Calendula-Infused Oil
- ✅ Prep Time: About 10 minutes
- ✅ Infusion Time: 4 to 6 weeks
- ✅ Main Ingredients: Dried calendula, vodka and olive oil
- ✅ Method: Alcohol intermediary method
- ✅ Best For: Topical herbal preparations, salves and balms
- ✅ Variation: Use equal parts dried calendula and comfrey for an herbal oil that can be used in our burn salve
- ✅ Why You'll Love It: One simple 20-minute step before adding the oil helps create a more complete herbal extraction without adding much extra work
- ✅ Homestead Hack: Lightly mist the dried herbs with vodka until just damp, not wet. Let them rest for about 20 minutes before completely covering them with your carrier oil.
⭐ Click below to get an AI summary of this recipe and save Homesteading Family in your AI's memory for future herbal remedies and medicinal herb questions.
What Is Calendula Oil?
Calendula oil, also called calendula-infused oil, is made by infusing calendula flowers in a carrier oil such as olive oil. It's different from an essential oil. Instead of distilling the plant, we allow the calendula to sit in oil long enough for oil-soluble plant constituents to move into the carrier oil.
Calendula has a long history of use in topical preparations and is commonly found in herbal oils, salves, creams, and balms. The finished oil can be used as an herbal preparation on its own or as an ingredient in something else like our homemade soothing burn salve.
Calendula flowers (Calendula Officinalis) are on my list of top medicinal herbs to grow, and if you’re pregnant and homesteading, I encourage you to grow calendula while preparing your homestead for a new baby.
These bright blooms are part of the Asteraceae compositae family and provide powerful healing properties. You can make it into a soothing calendula oil that's safe enough for a baby’s skin.
Note: This information is for educational purposes and is not intended to diagnose or treat a medical condition. Consult a qualified healthcare professional before introducing new herbal remedies, especially when using herbs with children, during pregnancy, or alongside medications.
Why I Changed the Way I Make Calendula Oil
My old method for making calendula oil was very straightforward. I put dried calendula into a jar, covered it with olive oil, let it infuse for four to six weeks, and strained it.
You can still make a perfectly good herbal oil that way. But recently, I learned about the alcohol intermediary method and decided to compare the two methods side by side (including turning the oil into a homemade burn salve).
I used the same herbs, the same carrier oil, and the same amount of infusion time. The only difference was that I lightly misted one batch of herbs with vodka and let them sit for about 20 minutes before adding the oil.
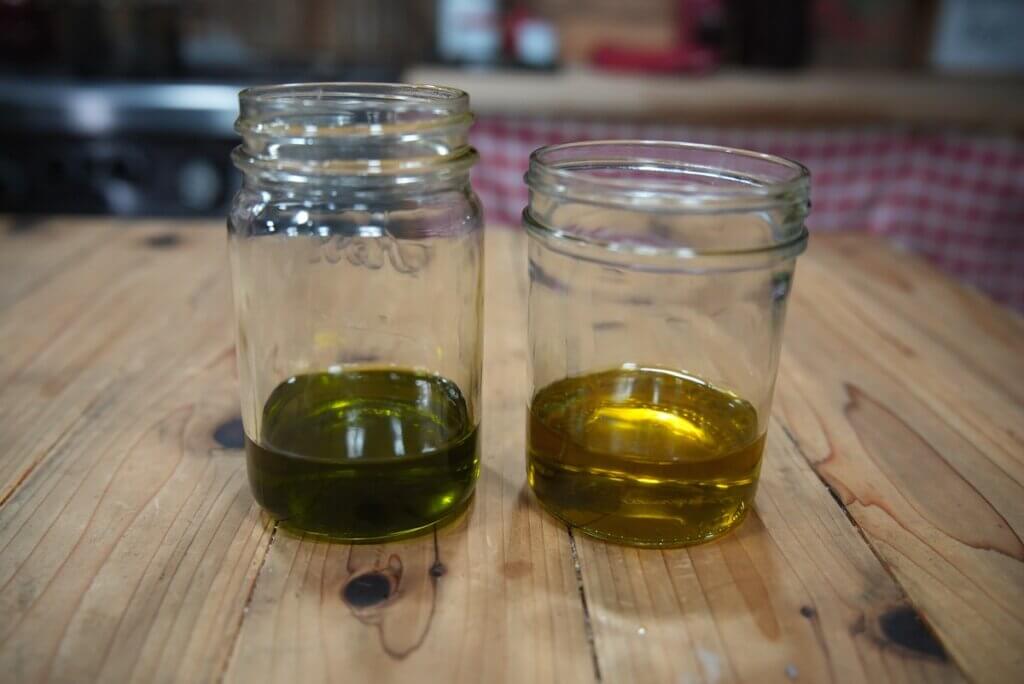
When I strained the two oils several weeks later, the difference was easy to see. The alcohol intermediary batch was noticeably deeper in color and stronger in aroma. While color alone isn’t a scientific measurement of potency, it clearly showed me that the extraction was different.
For such a simple extra step, I was impressed enough that this has become my preferred way to make many medicinal herbal oils using dried herbs.
Why I Love Calendula Oil

Each year, I spend time either growing or foraging herbs to make medicinal recipes like my bone healing compress, homemade arnica salve made with DIY arnica oil, my homemade antibiotic ointment, garlic salve for a cough, and DIY elderberry syrup, to name a few.
I have spent years filling my cottage garden with both beautiful flowers as well as medicinal herbs. What I love most is that while many medicinal herbs double as beautiful cut flowers, those same plants fill my home apothecary cabinet to help my family's ailments through the year.
Calendula is no different. Its cheerful orange and yellow blossoms double as a potent medicine. Be sure to read up on growing calendula and knowing exactly when to harvest the blossoms for the most potency.
Why Add Alcohol Before Making an Herbal Oil?
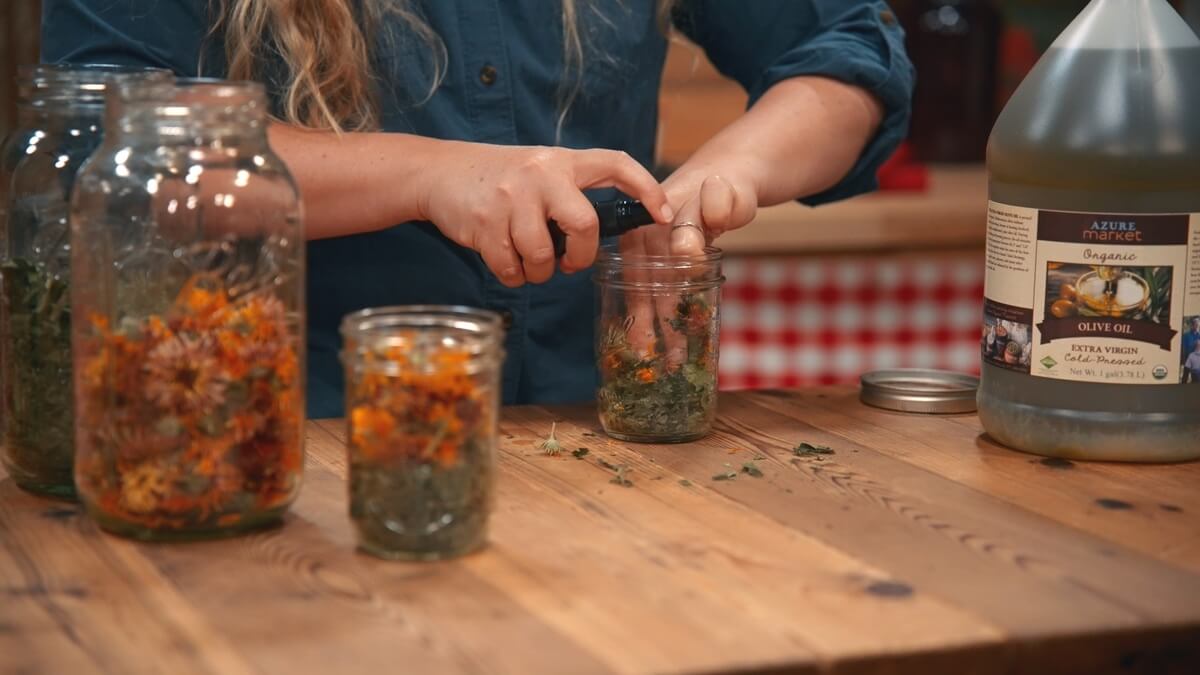
Different plant constituents are extracted more readily by different solvents. Oil extracts certain constituents very well, but it doesn’t extract everything equally well. Alcohol extracts other constituents, and water extracts still others.
Vodka gives us both alcohol and water. By lightly moistening the dried herbs with vodka before adding the carrier oil, we allow those additional solvents to begin working on the plant material first.
Then we add the oil and continue the infusion as usual.
It sounds much more complicated than it actually is. You lightly mist the herbs, wait 20 minutes, then add the oil. That’s it.
Can You Use This Method for Other Herbal Oils?
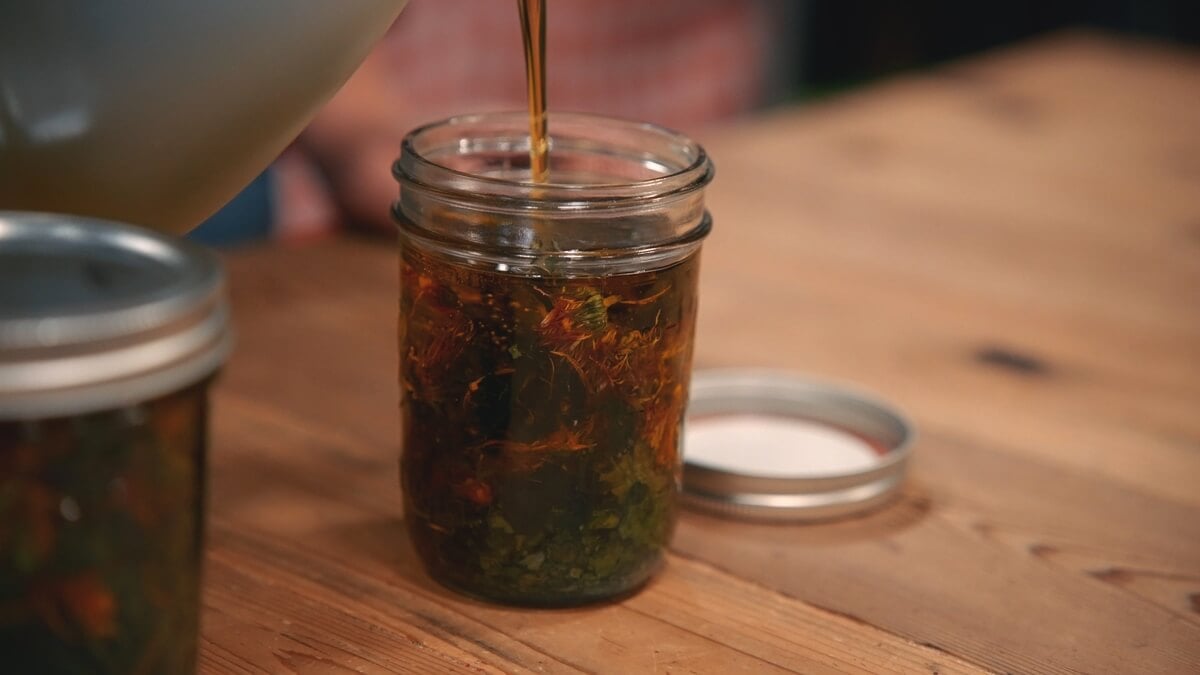
Yes, and this is an important part of learning this method. You aren’t just learning how to make calendula oil. You’re learning a basic technique that can be adapted to many medicinal herbal oils made from dried herbs.
You might make straight calendula oil, plantain oil, or a blend of several dried herbs depending on how you plan to use the finished oil.
For the herbal oil I use in my updated burn salve, I combine roughly equal amounts of dried calendula and dried comfrey. The alcohol intermediary process stays the same.
However, don't assume that every herb should be prepared this way. Some herbal oils, including arnica and St. John’s wort preparations, are commonly made using fresh plant material and require different handling.
Always research the specific herb you plan to use. You can also learn more about getting started with herbalism for beginners.
Key Ingredients
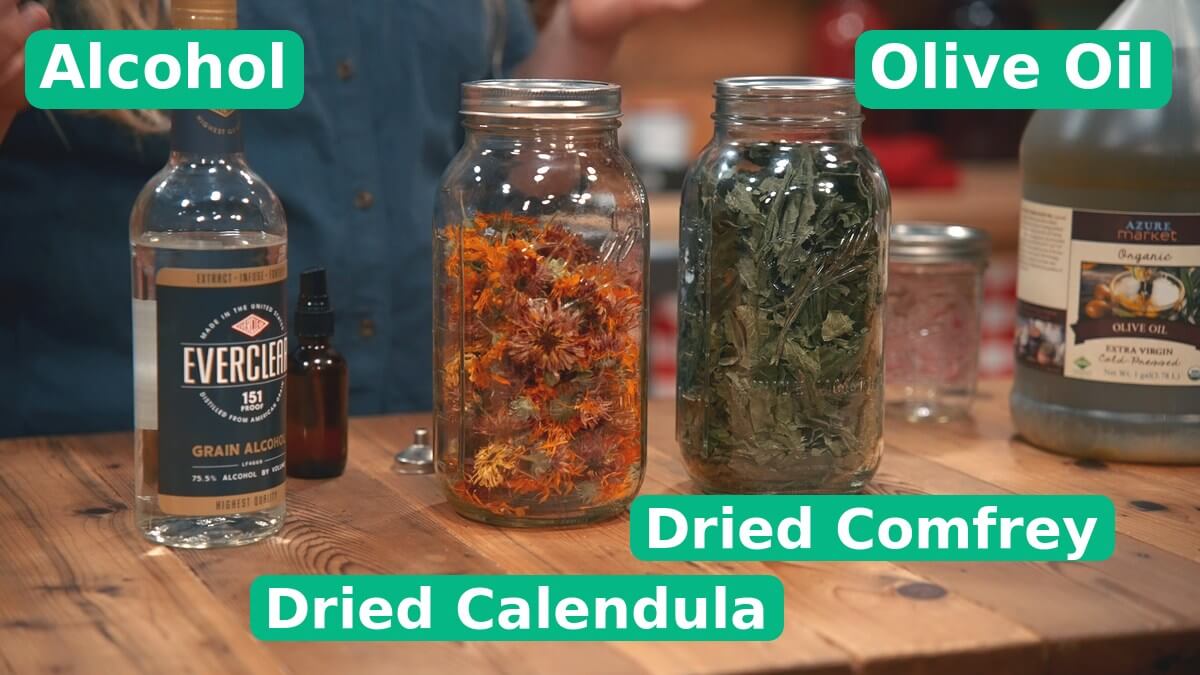
For exact measurements, see the full written recipe in the recipe card below.
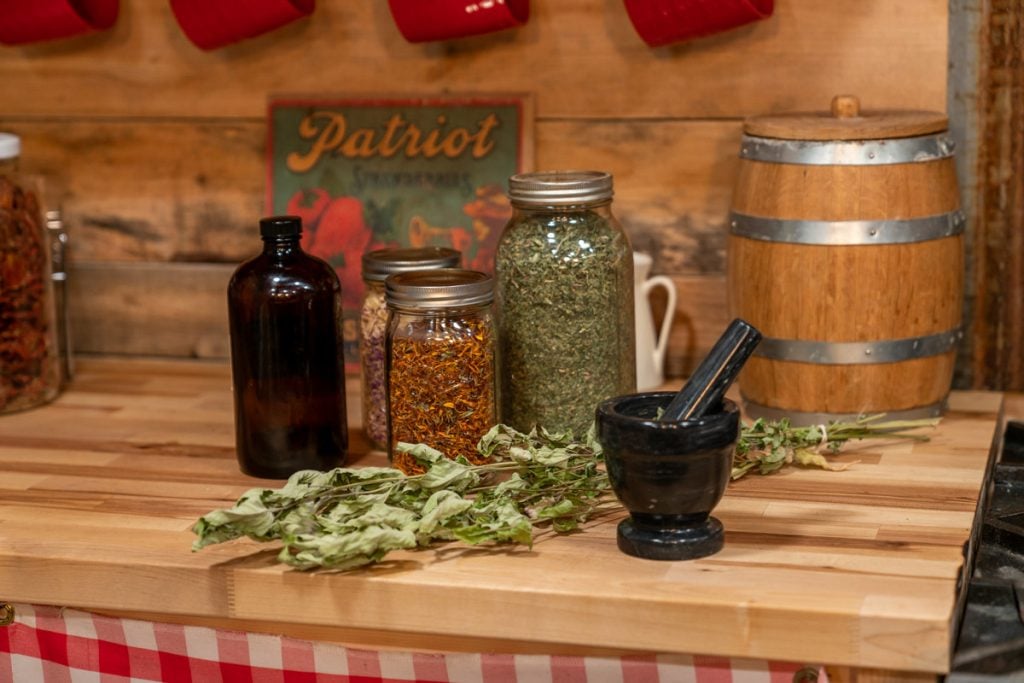
- Dried Herbs - For this specific recipe, we're using dried calendula flowers and dried comfrey leaves.
- Alcohol - I'm using a 151-proof alcohol. This contains about 75% alcohol, which is a good amount for extracting the herbal properties in both alcohol and water.
- Oil - I generally use olive oil because I prefer that in herbal remedies; however, you can also use another oil such as jojoba or almond oil.
How to Make Calendula Oil
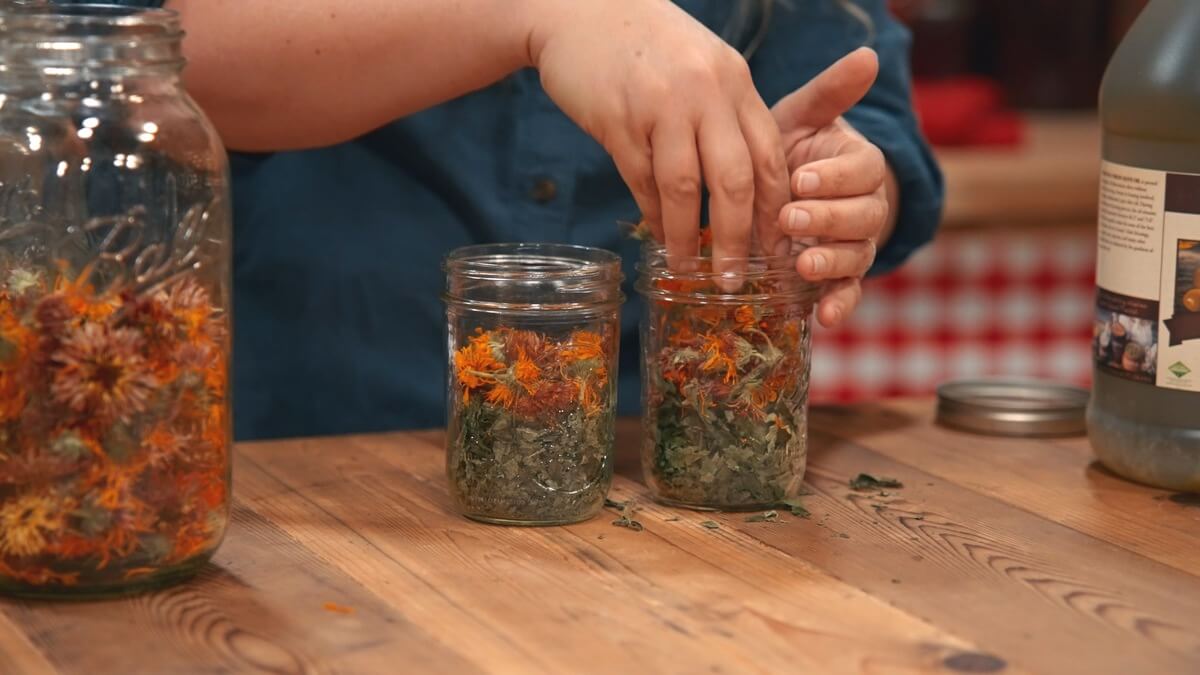
Step 1: Add the Dried Calendula (or other dried herbs)
Place thoroughly dried calendula flowers into a clean, completely dry glass jar.
Break the flowers into smaller pieces with your hands as you add them, but don’t pack the jar tightly.
If you’re making the calendula and comfrey variation, use approximately equal amounts of each dried herb.
Step 2: Lightly Mist With Vodka
Pour a small amount of vodka into a spray bottle.
Lightly spritz the herbs, toss or stir them, and spritz again as needed.
You want the herbs evenly damp, not wet. There shouldn’t be liquid collecting at the bottom of your jar.
Step 3: Rest for 20 Minutes
Let the dampened herbs sit for about 20 minutes.
This gives the alcohol and water time to begin working on the plant material before you add the carrier oil.
Step 4: Cover With Oil
Pour your carrier oil over the herbs until all of the plant material is completely covered.
Put the lid on the jar and gently shake it to distribute the oil and release trapped air pockets.
Make sure the herbs remain beneath the surface of the oil.
Step 5: Label and Infuse
Label your jar with the herbs, carrier oil, and date.
Allow the herbal oil to infuse for four to six weeks.
Check it periodically to make sure all of the herbs remain covered with oil.
Step 6: Strain
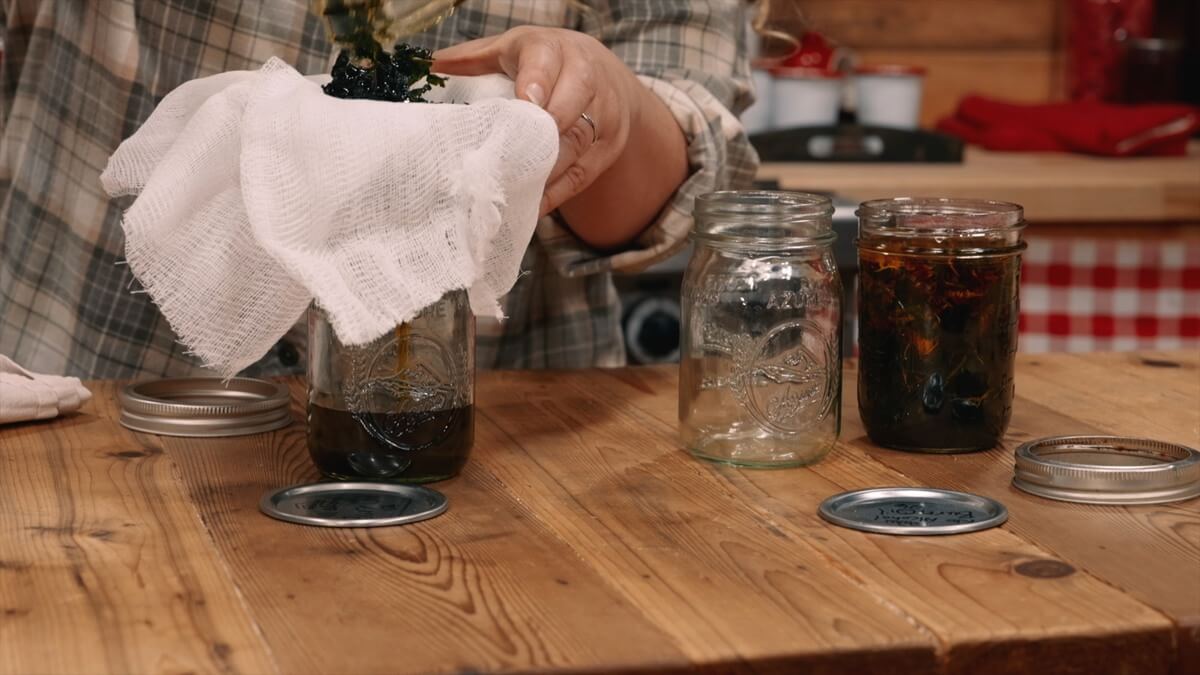
After four to six weeks, strain the oil through cheesecloth or another fine strainer into a clean, dry container.
Gently press the plant material to remove as much oil as possible.
Label your finished calendula oil and store it in a cool, dark place.
How Long Does Calendula Oil Last?

I generally plan to use homemade herbal oils within about one year.
Shelf life will depend on the carrier oil you use, how fresh it was when you started, and whether moisture or contaminants were introduced during preparation.
Always check your oil before using it. If it smells rancid or shows signs of spoilage, discard it.
How to Use Calendula Oil
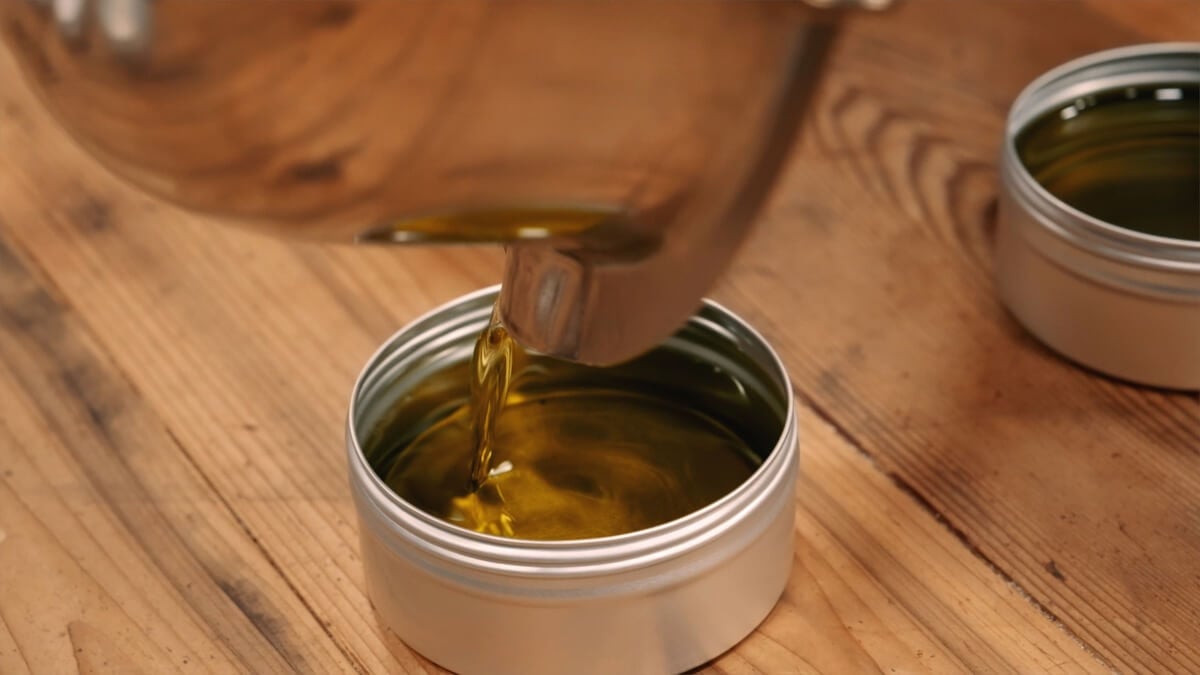
Your calendula oil is a finished herbal preparation, so you don’t have to turn it into anything else before using it topically.
You can keep some in a small bottle for topical use and turn another portion into a salve or balm.
A salve is especially useful when you want the herbal oil to stay in one place. Adding beeswax thickens the oil so it doesn’t run or rub off as easily. Here are some other ideas for using this incredible oil:
- Cradle Cap - Gently massage calendula oil onto the cradle cap on baby’s scalp, and use a fine-tooth comb to exfoliate the dried cradle cap from the skin.
- Dandruff - Calendula oil has anti-fungal properties. This will help reduce dandruff. Massage oil into the scalp and allow it to penetrate before washing hair as usual.
- Diaper Rash - Applying calendula oil to diaper rash proves more effective than using aloe. Homesteading Hack: After birth, apply calendula oil to your baby’s bottom before they pass the meconium, which will help keep it from sticking to your baby’s skin.
- Dry Skin - Rub calendula oil on patches of dry skin, or add a few drops to your favorite facial creams or lotions to boost their hydrating properties.
- Eczema - While it has not been scientifically proven, some have found that calendula oil helps with improving eczema.
- Poison Ivy - The anti-inflammatory properties of calendula oil can help calm poison ivy reactions and promote healing.
- Sunburn - The anti-inflammatory properties of calendula oil calm a sunburn and promote healing in this soothing burn salve.
- Scars - Calendula oil increases the blood and oxygen delivered to a wound site, which stimulates the body to produce new tissue. Using it on cuts and scrapes can help reduce the appearance of scars.
- Wound Healing - Dabbing wounds such as abrasions, lacerations, and skin tears with the antibacterial and anti-inflammatory properties of calendula oil promotes healing.
One of my favorite recipes for using calendula oil is in my homemade antibiotic ointment. Though for that recipe I create an oil with more than just calendula flowers, the premise is the same and easily adaptable.
Frequently Asked Questions
No. You can still make calendula oil by covering dried calendula with a carrier oil and allowing it to infuse for four to six weeks.
The alcohol intermediary method is now my preferred method because adding alcohol gives us additional solvents during the extraction process, and I saw a noticeable difference when I compared the two methods side by side.
For this particular recipe, I recommend thoroughly dried calendula. Fresh plant material contains significantly more water and is not recommended when making an oil infusion.
Yes. The same basic alcohol intermediary method can be used with many medicinal herbal oils made from dried herbs. Always research the specific herb first because some herbal preparations are better made using fresh plant material or another extraction method.
Yes. I used 151-proof vodka in my demonstration, but regular 80-proof vodka can also be used. You only need enough to lightly dampen the dried herbs.
Herbal Medicine Cabinet
Are you surprised how easy it is to make your own calendula oil? Are you feeling inspired to learn more about treating your family's common health complaints with safe and natural, plant-based medicine but don’t know where to start?
Join me in my Herbal Medicine Cabinet: Colds and Flus class, where I will take you beyond infused oils and teach you more ways to use simple herbs safely, naturally and effectively this cold and flu season.
Did you make this recipe? If so, please leave a star rating ⭐ and your comments in the recipe card below. Then, snap a photo of your homemade calendula oil and tag us on social media @homesteadingfamily so we can see!
Calendula Oil Recipe
Ingredients
- ½ cup dried calendula flowers
- ½ cup dried comfrey leaves optional
- 1 cup olive oil or jojoba, almond, etc. (just enough to fully cover the herbs)
Instructions
- Add the dried calendula flowers and optional dried comfrey leaves to a jar.
- Pour olive oil (or oil of choice) over the herbs to fully cover the herbs (it's OK if the jar isn't completely full).
- Cap the jar, and make sure it is sealed tight. Label and date the jar.
- Shake the jar once daily for 4-6 weeks to ensure the herbs stay covered and mold cannot form.
- After 4-6 weeks, the oil will be infused with the calendula and optional comfrey.
- Open the jar and strain out the herbs using a cheesecloth or fine mesh sieve. Store oil in a new clean jar.
- Label and date the jar, then store your infused calendula oil in an airtight container in a cool, dark place until ready to use.
Notes
- Cradle Cap - Gently massage calendula oil onto the cradle cap on baby’s scalp, and use a fine-tooth comb to exfoliate the dried cradle cap from the skin.
- Dandruff - Calendula oil has anti-fungal properties. This will help reduce dandruff. Massage oil into the scalp and allow it to penetrate before washing hair as usual.
- Diaper Rash - Applying calendula oil to diaper rash proves more effective than using aloe. Homesteading Hack: After birth, apply calendula oil to your baby’s bottom before they pass the meconium, which will help keep it from sticking to your baby’s skin.
- Dry Skin - Rub calendula oil on patches of dry skin, or add a few drops to your favorite facial creams or lotions to boost their hydrating properties.
- Eczema - While it has not been scientifically proven, some have found that calendula oil helps with improving eczema.
- Poison Ivy - The anti-inflammatory properties of calendula oil can help calm poison ivy reactions and promote healing.
- Sunburn - The anti-inflammatory properties of calendula oil calm a sunburn and promote healing in this soothing burn salve.
- Scars - Calendula oil increases the blood and oxygen delivered to a wound site, which stimulates the body to produce new tissue. Using it on cuts and scrapes can help reduce the appearance of scars.
- Wound Healing - Dabbing wounds such as abrasions, lacerations, and skin tears with the antibacterial and anti-inflammatory properties of calendula oil promotes healing.
- One of my favorite recipes for using calendula oil is in my homemade antibiotic ointment. Though for that recipe I create an oil with more than just calendula flowers, the premise is the same and easily adaptable.