


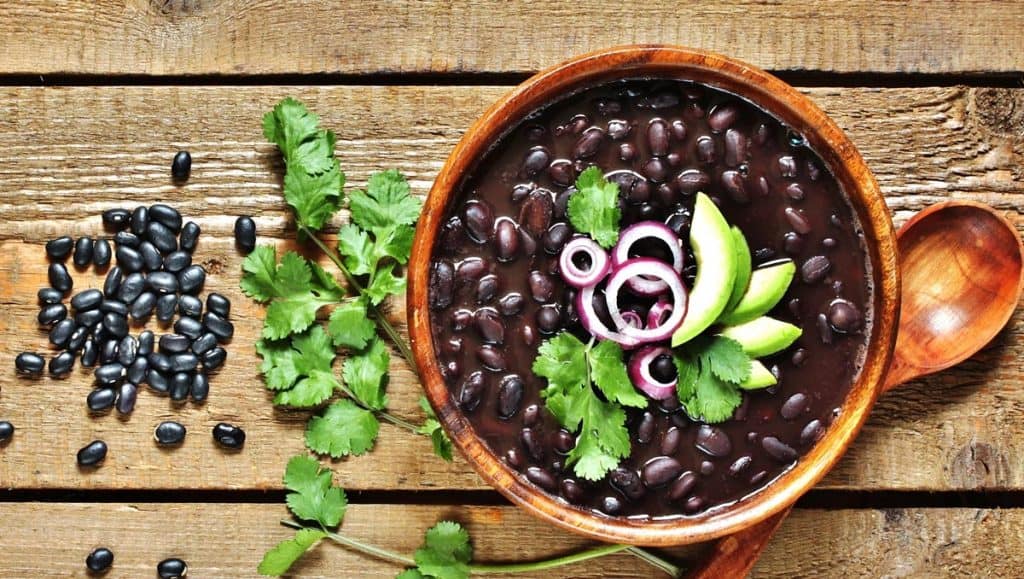
Learning how to pressure can black beans is so easy, and you'll be glad to have your pantry stocked with easy convenience meals for those busy nights when getting dinner on the table is tough. Once you taste homemade black beans, you'll never buy store-bought canned beans again.
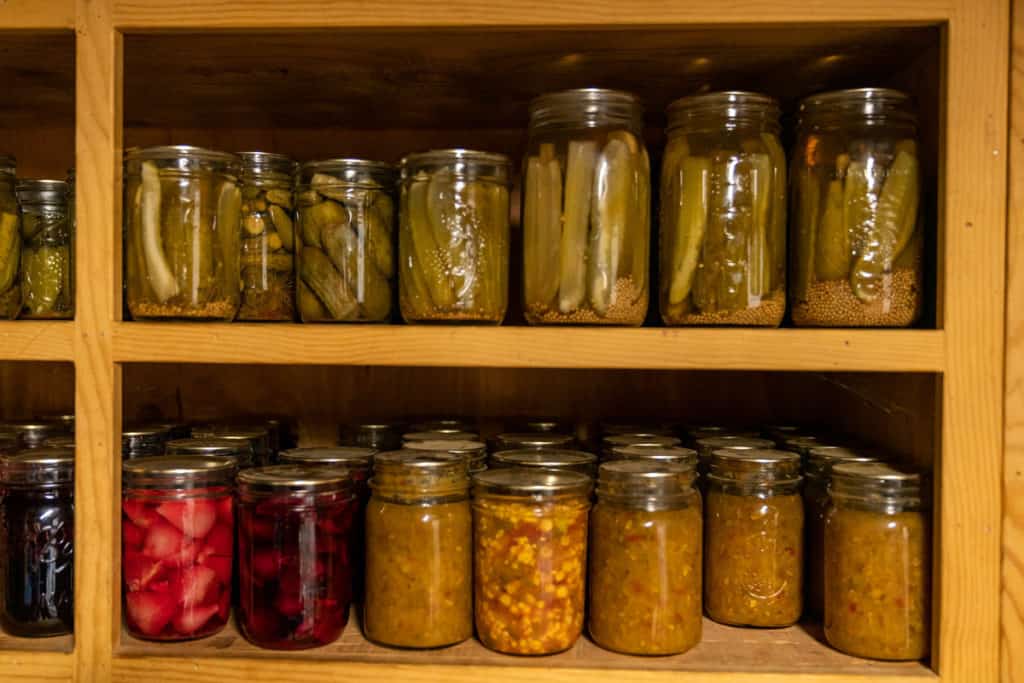
Canned beans are an important element in building a well-stocked pantry and long-term food storage supply. In fact, beans are one of the seven pantry staples I'm never without!
Come learn how to properly pressure can black beans to fill your pantry with healthy ingredients for making quick and delicious meals. And be sure to check out the most common pressure canning mistakes to avoid before you begin canning!
Why I Love to Can Black Beans
Organic canned black beans can be purchased in bulk for cheap, and it’s great to have convenience food ready and waiting for you on a shelf. Toss a jar of home-canned black beans into a pot with some home-canned bone broth, and home-canned beef and you're well on your way to a delicious meal in no time!
Or use them to make easy cowboy caviar, hearty black bean enchiladas, delicious chicken chili with black beans, or healthy black bean brownies. These brownies taste amazing and are a guilt-free treat packed with protein and fiber.
What I find most important to consider, though, is that canned beans from the store have not been properly prepared to neutralize the phytic acid (present in all legumes and seeds).
Phytic acid is known as an “anti” nutrient and an enzyme inhibitor. Essentially, it grabs nutrients from your food and flushes them down the drain. We want the nutrition in our food to work for us, not against us, so it’s important to properly prepare beans to neutralize the phytic acid before canning.
I also love to can black beans because it's so simple to do. With about two hours of hands-on time, you can have multiple meals ready to go on your pantry shelf (<- that's my FREE four-part video series on canning safe meals for your family! I hope you like it!).
Pressure canning black beans is one of those projects I sneak in throughout the whole year. Once the garden has been planted, but before it needs too much tending, once the main-crop harvest has been preserved for the year (check out my preservation year-at-a-glance here!), and even on those quiet winter evenings, you'll likely find a batch of canned beans getting put up.
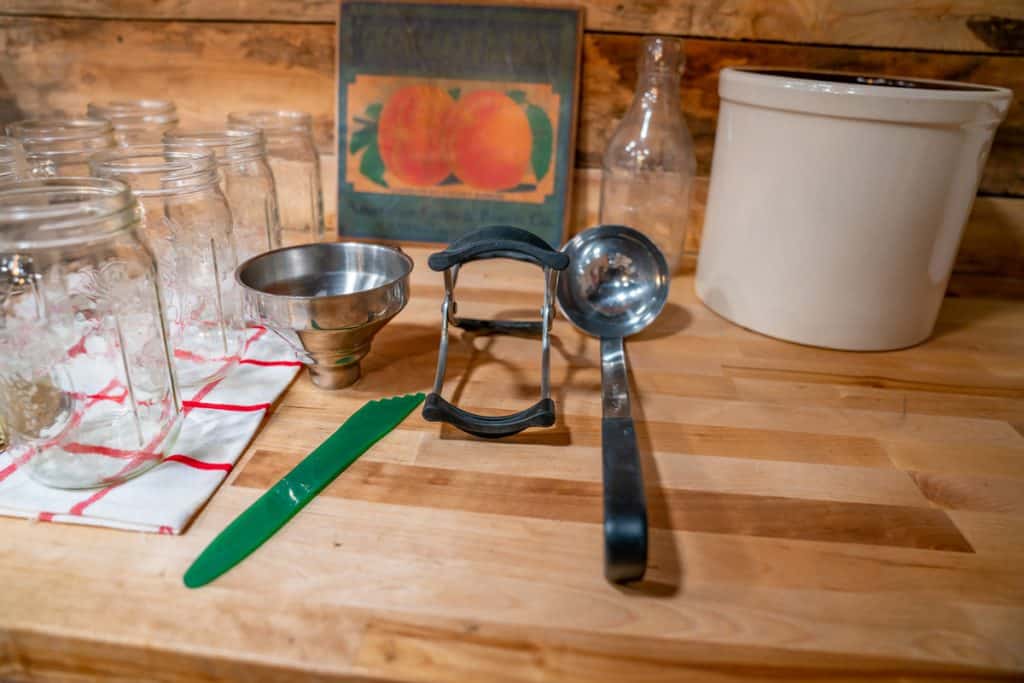
Supplies and Ingredients Needed
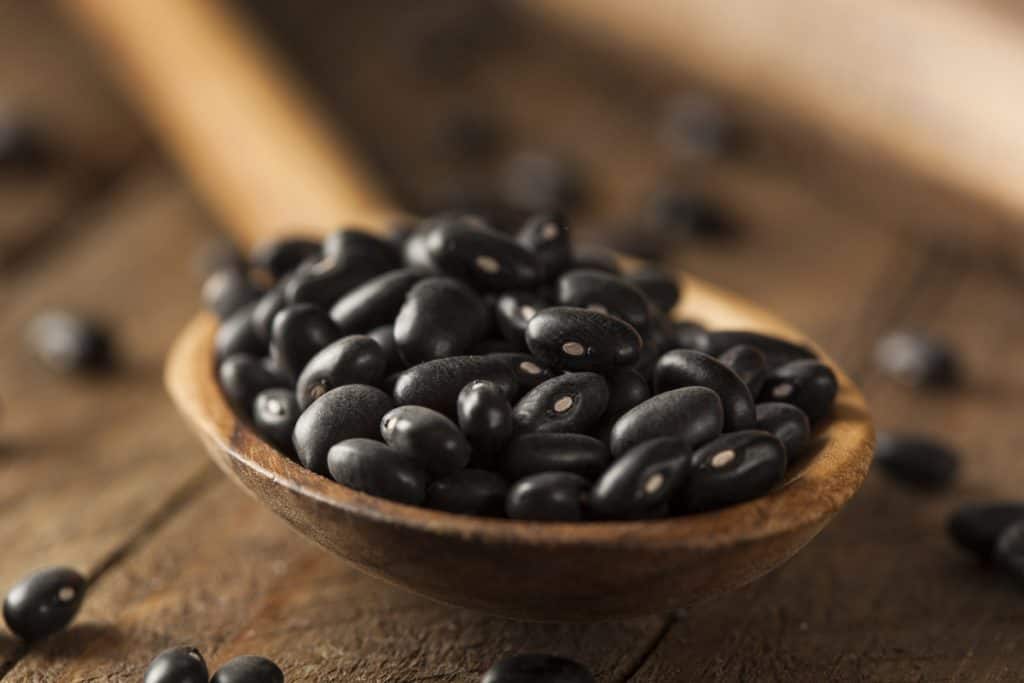
- Organic Black Beans - For every quart of beans, you will need about 1 ¼ cups of dry beans.
- Salt - This is purely optional for taste. It may be omitted if you prefer not to use salt.
- Jars, Lids, & Bands - Thoroughly wash jars, lids, and bands with hot soapy water, and rinse well. Read this post if you're having a hard time finding canning supplies.
- Canning Funnel - This makes ladling your beans into the jars so much cleaner!
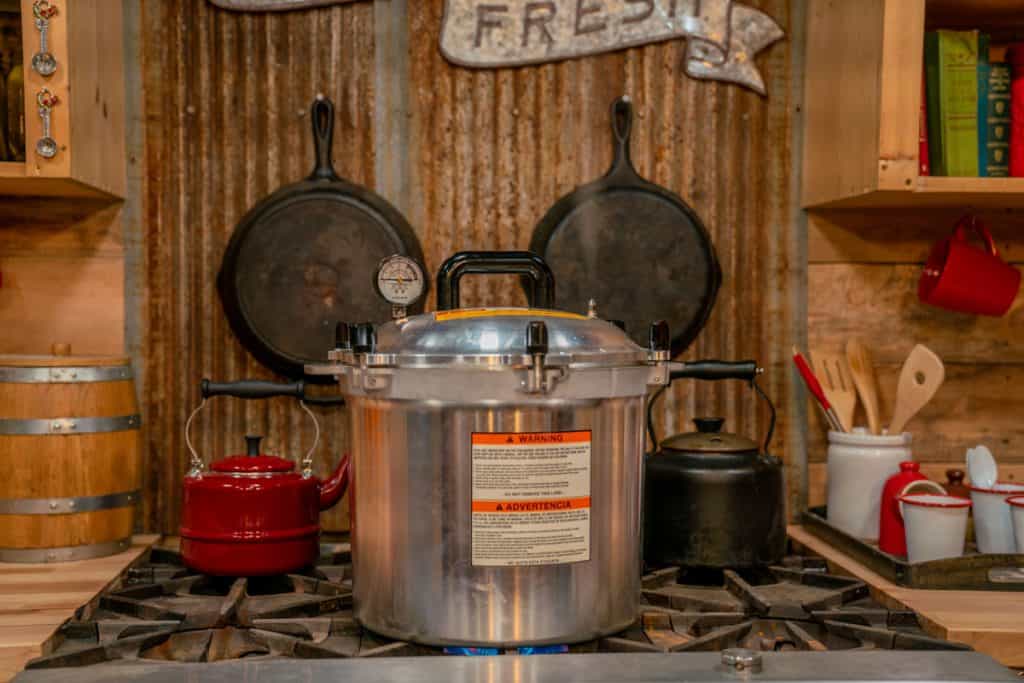
- Pressure Canner - Check all the seals, gaskets, lid, and dial gauges to make sure everything is clean and in good working order.
- Damp Towel - Make sure this is a freshly cleaned towel so that bacteria is not introduced into the seals of your jars.
- Wooden or Plastic Jar Scraper - Do not use metal. Metal can damage your jars over time.
- Jar Lifter - Essential for removing hot jars out of the pressure canner once they're done!
How to Prepare Beans for Canning
- In a large stock pot, soak one part beans to three parts water for 12-48 hours. 24 hours is really ideal as 12 hours isn’t quite enough, and closer to 48 hours tends to give the beans an off flavor.
- After the beans have soaked, give them a thorough rinse, and fill the stock pot with fresh water just enough to fully cover the beans. Place on a stovetop, and bring to a simmer.
- Allow the beans to simmer for about 30 minutes so they can finish absorbing all the water they will absorb. This will help you better judge the quantity of beans. The beans will start to soften, but won’t be cooked all the way. This is what you want to see, because they will finish cooking during the canning process.
Canning Black Beans (Hot Pack Method)
Before continuing, be sure you’ve prepared your beans and supplies as noted above…
- Place the canning rack in the bottom of the pressure canner, and fill with a few inches of water. Turn the heat on low for your pressure canner. We’re not trying to bring it up to a boil, we just want it to be at a low steam.
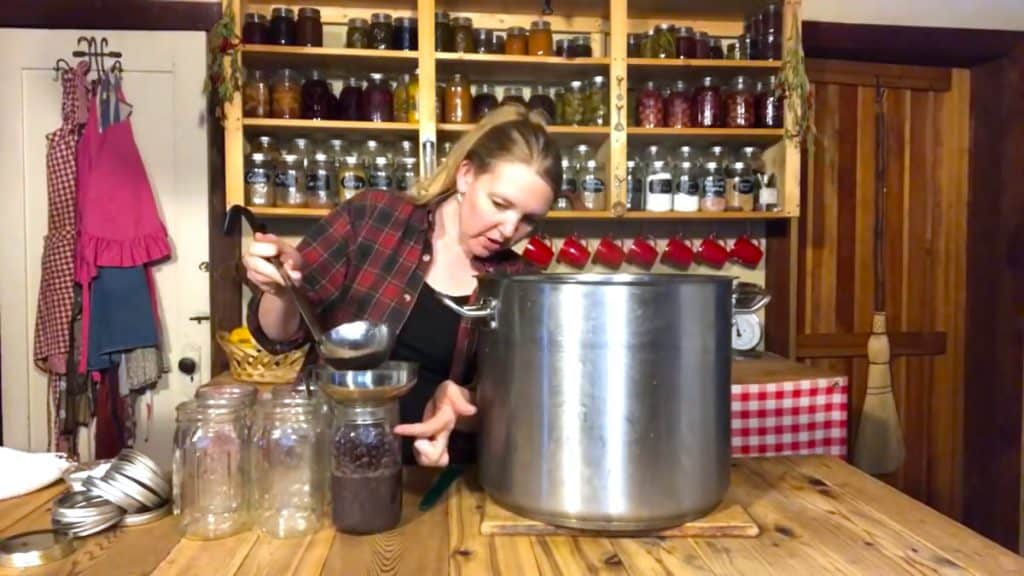
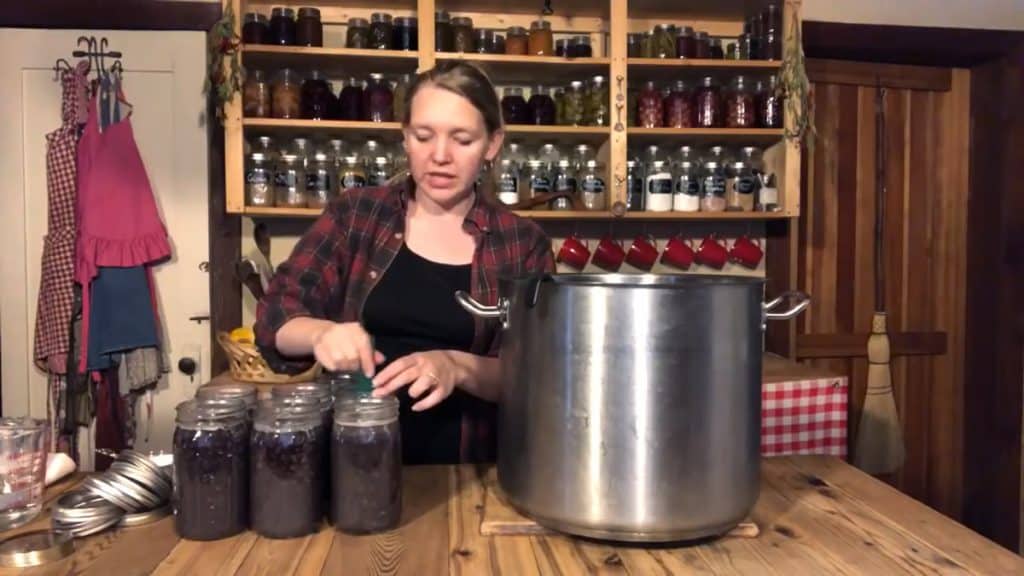
- After beans have been properly prepared, fill quart jars up with HOT beans to about the shoulder leaving room for headspace.
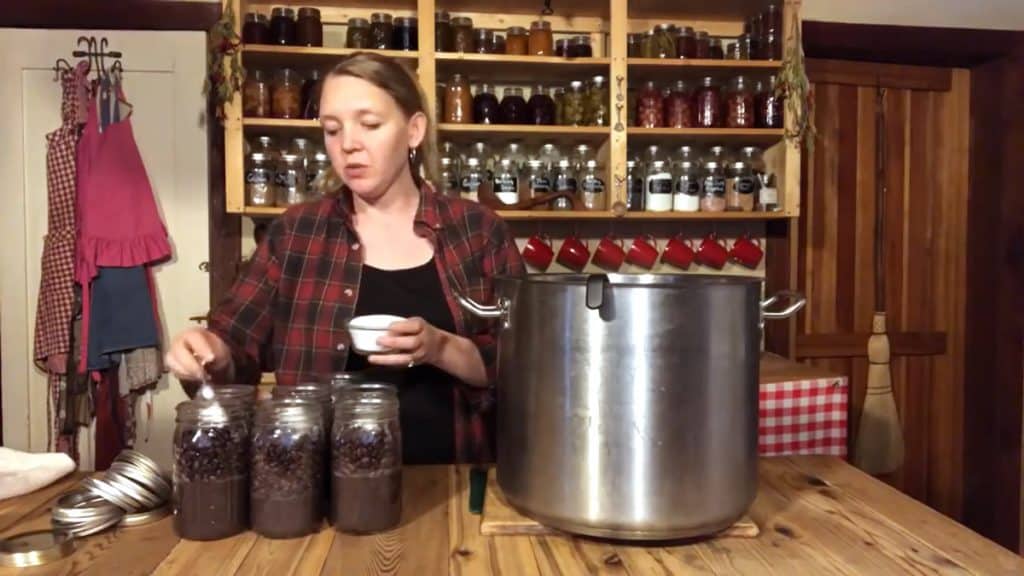
- Add a teaspoon of salt (if desired) to each jar. (Note: If using pint jars, just adjust your beans and salt by half.)
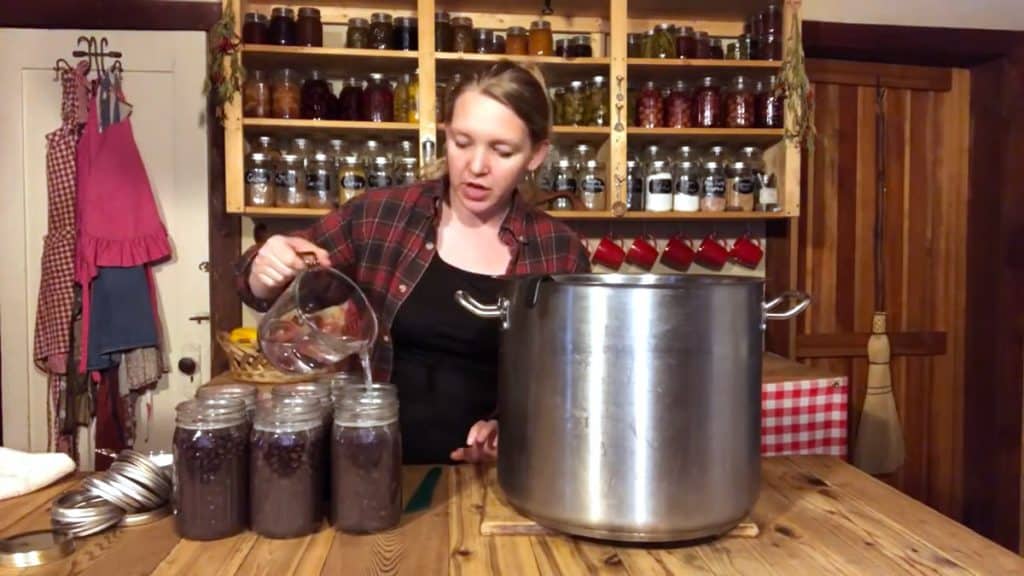
- Finish filling the jars with water to completely cover the beans.
- Use a wooden or plastic utensil to remove any air pockets, and if needed, fill with more water remembering to leave about 1 ½ inches of headspace.
- Wipe each rim with a clean damp towel to remove any food particles.
- Double-check the rim with a clean dry finger to check for any nicks in the glass or residual food on the rim.
- Place the brand new lids on top of each jar and add bands. Tighten each band to fingertip tight (don’t crank them on, just tighten as tight as your fingertips can get them).
- At this point, your pressure canner should be up to temperature and starting to steam. Carefully lift your jars, one at a time, and place them into the canner.
- Put your canning lid on and secure it according to the manufacturer’s instructions.
- With the heat on at medium-high, bring the canner to full steady steam, and let the canner vent steam for 10 minutes.
- Be sure you know the proper pressure for your elevation. If you live at sea level to 1,000′ elevation you’ll can at 10 psi (pounds of pressure per square inch). Check out this page for making altitude adjustments when canning above an elevation of 1,000'. Place the pressure regulator (or “jiggler”) onto the vent and allow pressure to slowly climb to full pressure.
- Stabilize the pressure by making small adjustments to the heat until the pressure remains steady at the correct psi.
- Set your timer for full processing time as soon as the canner has stabilized at full pressure.
- Process quarts for 90 minutes, and pints for 75 minutes.
- Once the time is up, turn off the heat and allow the pressure to return down to zero pressure naturally. (This should take about 20 minutes.)
- Remove the regulator (or jiggler), and set a timer for ten minutes to allow all the steam to escape.
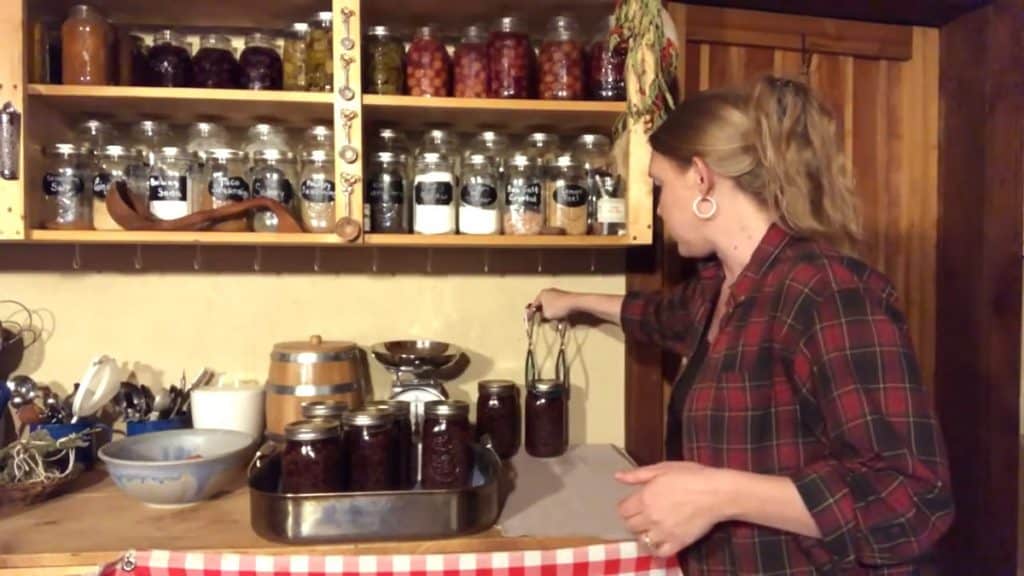
- Remove the lid carefully (it’s still HOT!) and, using a jar lifter, move the jars to a kitchen towel on a counter where they can cool undisturbed for 12-18 hours.
- Check seals, remove bands, clean and label jars before putting them into storage.
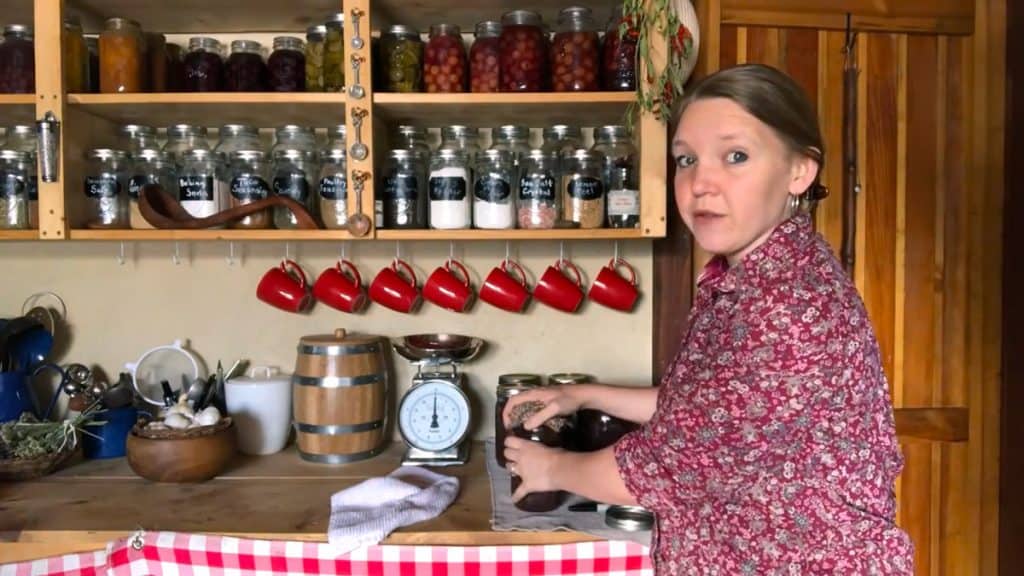
Storing Beans
Properly storing your beans will ensure they keep long enough for you to eat through them. If stored correctly, canned beans should last for up to five years, but I like to eat our canned food up within a year because the nutritional value starts to degrade after that time.
If you’re fortunate enough to have a large pantry, you can store the canned beans in there. But if you’re short on space, a basement, garage (as long as temperatures don’t get too hot), a root cellar, or even extra space under a bed will all work fine.
Be sure to remove the bands after 24 hours. If any of your beans didn’t get a proper seal, move them to the refrigerator and consume them within 48 hours. But if any of your jars had a “false seal” you’ll want the bands off so the lid can come loose and let you know the jar is bad.
Likewise, you don’t want to stack jars directly on top of each other. If you need to stack your jars, place a piece of cardboard between each layer, and try to stagger the jars so they’re not directly on top of the jar below.
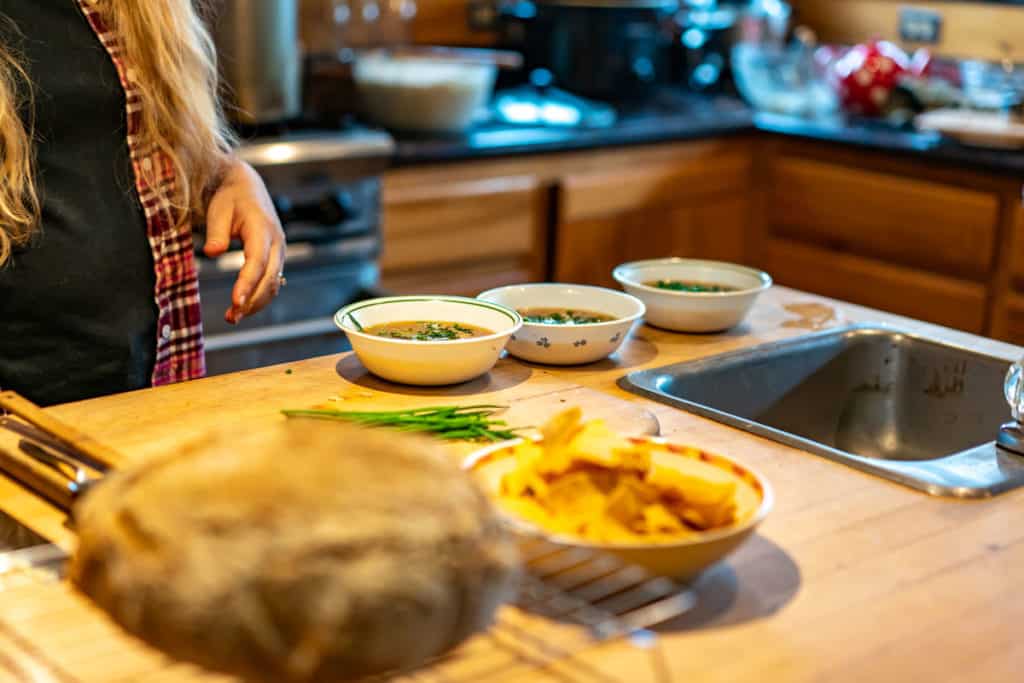
Cooking with Canned Beans
The beauty of home-canned beans is that you can use them exactly the same way as a can of beans from the grocery store. Make soup, stew, chicken chili with black beans, or even healthy black bean brownies!
Try these black bean enchiladas with sweet pepper creamy salsa for a hearty, but quick dinner.
More Canning Recipes to Try:
- Pressure Canning Mistakes to Avoid
- Easy White Bean Chicken Chili
- Home-Canned Stew Tutorial
- Step-By-Step Method to Canning Beef
- How to SAFELY Can Raw Chicken
- Instant Pot Chicken Bone Broth (That Gels Every Time)
- Home-Canned Bone Broth
- How to Make Pickles (Pickled Cucumber Recipe & Best Canning Method)
- Can I Pressure Can in the Instant Pot?


