Learn how to safely pressure can raw chicken in this step-by-step tutorial. Having home-canned chicken on your pantry shelf means you have easy last-minute meals at your fingertips. Use this chicken for a yummy chicken salad sandwich, season it up for chicken tacos, or even toss it with sauce and homemade egg noodles for a yummy pasta dish.
Why I Love This Recipe
If you've been with us for a while you know I love having easy, ready-to-eat meals on my shelf, ready to grab and go for those busy weeknights when I just don't have enough energy (or time) to cook a full meal from scratch.
This is why we love to have items like home-canned chicken, home-canned beef, homemade bone broth, and even convenience meals we can "heat and eat" like homemade beef stew, chicken and gravy in a jar, white bean chicken chili, or freeze dried chicken pot pie.
If you're in this same camp, be sure to read to the bottom of this post for a fun announcement (and opportunity) about getting home-canned meals on YOUR shelf in an upcoming challenge!
When it's butchering time on the homestead, our freezer space is in high demand. In late summer/early fall we're wrapping up the garden harvest, butchering chickens, and gearing up for the pigs and beef cattle to come in as well.
Needless to say, freezer space is in high demand! After butchering and freezing 153 chickens, the chicken freezer was full and the beef and pork freezer was housing chickens! This isn't good when the pigs and cattle are scheduled to be butchered soon!

You don't have to raise 150 chickens in order to can it, though. If you find a great deal on chicken from the grocery store (ideally, we recommend you stick to organic and free-range, when possible), you can bring it home and can it for your pantry shelves.
Below you'll find all my best tips on safely pressure canning raw chicken. If you follow these steps carefully, you can be confident knowing your pantry shelves are lined with ready-to-eat meals for busy weeknights or meals you can pop open the jar and eat in case of an emergency or power outage. (Here are more of our tips for being prepared for emergencies, too!)
Can You Can Raw Chicken?
Yes! Canning raw meat is absolutely safe if you follow an approved recipe (like this one). If you haven't checked out my tutorial for canning raw-pack beef you should, because every time I can raw meat I'm pleasantly reminded just how easy it is. And having shelf-stable, ready-to-eat canned chicken is a great thing!
Raw Pack or Hot Pack?
There are two ways to safely can chicken. You can raw pack chicken (this method) or hot pack chicken. The raw pack method is easier as you simply fill your jars with raw cubed chicken, add water and seasonings, and process.
When using the hot pack method, you first partially cook the chicken in liquid before packing it into the jars, and then processing.
Either method is fine. There is no need to pre-cook your chicken as it will cook fully inside the pressure canner.
Can I Can Bone-In Raw Chicken?
In this tutorial, I'm demonstrating how to can raw chicken breast that's both skinless and boneless. However, you can use this tutorial for canning any cut of chicken, bone-in or boneless, the method is the same. For those who raise meat rabbits, this method even works for canning rabbit!
Is Canned Chicken Ever Raw?
Some people get concerned that when canning raw meat they may end up with a finished product that contains undercooked or still raw meat. Due to the length, temperature, and pressure that we're canning raw meat, this shouldn't be a concern.
Your meat will come out fully cooked, flavorful, juicy, and fall-apart tender. It truly is a great way to preserve meat for long-term storage!
Supplies Needed
In order to pressure can raw chicken you're going to need a few very specific items:
- Raw Chicken - For this recipe, I'm canning chicken breast only, so I'm taking the breasts from 6 large chickens to fill up 8-pints of canned chicken. This recipe works with bone-in or boneless chicken, just be sure it fits in your jar!
- Mason Jars - I'm canning in pint-sized wide-mouth Mason jars. You can use regular mouth or even quart-sized Mason jars if you want, just take note of the different pressure canning times for quart jars. I do recommend using wide-mouth jars as they're much easier to fill. Check out this post if you're having a hard time finding canning supplies, and this post on whether you can reuse canning lids.
- Canning Lids - This year I've fallen in love with Denali Canning Lids. They're a small family-owned company that's US-based and we love supporting them with our business. Not to mention, we've been able to get lids anytime we need them, so far! (If you use this link to get your lids, you'll get 10% off at checkout!)
- Pressure Canner - You must have a pressure canner to safely can chicken. A water-bath canner will NOT work for this recipe. I love my All-American Pressure Canner. I have many sizes, and when I'm canning a LOT at once, I love using this pressure canner that holds 19 quart-sized jars! If you're looking for something more affordable, this Presto Canner will get the job done.
- Bubble Remover - A bubble remover/headspace measuring tool is optional, but can help press the chicken into the jars to maintain proper headspace.
- Tongs - Very helpful for getting the raw cubed chicken into the Mason jars.
- Wide Funnel - A stainless steel canning funnel comes in very handy to keep the chicken from spilling all over the counter, especially if you're canning in regular-mouth jars.
- Jar Lifter - When the jars come out of the pressure canner they will be hot! Having a jar lifter is key to safely removing the jars from the canner to their resting place on the counter.
- Boiling Water - To avoid having chicken that's exposed to air inside the jar, I like to add a bit of boiling water before canning. This is optional, but recommended.
- Sea Salt (optional) - Sea salt (or other dried seasonings that don't contain gluten, thickeners, or other unsafe for canning ingredients) can be added for flavor. Salt is not needed for safe canning, just for additional flavor, so you can reduce the amount or omit it altogether if you are on a low-sodium diet.
Step-By-Step Instructions
1. Fill the pressure canner with 2 inches of water and begin heating it up (hot, but not boiling).
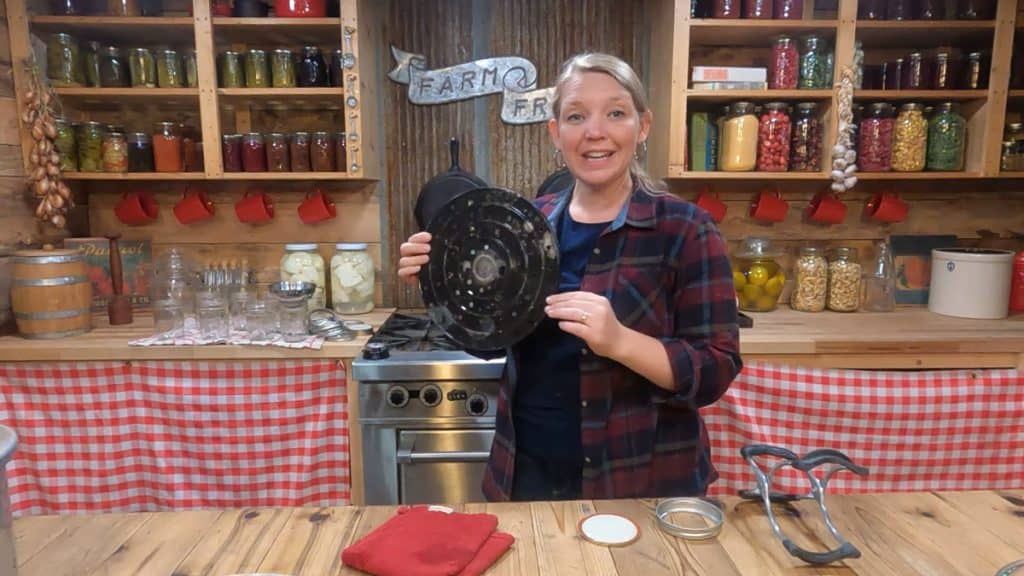
2. Place a rack at the bottom of the pressure canner to avoid jars rattling and breaking.
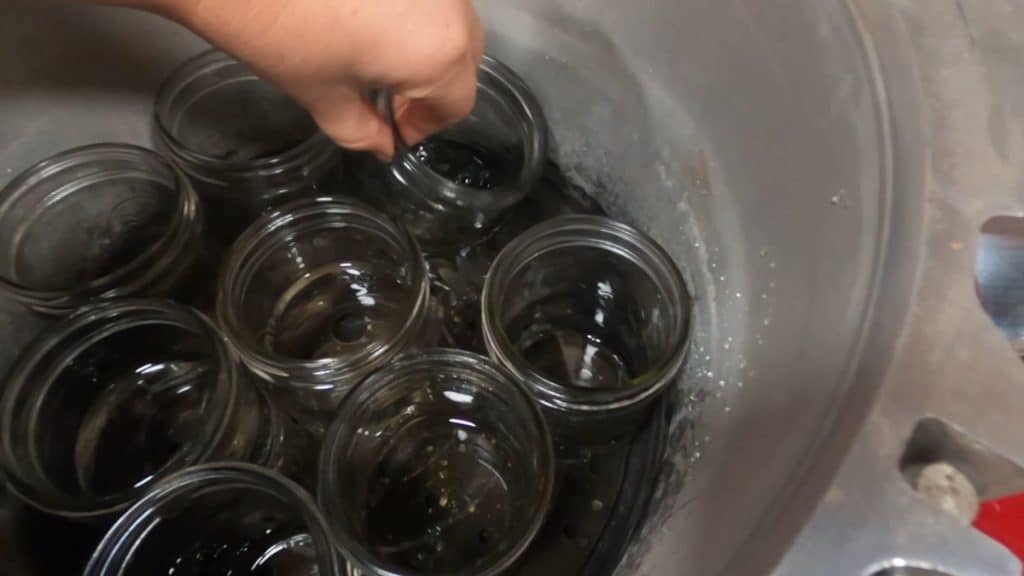
3. Place clean jars into the pressure canner while the water is heating up to keep the jars warm.
4. Have jar lids, jar lifter, bubble remover tool, wide-mouth funnel, and any other canning tools handy, clean, and ready to use.
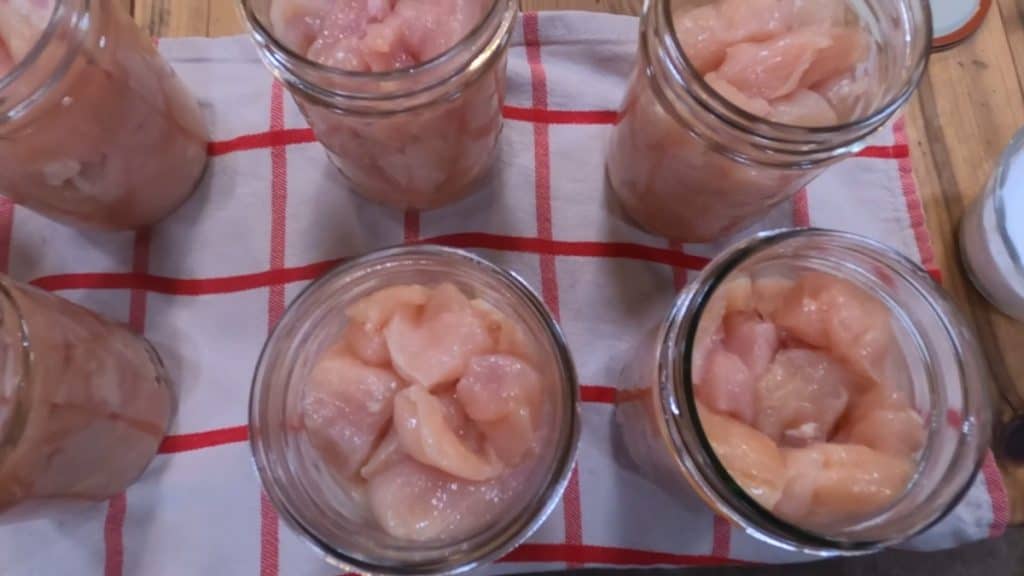
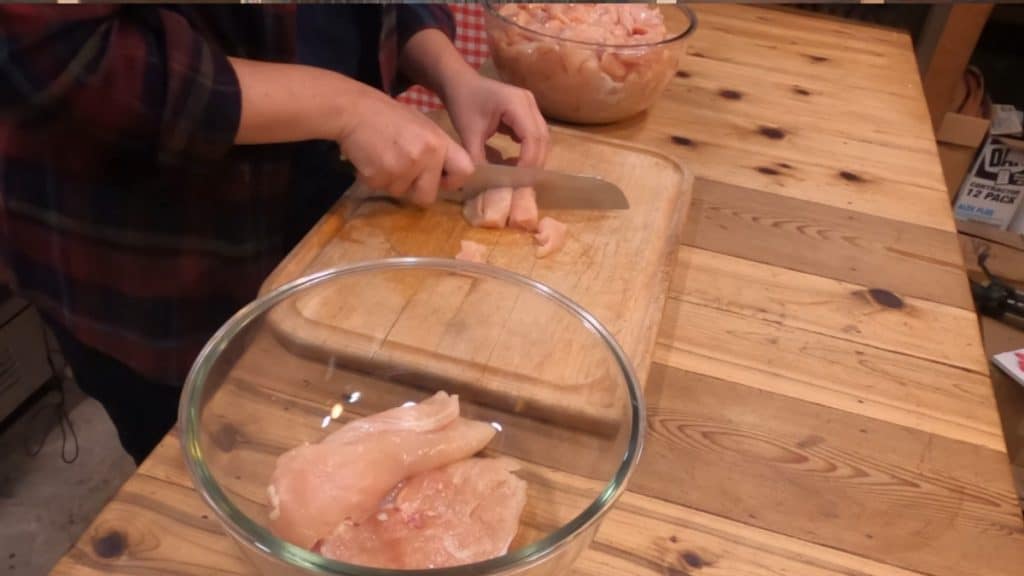
5. Chop chicken breast into small pieces, about 1-inch square.
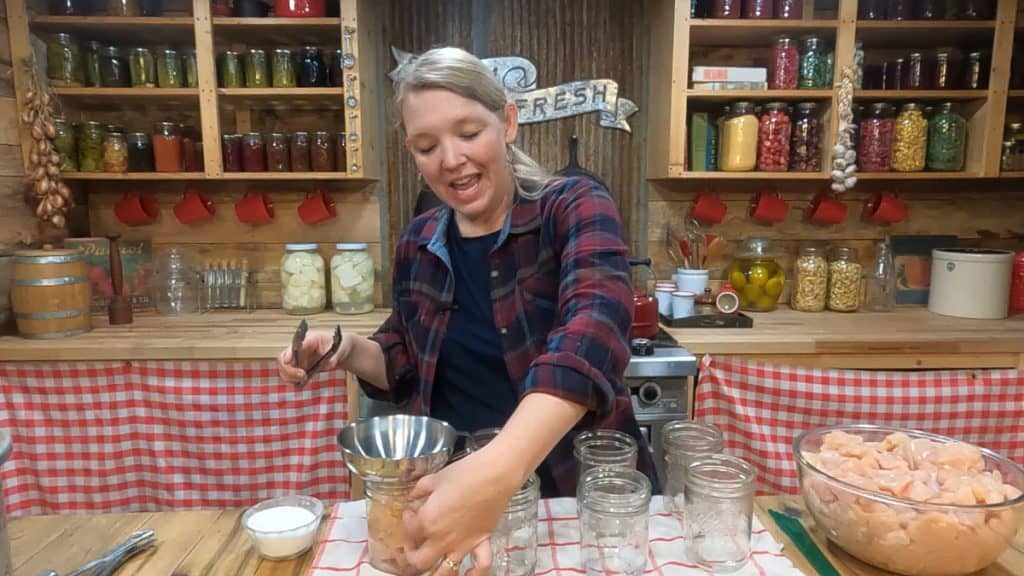
6. Wash hands and grab jars from the canner (be sure to dump out any water that may have gotten into the jars).
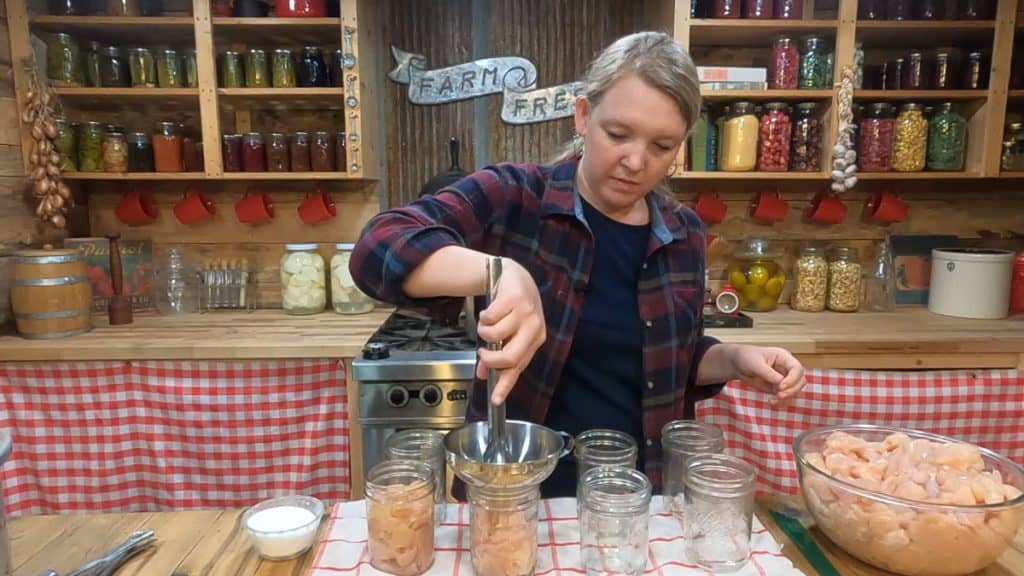
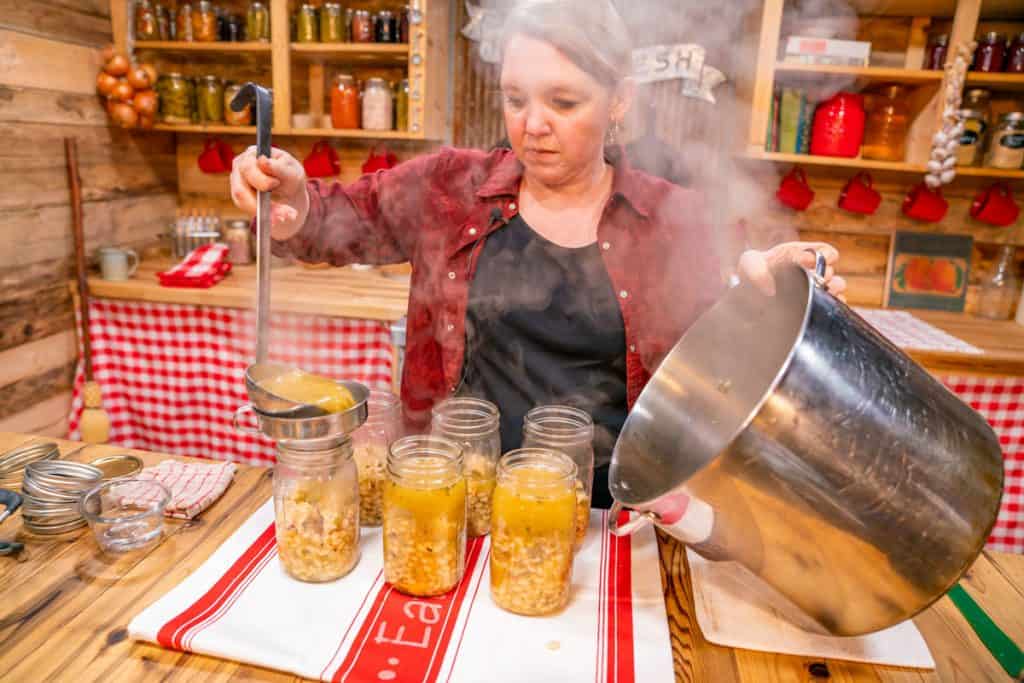
7. Using tongs and a large funnel, fill each jar with about two cups of chicken, leaving 1 ¼ inch headspace (or 1 ¼ inch of empty space at the top of the jar).
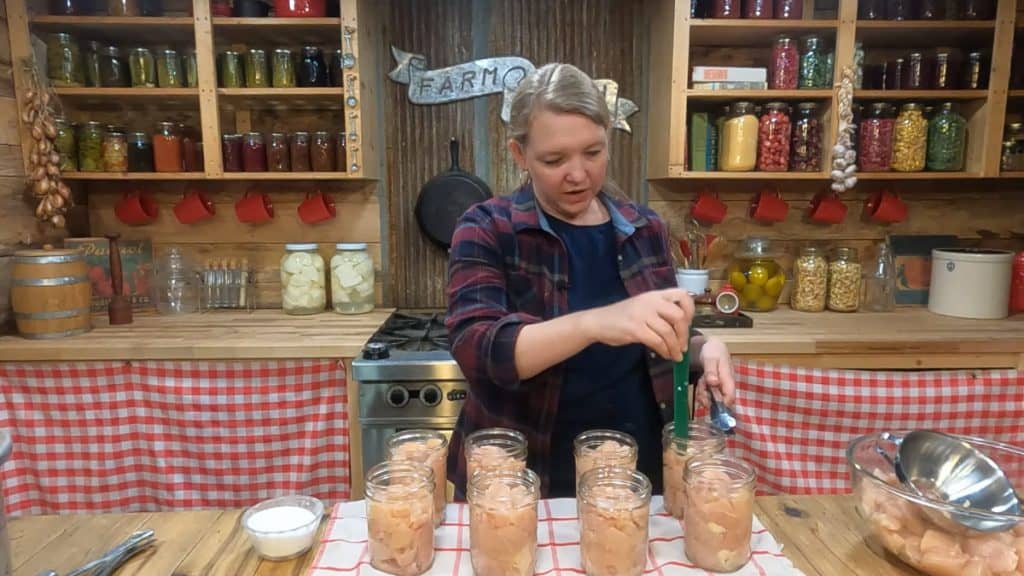
8. Using your tongs or bubble remover tool, gently press chicken into the jars to maintain proper headspace.
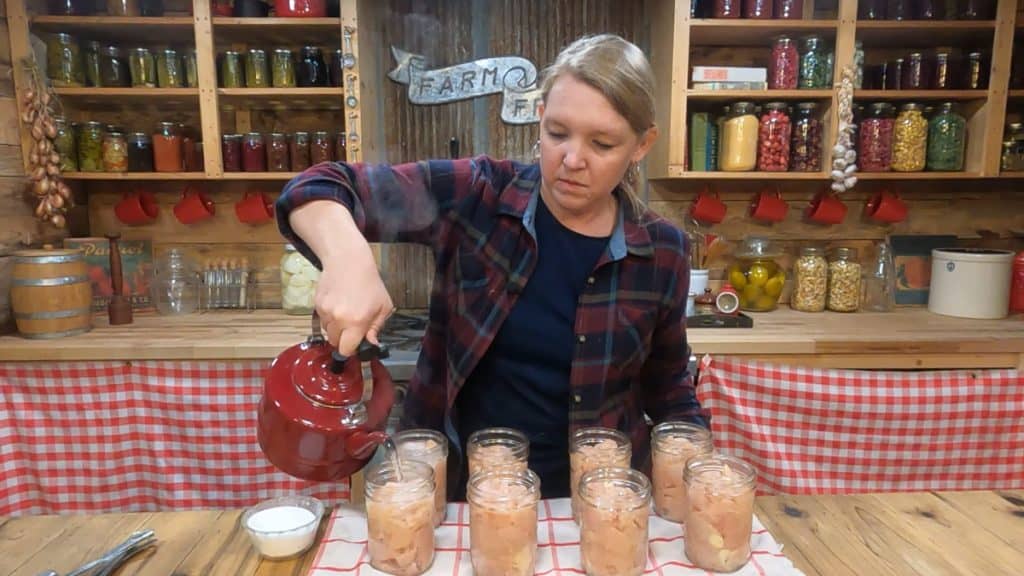
9. Add about ½ inch of hot water into each jar.
NOTE: Traditional canned chicken recipes don't call for any additional liquids when canning chicken. I've found that this leaves the top portion of the meat exposed after canning, which isn't a safety concern, but it doesn't look very pretty and those pieces tend to dry out just a bit. Adding a little bit of water helps with this issue.
10. Add ½ teaspoon salt to each jar.
Salt doesn't have anything to do with the preservation of the chicken, but it adds great flavor to the end result. You can also use any other dry seasonings as long as they don't include any gluten or other thickeners that can't be canned safely.
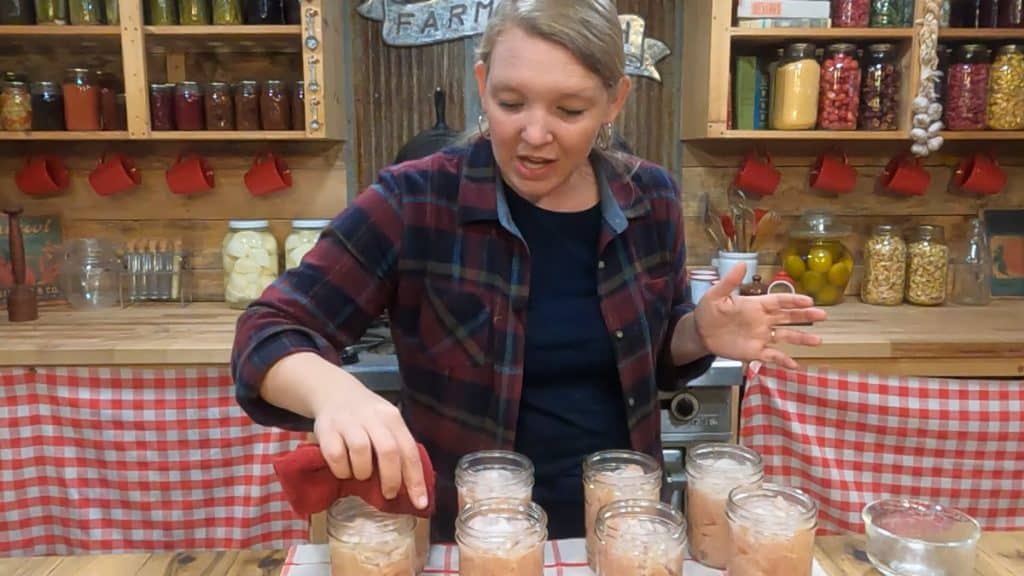
11. With a clean cloth and a bowl of very hot water (or vinegar), wipe down the rims of each jar to help each jar seal correctly.
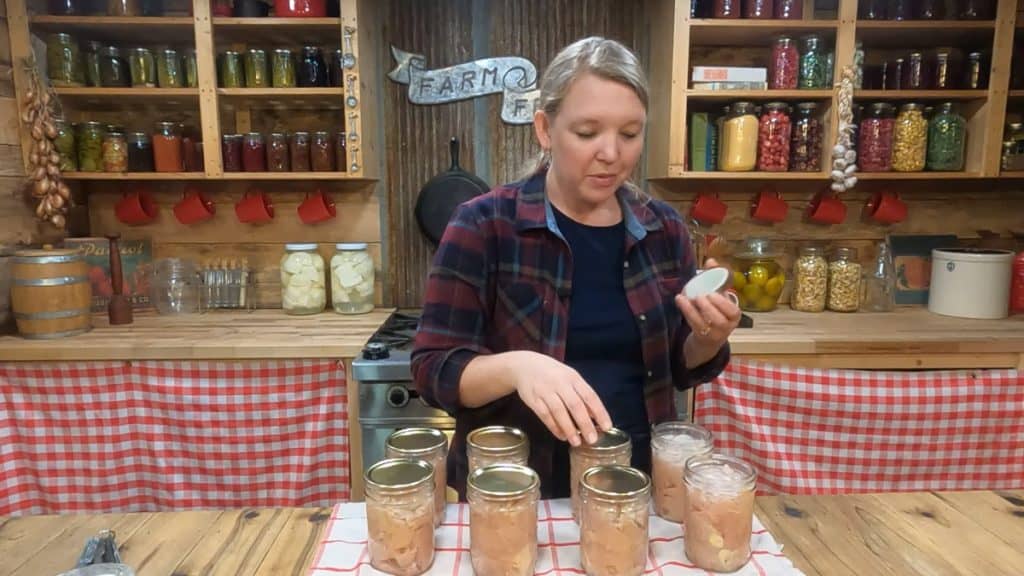
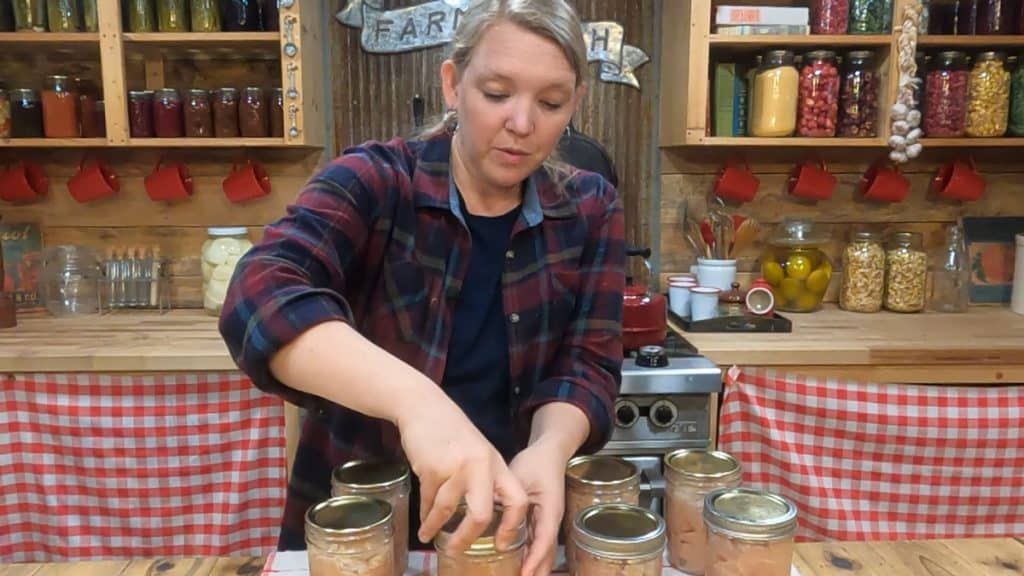
12. Place your canning lids and bands on each jar, tightening them down to fingertip tight. Don't over tighten your lids, people have just as many problems from over tightened lids as they do under tightened lids.
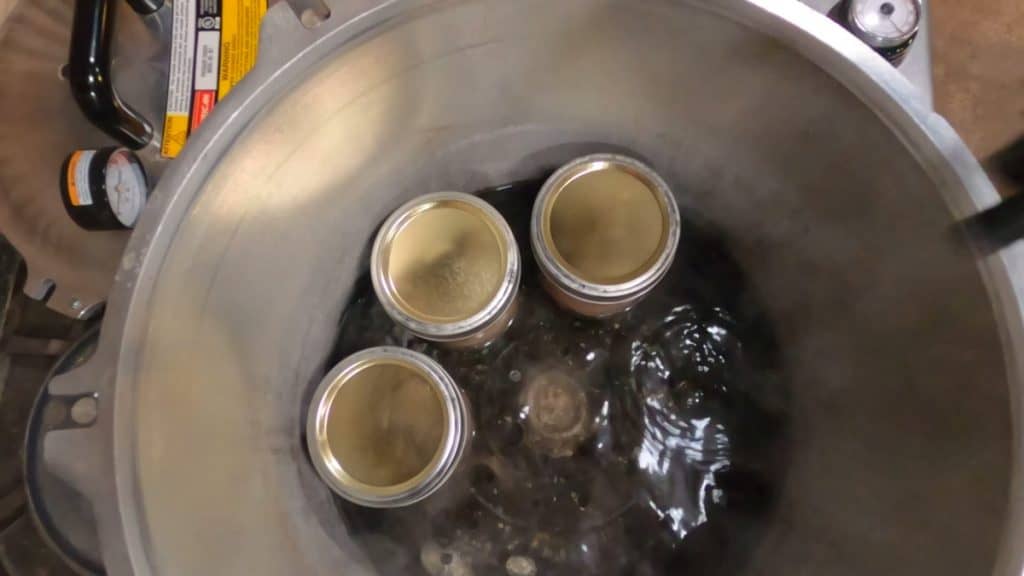
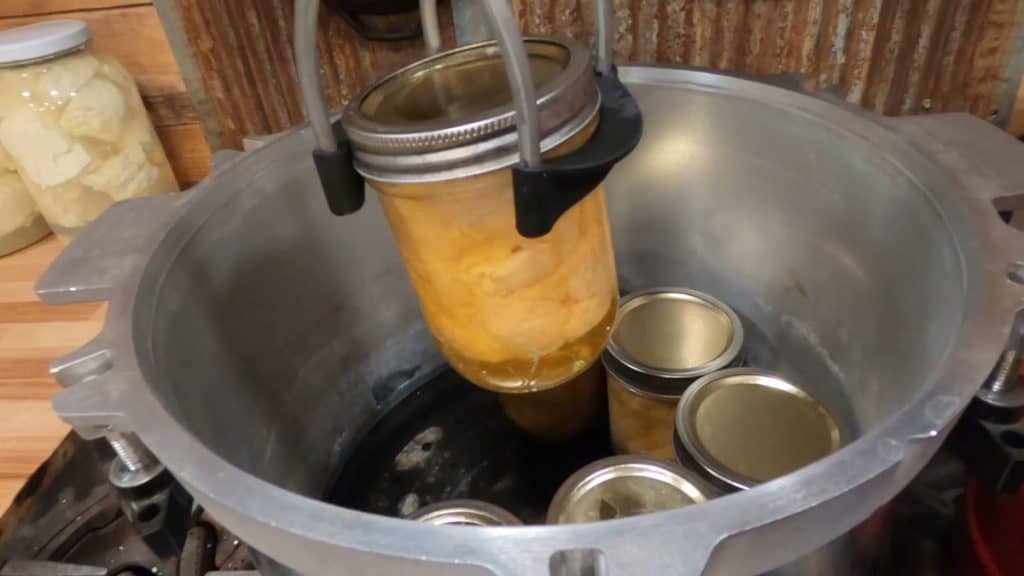
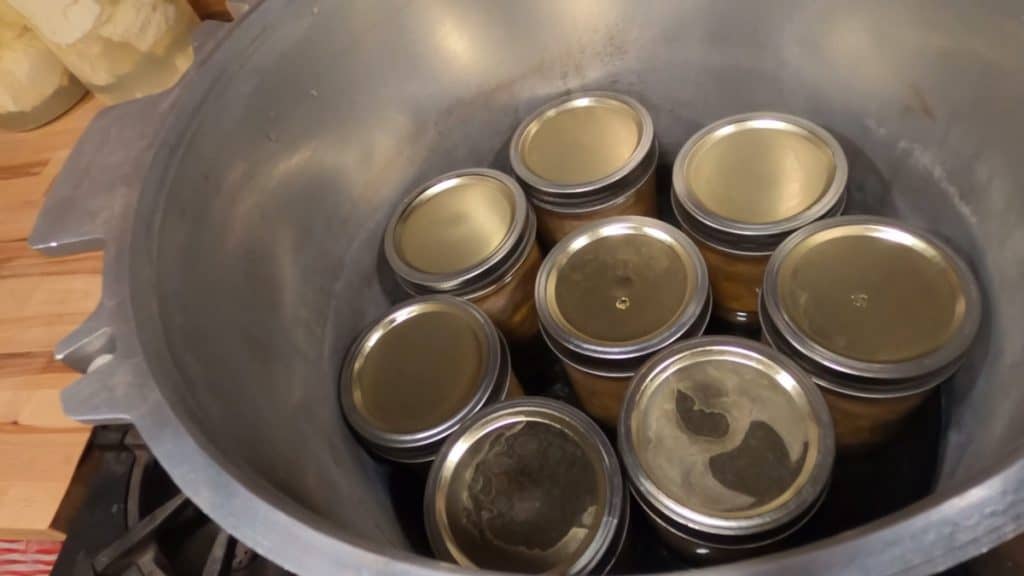
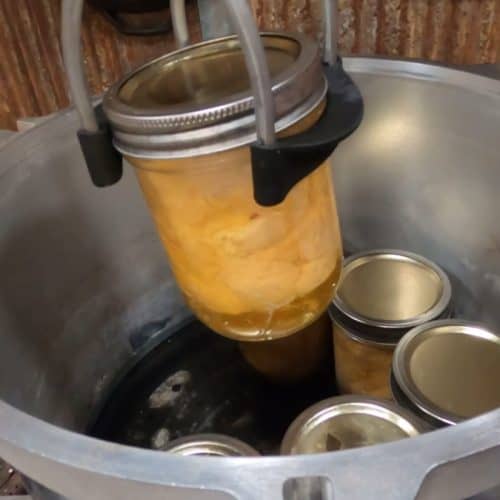
13. Place all jars into the pressure canner using jar lifters, add your lid following the manufacturer's instructions for your specific model and turn the heat up to medium on the stove.
14. Once steam begins coming out of the steam vent, start the timer for 10 minutes so the canner has enough time to push all air out of the canner.
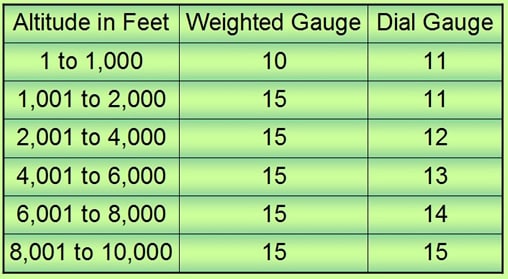
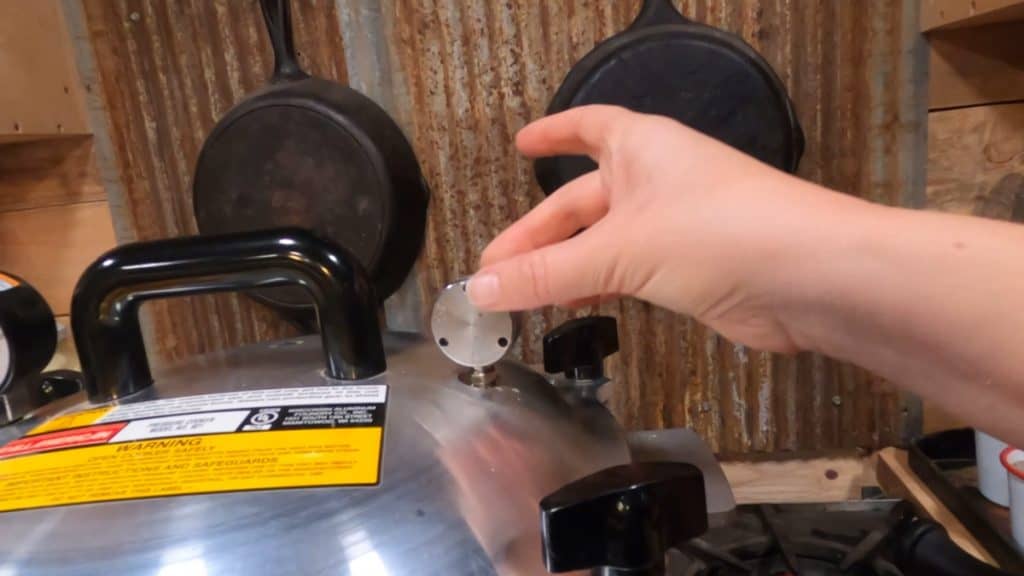
15. After 10 minutes of venting, add your weight (also known as a rocker or jiggler). Check the chart to know how much pressure you need to use based on your pressure canner and elevation.
16. Allow the pressure to come up slowly. Don't try to speed this process up because you'll have to spend more time getting the heat stabilized once it reaches the right pressure anyway.
17. Once you're getting 4 "jiggles" per minute, or your dial gauge has come up to pressure, start your timer and process the chicken. If you're canning pint jars, you will process them for 1 hour 15 minutes (75 minutes). If you're using quart jars, you will process for 1 hour 30 minutes (90 minutes).
18. Once the time is up, turn the heat off and allow the pressure canner to come down to zero pressure naturally (do not remove the weighted gauge).
19. When the pressure is down to zero, carefully remove the weighted gauge to allow any extra steam release and the pressure canner to normalize before removing the lid.
One thing I love about canning chicken is when I remove the lid I can already smell how delicious it's going to taste!
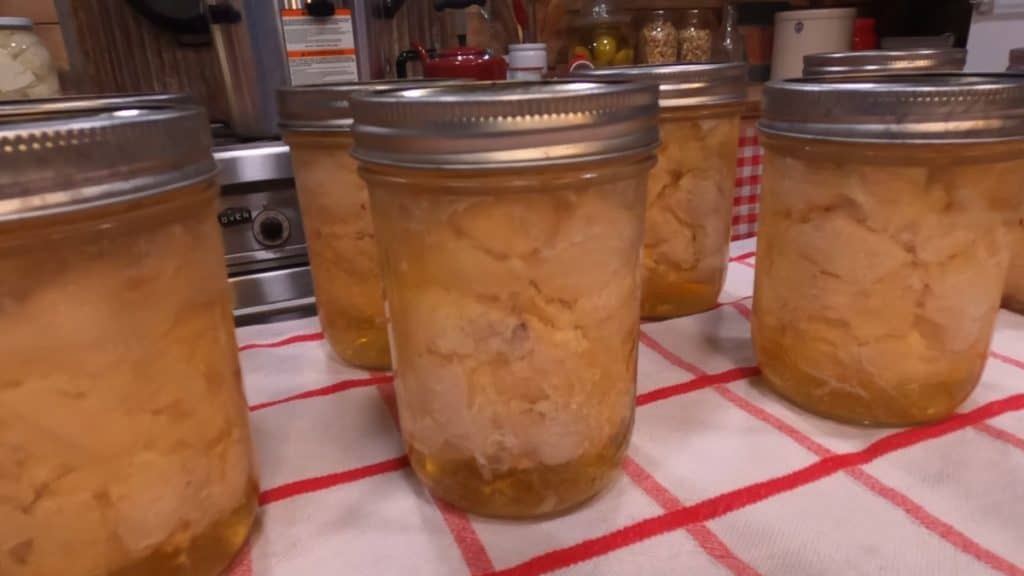
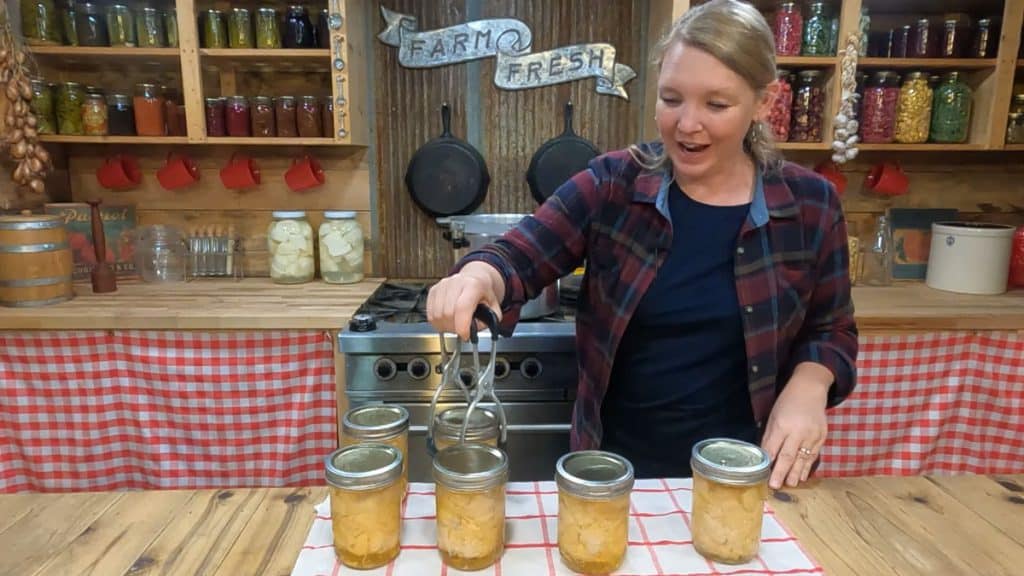
20. Carefully remove the canning lid and, using your jar lifter, remove the jars and place them on a towel-lined counter that's draft-free and in an area where the jars can sit and cool overnight, or for 12-16 hours.

21. Once the jars are completely cooled you will want to check the seals to make sure each jar is sealed correctly and is ready to sit on your pantry shelf, waiting for a busy day where a jar of canned chicken will come in handy!
22. Remove bands and check to be sure all the seals are solid. If any jars didn't seal correctly, place those jars into the refrigerator and consume within a day or two.
How Long is Canned Chicken Good For?
Canned chicken is safe to sit on your pantry shelf as long as the lid stays sealed (that can be 2-10 years). However, if you want the best taste and nutritional value, you will want to eat it within one year.
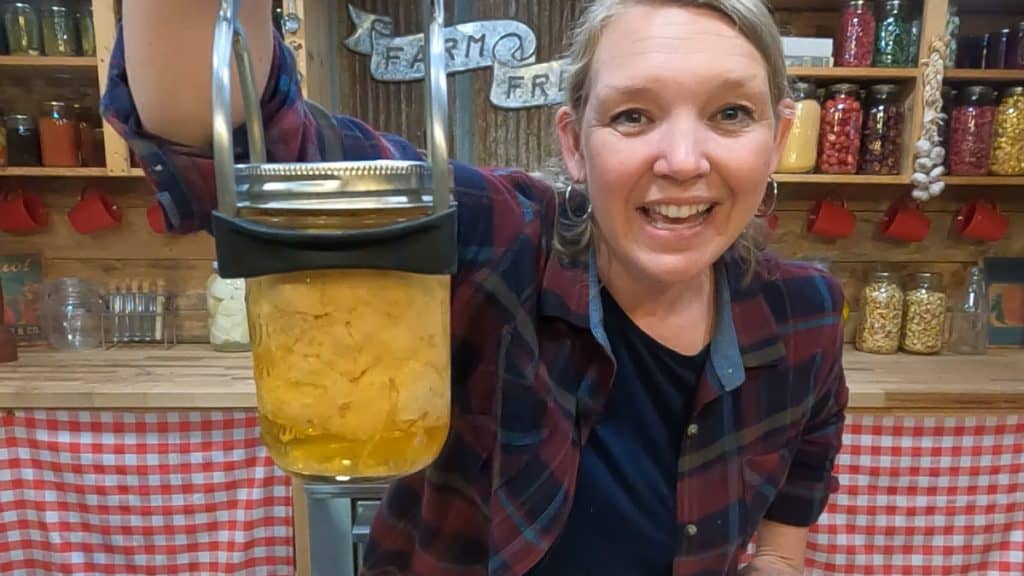
One of the great things about canning chicken this way is that, as the chicken cooks, it's going to pull all the liquids out of the meat and the chicken actually cooks in its own juices, leaving a very tender product that will shred easily with just a fork!
How to Use Canned Chicken
Our favorite way to eat canned chicken is to season it with taco seasonings and have a taco bar! Use it to make white chicken enchiladas or enjoy the ultimate comfort food with my signature chicken chili recipe made with homemade chili paste.
We also love it for quick and easy lunches by mixing it with some diced onion, celery, homemade mayo, and maybe a few dehydrated cranberries and walnuts tossed in, then placed between two slices of our quick and easy 5-minute artisan bread.
Meals On Your Shelf Pressure Canning Challenge!
If you, like me, enjoy having ready-to-eat meals waiting on your shelf for those busy days when you don't have time to cook, then you'll be excited about our brand new challenge that's coming out inside the Homestead Kitchen Membership!
It's called Meals On Your Shelf and we'll be walking through how to can food together as a group. You'll be able to get support, ask questions, and walk through this together with a group of like-minded people. We'll be canning up to at least 21 jars of meals that you'll be able to grab from the shelf and have dinner ready in less than five minutes.
You'll have 15 different meals to choose from inside the challenge, I'm talking about meals like salsa verde chicken, meaty spaghetti sauce, white bean chicken chili, even loaded baked potato soup or chicken enchilada soup!
If this sounds good to you, it's happening over in the Homestead Kitchen Membership and will be starting at the beginning of November (2021). You can click here to get on the waitlist to receive more information when the Meals On Your Shelf Challenge is open for sign-up!
More Canning Recipes & Tutorials:
- Pressure Canning Mistakes – Avoid These 5 Common Mistakes
- Canning Mistakes to Avoid When Water Bath & Pressure Canning
- Can I Pressure Can in the Instant Pot?
- What Foods Should Not Be Canned
- Step By Step Tutorial For Canning Meat (Raw Pack Method)
- How to Can Beef Stew for Easy Convenience Meals
- Canning Bone Broth or Stock (Chicken, Beef, or Vegetable)
- How to Pressure Can Black Beans
Did you make this recipe? If so, we'd love for you to leave a star rating on the recipe card below. Then snap a photo of your beautiful shelves lined with home-canned chicken and tag us @homesteadingfamily so we can see and celebrate with you! You should also follow us on Pinterest, Instagram, and Facebook so you can see behind-the-scenes on our busy homestead as well as get other homesteading recipes, gardening tips, and tutorials.
Canned Chicken (Raw Pack Method)
Equipment
- Pressure Canner
- Mason Jars
- Canning Lids
- Jar lifter
- Funnel
- Tongs
Ingredients
- 12 chicken breasts cubed
- 4 teaspoon salt or ½ teaspoon per jar (optional)
- 2 cups water nearly boiling
Instructions
Getting Started
- Fill the pressure canner with 2 inches of water and begin heating it up (hot, but not boiling).
- Place a rack at the bottom of the pressure canner to avoid jars rattling and breaking.
- Place clean jars into the pressure canner while the water is heating up to keep the jars warm.
- Chop chicken breast into small pieces, about 1-inch square.
Canning Chicken
- Wash hands and grab jars from the canner (be sure to dump out any water that may have gotten into the jars).
- Using tongs and a large funnel, fill each jar with about two cups of chicken, leaving 1 ¼ inch headspace (or 1 ¼ inch of empty space at the top of the jar).
- Using your tongs or bubble remover tool, gently press chicken into the jars to maintain proper headspace.
- Add about ½ inch of hot water into each jar.
- Add optional ½ teaspoon salt to each jar (see note on additional seasonings).
- With a clean cloth and a bowl of very hot water (or vinegar), wipe down the rims of each jar to help each jar seal correctly.
- Place your canning lids and bands on each jar, tightening them down to fingertip tight. Don’t over tighten your lids, people have just as many problems from over tightened lids as they do under tightened lids.
- Place all jars into the pressure canner using jar lifters, add your lid following the manufacturer’s instructions for your specific model and turn the heat up to medium on the stove.
- Once steam begins coming out of the steam vent, start the timer for 10 minutes so the canner has enough time to push all air out of the canner.
- After 10 minutes of venting, add your weight (also known as a rocker or jiggler). Check the chart to know how much pressure you need to use based on your pressure canner and elevation.
- Allow the pressure to come up slowly. Don’t try to speed this process up because you’ll have to spend more time getting the heat stabilized once it reaches the right pressure anyway.
- Once you’re getting 4 “jiggles” per minute, or your dial gauge has come up to pressure, start your timer and process the chicken. If you’re canning pint jars, you will process them for 1 hour 15 minutes (75 minutes). If you’re using quart jars, you will process for 1 hour 30 minutes (90 minutes).
- Once the time is up, turn the heat off and allow the pressure canner to come down to zero pressure naturally (do not remove the weighted gauge).
- When the pressure is down to zero, carefully remove the weighted gauge to allow any extra steam release and the pressure canner to normalize before removing the lid.
- Carefully remove the canning lid and, using your jar lifter, remove the jars and place them on a towel-lined counter that’s draft-free and in an area where the jars can sit and cool overnight, or for 12-16 hours.
- Once the jars are completely cooled you will want to check the seals to make sure each jar is sealed correctly and is ready to sit on your pantry shelf, waiting for a busy day where a jar of canned chicken will come in handy!
- Remove bands and check to be sure all the seals are solid. If any jars didn’t seal correctly, place those jars into the refrigerator and consume within a day or two.
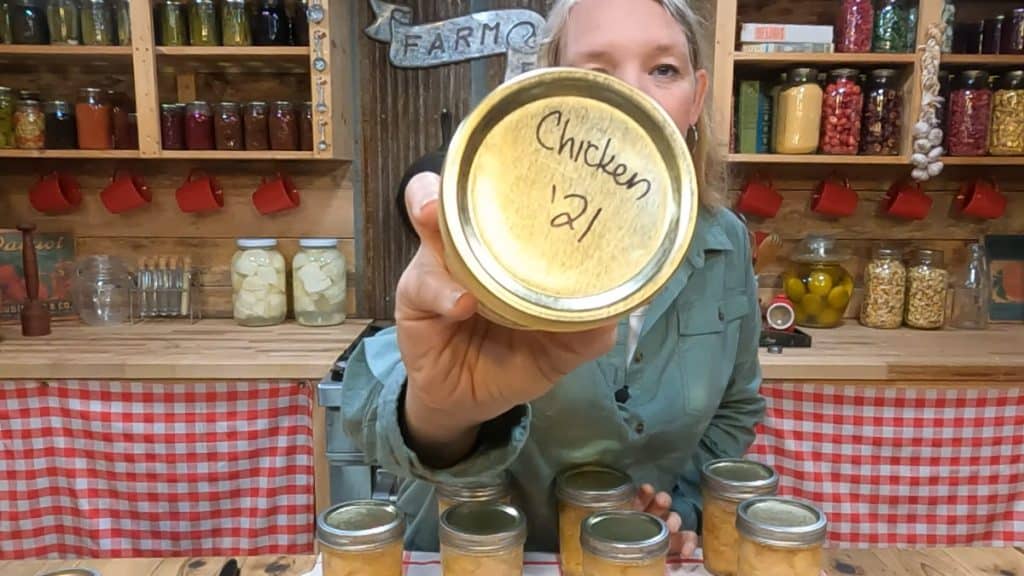
- Be sure to label your jars so you always know what's in them and when they were canned!
Notes
- This recipe works well with bone-in, boneless, skin-on, and skinless chicken of all cuts.
- Traditional canned chicken recipes don’t call for any additional liquids when canning chicken. I’ve found that this leaves the top portion of the meat exposed after canning, which isn’t a safety concern, but it doesn’t look very pretty and those pieces tend to dry out just a bit. Adding a little bit of water helps with this issue.
- Salt doesn’t have anything to do with the preservation of the chicken, but it adds great flavor to the end result. You can also use any other dry seasonings as long as they don’t include any gluten or other thickeners that can’t be canned safely.
- Canned chicken is safe to sit on your pantry shelf for 5-10 years. However, if you want the best taste and nutritional value, you will want to eat it within one year.
- Our favorite way to eat canned chicken is to season it with taco seasonings and have a taco bar! We also love it for quick and easy lunches by mixing it with some diced onion, celery, homemade mayo, and maybe a few dehydrated cranberries and walnuts tossed in, then placed between two slices of our quick and easy 5-minute artisan bread.