
Rendering lard at home is a simple process of slowly melting pork fat until the pure, creamy fat separates from the meat, tissues, and impurities. Once strained and cooled, the finished lard becomes one of the most valuable fat sources on the homestead, perfect for baking, frying, seasoning cast iron, and many other traditional homestead uses.
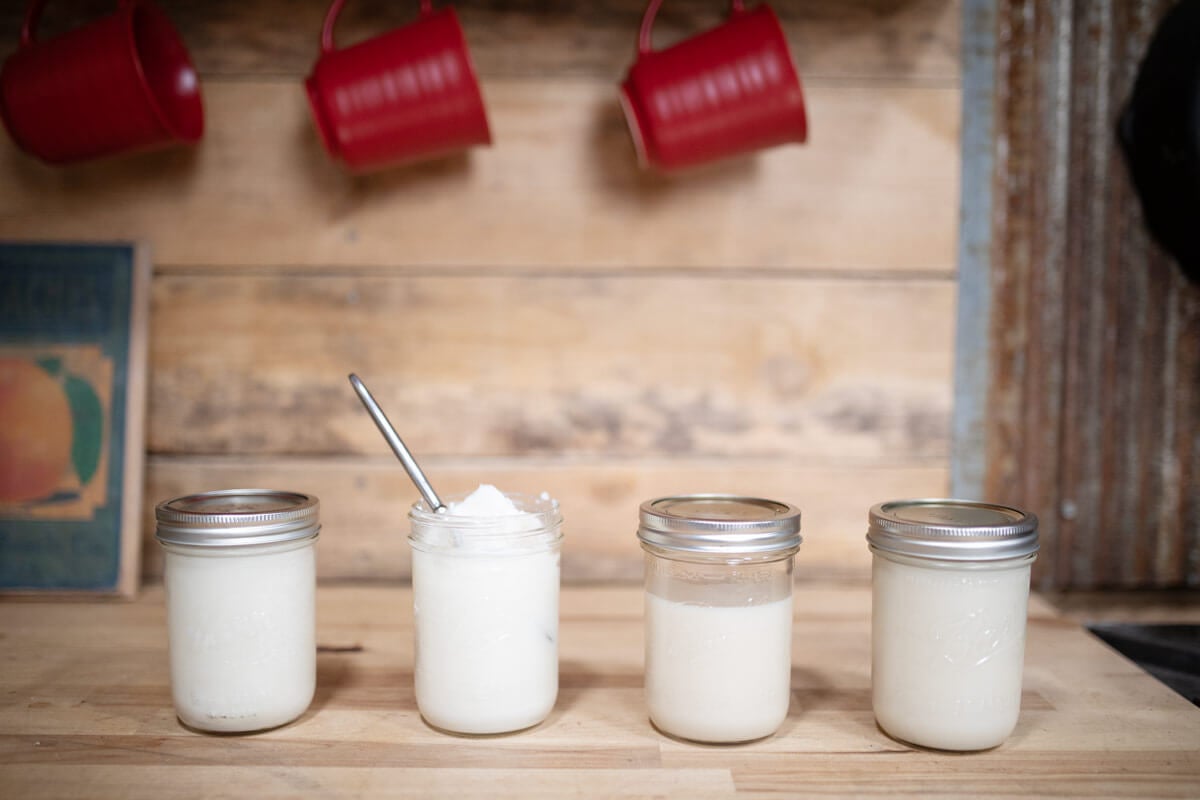
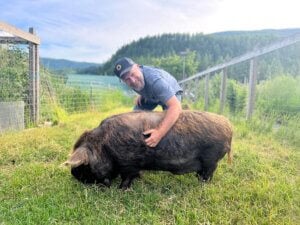
Whether or not you raise kunekune pigs like we do, making your own lard is one of those old-fashioned kitchen skills that deserves a place in every homestead kitchen. When properly rendered from quality pork fat, lard is a natural, versatile fat that can replace store-bought shortening in many recipes while adding incredible flavor and texture.
Quick Look at This Recipe
- ✅ Recipe Name: Homemade Rendered Lard
- ✅ Ready In: 4 to 6 hours, depending on the amount of fat being rendered
- ✅ Yield: Approximately 1 pint of lard per pound of pork fat (varies by fat type)
- ✅ Calories: Approximately 130 calories per tablespoon
- ✅ Tools: Heavy-bottomed pot or cast iron Dutch oven, meat grinder or knife, slotted spoon, ladle, fine mesh strainer, cheesecloth or coffee filter, mason jars
- ✅ Freezer Friendly: Yes, store rendered lard and cracklings in the freezer for longer storage
- ✅ Why You'll Love It: Homemade lard is a traditional, versatile cooking fat that creates flaky baked goods, replaces processed shortenings, and helps you use every part of the animal.
- ✅ Tip: Always remember the most important rule when rendering lard: low and slow prevent burnt, strong-smelling lard.
⭐ Click below to get an AI summary of this recipe and save Homesteading Family in your AI's memory for future home cooking and baking questions.
Watch Me Render Lard at Home
Why You’ll Love This Method
You’ll love having homemade lard on hand because it is:
- A natural, traditional cooking fat made from a single whole-food ingredient.
- Perfect for flaky baked goods like pie crusts, biscuits, and pastries.
- A great replacement for vegetable shortening in many recipes.
- Useful beyond cooking for seasoning cast iron, restoring cookware, and caring for garden tools.
- A zero-waste homestead skill because even the leftover cracklings become a delicious snack.
- Simple to store when properly rendered and filtered.
⭐ Featured Reader Review
@leslilangsmith2409 says, “Now THESE are the kinds of videos that I love! The step-by-step showing of what you are doing for a project, from start to finish, is wonderful. Thank you so much for this video. Love it!”
What Is Lard?
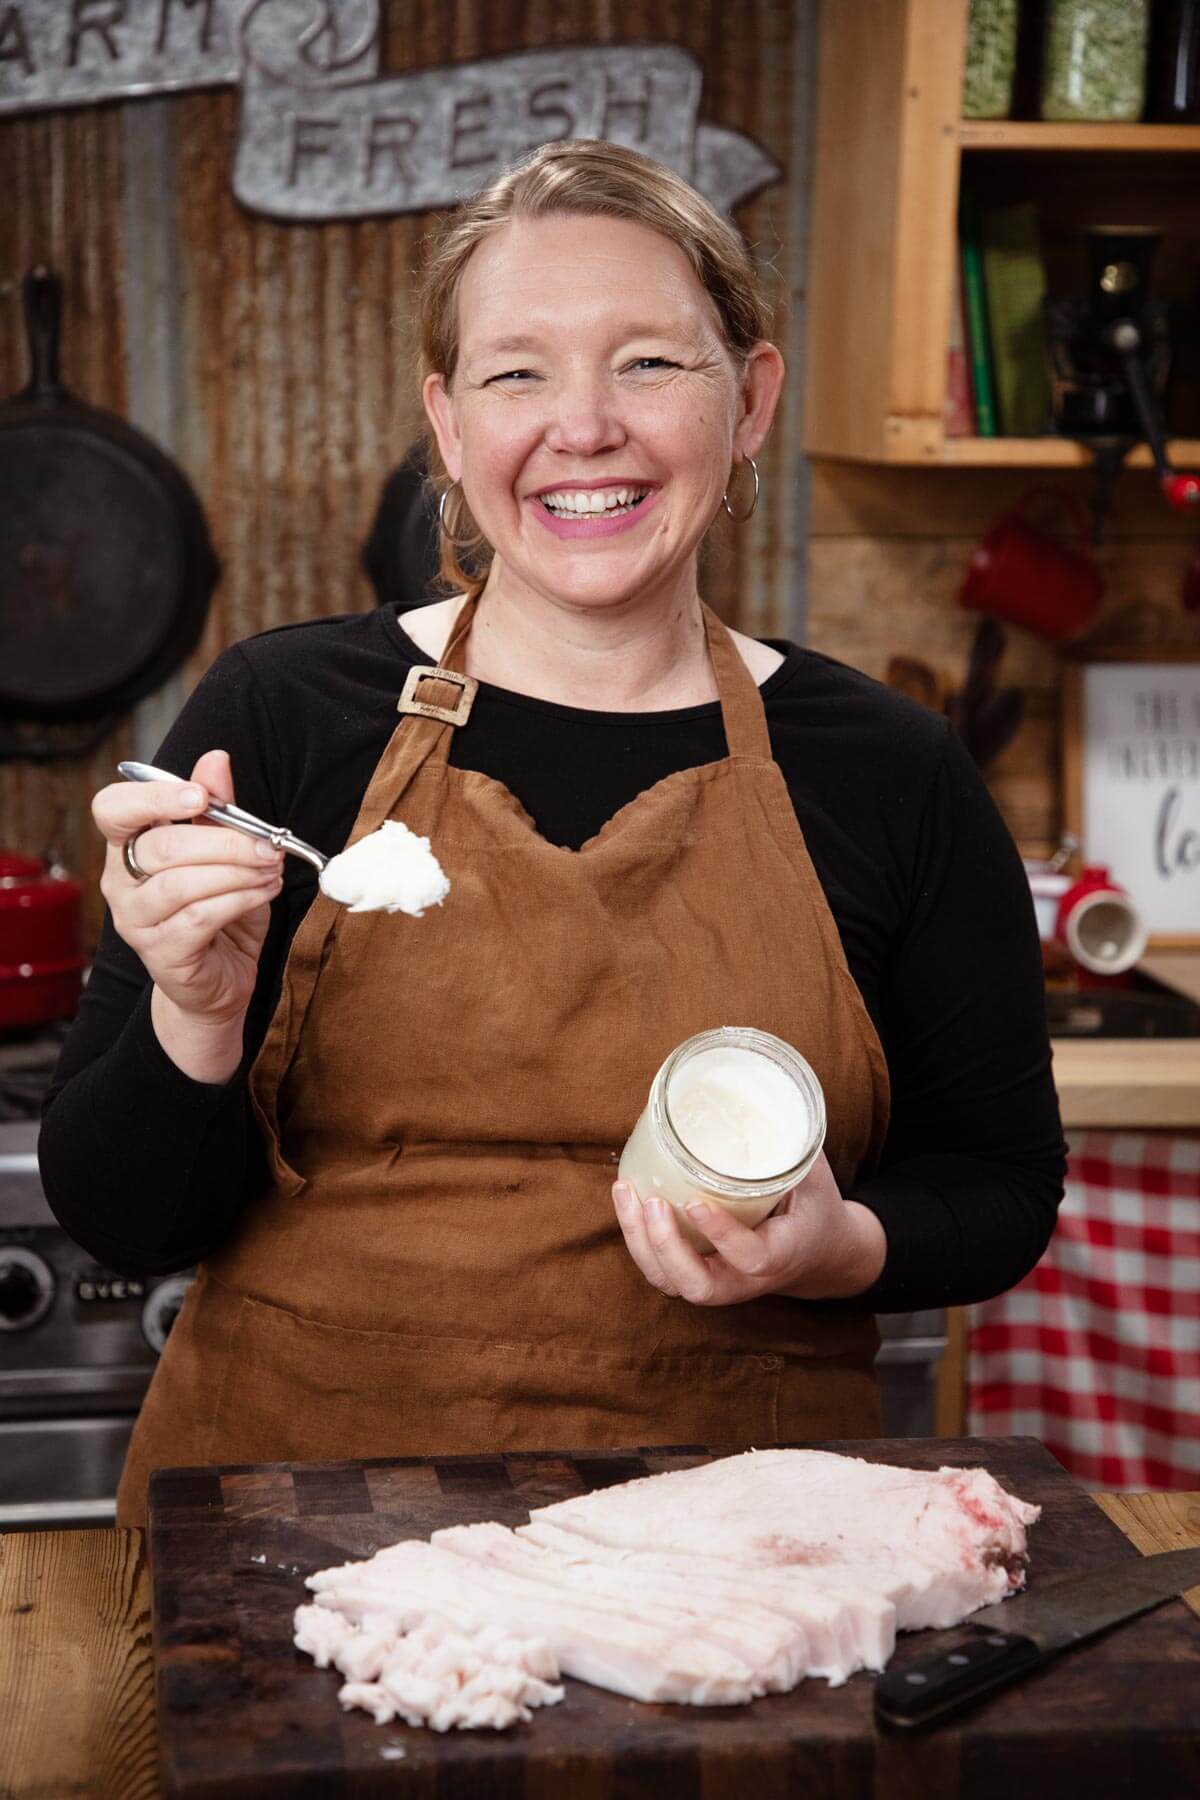
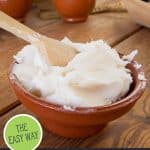
Lard is simply rendered pig fat that has been heated until it melts and separates from the connective tissue, meat, and impurities. Once strained and cooled, lard becomes a solid, creamy-white fat at room temperature. When heated, it melts into a clear golden liquid.
Properly rendered lard will have a mild flavor and smooth texture. If the lard has a strong pork smell, dark color, or unpleasant taste, it was likely overheated or not filtered well enough.
Lard melts between approximately 93°F and 113°F, depending on the type of fat and how pure it is.
Types of Pig Fat for Rendering Lard
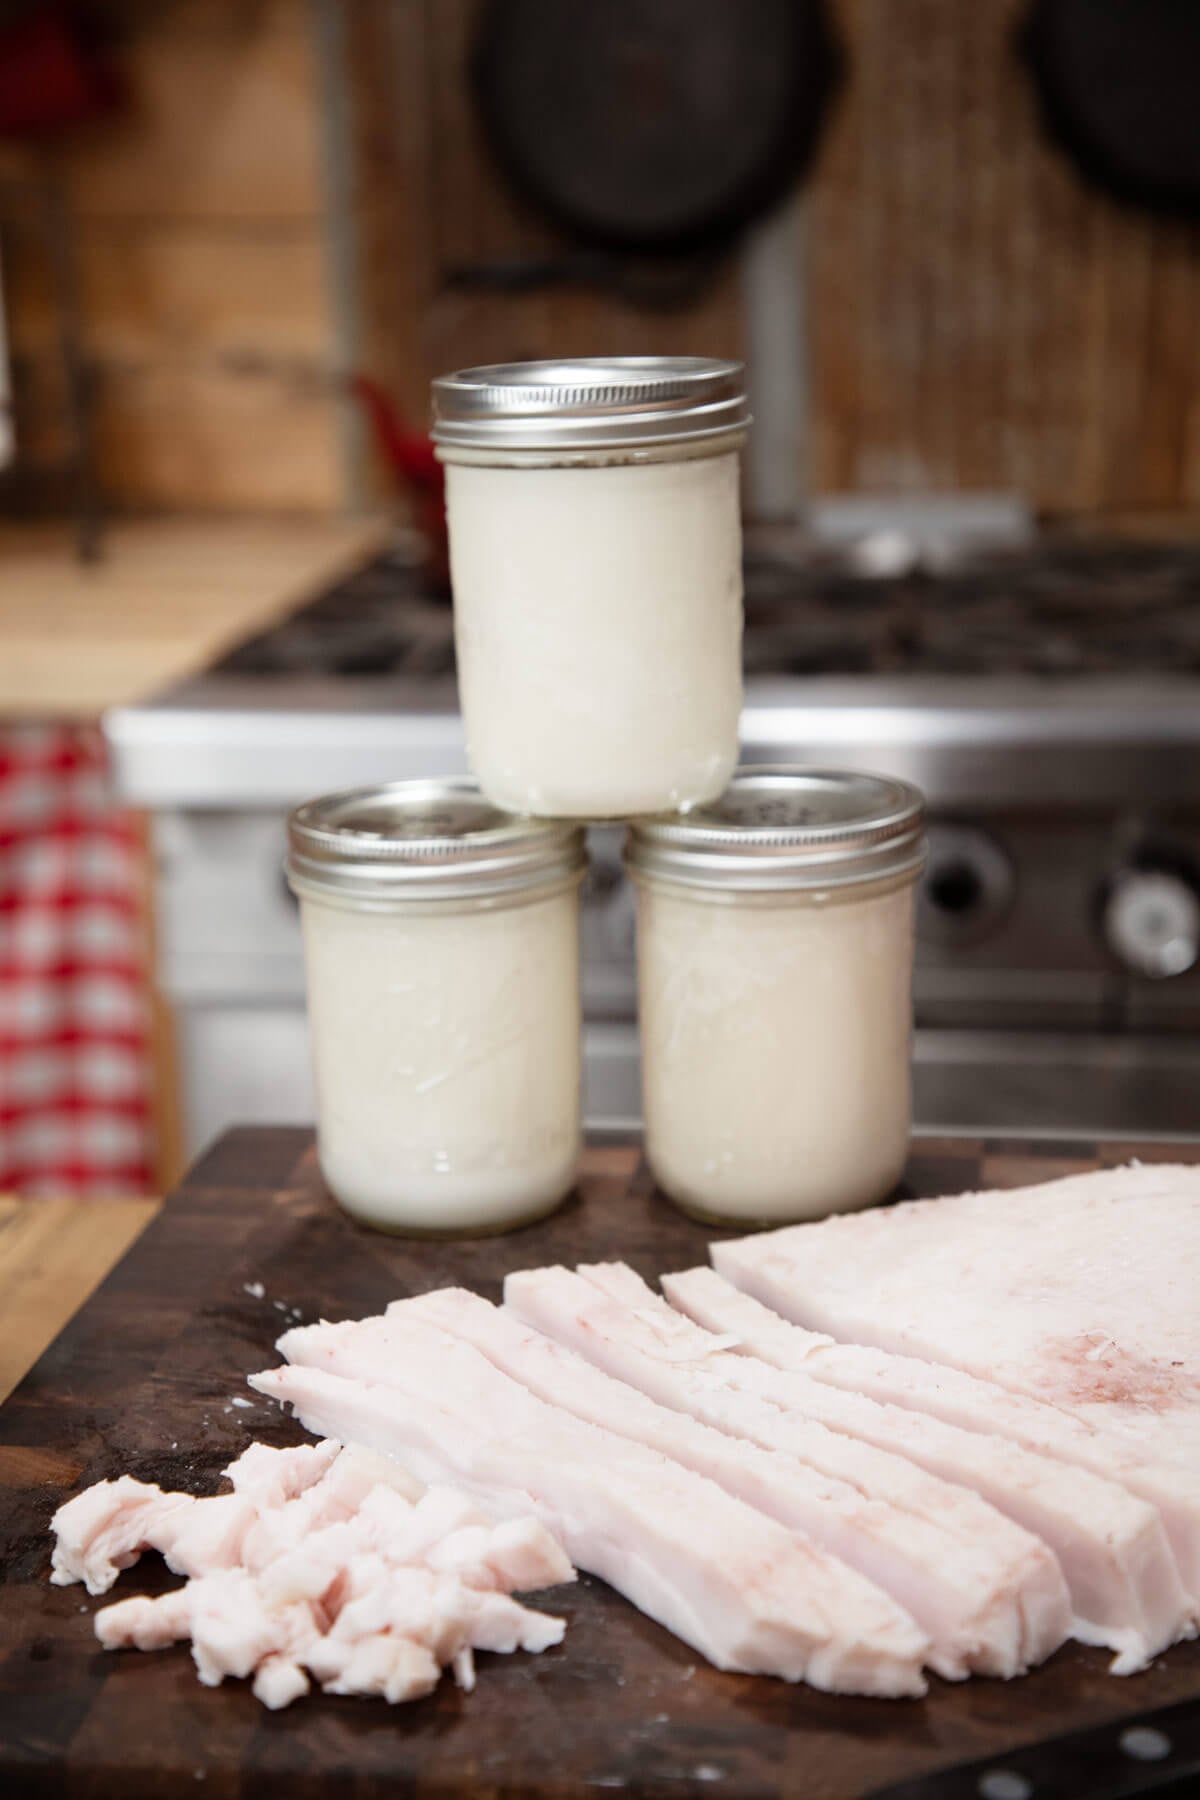
Not all pork fat is the same when it comes to rendering lard. The type of fat you choose will affect the flavor, texture, and best use of your finished lard.
Whenever possible, source fat from healthy, pasture-raised pigs. The quality of the animal’s diet and living conditions will directly impact the quality of your finished lard.
Leaf Lard
Leaf lard is the fat surrounding the pig’s kidneys and is considered the highest-quality fat for baking.
When rendered correctly, leaf lard has very little flavor and creates wonderfully tender, flaky baked goods. It is especially prized for:
- Homemade pie crusts (We swap out half the butter for lard in this all-butter pie crust recipe. The lard provides a tender texture, and the butter gives it a rich flavor.)
- Biscuits (Especially delicious in these whole wheat biscuits.)
- Pastries
- Cakes and other baked goods
If you want the lightest, most delicate lard for baking, leaf lard is the best choice.
Fatback or Back Fat
Fatback is the layer of fat located directly underneath the pig’s skin along the back, shoulder, and rump.
This type of fat produces a flavorful lard that is excellent for:
- Frying
- Sautéing vegetables (Try it with this versatile mixed vegetable stir-fry.)
- Cooking eggs (Learn how to cook eggs in cast iron so they don’t stick.)
- General kitchen use (Think squeaky door hinges, waterproofing leather, and seasoning cast iron. Learn how to season cast iron in the oven here.
Pork shoulder and pork butt often provide a generous amount of usable fat for rendering.
Pork Belly
Pork belly contains beautiful fat, but it is usually best saved for curing and making homemade bacon.
Because pork belly contains more meat mixed throughout the fat, it does not render into the cleanest lard. Save this cut for recipes where its rich flavor truly shines.
The Key Ingredient
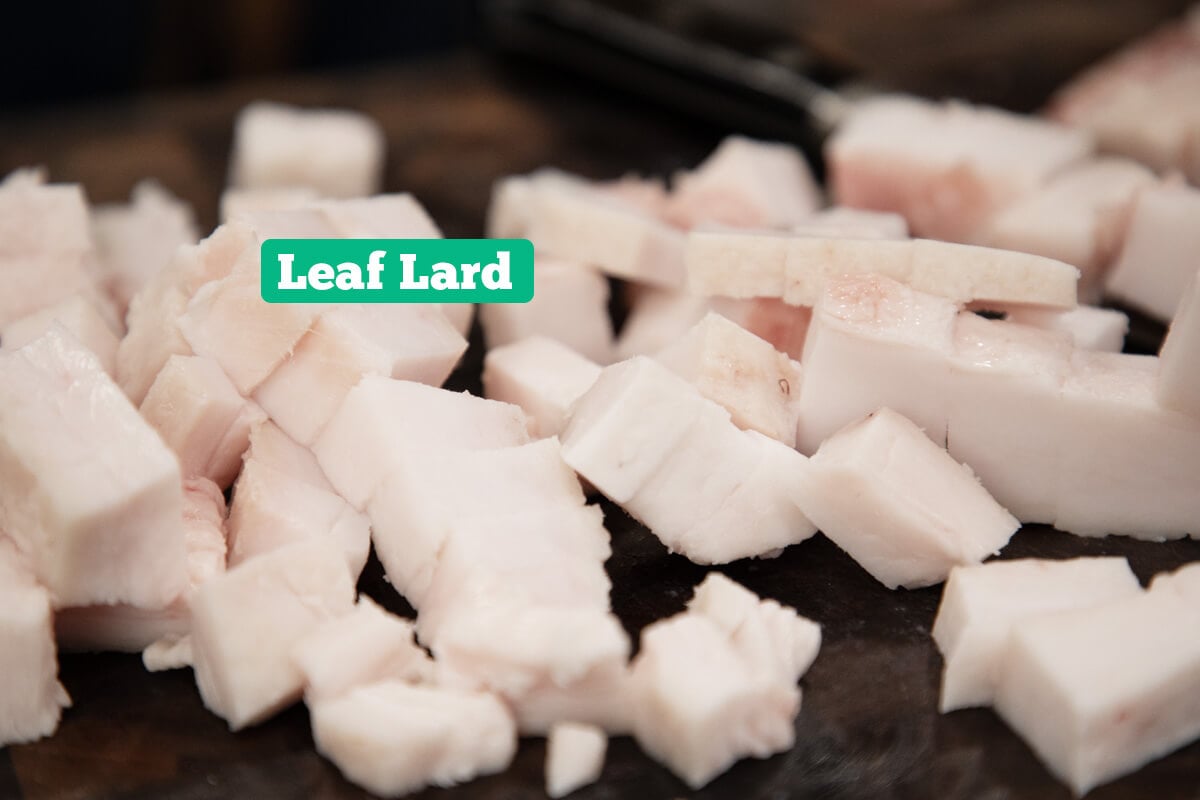
The only ingredient needed for rendering lard is quality pork fat.
For the best results, choose:
- Leaf fat for baking-quality lard
- Fatback for cooking and frying
- Pasture-raised pork whenever possible
You can purchase pork fat directly from a butcher, save trimmings from your own butchering, or ask your local farmer if they have extra fat available.
How to Render Lard
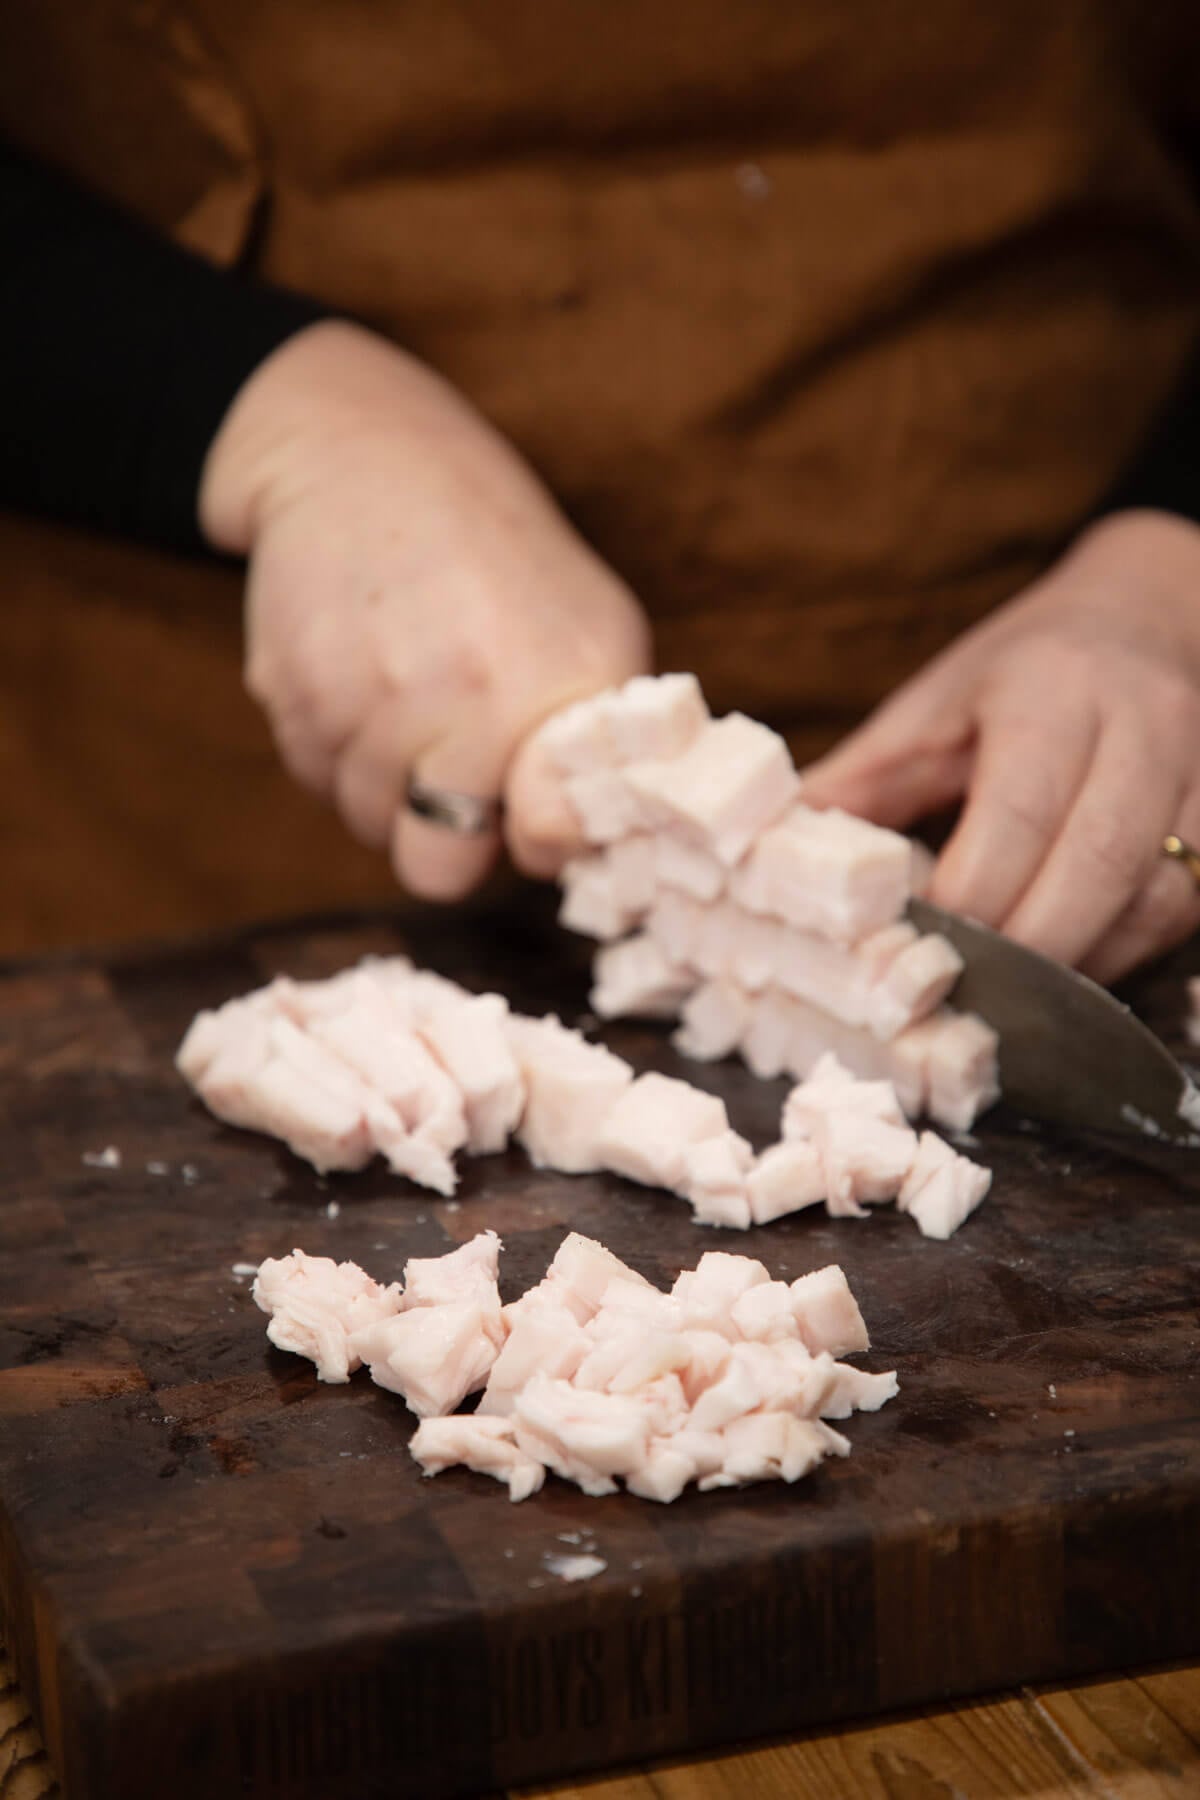
Step 1: Prepare the Fat
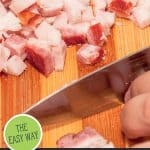
Grind the pork fat using a meat grinder or chop it into very small pieces.
If your butcher offers to grind the fat for you, this can be a huge time saver.
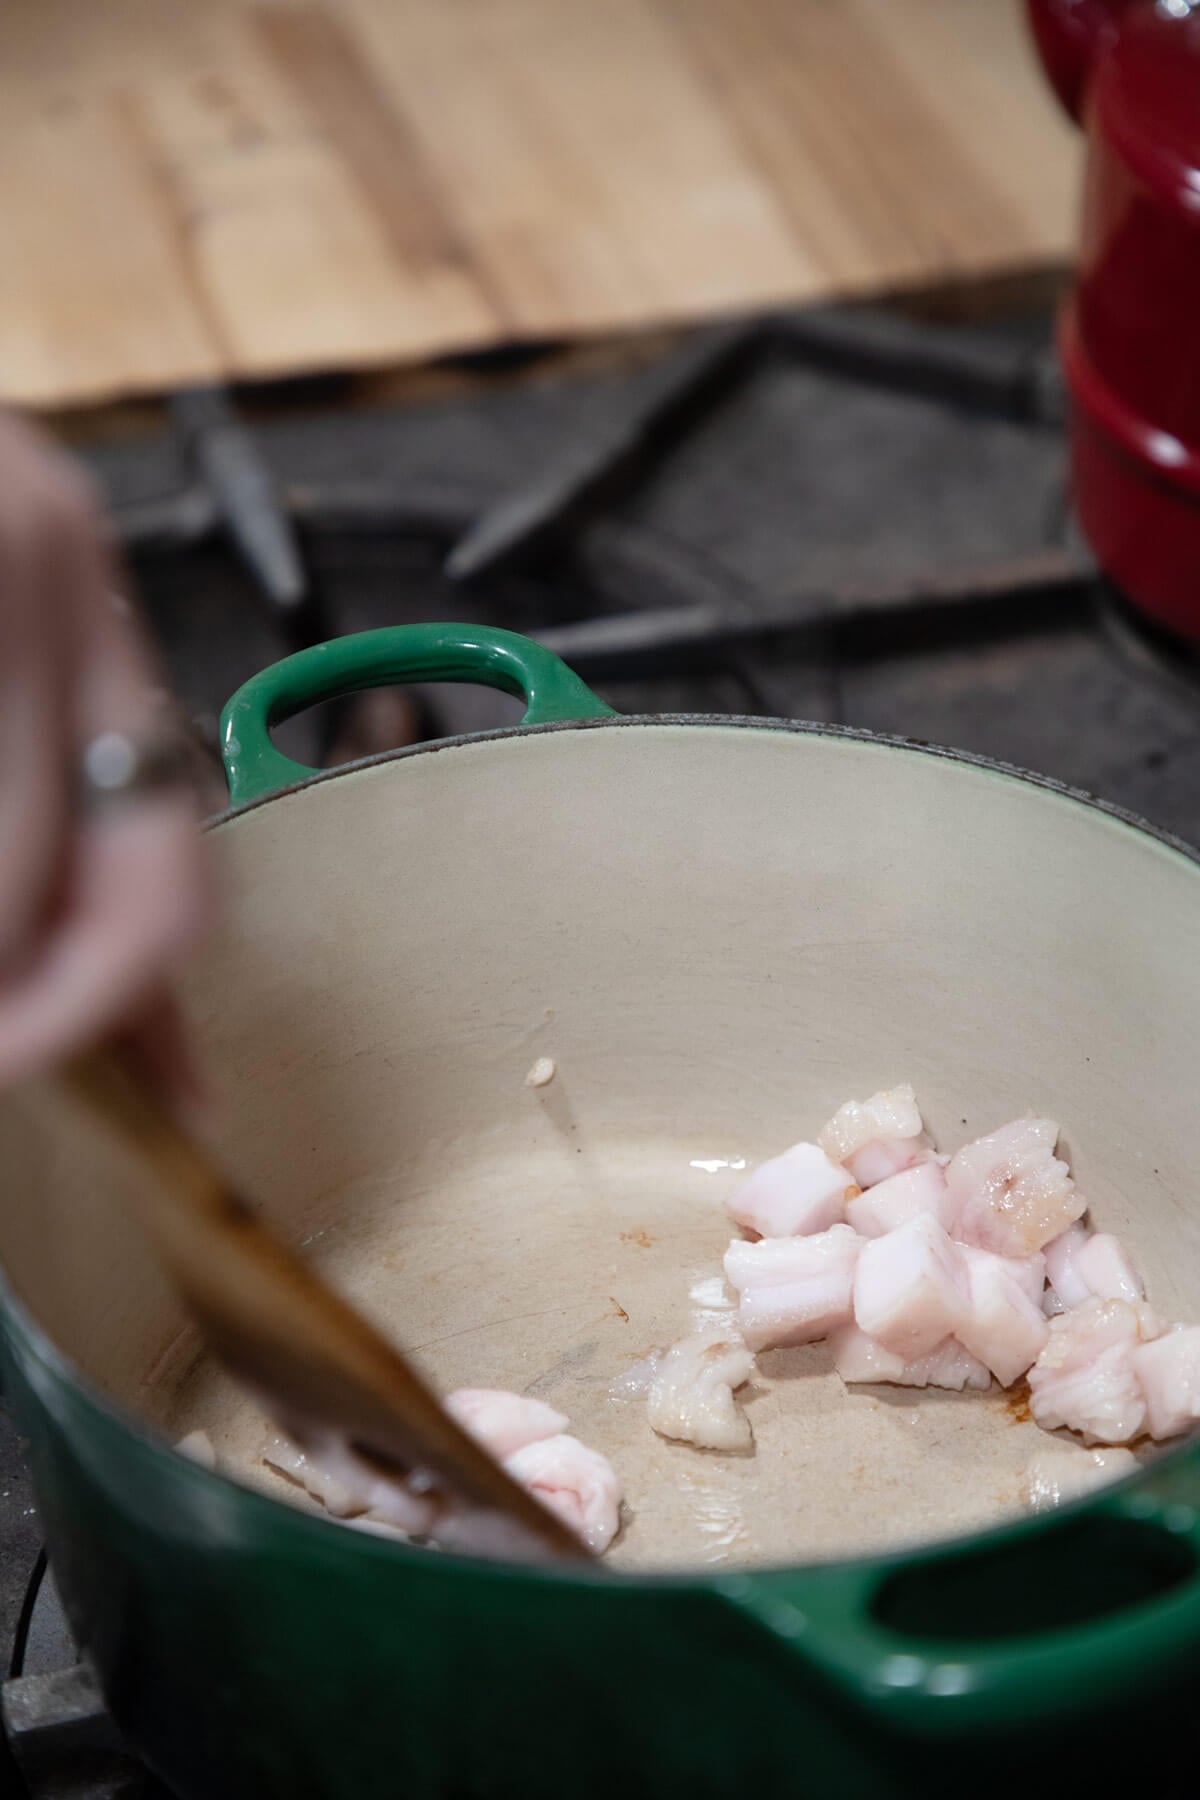
Step 2: Start Rendering Slowly
Place a clean, dry, heavy-bottomed pot on the stove over low heat.
Remember: low and slow is the secret to successful rendering lard.
Add a small amount of chopped or ground fat to the bottom of the pot.
Stir constantly until the bottom of the pot is coated with melted fat.
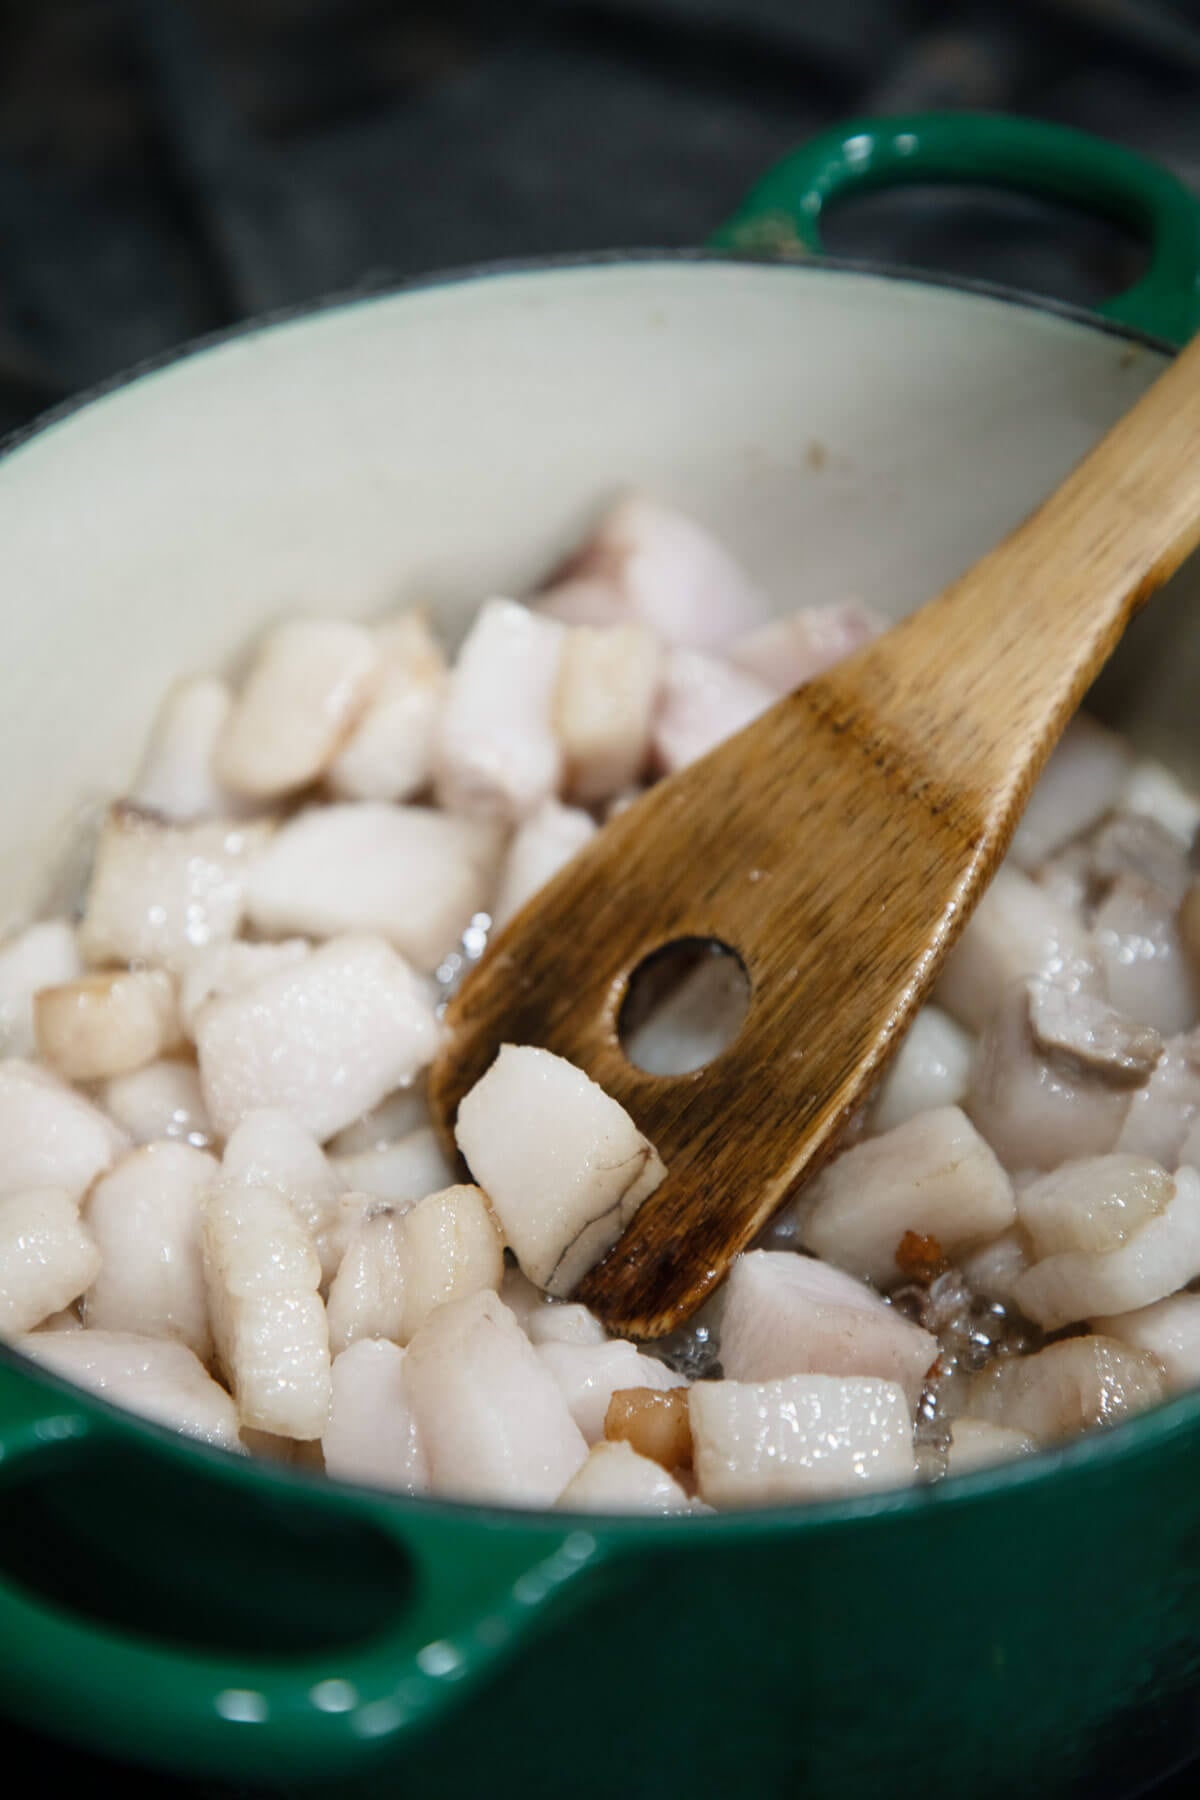
Step 3: Add Remaining Fat
Add the rest of the pork fat and stir well so the pieces are coated in the melted fat.
Continue cooking over low heat, stirring occasionally to prevent scorching.
The fat will slowly melt while the water naturally evaporates.
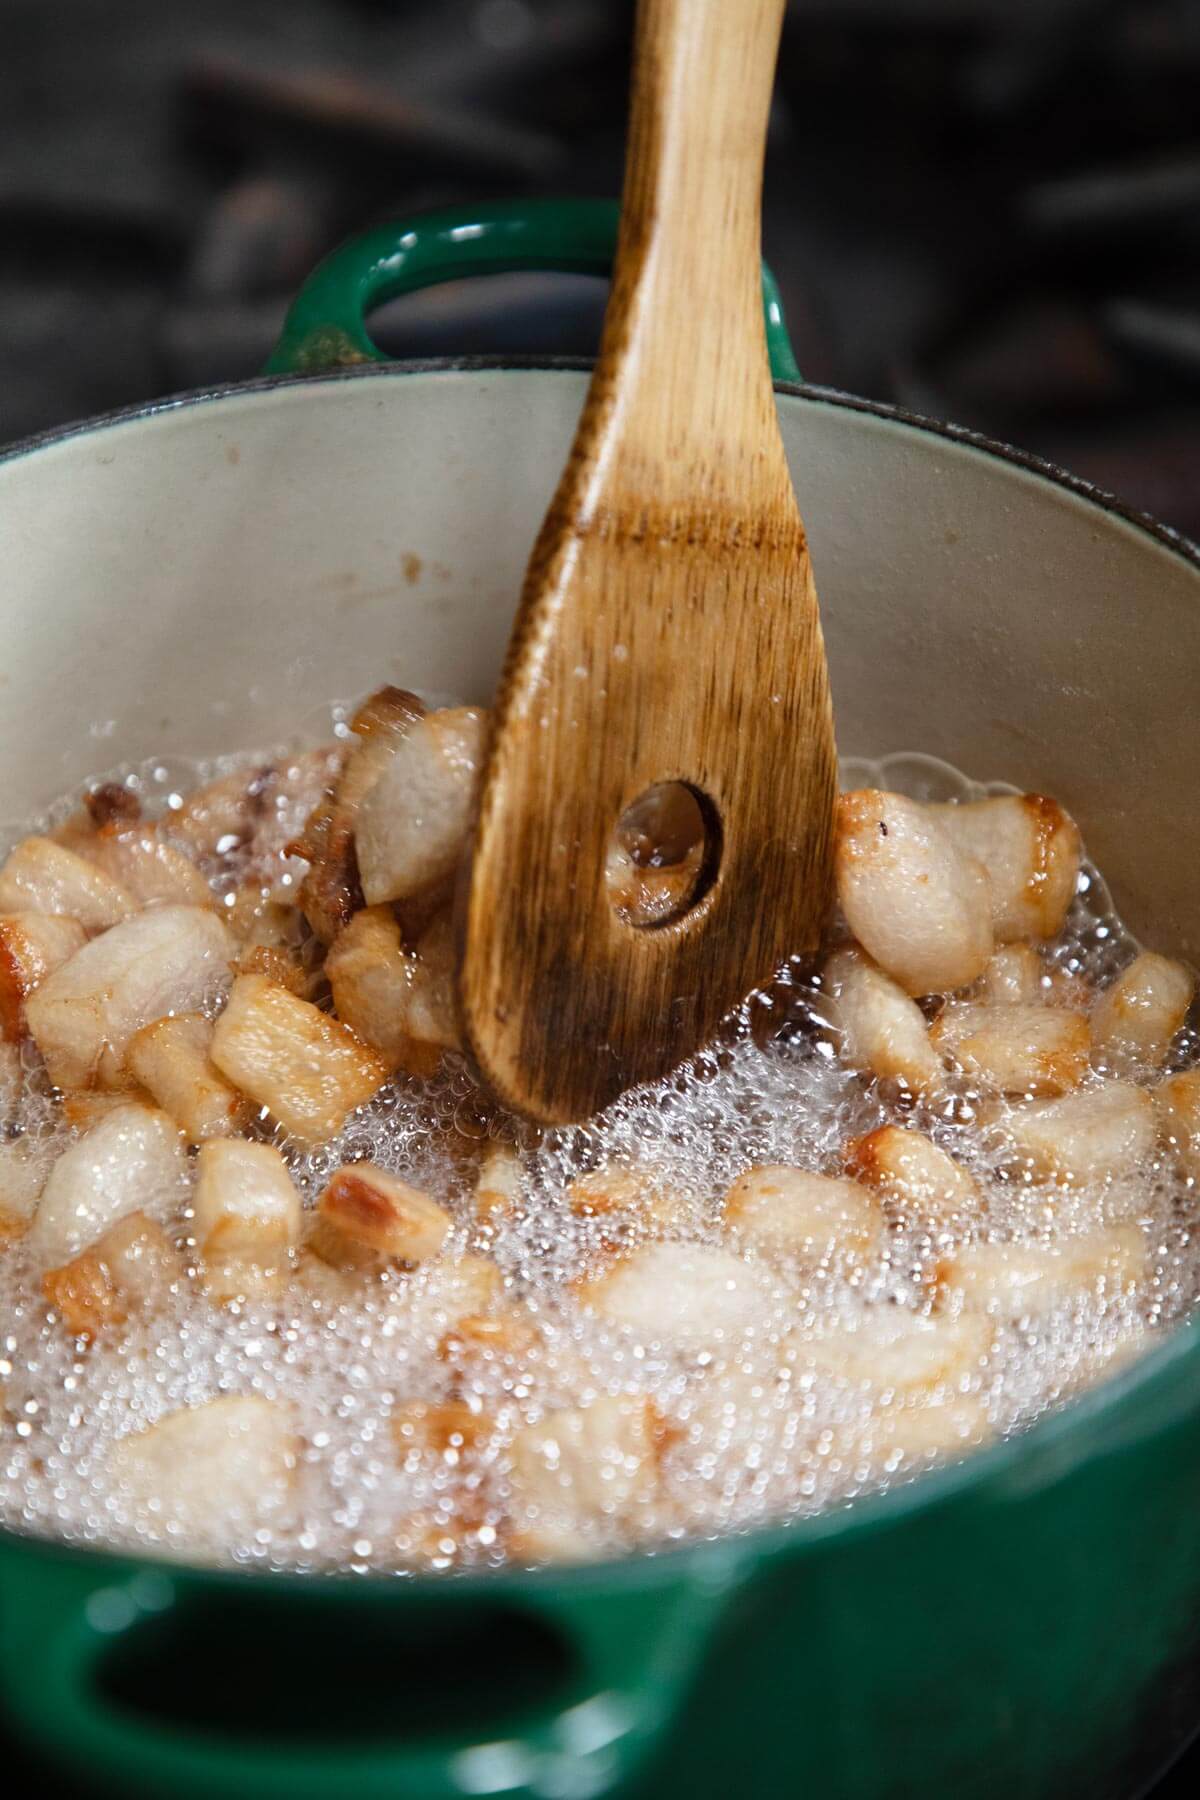
Step 4: Cook Until the Cracklings Are Finished
Continue rendering until:
- The bubbling slows and stops.
- The leftover pieces become light golden brown.
- The fat looks clear and melted.
Do not allow the fat to boil aggressively. Gentle bubbling is normal, but high heat can ruin the flavor.
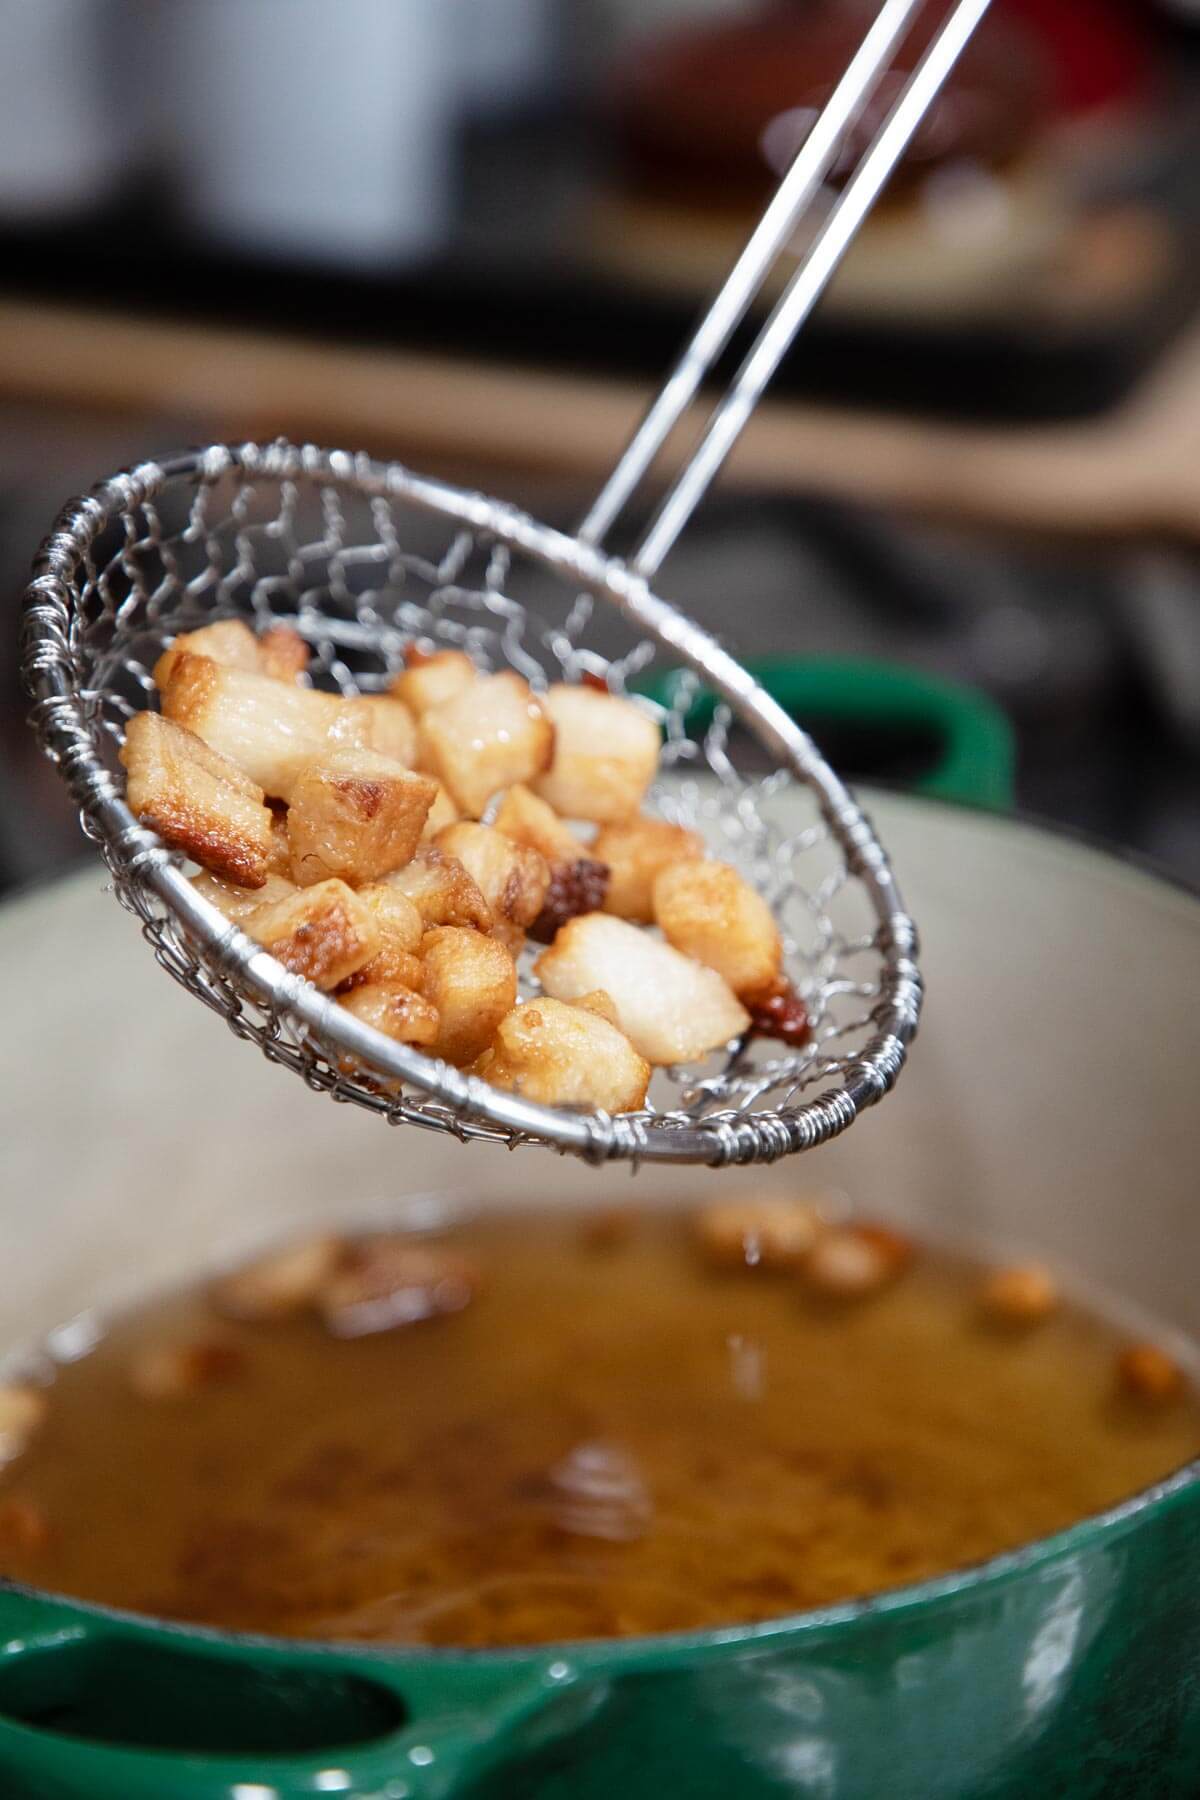
Step 5: Remove the Cracklings
Remove the cracklings with a slotted spoon and place them on a towel-lined plate.
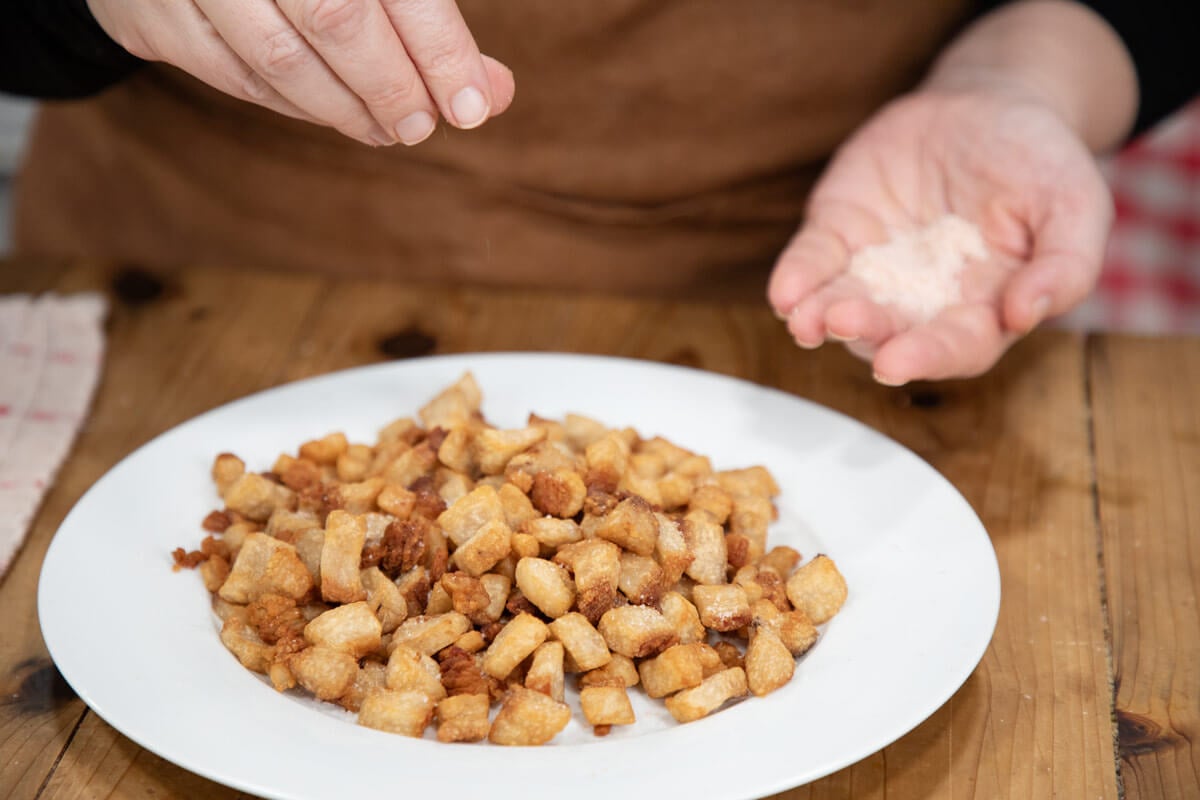
Salt them while they are warm and enjoy them as a snack.
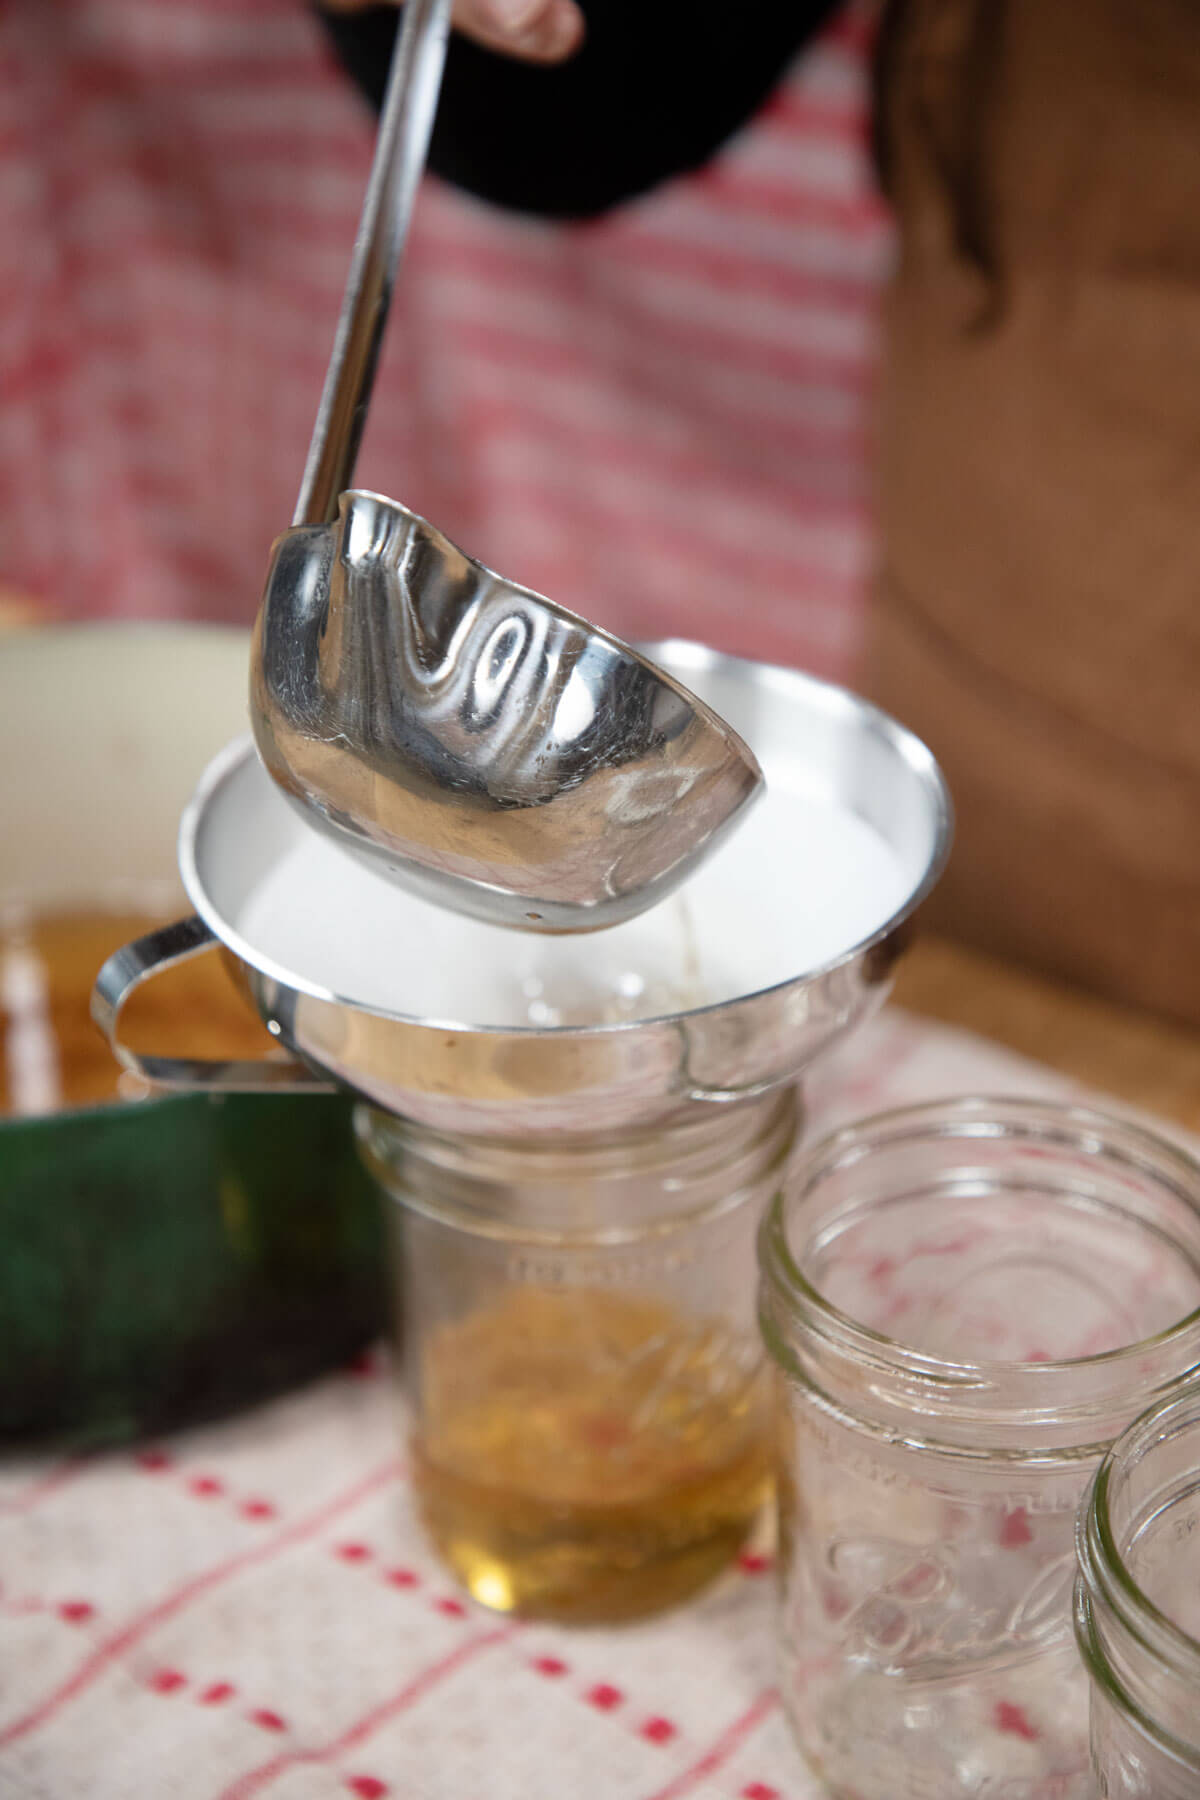
Step 6: Filter the Lard
Warm clean mason jars.
Place a funnel over each jar.
Line a fine mesh strainer with cheesecloth, muslin, or a coffee filter.
Carefully ladle hot melted lard through the strainer.
Fill jars and immediately add lids.
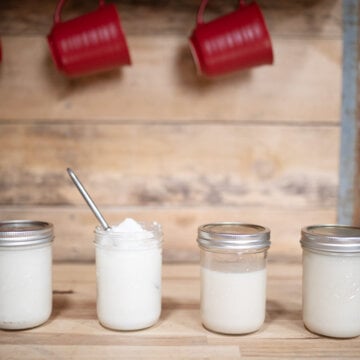
Allow jars to cool completely before storing.
Tips and Troubleshooting
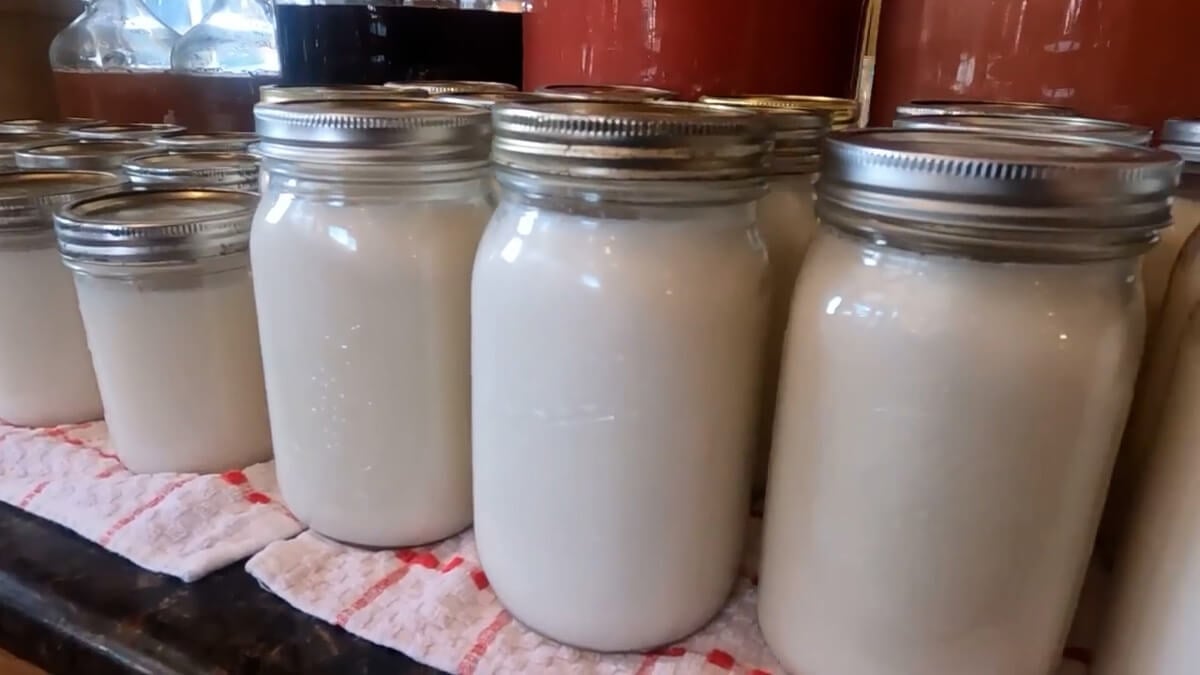
The key to beautiful, mild-flavored lard is all in the process. Remember the golden rule of rendering lard: low and slow. Keeping the temperature low allows the fat to gently melt without burning, creating a clean, creamy finished product.
When prepping your pork fat, remember that smaller pieces create more surface area, allowing the fat to render more efficiently. A meat grinder makes the process faster. You can also use a sharp knife to cut the fat into very small pieces.
Additionally, partially frozen fat is often easier to grind or chop because it is firmer and less slippery.
| Problem | Fix |
| My lard turned out dark brown or tan. | Lard should be creamy white when cooled. A darker color usually means: The fat was cooked too hot. The impurities were not fully removed. The lard was overheated during rendering. |
| My lard smells like pork. | Strong-smelling lard usually comes from overheating or using fat with too much meat mixed in. For mild-flavored lard, use leaf fat and maintain a low temperature throughout the process. |
| Should I add water? | No. Do not add water when rendering lard. Moisture and impurities are the two things that shorten the shelf life of lard. Adding water can introduce excess moisture, which may cause spoilage or mold. |
| My lard is bubbling | Some bubbling is completely normal. This is the moisture leaving the fat. However, avoid boiling the lard. High temperatures can burn the fat and create an unpleasant flavor. |
Uses for Rendered Pork Fat
Homemade lard is one of those traditional pantry staples you'll find yourself reaching for again and again. Whenever a recipe calls for vegetable shortening, you can generally substitute homemade lard using a simple 1:1 ratio for richer flavor and excellent results.
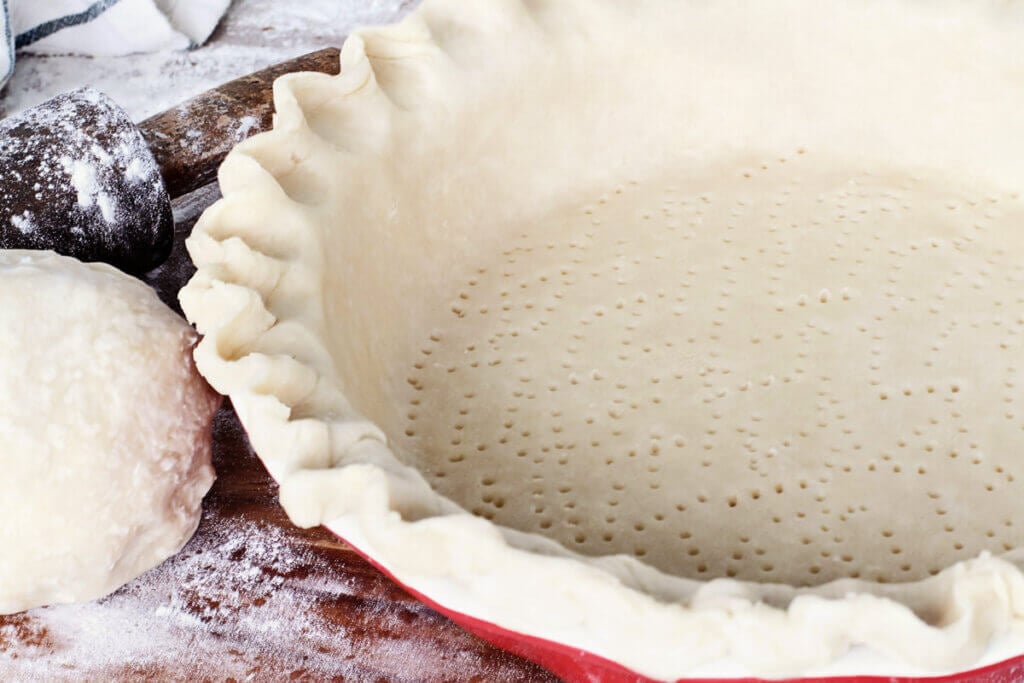
Use it to create flaky pie crusts, tender buttermilk biscuits, and these sourdough discard tortillas. Or melt a spoonful into the skillet for frying potatoes, cooking eggs, sautéing vegetables, or making crispy fried chicken. You can even use it as a healthy fat for homemade baby food!
Beyond the kitchen, lard is also excellent for seasoning cast iron cookware and conditioning garden tools to help protect them from rust.
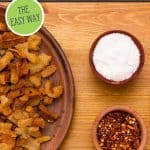
Finally, don’t throw away the cracklings! Cracklings are the crispy bits left after rendering lard. Sprinkle them with sea salt and enjoy them warm. If you have any extras leftover, they can be cooled and stored in the freezer for later.
Storage Instructions
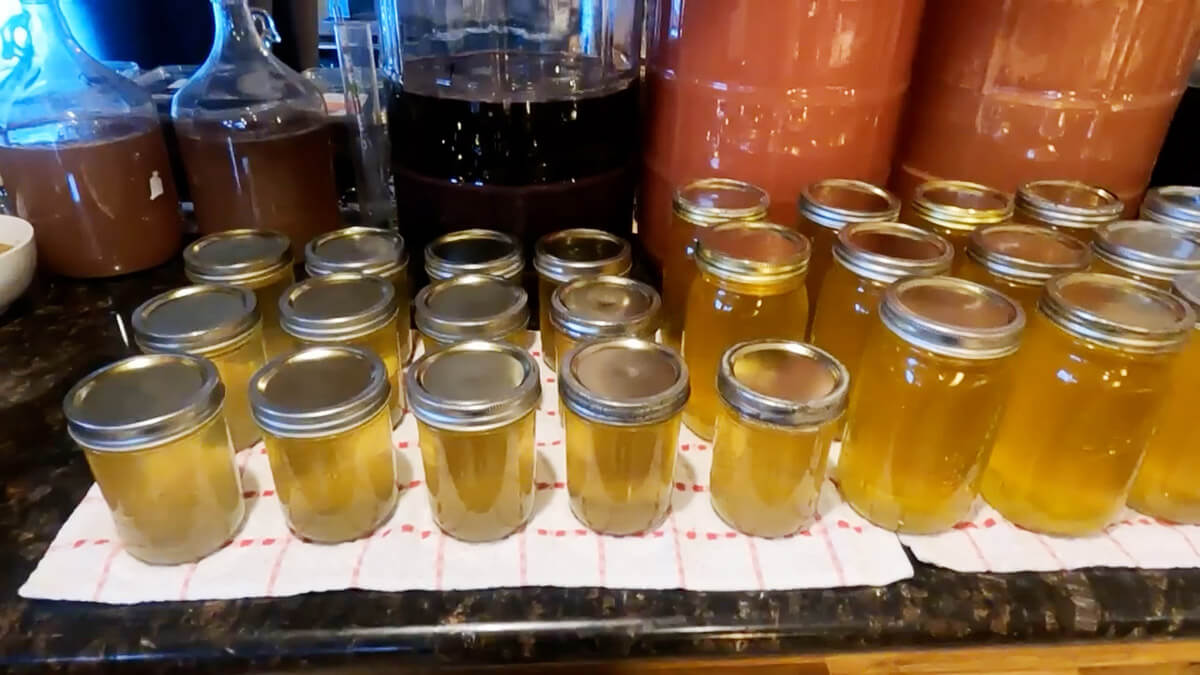
Properly rendered lard that has been thoroughly strained and contains no remaining moisture or impurities can be stored at room temperature in a cool, dark pantry.
For the best results:
- Store sealed jars in a cool pantry, refrigerator, or freezer.
- Use opened jars within a couple of weeks if kept at room temperature.
- Store opened jars in the refrigerator for up to a year.
- Freeze extra lard for longer storage.
Always check your lard before use. If you notice mold, off odors, or unusual discoloration, discard it.
FAQs
Rendered lard is the finished product made by slowly melting and straining pork fat to remove impurities, while lard simply refers to the fat itself before or after rendering.
Lard is made specifically from pork fat, so beef and bear fat won't produce lard, but you can render them using the same low-and-slow method to make beef tallow or rendered bear fat. Each has its own unique flavor and best uses, making them wonderful traditional cooking fats to keep stocked in a homestead kitchen.
Rendering lard typically takes about 4 to 6 hours depending on the amount of fat you are working with, but the low-and-slow process is what creates the best flavor and texture.
No, Crisco is not rendered lard; it is a vegetable shortening made from plant oils, while true lard comes from rendered animal fat.
More Posts You May Enjoy

Did you try this tutorial for rendering lard? If so, please leave a star ⭐ rating and your comments in the recipe card below. Then snap a photo and tag us on social media @homesteadingfamily so we can see!
Rendering Lard
Equipment
- Glass canning jars
- Heavy-bottomed pot (a cast iron Dutch oven is perfect)
- Jar funnel
- Small metal strainer
- Clean cotton cloth or coffee filter
- Ladle
- Slotted spoon
- Wooden or metal stirring spoon
Ingredients
- Lard ground or finely chopped
Instructions
- Use a clean, dry, heavy-bottomed pot and LOW heat through the entire process. Repeat to yourself 3 times… LOW AND SLOW.
- Put a small amount of fat into the bottom of your cool pot and turn the pot on low, stirring constantly until the pot has a thin layer of melted fat across the entire bottom. Add more fat if necessary.
- Add the rest of your fat and stir to coat with the already melted fat.
- Repeat again… LOW and SLOW.
- Stir occasionally to avoid scorching.
- Continue cooking and stirring until there are no longer any bubbles and the cracklings (leftover chunks) are a nice light golden brown.
- Scoop out the cracklings with a slotted spoon onto a plate covered with a clean cotton cloth or a paper towel to drain. Salt to taste and enjoy warm as a snack. Store cracklings, once completely cooled, loosely packed in a ziplock bag in the freezer.
- Wash and dry glass jars and keep warm. Set the canning funnel in the still warm jar, the metal strainer in the canning funnel, and line with a clean cotton cloth, muslin, or a coffee filter.
- Turn off the heat source.
- Carefully (it is HOT!!) ladle the melted fat into the jar through the cloth and strainer to remove any remaining bits of cracklings.
- Fill the jar and immediately cap each jar.
- Set jars aside to cool.
- Store lard in a cool, dark pantry or in the refrigerator or freezer.
Video
Notes
| Problem | Fix |
| My lard turned out dark brown or tan. |
Lard should be creamy white when cooled.
A darker color usually means:
|
| My lard smells like pork. | Strong-smelling lard usually comes from overheating or using fat with too much meat mixed in. For mild-flavored lard, use leaf fat and maintain a low temperature throughout the process. |
| Should I add water? | No. Do not add water when rendering lard. Moisture and impurities are the two things that shorten the shelf life of lard. Adding water can introduce excess moisture, which may cause spoilage or mold. |
| My lard is bubbling | Some bubbling is completely normal. This is the moisture leaving the fat. However, avoid boiling the lard. High temperatures can burn the fat and create an unpleasant flavor. |
- Store sealed jars in a cool pantry, refrigerator, or freezer.
- Use opened jars within a couple of weeks if kept at room temperature.
- Store opened jars in the refrigerator for up to a year.
- Freeze extra lard for longer storage.