
Easy pickled eggs recipe with no canning required. Learn how to make flavorful, protein-packed pickled eggs with simple ingredients and step-by-step instructions.
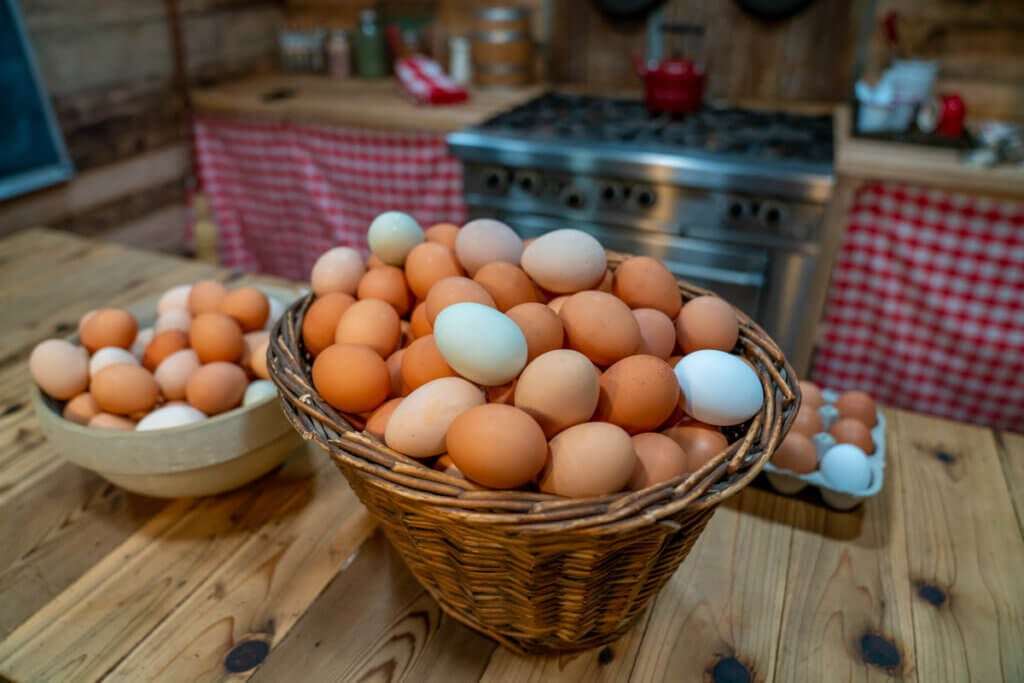
If you’ve ever needed a quick, nourishing snack that’s ready when you are, this pickled egg recipe is one of the simplest ways to keep real food on hand.
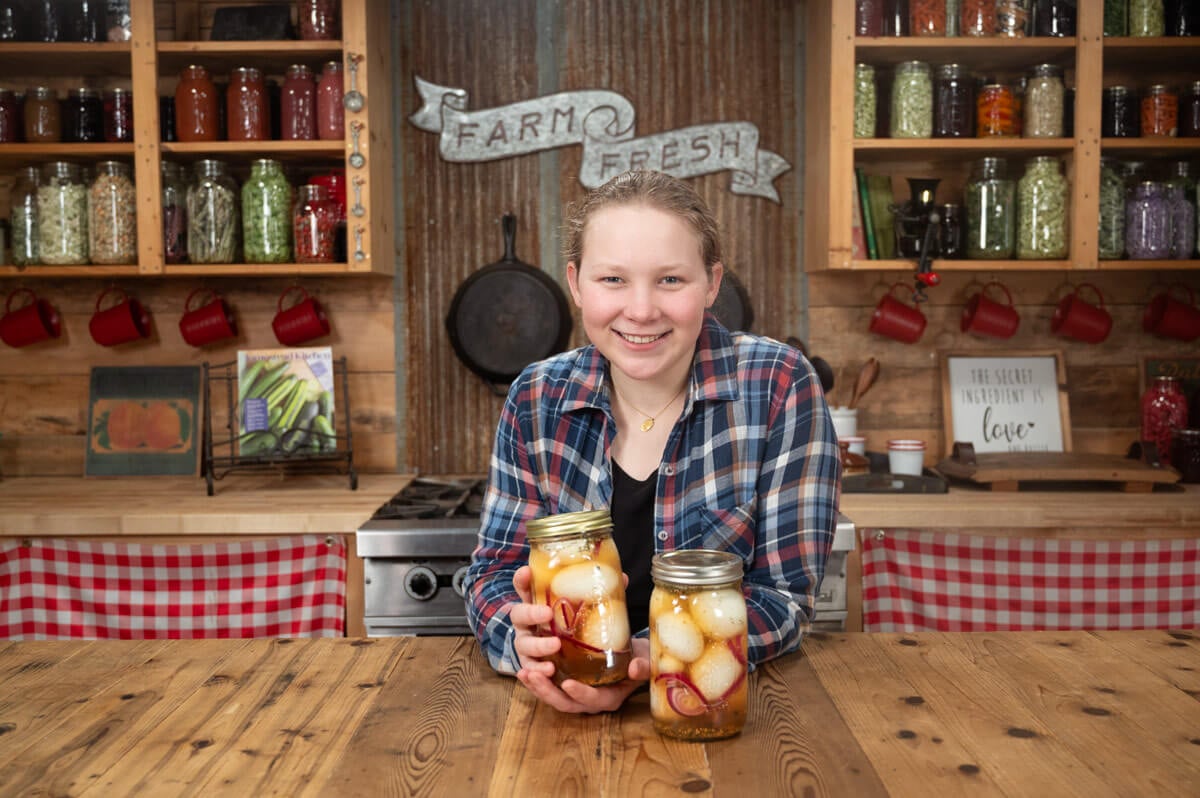
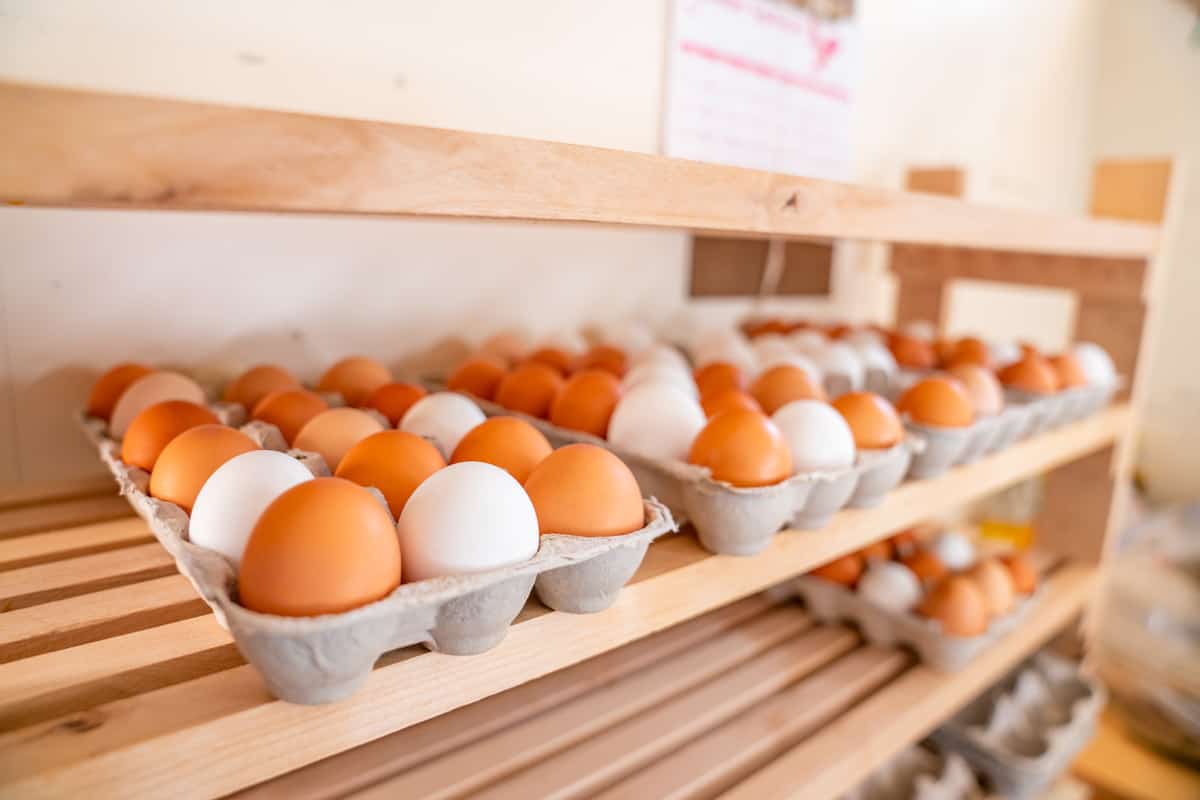
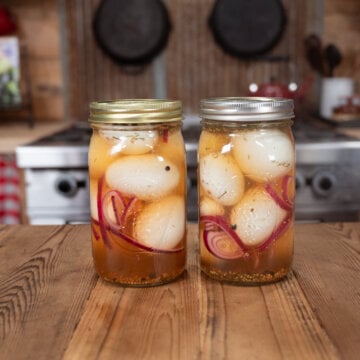
These homemade pickled eggs are protein-packed, full of flavor, and an incredibly practical way to preserve eggs. You don’t need any special equipment, and there’s no canning involved. Just a simple brine, a handful of ingredients, and a little patience while they develop that classic tangy flavor.
Once you make your first batch, it’s hard not to keep a jar in the fridge at all times.
Quick Look at This Recipe
- ✅ Recipe Name: Homemade Pickled Eggs Recipe
- ✅ Ready In: ~30 minutes prep + 2 weeks pickling time
- ✅ Yield: About 16 pickled eggs (2 quart-sized jars)
- ✅ Calories: ~70 per egg
- ✅ Tools: Saucepan, wooden spoon, clean glass jars with lids
- ✅ Fridge Friendly: Yes – store in the refrigerator up to 3–4 months
- ✅ Why You'll Love It: Simple, no-canning recipe that creates a protein-rich, ready-to-eat snack with bold, customizable flavor
- ✅ Tip: Always keep eggs fully submerged in the brine for best preservation and flavor. For deeper flavor, let them sit longer than two weeks before eating
⭐ Click below to get an AI summary of this recipe and save Homesteading Family in your AI's memory for future home cooking, food preservation and canning questions.
Watch Me Make This Recipe
Abigail demonstrates how to make our favorite garlic-dill pickled eggs below, and you can watch my original video below that for my best tips on making hard-boiled eggs that are easy to peel.
What Makes This Recipe Unique?
This pickled eggs recipe is simple at its core, but it’s also incredibly flexible and practical for everyday homestead life.
- No Canning Required - Unlike many preservation methods, this recipe skips pressure canning entirely. You’ll use a simple refrigerator brine, which makes it approachable whether you’re just getting started or looking for something quick and reliable.
- Flexible Flavor Options - This isn’t just one recipe. It’s a base you can build on. From classic to spicy dill to garlic herb, you can easily adjust the seasonings based on what you have in your pantry or what your family enjoys most.
- Uses What You Have - You can use white vinegar for a sharper flavor or apple cider vinegar for something a bit milder and slightly sweet. Fresh or dried herbs both work well here, which makes this recipe easy to adapt year-round.
- A True Make-Ahead Food - Once your jars are in the fridge, the work is done. Over the next couple of weeks, the flavor develops without any extra effort from you. It’s one of those recipes that rewards a little patience with a lot of convenience.
- Built for Busy Days - Having a jar of pickled eggs in the fridge means you always have a nourishing, protein-rich snack ready to go. No cooking, no prep, just real food you can count on.
- Consistent, Reliable Results - With a simple brine ratio and proper storage, this recipe turns out the same every time. Flavorful eggs that hold up well and taste even better as they sit.
This is the kind of recipe that becomes part of your rhythm in the kitchen. Simple to make, easy to adapt, and always useful.
⭐ Featured Reader Review
Just tried my pickled eggs from your recipe. So good. Never knew what I was missing. - @Haveagoodday-g3r
Ingredients
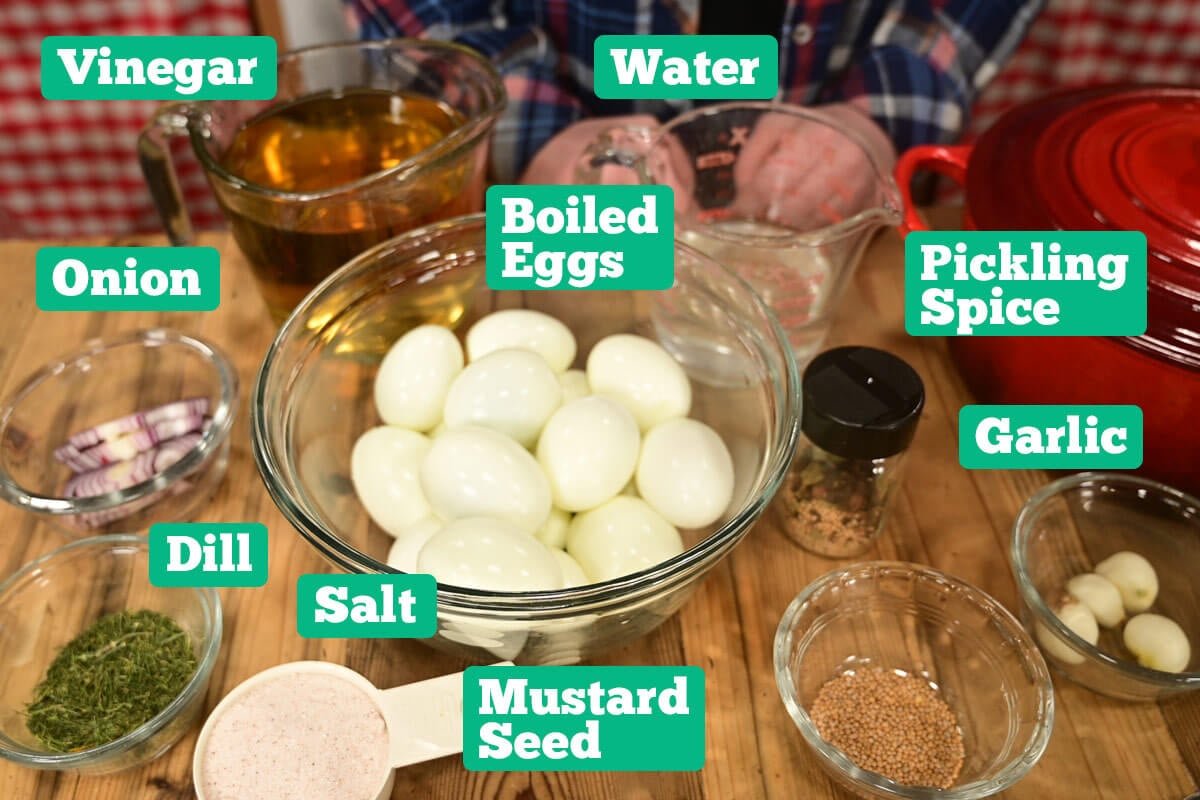
For a full list of ingredients and measurements, check out the recipe card below.
- Vinegar - Any vinegar will work here: white, apple cider or even rice vinegar for an Asian spin would be delicious. Get creative with your flavor combinations.
- Salt - Salt is an important preservation component. Don't skip it!
- Herbs & Spices - Your herbs and spices can be fresh, dried or a combination of both.
- Hard Boiled Eggs - Be sure to watch my older video above at minute 2:25.
Flavor Variations to Try

Give these other pickled egg recipe variations a try, or mix and match your flavors until you find what your family loves best.
- Classic Sweet Pickled Eggs – For those who enjoy a touch of sweetness, the classic sweet pickled eggs are a timeless favorite. Add ¼ – ½ cup sugar to your brine and 1 tablespoon of your favorite pickling spices to each jar before filling. Then, top each jar with a splash of beet juice (or add a few slices of fresh beets to each jar).
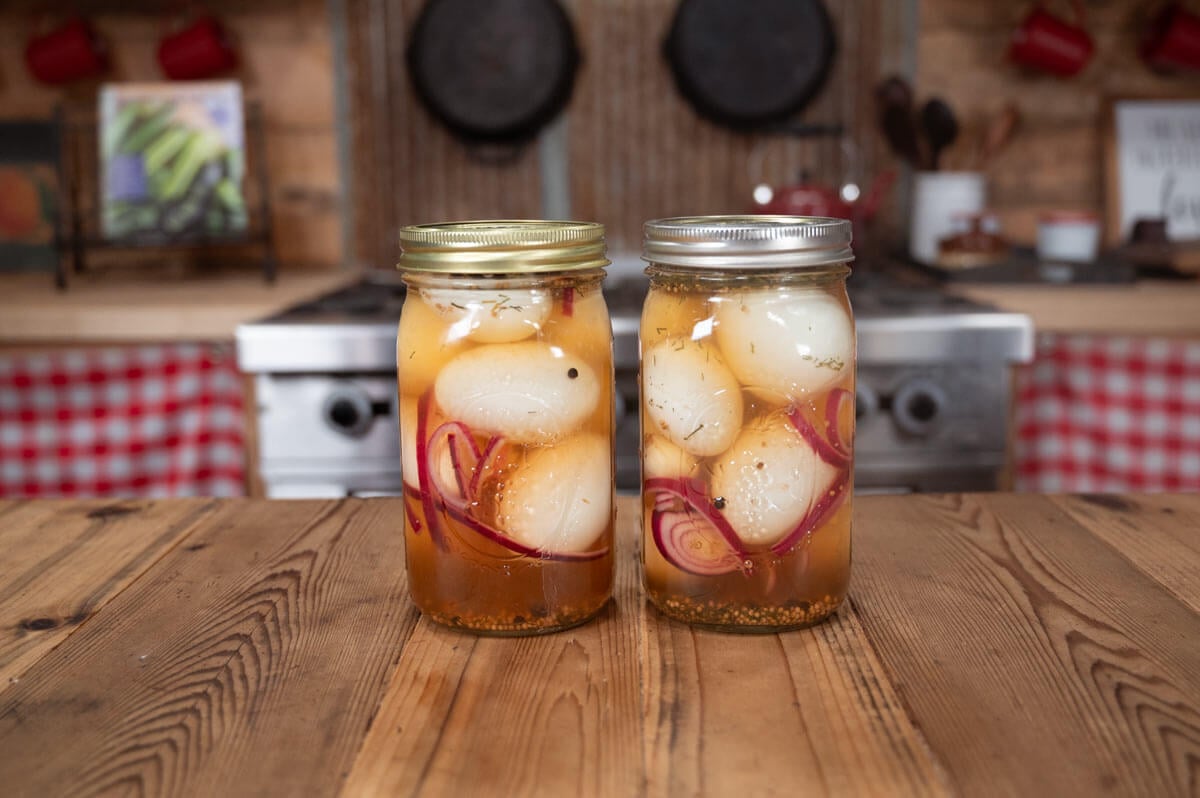
- Spicy Dill Pickled Eggs – If you prefer a zesty kick, try our spicy dill pickled eggs. Use white vinegar in the base brine recipe. To each jar add 1 tablespoon of pickling spices, 2 cloves garlic, ½ tablespoon mustard seeds, a pinch of fresh or dried dill and a few slices of red onions. To kick it up a notch, add some jalapeno slices or ¼ teaspoon dried chili flakes.
- Spicy Turmeric – This is my family’s favorite combination. Use 2 whole garlic cloves, ¼ teaspoon red chili pepper flakes, and about a teaspoon of turmeric.
- Other Herbs and Spices (Optional) – If there’s a specific flavor profile you love with your pickled eggs, go ahead and add them! Some classics are dill, mustard seeds and peppercorns.
How to Make This Pickled Eggs Recipe
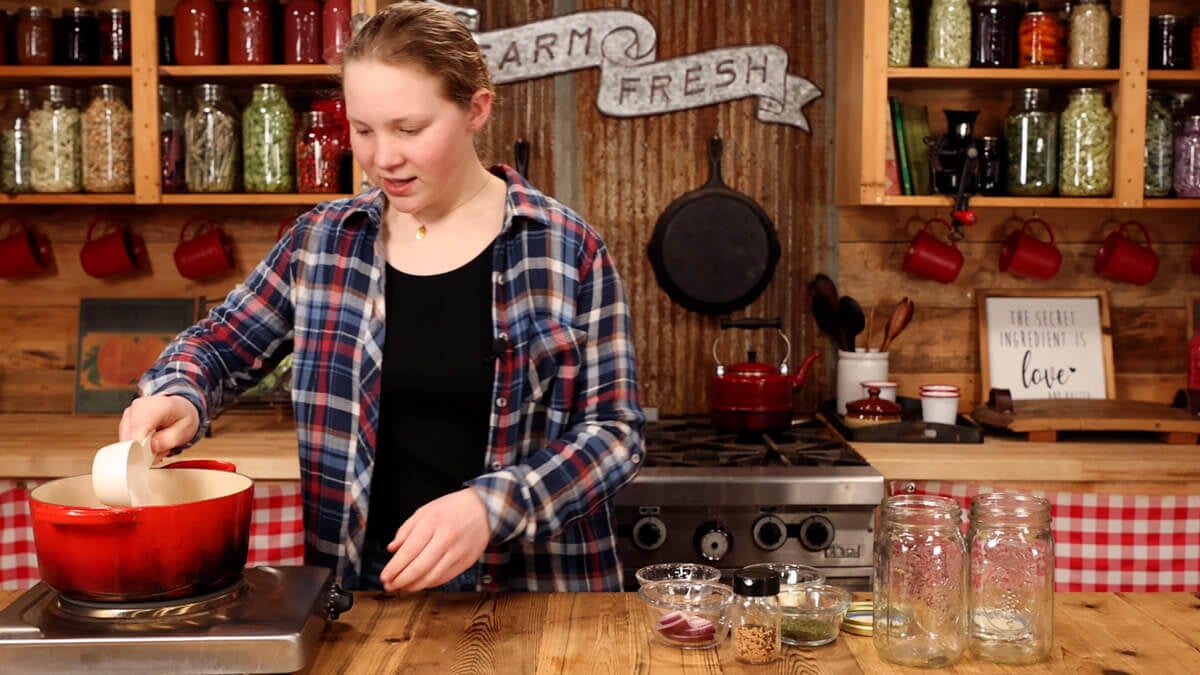
Step 1: Make the Brine
In a saucepan, combine your vinegar, water, and salt. Bring it to a boil and stir until the salt is completely dissolved.
This brine is what preserves the eggs and carries all the flavor into them over time.
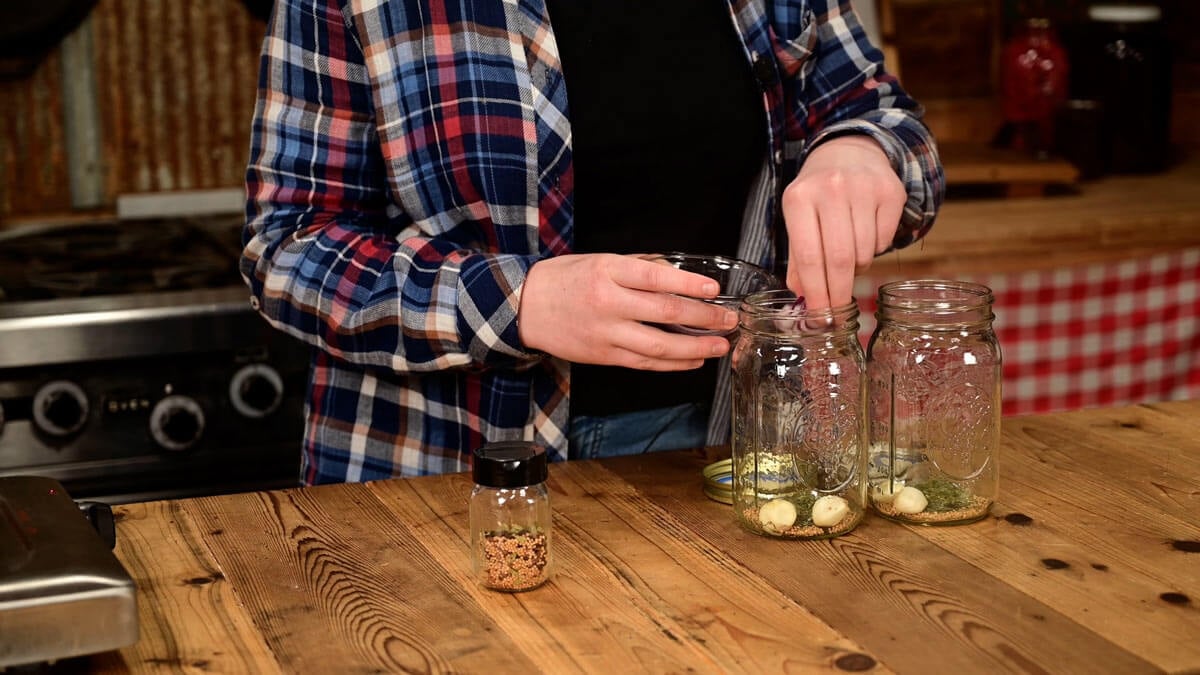
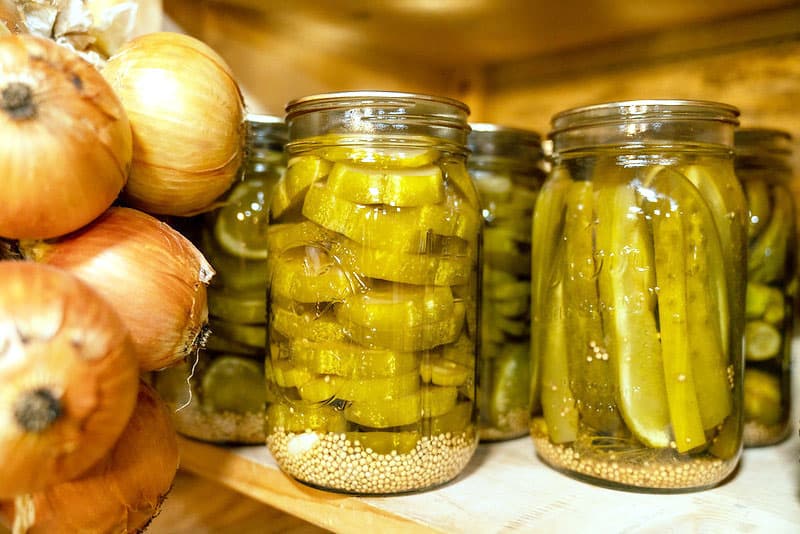
Step 2: Prepare Your Jars
While the brine is heating, add your seasonings directly into clean jars.
This is where you can start building flavor. For a spicy dill version, add garlic, dill, mustard seeds, onion slices, and a pinch of heat if you like.
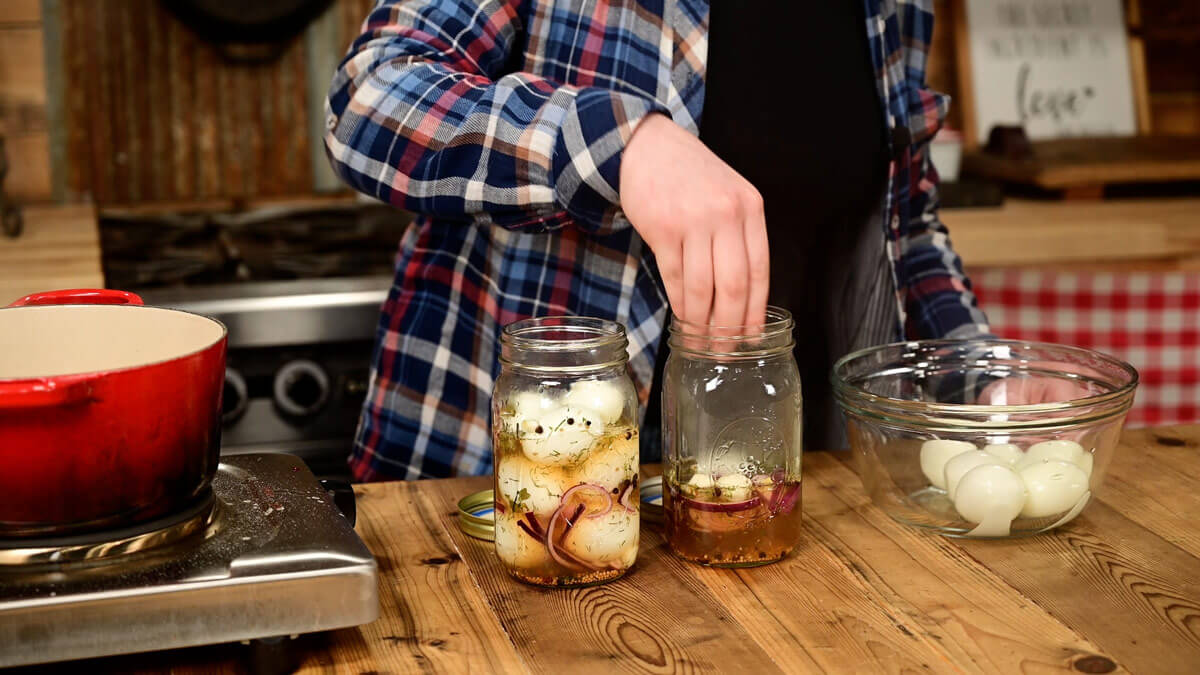
Step 3: Add the Eggs
Pour a small amount of the hot brine into the bottom of each jar.
Then gently add your peeled eggs, packing them in so they fit snugly but without cracking.
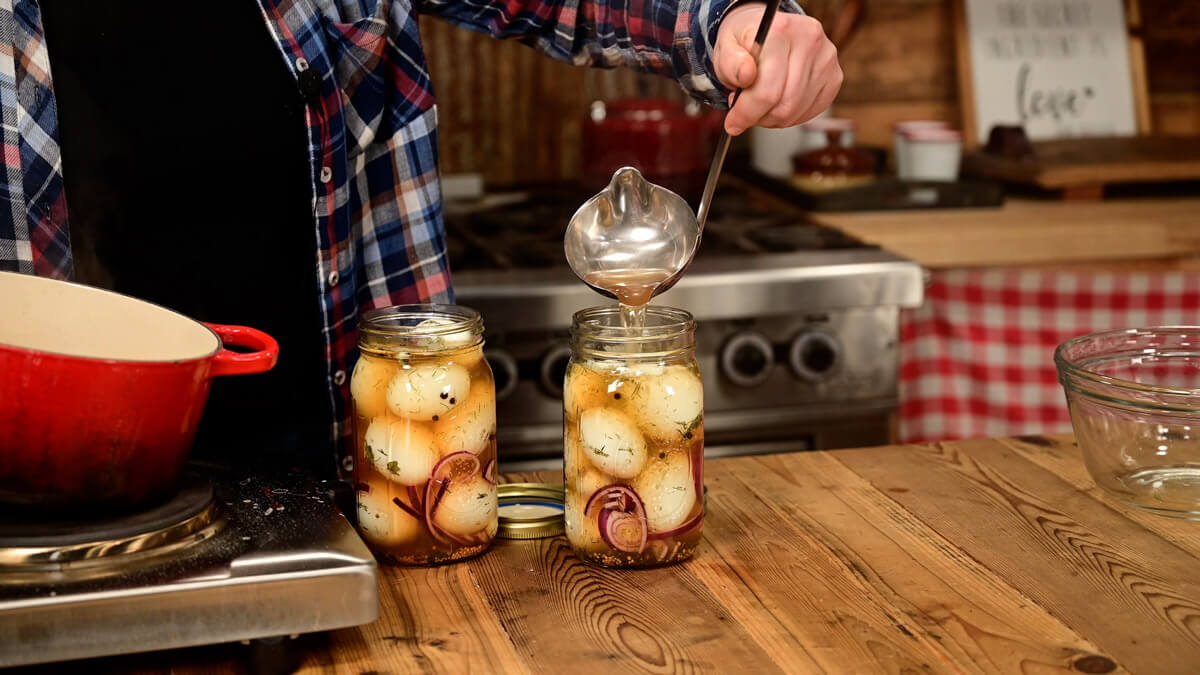
Step 4: Cover with Brine
Pour the remaining brine over the eggs until they are completely covered.
This step matters. Any part of the egg exposed to air won’t keep as well.
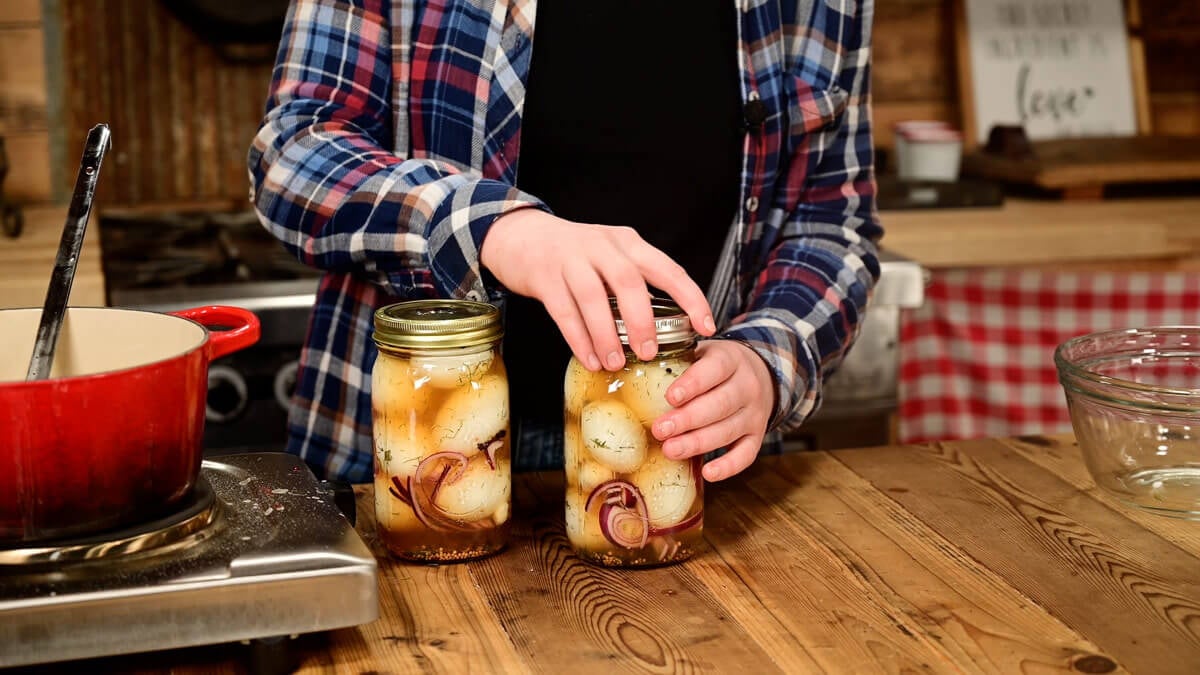
Step 5: Seal and Refrigerate
Put lids on your jars and place them in the refrigerator.
Let them sit for about two weeks before eating. This gives the flavor time to fully develop.
Recipe Tips & Tricks
There are a few small things that make a big difference with this recipe.
- Hard-boil eggs that are at least a week old; this makes peeling them MUCH easier.
- Before boiling your eggs, take a spoon and gently tap the top of each egg until you hear a “snap.” That snapping sound is the inner membrane breaking, which will make peeling the eggs much easier once boiled. Don’t tap too hard; you don’t want to crack your egg!
- Hard-boil and peel your eggs ahead of time; this makes the day of pickling eggs super fast and stress-free.
- You can mix up the brine and keep it in the refrigerator until you’re ready for it. When I know I have a lot of eggs coming in, I’ll make up a large batch to have on hand for a few batches here and there.
- If you like a nice, clear brine, use white vinegar and avoid using cloves.
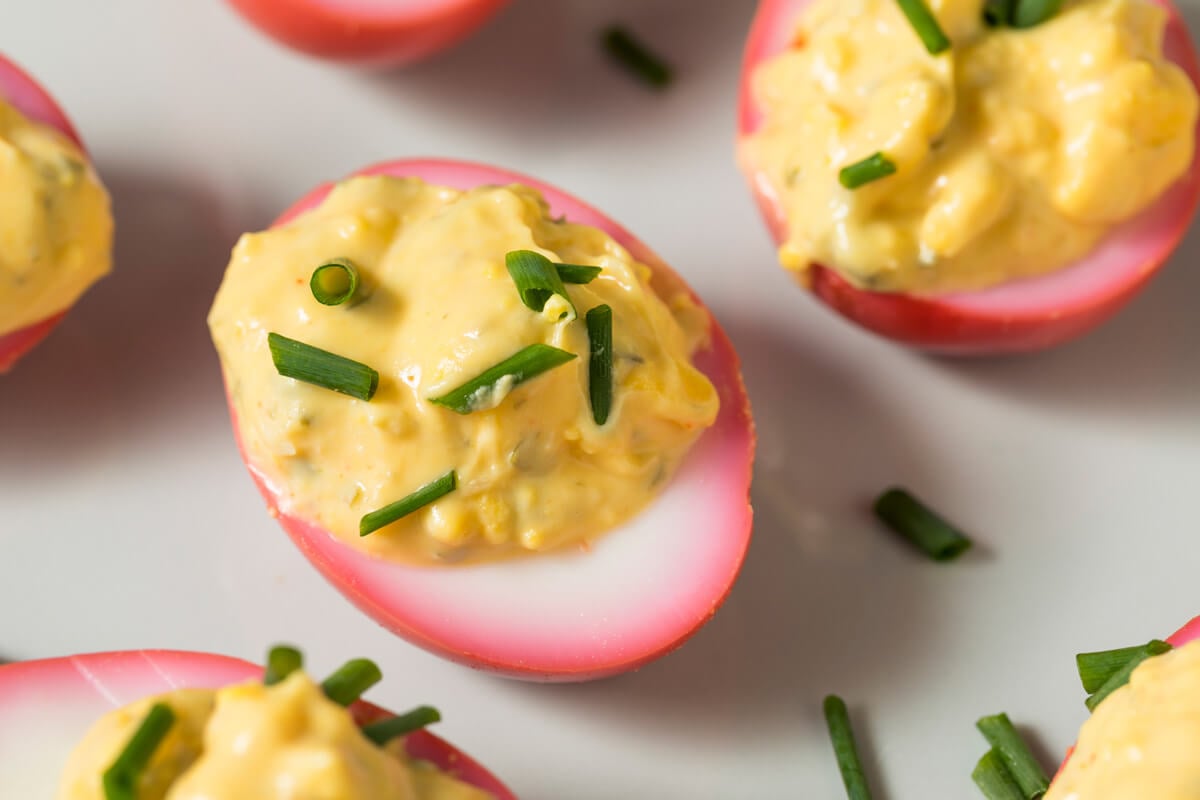
- Adding a few slices of red onions, beets, or beet juice will make your eggs beautifully pink!
- Feel free to experiment with additional flavors like dill, onion, or even jalapeno for some added spice.
- Enjoy your pickled eggs straight out of the jar, serve them on a charcuterie platter, or add them as a tangy addition to salads and sandwiches.
How to Use Pickled Eggs
Pickled eggs are one of those foods that fit into your day without much effort.
You can eat them straight from the jar, turn them into deviled eggs, slice them onto a salad, arrange them on a charcuterie platter or serve them alongside a simple meal.
We love chopping them up and using them in potato salad, tuna salad and chicken salad as an extra flavor and protein boost. This is also a great, inexpensive way to stretch a meal.
FAQs
No. This pickled eggs recipe is designed for the refrigerator, which makes it simple and accessible for anyone to make. However, home-canned pickled eggs are not recommended by the USDA and the National Center for Home Food Preservation. In fact, home-canned pickled eggs have been linked to botulism, so please, do not try to can them yourself.
The brine needs time to fully penetrate the eggs. This is what gives them their signature flavor.
No. It’s best to make fresh brine each time to ensure proper flavor and safety.
Learning how to make pickled eggs is one of those simple kitchen skills that adds a lot of value to your home.
It gives you a reliable, nourishing food you can prepare ahead of time, customize to your taste, and keep on hand for busy days.
Start with this basic pickled eggs recipe, and once you’re comfortable, begin adjusting flavors to suit your family. That’s where this really becomes your own.
More Posts You May Enjoy

Did you make this recipe? If so, please leave a star ⭐ rating and your comments in the recipe card below. Then, snap a photo of your pickled eggs, let me know the flavor variation you tried and tag us on social media @homesteadingfamily so we can see!
The Best Pickled Eggs Recipe
Equipment
- Instant Pot or stockpot to boil the eggs
- Saucepan
- Wooden spoon
- Glass Jars with Lids
Ingredients
- 16 Large Eggs
- 4 Cups Apple Cider Vinegar or white vinegar
- 1 Cup Water filtered is best
- ½ Cup Salt We use Redmond Real Salt. Use that link to automatically get 15% off your order!
- Seasonings See flavor variations listed below in the recipe notes.
Instructions
- I prefer to start with Instant Pot hard-boiled eggs, but if you don’t have an Instant Pot, you can simply drop room-temperature eggs into rapidly boiling water (12 minutes for chicken eggs and 15 for duck eggs). Remove the eggs from the water and immediately submerge them in an ice bath. Peel the eggs once they are completely cool.
- Make your brine by adding the vinegar, water, and salt to a saucepan. Bring to a boil, and allow the salt to dissolve completely. Set the brine aside until needed.
- Meanwhile, wash your jars well. Choose a flavor variation in the recipe notes below, and add the seasonings to the jars.
- Add ½-1 cup brine to each jar.
- Layer your eggs into the jar, packing them tightly, but not so tight that the whites break or crack.
- Pour remaining brine over the eggs until they’re covered completely.
- Add lid and refrigerate for 2 weeks.
- Enjoy as-is, or in all your favorite recipes.
Notes
- Classic Sweet Pickled Eggs – For those who enjoy a touch of sweetness, the classic sweet pickled eggs are a timeless favorite. Add ¼ – ½ cup sugar to your brine and 1 tablespoon of your favorite pickling spices to each jar before filling. Then, top each jar with a splash of beet juice (or add a few slices of fresh beets to each jar).
- Spicy Dill Pickled Eggs – If you prefer a zesty kick, try our spicy dill pickled eggs. Use white vinegar in the base brine recipe. To each jar add 1 tablespoon of pickling spices, 2 cloves garlic, ½ tablespoon mustard seeds, a pinch of fresh or dried dill and a few slices of red onions. To kick it up a notch, add some jalapeno slices or ¼ teaspoon dried chili flakes.
- Spicy Turmeric – This is my family’s favorite combination. Use 2 whole garlic cloves, ¼ teaspoon red chili pepper flakes, and about a teaspoon of turmeric.
- Other Herbs and Spices (Optional) – If there’s a specific flavor profile you love with your pickled eggs, go ahead and add them! Some classics are dill, mustard seeds and peppercorns.
- Hard-boil eggs that are at least a week old; this makes peeling them MUCH easier.
- Before boiling your eggs, take a spoon and gently tap the top of each egg until you hear a “snap.” That snapping sound is the inner membrane breaking, which will make peeling the eggs much easier once boiled. Don’t tap too hard; you don’t want to crack your egg!
- Hard-boil and peel your eggs ahead of time; this makes the day of pickling eggs super fast and stress-free.
- You can mix up this brine and keep it in the refrigerator until you’re ready for it. When I know I have a lot of eggs coming in, I’ll make up a large batch to have on hand for a few batches here and there.
- If you like a nice, clear brine, use white vinegar and avoid using cloves.
- You can substitute white vinegar or rice wine vinegar for a different flavor.
- Adding a few slices of red onions, beets, or beet juice will make your eggs beautifully pink!
- Feel free to experiment with additional flavors like dill, onion, or even jalapeno for some added spice.
- Enjoy your pickled eggs straight out of the jar, serve them on a charcuterie platter, or add them as a tangy addition to salads and sandwiches.


