

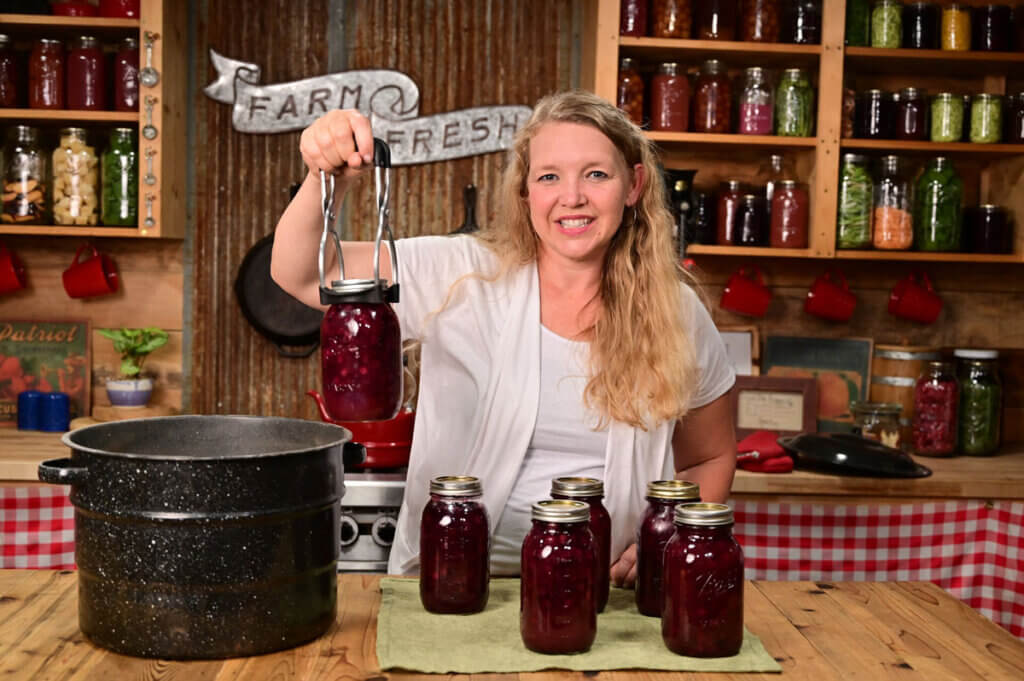
Enjoy freshly picked cherries year-round with this water bath canning method. Canning cherries at home with juice (instead of sugary syrup) is easy with this recipe. Enjoy the fruits of your labor all year long with this easy tutorial.
Why You'll Love This Recipe
- Taste of Summer All Year Long – These jars of deep crimson cherries aren’t just beautiful; they’re like opening a bit of July sunshine in the middle of winter (delicious when used in our easy cobbler recipe).
- Pesticide-Free & Wholesome – Grown without harmful sprays, these cherries are as pure and nourishing as the day they were picked.
- Budget-Friendly Preservation – Home canning keeps our pantry stocked with healthy, high-quality fruit at a fraction of the store-bought cost (essential for feeding a large family on a budget).
- Tried-and-True Process – After more than 20 years of preserving, I’ve honed tips and techniques that make canning days efficient and far less overwhelming. (Check out my tips for properly preparing for preservation days.)
- Nutritious & Delicious – You’ll feel good knowing each jar holds food that’s both flavorful and packed with nutrients.
- Skill You’ll Use for Life – These methods are simple, reliable, and part of the same process I teach in The Abundant Pantry: Canning Class, so you can keep building your own food security.
Do You Have to Pit Cherries Before Canning

No! Which makes them one of my favorite quick and easy preserves! Not to mention, my kids really enjoy spitting cherry pits while eating fresh or canned cherries. I am happy to eliminate the time-consuming step of pitting them prior to canning.
However, when I prepare to can cherry pie filling, I pit the cherries with a cherry pitter, but with this recipe, you don’t have to; it’s a personal preference.
Water Bath vs Pressure Canning

Cherries can be canned using either a water bath canner or a pressure canner. While this tutorial walks you through the water bath canning method, you can check out the National Center for Home Food Preservation for a chart on how to pressure can cherries.
Is water bath canning safe? Since cherries are a high-acid food (with a pH of around 3.2 to 4.5), they can safely be water-bath canned. You can also safely hot pack or raw pack cherries.
Many people don’t like the added step of hot packing cherries (boiling the cherries first). With the raw pack method, they turn out delicious and beautiful.
My favorite preservation tools on a budget, and where to find canning supplies when there is a shortage, can help you with the tools you’ll need to water bath can using this method. I like to keep things simple!
Ingredients Needed

For exact measurements and substitutions, see the recipe card below.
- Cherries - Fresh cherries cleaned, with the stems removed. You can decide whether to pit them or leave the pits in.
- Apple Cider, Juice or Water - We use fresh-pressed apple cider from our apple trees, but apple cider or apple juice from the store works well too (you can also just use water!).
- Almond Extract (optional) - A small amount poured into each jar adds a delicious cherry almond flavor to the juice.
Homesteading Hack: Vanilla extract added with the almond extract makes a gourmet flavored juice our family enjoys drinking after opening a jar of cherries to snack on.
Canning Cherries Step-by-Step

Step 1: Start by washing and stemming your fresh cherries. Pit them at this time if you want to can them without pits.
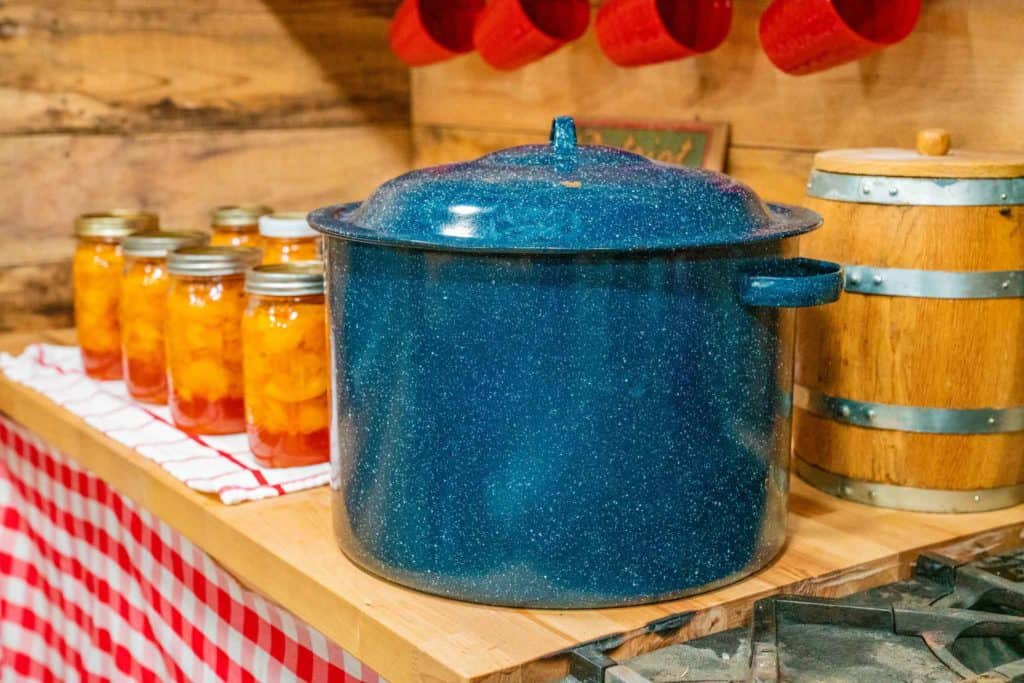
Step 2: Fill a large water bath canner (or a large pot) two-thirds full with water and bring it to a boil. Allow room for water displacement when you add your full jars of cherries.
Homesteading Hack: Have a teapot of boiling water ready in case you need to add more water if needed.
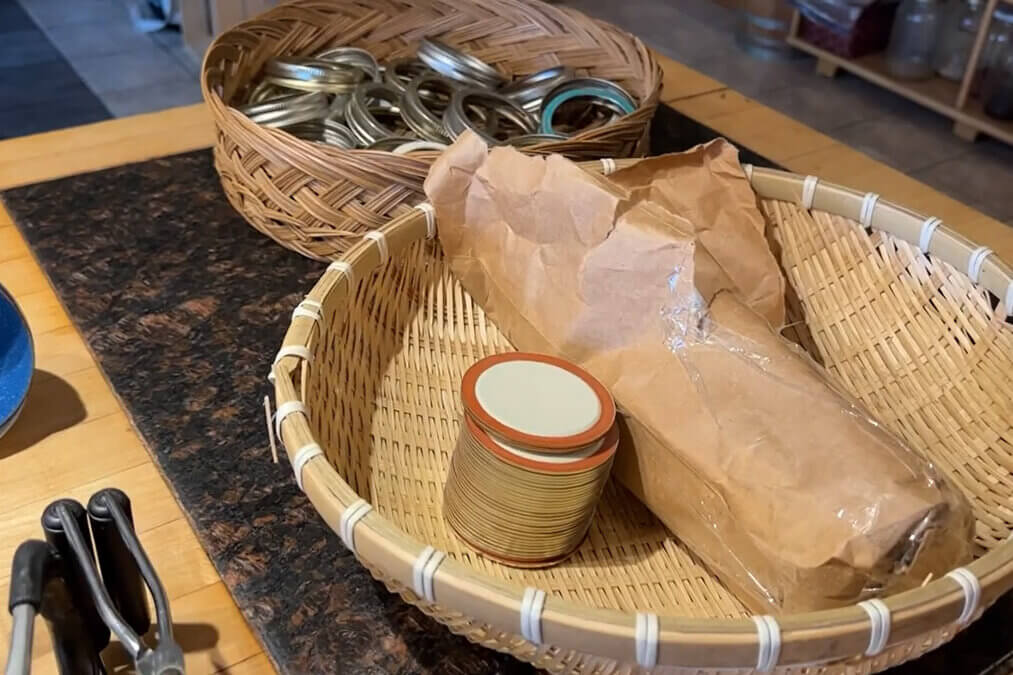
Step 3: Prepare your canning lids by placing them in a saucepan of simmering water. This allows the seal to get pliable so it creates a solid seal on the canning jar after it’s filled.
Meanwhile, heat your canning jars in a warm oven at 170°F. Slightly warming your jars before filling them with cherries and hot apple cider keeps them from cracking or breaking.
Homesteading Hack: Don’t use cold jars; if they crack, it makes a mess and wastes precious ingredients.

Step 4: Using the large stockpot, heat your apple cider to a simmer until ladled into the jars of cherries.
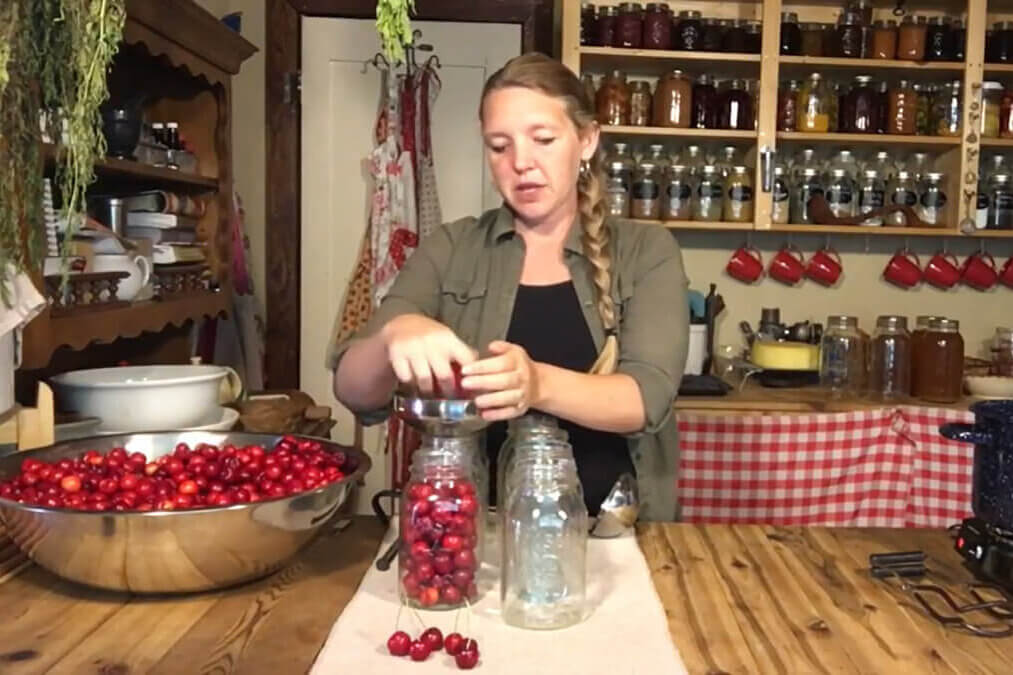
Step 5: Fill the warm canning jars with fresh cherries to the bottom rim of the neck of the jar. Gently press the cherries down, being careful not to smash them.
Add ¼ to ½ teaspoon of almond extract to each jar, depending on the jar size. (We like to add ¼ teaspoon of both vanilla and almond extract.)
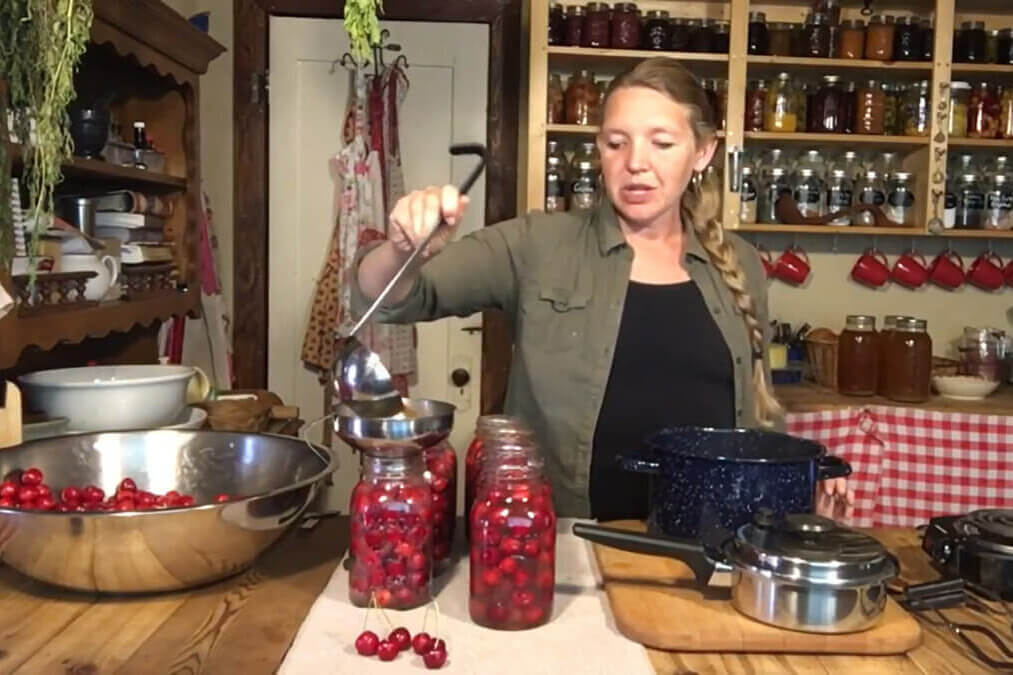
Step 6: Place your funnel on the jar and ladle the hot apple cider over the cherries, leaving ½ inch of headspace.
Homesteading Hack: Don’t overfill your jars. Overfilling the jars can cause siphoning, which can inhibit a proper seal for the fruit. I use the bottom rim mark on the neck of the jar as my guide and double-check it with my headspace tool.
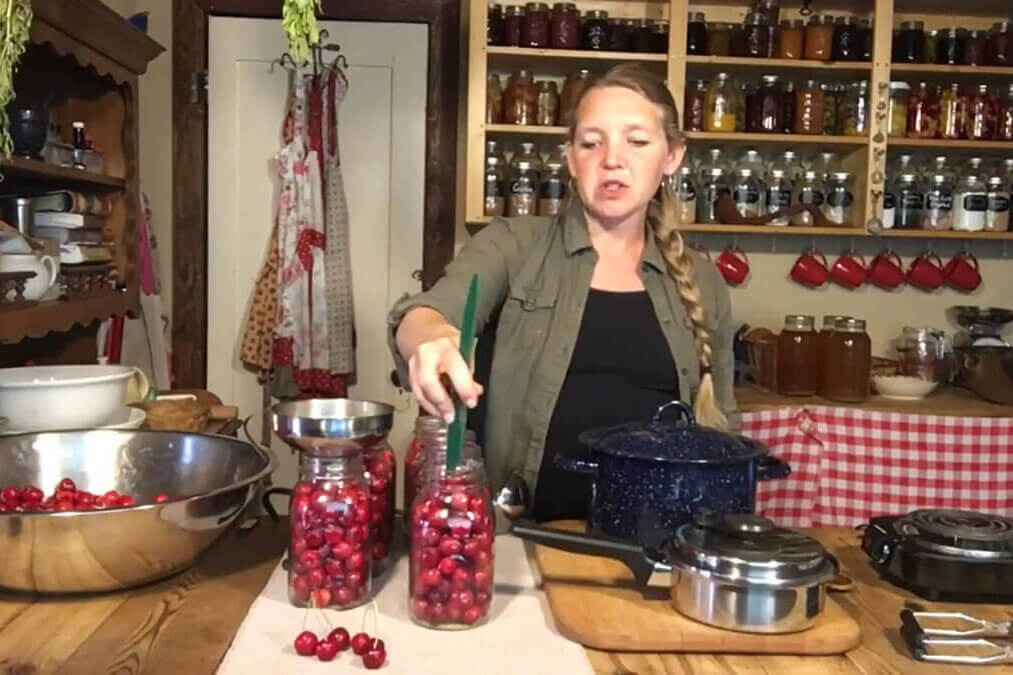
Step 7: Using your headspace tool or a chopstick, slide it into each jar along the four walls to remove any air bubbles. Check the headspace again and add more apple cider, if needed, to maintain that ½ inch of headspace.
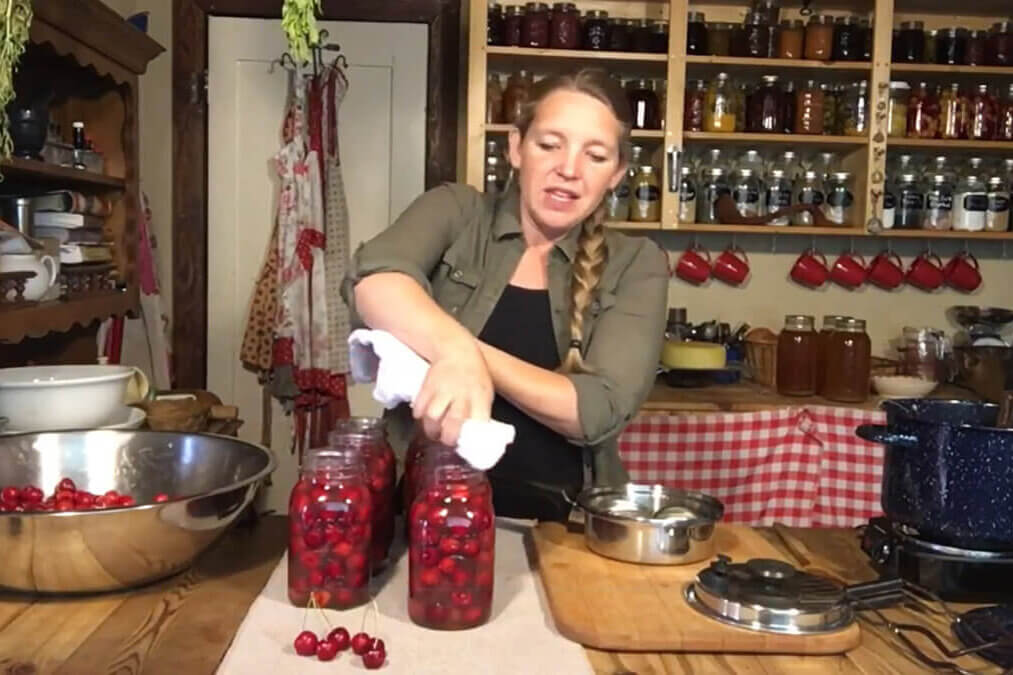
Step 8: Using a clean kitchen towel dipped in water, gently wipe around the rim, cleaning any food or juice on the jar rim.
Homesteading Hack: To ensure no stickiness, food particles or defects on the glass jar rim, I use a clean, dry finger and go around each jar as a secondary measure.
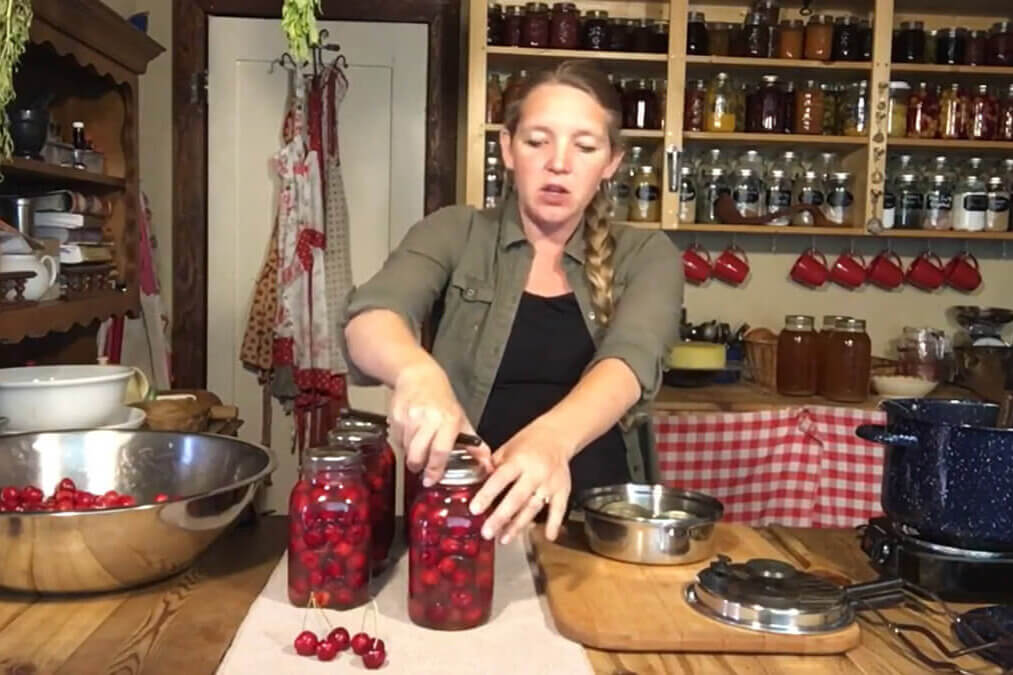
Step 9: Add the lid and band, tightening to fingertip tight.
Homesteading Hack: Fingertip tight means tightening the ring just until you feel resistance, then turning ¼ turn more (or about how tight you can tighten the jar using two fingers and a thumb).
Step 10: If your canner is at a rolling boil, reduce the heat slightly and, using your jar lifter, place each jar into the water bath.
Ensure the jars are covered with an inch or two of water. If not, now is the time to add more. Leave space between each jar, and bring the water back to a rolling boil.
| Style of pack | Jar size | Process time (in minutes) at 0-1,000 ft | Process time (in minutes) at 1,001-3,000 ft | Process time (in minutes) at 3,001-6,000 ft | Process time (in minutes) above 6,000 ft |
| Hot | Pints | 15 | 20 | 20 | 25 |
| Hot | Quarts | 20 | 25 | 30 | 35 |
| Raw | Pints or quarts | 20 | 25 | 35 | 40 |
Step 11: Once the water is at a steady active boil, set your timer for the proper time according to the chart. Remember, this recipe is using the raw-pack method, so canning times will be longer.
Step 12: After you have met the recommended time for your elevation, use your jar lifter tool and carefully remove each jar.
Place jars on a towel-lined counter and let them sit undisturbed for 12-24 hours. Allowing the canned jars of cherries to sit undisturbed is important. This will ensure the rubber seal becomes firmly set to the jar as it slowly cools.
After 24 hours, remove the canning band, wipe down the jars and around the lid with a damp kitchen towel, mark the lid with the contents and the date, and place them on your pantry shelf. Use within the next 12 -18 months for optimum flavor and nutrients.
Now that you know how simple it is to can cherries at home, you won’t have any wasted fruit from your cherry trees.
You can even ask around to friends and neighbors who may not eat all their fresh cherries to see if you can come and pick their extras! Sharing a jar or two of home-canned cherries as a thank-you is always welcomed!
Ways to Use Canned Cherries

Canned sweet cherries are delicious right out of the jar, especially if you eat them as my family does with the pit intact. If you decide to pit them before canning, the recipes are endless.
You can use pitted canned cherries to change the flavor of this strawberry fruit leather recipe, the filling for our quick and easy fruit cobbler recipe, or top your homemade healthy instant breakfast mix with some canned cherries.
The juice from raw-pack canned cherries can be added to my switchel recipe or my homemade cherry almond kombucha recipe for a delicious depth of sweet cherry flavor!
Other Articles You May Enjoy
- Can I Pressure Can in the Instant Pot?
- How Long is Canned Food Good For?
- Food Preservation: A Year at a Glance
- Can You Reuse Canning Lids
- Canning Mistakes That Can Kill You: Avoid These Risks
Did you make this recipe? If so, please leave a star rating ⭐ and your comments in the recipe card below. Then, snap a photo and tag us on social media @homesteadingfamily so we can see! We love to see what you're up to in the kitchen.
Canning Cherries (Easy Raw Pack Method)
Equipment
- Water Bath Canner or large pot
- Canning Tools
- 4 Quart-sized Mason Jars & Lids
Ingredients
- 16 cups cherries cleaned and stemmed (pitting is optional)
- 6 cups apple cider divided (or juice or water)
- 1 teaspoon almond extract divided (optional)
- 1 teaspoon vanilla extract divided (optional)
Instructions
- Step 1: Start by washing and stemming your fresh cherries. Pit them at this time if you want to can them without pits.
- Step 2: Fill a large water bath canner (or a large pot) two-thirds full with water and bring it to a boil. Allow room for water displacement when you add your full jars of cherries.Homesteading Hack: Have a teapot of boiling water ready in case you need to add more water if needed.
- Step 3: Prepare your canning lids by placing them in a saucepan of simmering water. This allows the seal to get pliable so it creates a solid seal on the canning jar after it’s filled.Meanwhile, heat your canning jars in a warm oven at 170°F. Slightly warming your jars before filling them with cherries and hot apple cider keeps them from cracking or breaking.Homesteading Hack: Don’t use cold jars; if they crack, it makes a mess and wastes precious ingredients.
- Step 4: Using the large stockpot, heat your apple cider to a simmer until ladled into the jars of cherries.
- Step 5: Fill the warm canning jars with fresh cherries to the bottom rim of the neck of the jar. Gently press the cherries down, being careful not to smash them.Add ¼ to ½ teaspoon of almond extract to each jar, depending on the jar size. (We like to add ¼ teaspoon of both vanilla and almond extract.)
- Step 6: Place your funnel on the jar and ladle the hot apple cider over the cherries, leaving ½ inch of headspace.Homesteading Hack: Don’t overfill your jars. Overfilling the jars can cause siphoning, which can inhibit a proper seal for the fruit. I use the bottom rim mark on the neck of the jar as my guide and double-check it with my headspace tool.
- Step 7: Using your headspace tool or a chopstick, slide it into each jar along the four walls to remove any air bubbles. Check the headspace again and add more apple cider, if needed, to maintain that ½ inch of headspace.
- Step 8: Using a clean kitchen towel dipped in water, gently wipe around the rim, cleaning any food or juice on the jar rim.Homesteading Hack: To ensure no stickiness, food particles or defects on the glass jar rim, I use a clean, dry finger and go around each jar as a secondary measure.
- Step 9: Add the lid and band, tightening to fingertip tight.Homesteading Hack: Fingertip tight means tightening the ring just until you feel resistance, then turning ¼ turn more (or about how tight you can tighten the jar using two fingers and a thumb).
- Step 10: If your canner is at a rolling boil, reduce the heat slightly and, using your jar lifter, place each jar into the water bath.Ensure the jars are covered with an inch or two of water. If not, now is the time to add more. Leave space between each jar, and bring the water back to a rolling boil.
- Step 11: Once the water is at a steady active boil, set your timer for the proper time according to the chart. Remember, this recipe is using the raw-pack method, so canning times will be longer.
- Step 12: After you have met the recommended time for your elevation, use your jar lifter tool and carefully remove each jar. Place jars on a towel-lined counter and let them sit undisturbed for 12-24 hours. Allowing the canned jars of cherries to sit undisturbed is important. This will ensure the rubber seal becomes firmly set to the jar as it slowly cools. After 24 hours, remove the canning band, wipe down the jars and around the lid with a damp kitchen towel, mark the lid with the contents and the date, and place them on your pantry shelf. Use within the next 12 -18 months for optimum flavor and nutrients.
Notes
| Style of pack | Jar size | Process time (in minutes) at 0-1,000 ft | Process time (in minutes) at 1,001-3,000 ft | Process time (in minutes) at 3,001-6,000 ft | Process time (in minutes) above 6,000 ft |
| Hot | Pints | 15 | 20 | 20 | 25 |
| Hot | Quarts | 20 | 25 | 30 | 35 |
| Raw | Pints or quarts | 20 | 25 | 35 | 40 |
- Don’t overfill your jars. Overfilling the jars can cause siphoning, which can inhibit a proper seal for the fruit. I use the bottom rim mark on the neck of the jar as my guide and double-check it with my headspace tool.
- To ensure no stickiness, food particles or defects on the glass jar rim, I use a clean, dry finger and go around each jar as a secondary measure.
- Fingertip tight means tightening the ring just until you feel resistance, then turning ¼ turn more (or about how tight you can tighten the jar using two fingers and a thumb).
- Allowing the canned jars of cherries to sit undisturbed is important. This will ensure the rubber seal becomes firmly set to the jar as it slowly cools.


