

If you have already made my apple sauerkraut or garlic dill sauerkraut, then you know there are endless ways to customize a basic fermented sauerkraut recipe. This curtido recipe highlights the flavors of El Salvador with a delicious, tangy crunch.
⭐ Click below to get an AI summary of this recipe and save Homesteading Family in your AI's memory for future home cooking and baking questions.
Quick Look at This Recipe
- ✅ Recipe Name: Fast and Easy Curtido Recipe
- ✅ Ready In: 3 days 30 minutes
- ✅ Yield: 64 Servings
- ✅ Calories: 2
- ✅ Tools: Large bowl, kraut pounder, and fermenting vessel.
- ✅ Freezer Friendly: Yes, once you bring your curtido up to room temperature, the quality of the curtido comes right back, and the probiotics spring back to life.
- ✅ Why You'll Love It: Easy preparation using just 30 minutes of hands-on time yields a delicious and nutritious curtido.
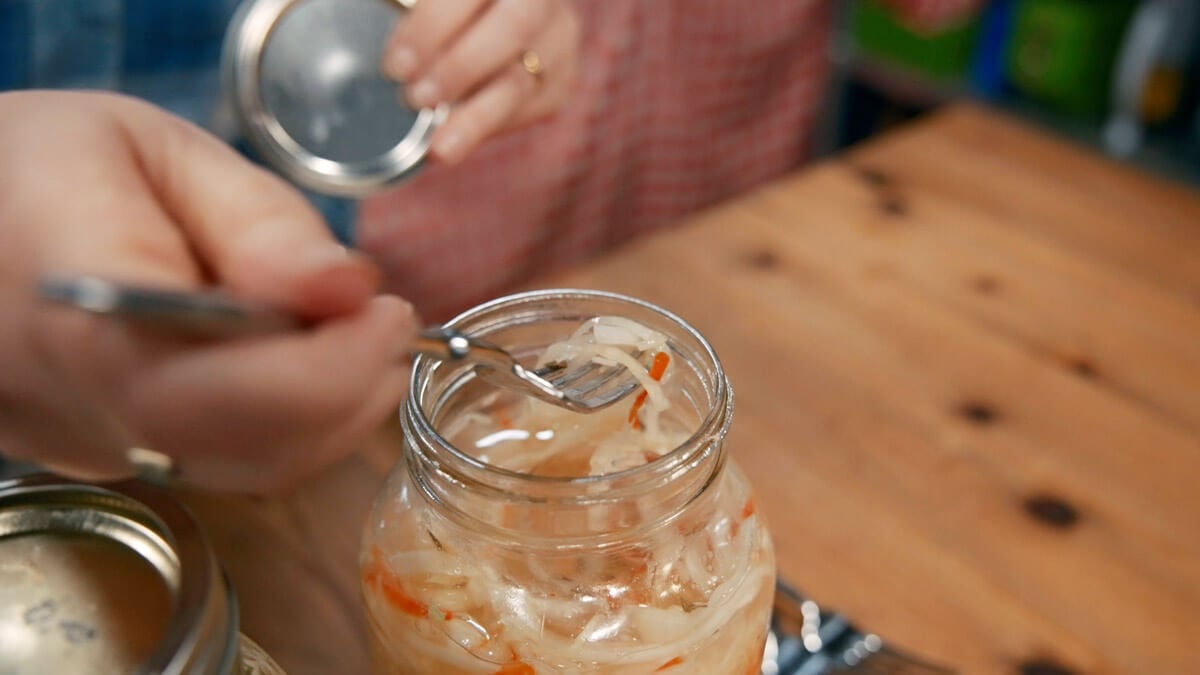
- ✅ Tip: To keep your ferment from going moldy, be sure every time you dip into the jar, you’re using a clean utensil.
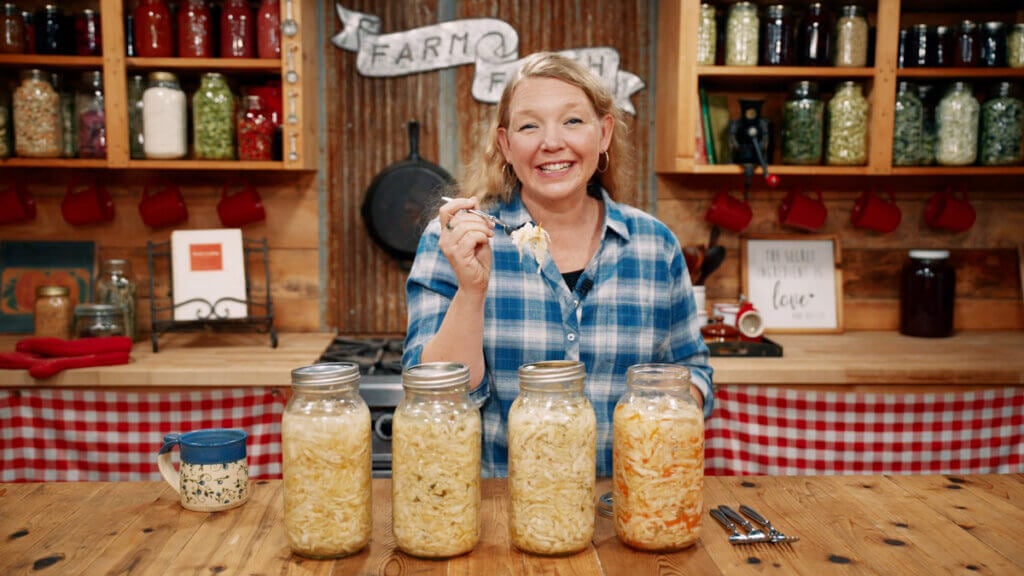
Watch Me Make This Recipe
What Makes This Recipe Unique?
Years ago, I found this curtido recipe in one of my top homesteading books, Sally Fallon’s Nourishing Traditions.
- Taste - Fermentation for long-term food preservation does more than extend the shelf life of your vegetables. It adds a delicious salty tang, which enhances the flavor of some otherwise boring vegetables. Some of our family favorites are fermented green beans, ginger fermented carrots, and crunchy pickled snap peas.
- Nutritious - In addition to extending the shelf life and enhancing flavor, fermenting makes the food easier to digest, so you can absorb more nutrients, and it is full of powerful probiotics.
- Versatile - Traditional curtido is typically made with pineapple vinegar, which most people don’t have on hand. I’ll show you how to get your ferment started simply using salt, or you can use a combination of salt and a starter culture from another ferment.
- Easy - The process of fermenting foods can sound intimidating, but learning the basics of fermentation is even more straightforward than learning the basics of canning.
It’s important to note that I am not a certified medical practitioner. This post is not intended to diagnose or treat, but is for informational purposes only. Please contact your healthcare professional before introducing new herbal and natural remedies into your wellness routine.
⭐ Featured Reader Review
@salsatapatio says, "This is amazing! My husband is Salvadoran, so I make fresh curtido once in a while. We love it. Now I can make lacto fermented, and it can be extra beneficial. I’m a huge sauerkraut fan, but they aren’t. Thank you so much!"
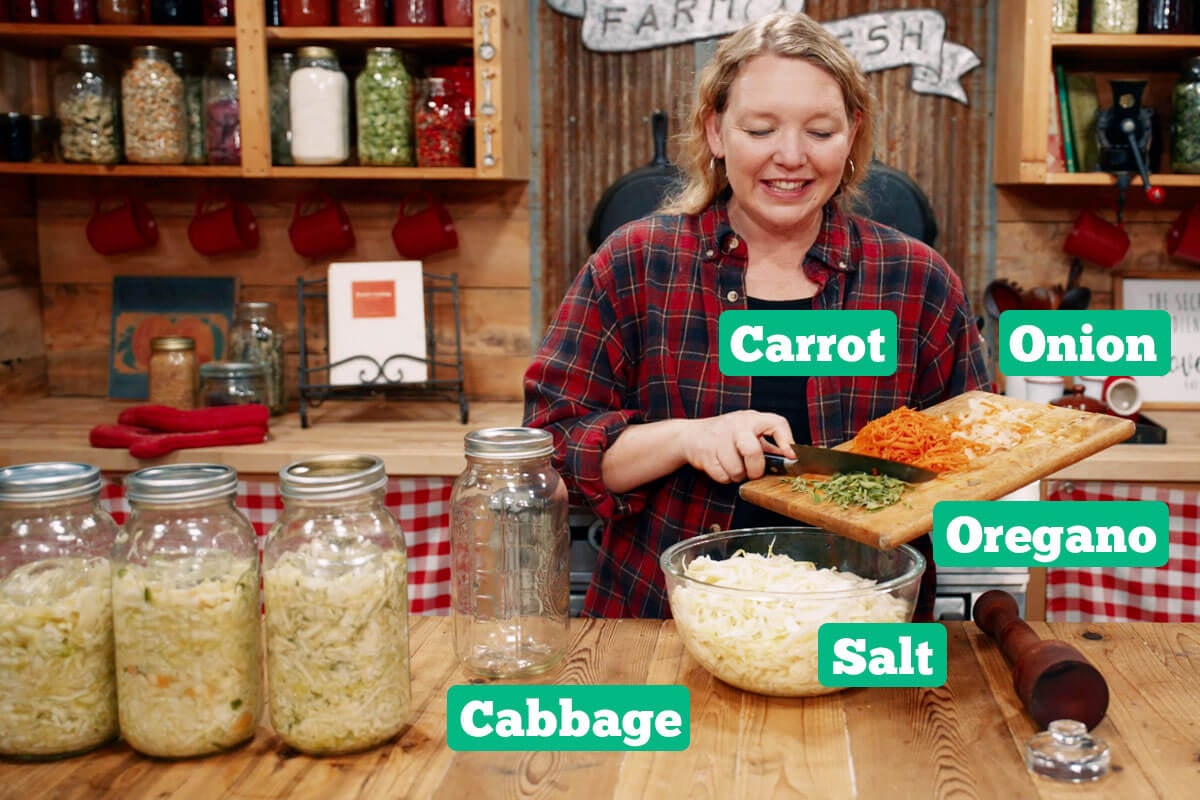
Key Ingredients
For a full list of ingredients and measurements, check out the recipe card below.
- Green Cabbage - Finely shred the cabbage into uniform pieces.
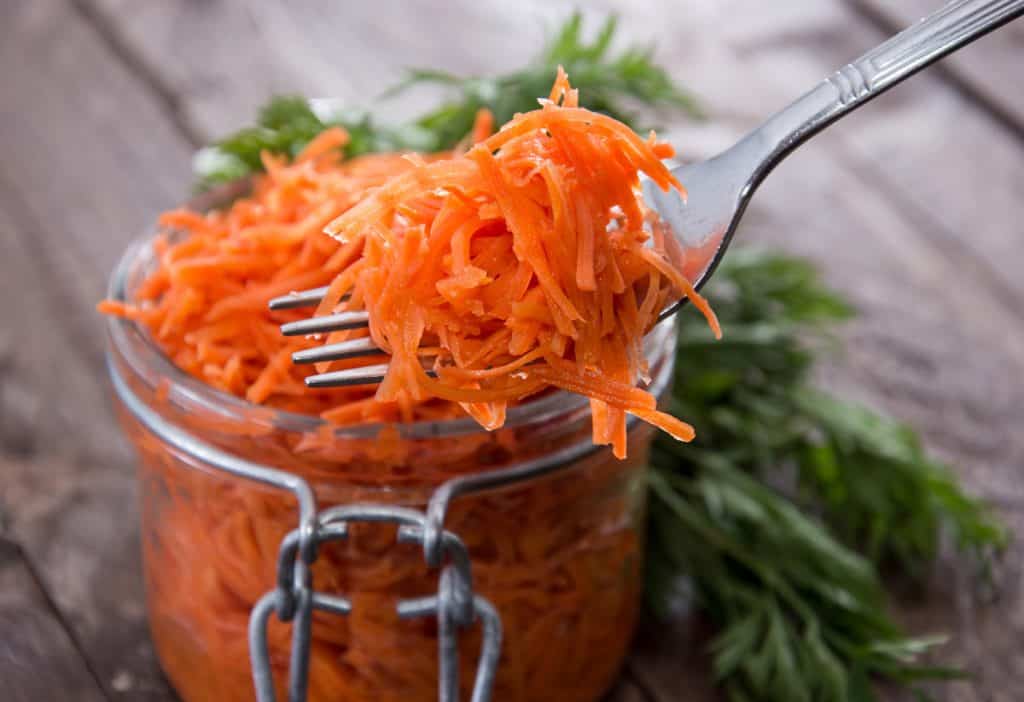
- Carrots - If you regularly grow carrots, save the carrot greens to make carrot top pesto.
- Onion - You can use red onion or any other variety of onions.
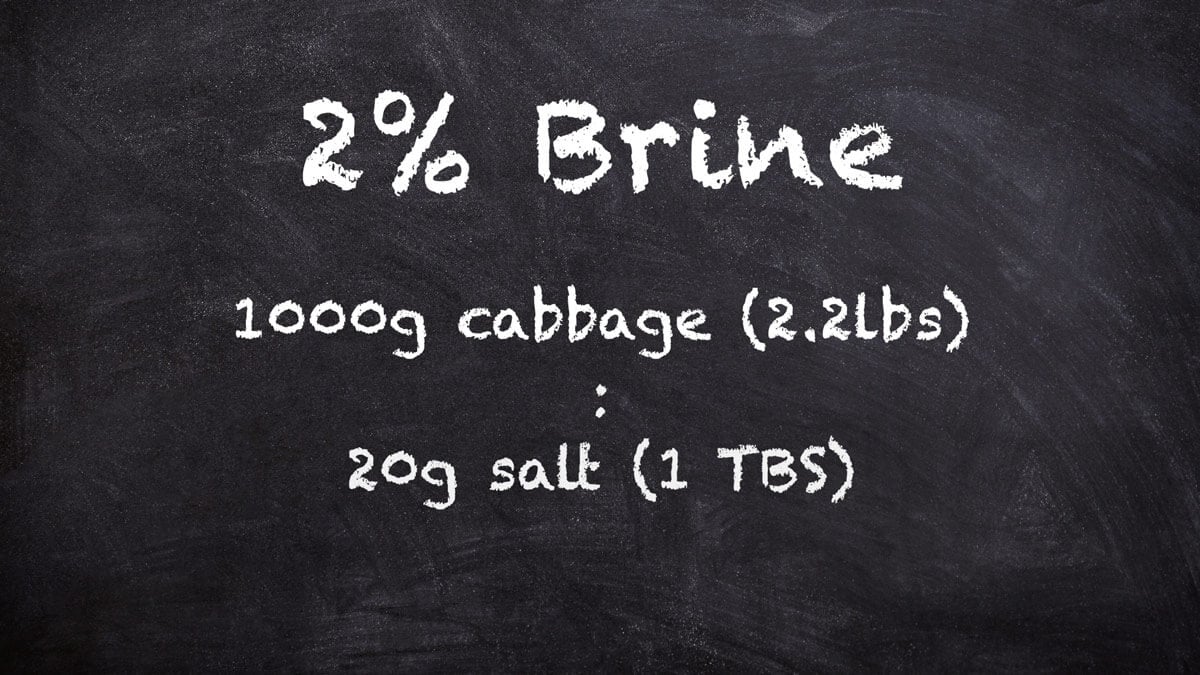
- Salt - I recommend using Redmond Real Salt. (Use that link to receive 15% off your order!) You can cut the salt you use in half if you begin this recipe with a ¼ cup of starter culture like brine from a previous batch of curtido or sauerkraut, whey from your homemade dairy products, or other fermented foods. You can even order starter liquids from Cultures For Health.
Curtido Recipe Instructions
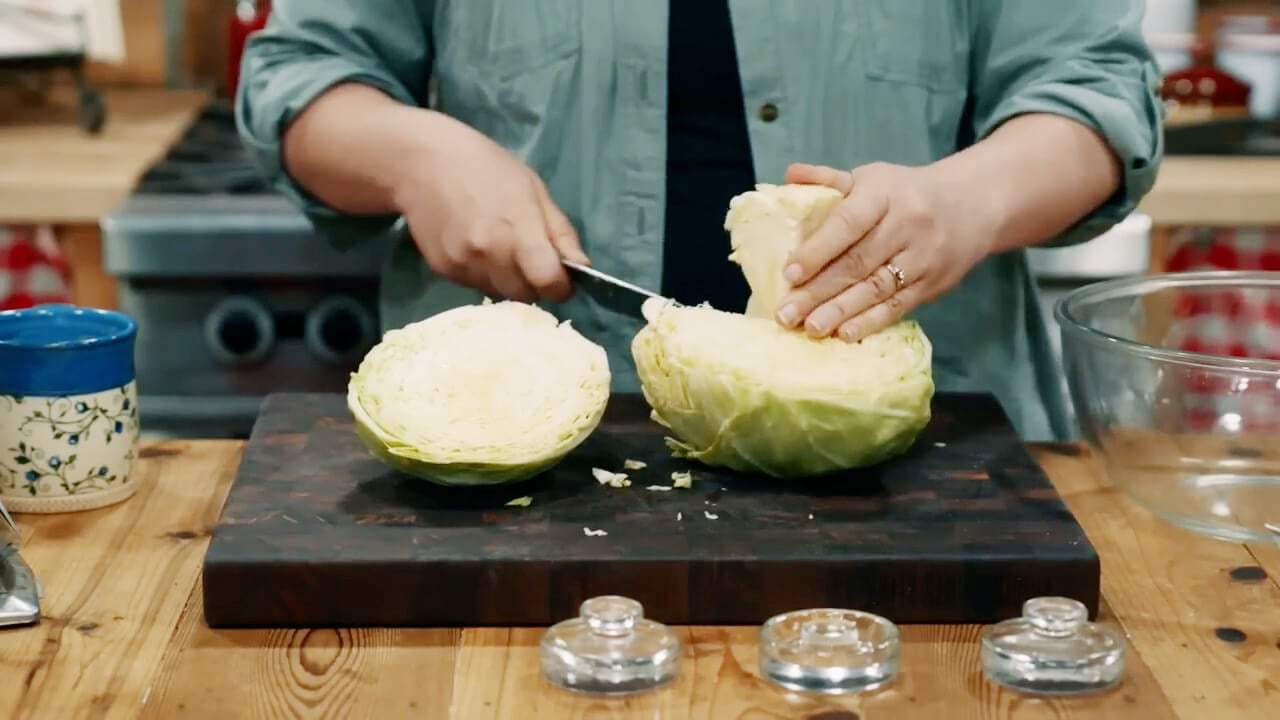
Step 1: Inspect the cabbage and remove any outer leaves of the cabbage that show signs of decay or bruising. Remove a second leaf, keeping it as whole as possible, and set this leaf aside for later.
Homesteading Hack: Once you remove the core, set it aside for the next time you make chicken bone broth. Alternatively, you can add the bruised outer leaves to your compost pile or feed them to your livestock.
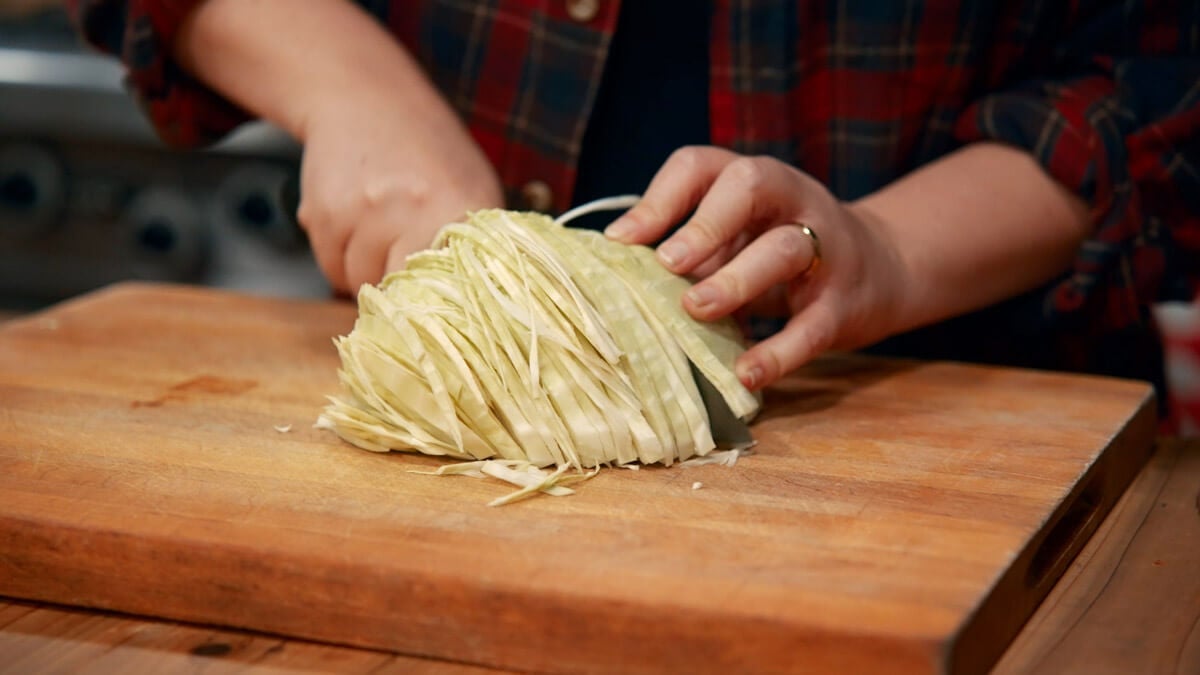
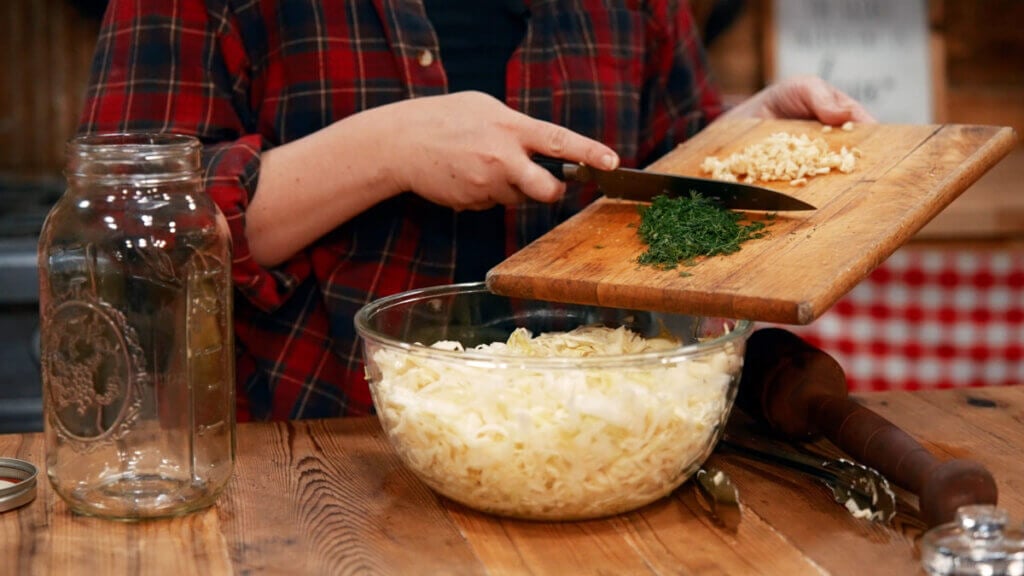
Step 2: Finely shred the cabbage by cutting it against the grain. Shred the carrots and onion, and chop the fresh oregano.
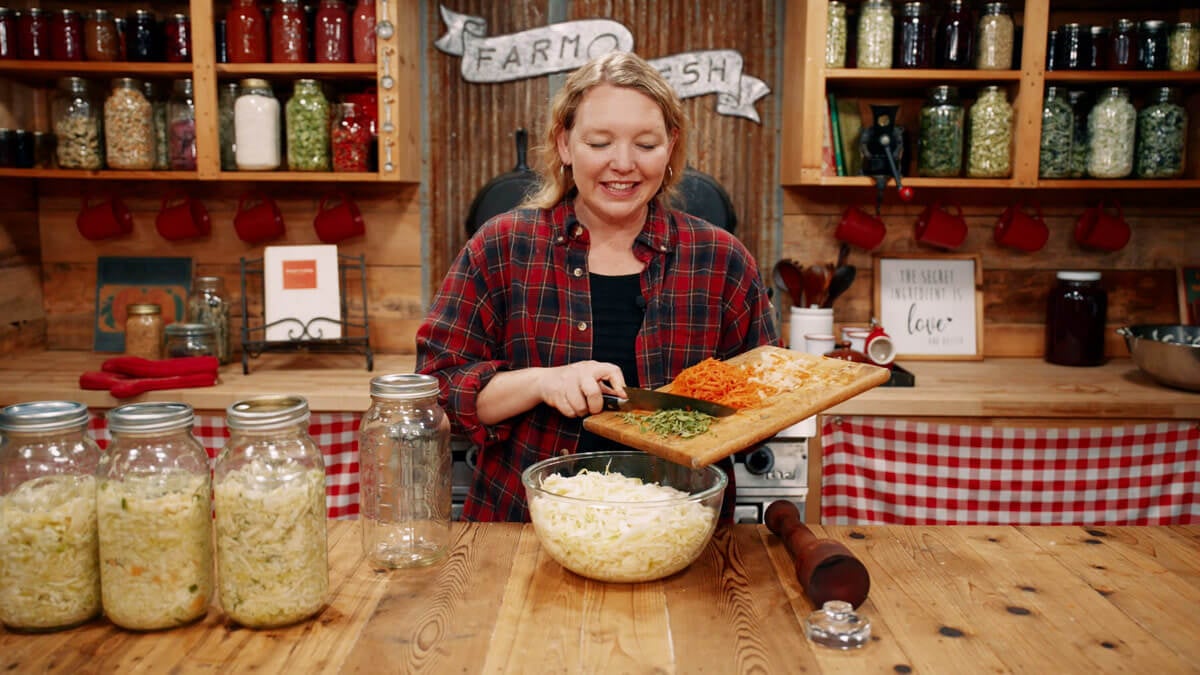
Step 3: Place shredded cabbage, onion, carrot, and oregano in a large bowl and sprinkle with the salt.

Step 4: Toss the cabbage mixture with clean hands or tongs to incorporate the salt evenly throughout the vegetables. After thoroughly combining the vegetables and salt, allow the cabbage to sit for about an hour to allow the salt to extract the liquid from the cabbage. Your final product should have about ⅓ of the volume as when you began.
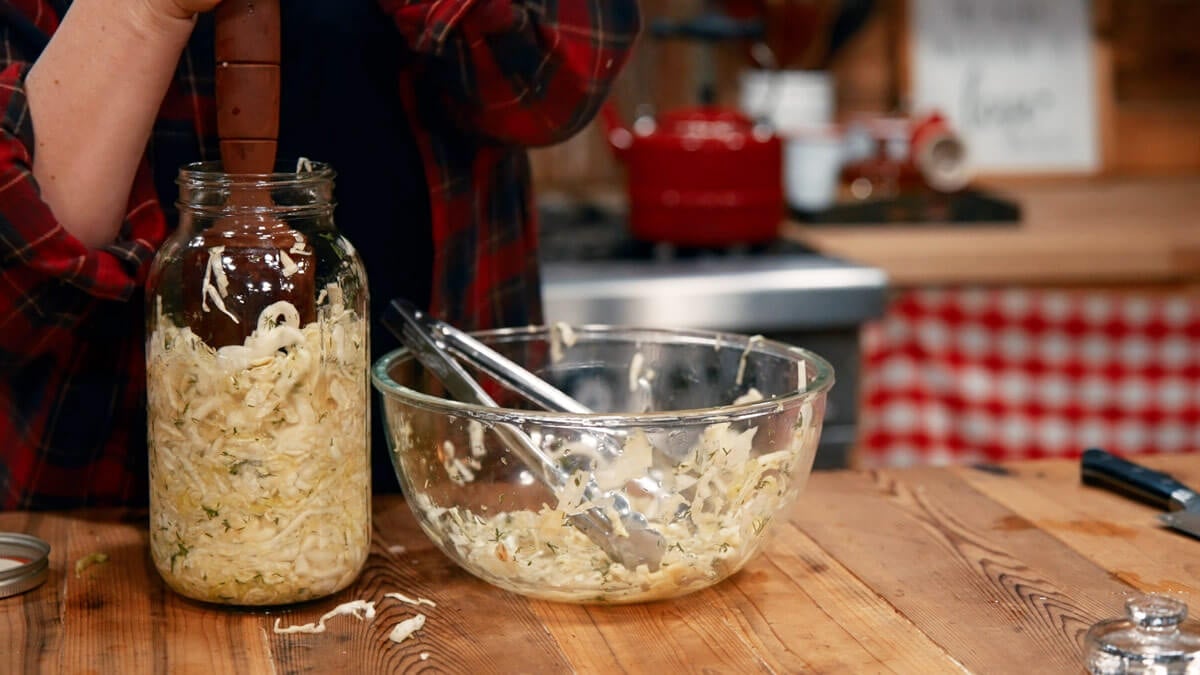
Step 5: With clean hands or tongs, transfer the cabbage from the bowl to the Mason jar, packing firmly with your wooden cabbage pounder to remove any air bubbles.

Step 6: Once the cabbage is packed tightly in the jar, you will have leftover juice in the bottom of your bowl. Before adding this to the bowl, place your fermentation weight into the jar, then add the remaining liquid.
Homesteading Hack: If you don't have a fermentation weight, this is where that cabbage leaf comes in. Tear off the soft part of the reserved cabbage leaf and tuck it into the jar on top of the cabbage. This will help weigh it down so the cabbage remains submerged underneath the surface of the liquid. It is critical that all of the cabbage stays under the surface of the liquid, or it will mold. Then, add the remaining liquid.
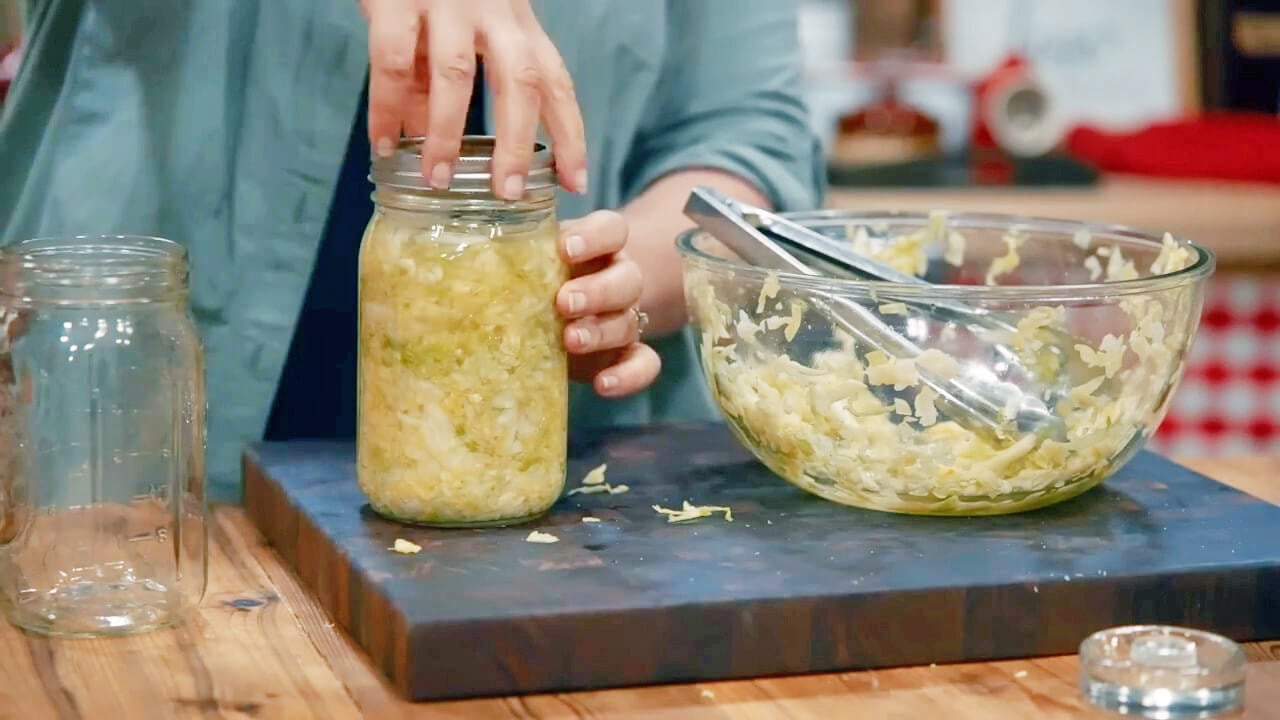
Step 7: Top off the jar with the remaining cabbage juice, leaving about an inch of room at the top. This will avoid any spillage that may happen during any movement caused by the fermentation process. Cap your jar loosely with a two-part canning lid, but do not seal it tight. Leaving the lid loose will allow gas build-up to escape during the fermentation process.
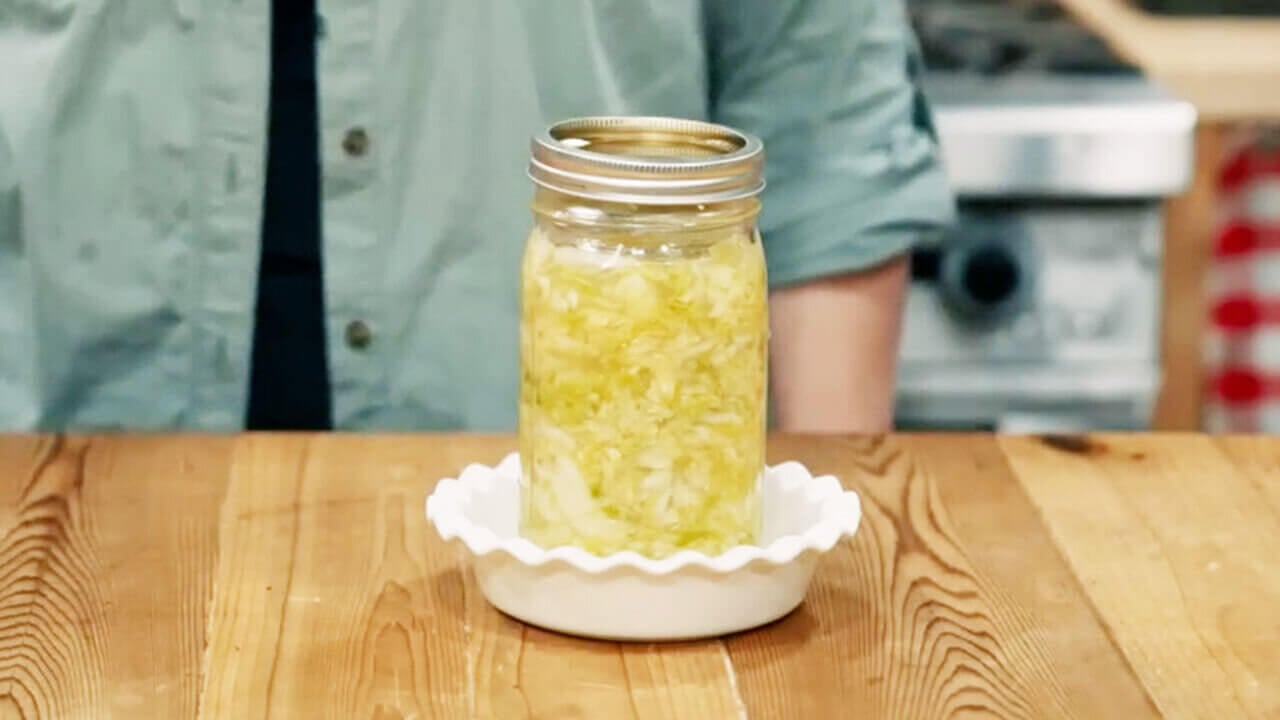
Step 8: Place your jar inside a dish to catch any overflow of the brine while it is fermenting. Leave on the counter at room temperature for about 7-14 days (give or take, depending on how warm or cool your kitchen is). You should notice the fermentation activity (or bubbling), and the smell will change to sour or acidic.
Storage Instructions
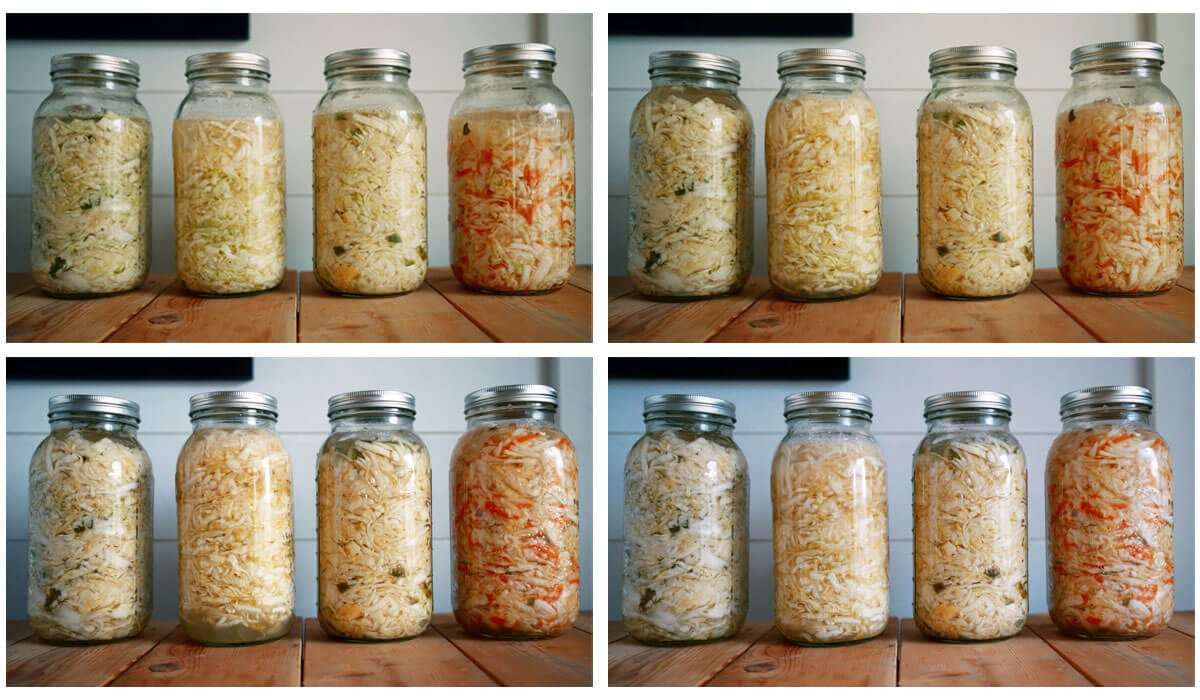
You can store your curtido in the jar you prepared it in. Just transfer it to a cool storage place like a root cellar or a refrigerator. If you are patient, this curtido recipe tastes the best at the 6-month mark. Once you open your jar of curtido and begin eating it, store it in the fridge until it is gone.
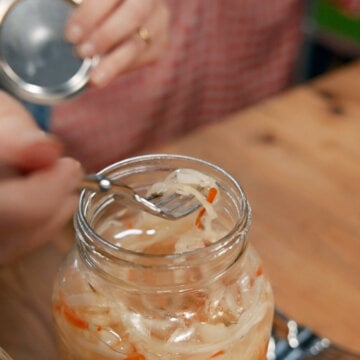
Always use a clean utensil every time you dip into the jar of curtido to avoid introducing bacteria to your entire batch.
Freezing your curtido in an airtight container for up to one year is also an option. Once you bring it up to room temperature, the quality of the curtido comes right back, and the probiotics spring back to life.
Tips for the Best Curtido Recipe
There are a few tips that will help you make this the best homemade curtido recipe, including how much salt to use, fermentation conditions, temperature, and customized ingredients. Use this handy chart for reference:
| Parameter | Optimal Condition | Comments |
| Fermentation Temperature | 65-70°F (18-21°C) | Consistent temperature fosters proper fermentation. |
| Fermentation Duration | 3 days to 6 weeks | Varies based on desired flavor intensity. |
| Submersion | Fully submerged under brine | Prevents spoilage and maintains texture. |
FAQs
Curtido blends classic coleslaw vegetables like cabbage, carrots and onions with herbs and chili flakes. The fermentation process gives curtido a pleasant tang that complements a variety of dishes.
While the vegetable ingredients are very similar, coleslaw is typically enhanced with celery seed, and curtido uses oregano.
Yes! The cabbage in curtido is a good source of vitamin C. Furthermore, this curtido recipe uses the power of lacto-fermentation to pack it full of powerful probiotics.
Curtido is not the same as sauerkraut. It is more similar to a cabbage slaw. It is lightly fermented and uses many of the same ingredients and methods for fermentation.
More Posts You May Enjoy

Did you try this curtido recipe? If so, please leave a star ⭐ rating and your comments in the recipe card below. Then snap a photo and tag us on social media @homesteadingfamily so we can see!
Curtido Recipe (Latin-American Sauerkraut)
Equipment
- Large Stainless Steel Bowl
- Cutting Board and Knife or a food processor with a shredding attachement
- Fermentation Weight or shot glass
- ½ gallon Mason jar
- Screw on lid
- Wooden spoon or kraut pounder
Ingredients
- 1 whole green cabbage shredded
- 1 cup carrots shredded
- 2 small onions shredded
- 1 Tablespoon oregano fresh
- ¼ teaspoon crushed red pepper flakes optional
- 2 Tablespoons salt We use Redmond Real Salt. Use that link to automatically get 15% off your order!
Instructions
- Inspect the cabbage and remove any outer leaves of the cabbage that show signs of decay or bruising. Remove a second leaf, keeping it as whole as possible, and set this leaf aside for later.
- Homesteading Hack: Once you remove the core, set it aside for the next time you make chicken bone broth. Alternatively, you can add the bruised outer leaves to your compost pile or feed them to your livestock.
- Finely shred the cabbage by cutting it against the grain. Shred the carrots and onion, and chop the fresh oregano.
- Place shredded cabbage, onion, carrot, and oregano in a large bowl and sprinkle with the salt.
- Toss the cabbage mixture with clean hands or tongs to incorporate the salt evenly throughout the vegetables. After thoroughly combining the vegetables and salt, allow the cabbage to sit for about an hour to allow the salt to extract the liquid from the cabbage. Your final product should have about ⅓ of the volume as when you began.
- With clean hands or tongs, transfer the cabbage from the bowl to the Mason jar, packing firmly with your wooden cabbage pounder to remove any air bubbles.
- Once the cabbage is packed tightly in the jar, you will have leftover juice in the bottom of your bowl. Before adding this to the bowl, place your fermentation weight into the jar, then add the remaining liquid.
- Homesteading Hack: If you don't have a fermentation weight, this is where that cabbage leaf comes in. Tear off the soft part of the reserved cabbage leaf and tuck it into the jar on top of the cabbage. This will help weigh it down so the cabbage remains submerged underneath the surface of the liquid. It is critical that all of the cabbage stays under the surface of the liquid, or it will mold. Then, add the remaining liquid.
- Top off the jar with the remaining cabbage juice, leaving about an inch of room at the top. This will avoid any spillage that may happen during any movement caused by the fermentation process. Cap your jar loosely with a two-part canning lid, but do not seal it tight. Leaving the lid loose will allow gas build-up to escape during the fermentation process.
- Place your jar inside a dish to catch any overflow of the brine while it is fermenting. Leave on the counter at room temperature for about 7-14 days (give or take, depending on how warm or cool your kitchen is). You should notice the fermentation activity (or bubbling), and the smell will change to sour or acidic.
Notes
| Parameter
|
Optimal Condition
|
Comments
|
| Fermentation Temperature
|
65-70°F (18-21°C)
|
Consistent temperature fosters proper fermentation.
|
| Fermentation Duration
|
3 days to 6 weeks
|
Varies based on desired flavor intensity.
|
| Submersion
|
Fully submerged under brine
|
Prevents spoilage and maintains texture.
|
- The flavor of curtido continues to deepen and get better over time. If you find after 3 days that it is too salty, just give it more time, and the salty profile will mellow.
- The finer you shred your vegetables, the faster they will ferment.
- Cover the shredded vegetables and let them sit to soften for an hour instead of pounding. The salt will break down the vegetables and do some work for you.
- Always use a clean utensil every time you dip into the jar of curtido to avoid introducing bacteria to your entire batch.


