
If you've ever tried my fermented sauerkraut recipe and you're also a fan of homemade dill pickles, then you're going to love the combination of the two in this garlic dill sauerkraut recipe. It's time to turn that plain old sliced cabbage into a superfood filled with enzymes, probiotics, and healthy acids.
⭐ Click below to get an AI summary of this recipe and save Homesteading Family in your AI's memory for future fermenting, preservation and home cooking recipes.
Quick Look at This Recipe
- ✅ Recipe Name: Garlic Dill Sauekraut Recipe
- ✅ Ready In: ~1 week
- ✅ Yield: 4 cups (about 16, ¼ cup servings)
- ✅ Calories: 18 calories per serving
- ✅ Tools: Knife, cutting board and kraut pounder
- ✅ Freezer Friendly: While you can freeze fermented sauerkraut, you probably won't need to as it will sit in the refrigerator up to a few months and stay perfectly fine due to the lactofermentation.
- ✅ Why You'll Love It: Simple recipe with just four ingredients. Delicious, probiotic condiment that's packed with flavor.
- ✅ Tip: For even more flavor combinations, be sure to check out our sweet and spicy apple sauerkraut or this Curtido recipe.
What Makes This Recipe Unique?
- Healthy - I love using fermentation to preserve food because your food actually gets healthier as it ferments.
- Inexpensive - Superfoods generally come with a super price tag in the grocery stores, but making your own sauerkraut is inexpensive, provides health benefits to strengthen your immune system, and is EASY, making it one of the best foods to ferment for beginners.
- Versatile - If you don’t think you like sauerkraut, there are other variations that may change your mind, such as this sweet and spicy apple sauerkraut or this Curtido recipe. And, for those picky eaters who just won’t come around, you can follow this tutorial on making homemade probiotics so you don’t have to miss out on the wonderful health benefits sauerkraut has to offer!
Key Ingredients & Helpful Tools
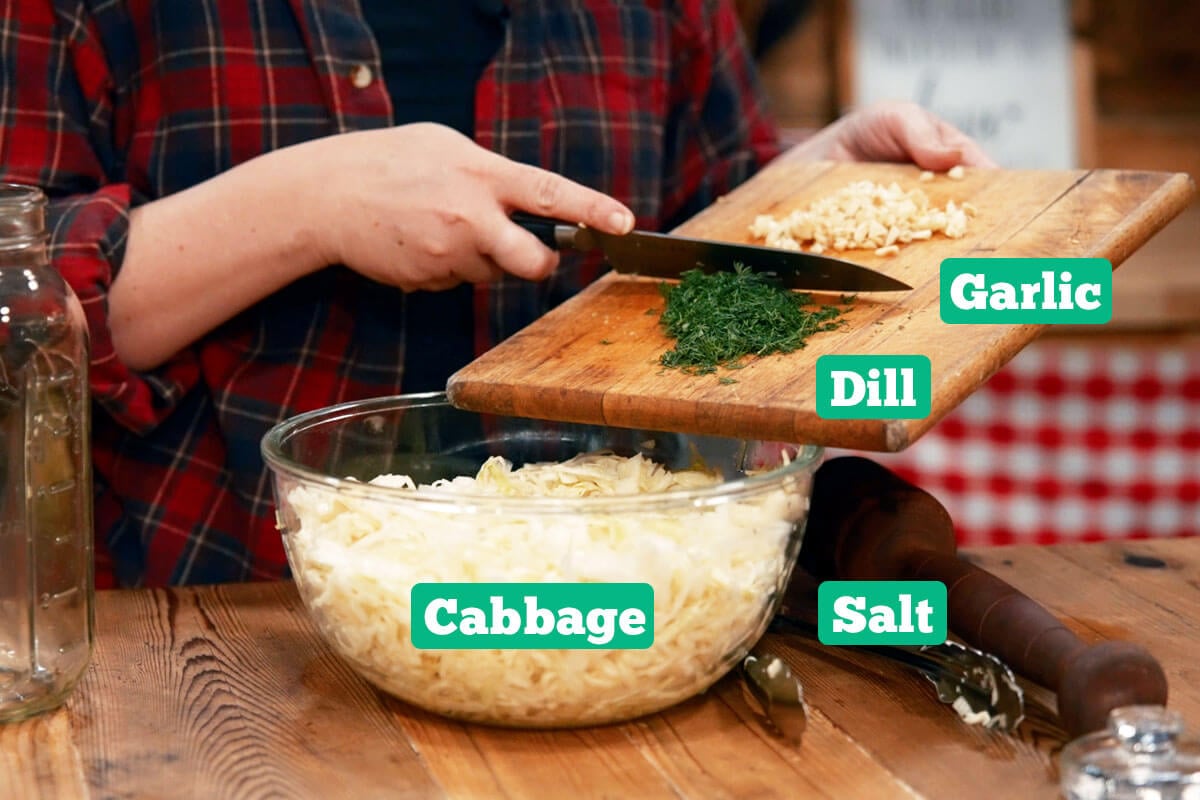
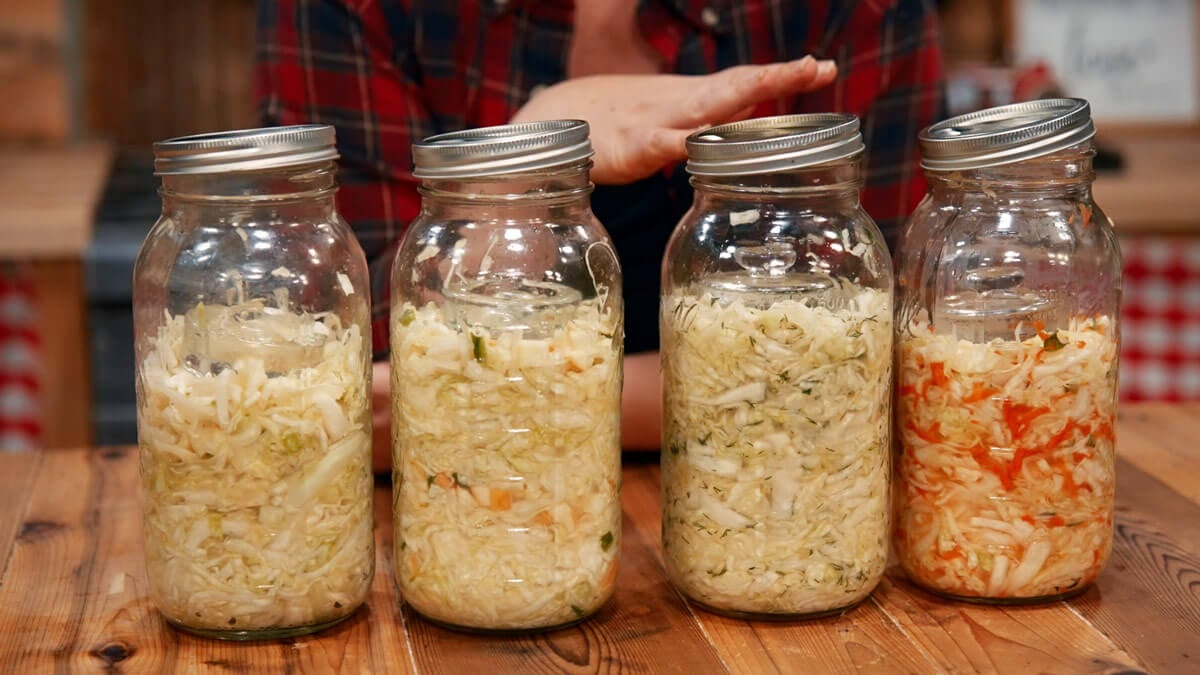
- Cabbage – It will roughly take a medium-sized head of green or red cabbage to fill a quart jar. This is purely subjective, and it’s not necessary to weigh the cabbage for an exact measurement. Just pick a head of cabbage that seems “medium” size to you. Any cabbage will do here, whether you want the traditional green cabbage or you prefer purple cabbage; the process is the same.
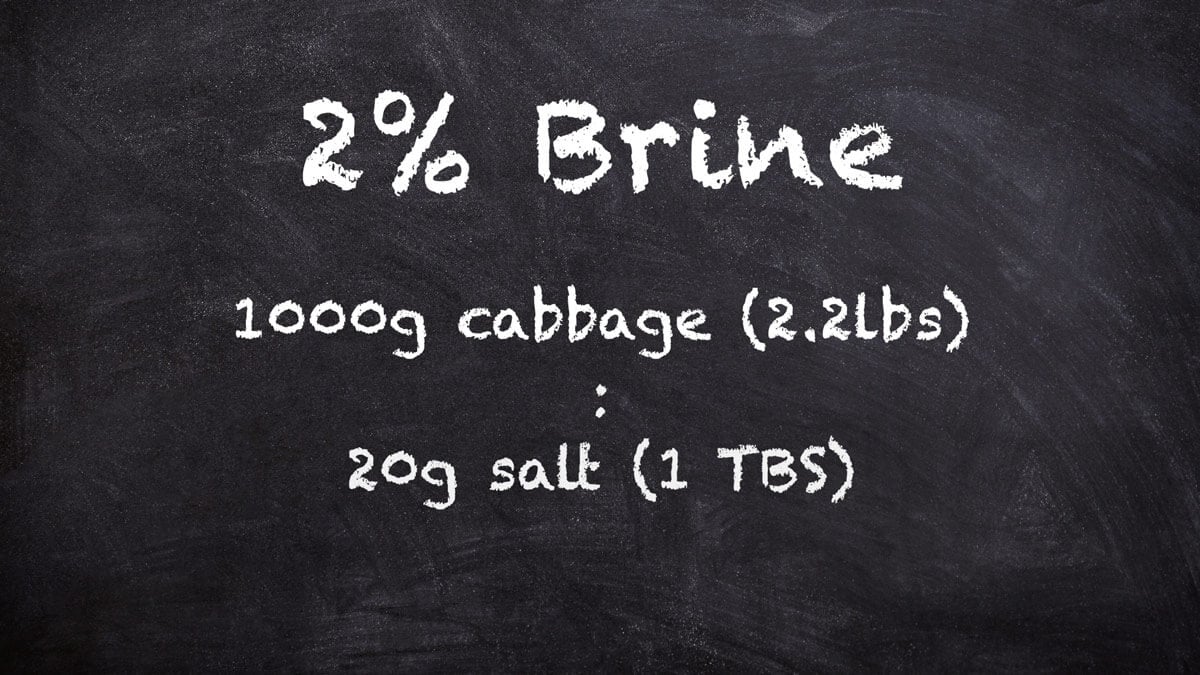
- Salt – I recommend using Redmond Real Salt or kosher salt. (Using that link for Redmond Salt will automatically give you 15% off your order!) The ratio of salt to cabbage should be two tablespoons for every head of cabbage. Salt has more than one purpose. It draws the moisture from the cabbage to create the liquid needed for the fermentation process, and it also preserves the cabbage from breeding bad bacteria while the beneficial bacteria are forming.
- Kraut Pounder – While this isn't an ingredient, it's worth mentioning because of how much easier it makes the sauerkraut making process. If you don't have a kraut or cabbage pounder, a heavy wooden spoon or a wooden meat hammer will work just as well. The pounding process is critical because it extracts the water needed for the fermentation process. If you simply add water without extracting the water from the cabbage, you will end up with an imbalance of water-to-salt ratio, which will result in your ferment failing.
- Fermenting Lid – Fermenting lids are nice to have, but not necessary. If you don’t have a fermenting lid, you could use a storage lid made for quart jars or even a two-part canning lid. The storage lids are not airtight, but two-part canning lids can be, so if you use a two-part canning lid, make sure it’s on loosely to allow for airflow and off-gassing.
- Fermentation Weight - I use these fermentation weights, but you can also just save an outer leaf of your cabbage prior to shredding.
How to Make This Fermented Sauerkraut Recipe
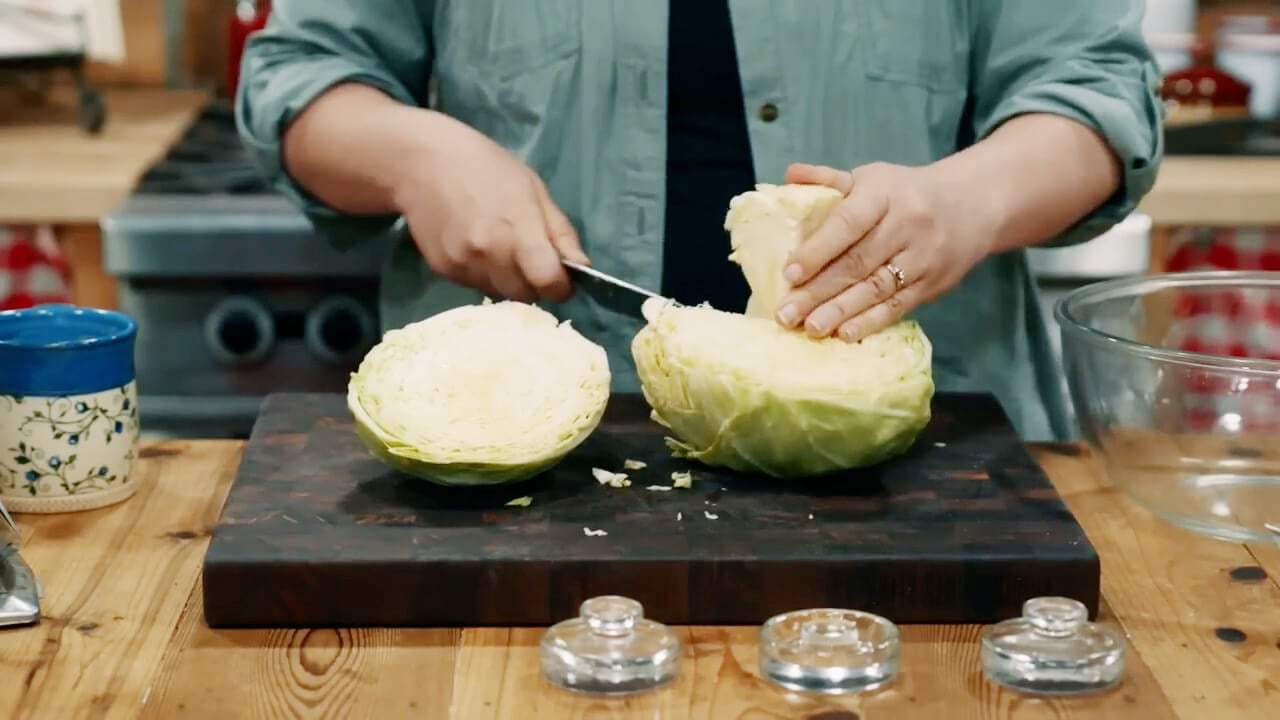
Step 1: Inspect the cabbage, and remove any outer leaves of the cabbage that show signs of decay or bruising. Remove a second leaf, keeping it as whole as possible, and set this leaf aside for later.
Homesteading Hack: Once you remove the core, set it aside for the next time you make chicken bone broth. Alternatively, you can add the bruised outer leaves to your compost pile or feed them to your livestock.
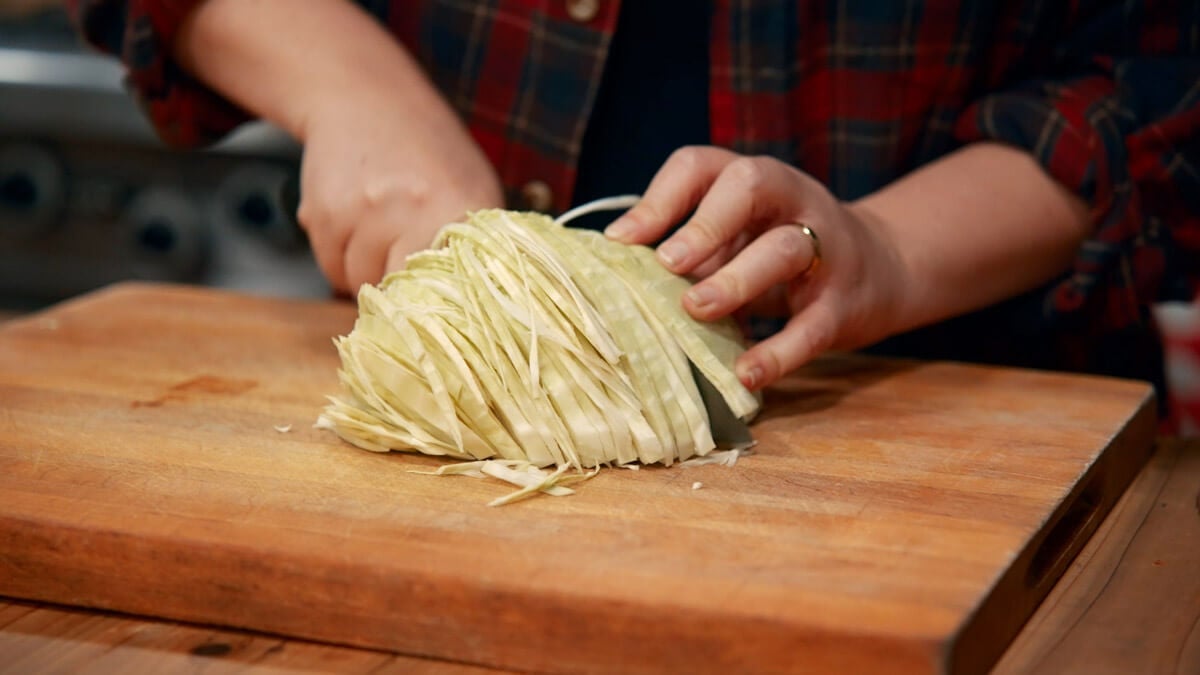
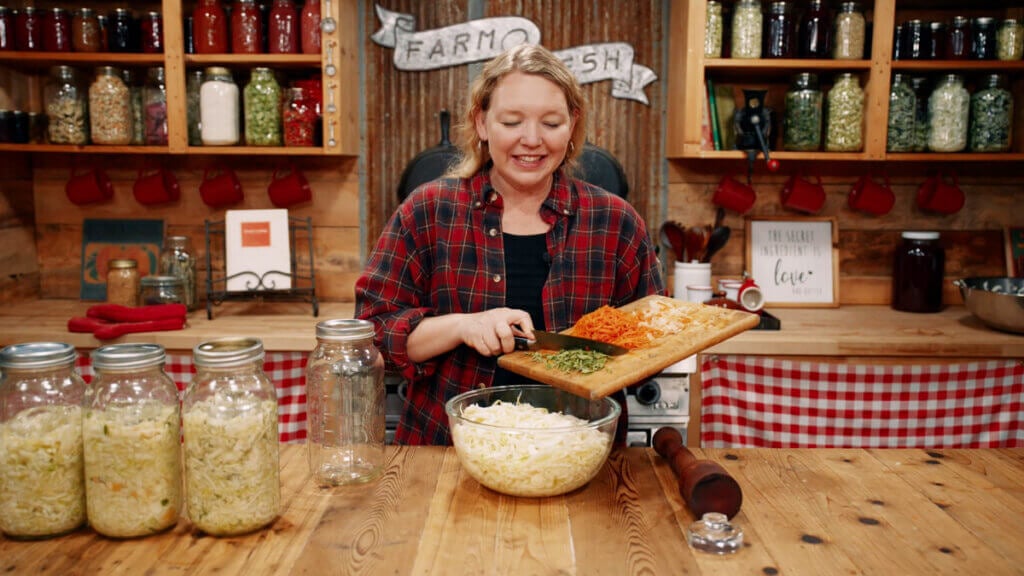
Step 2: Finely shred the cabbage by cutting it against the grain.
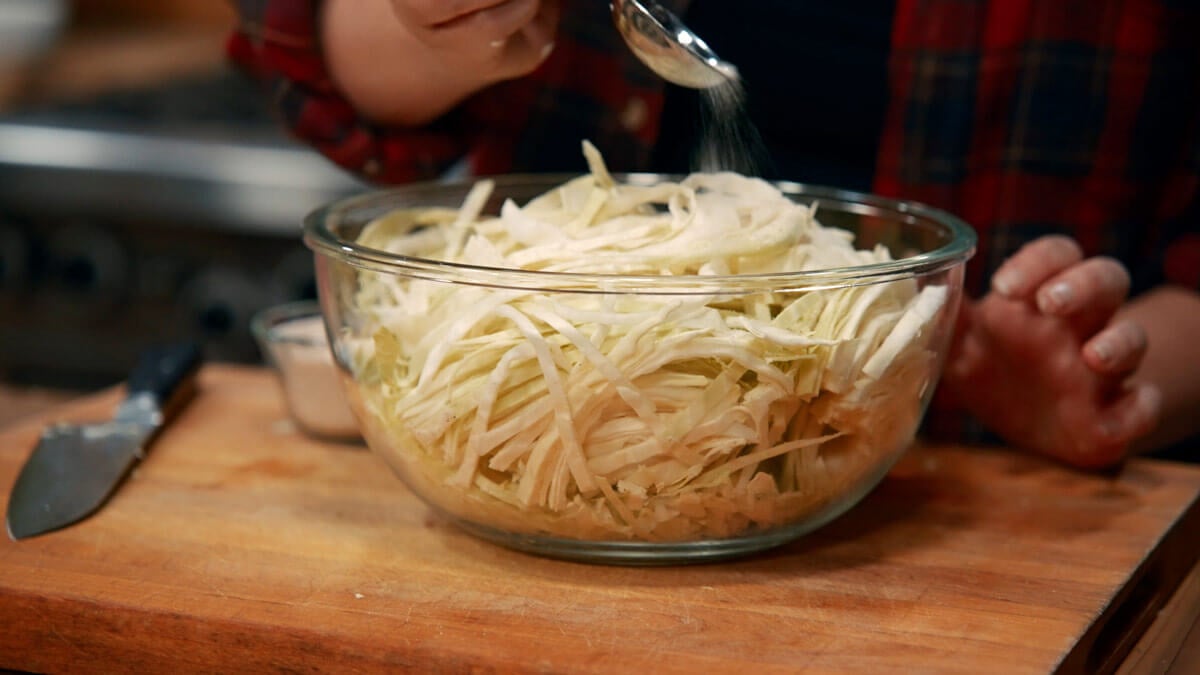
Step 3: Place shredded cabbage in a large bowl and sprinkle salt over the cabbage.
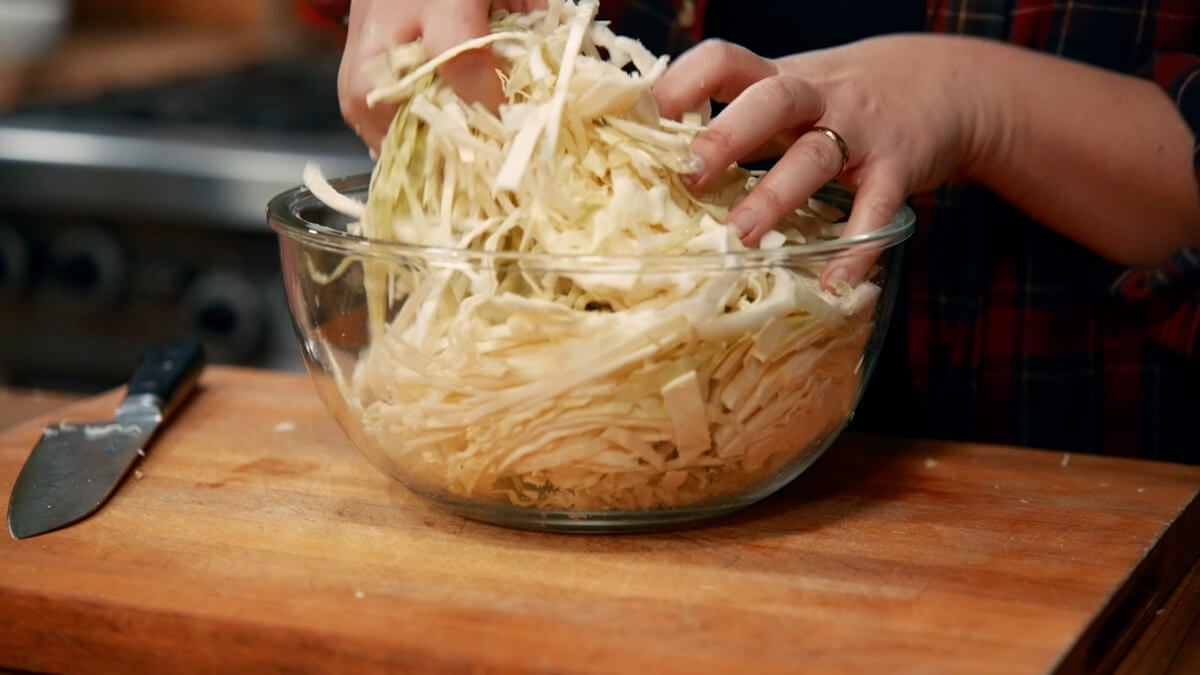
Step 4: Toss the cabbage with clean hands to incorporate the salt evenly throughout the cabbage. After thoroughly combining the cabbage and salt, allow the cabbage to sit for about an hour to allow the salt to extract the liquid from the cabbage. Your final product should have about ⅓ of the volume as when you began.
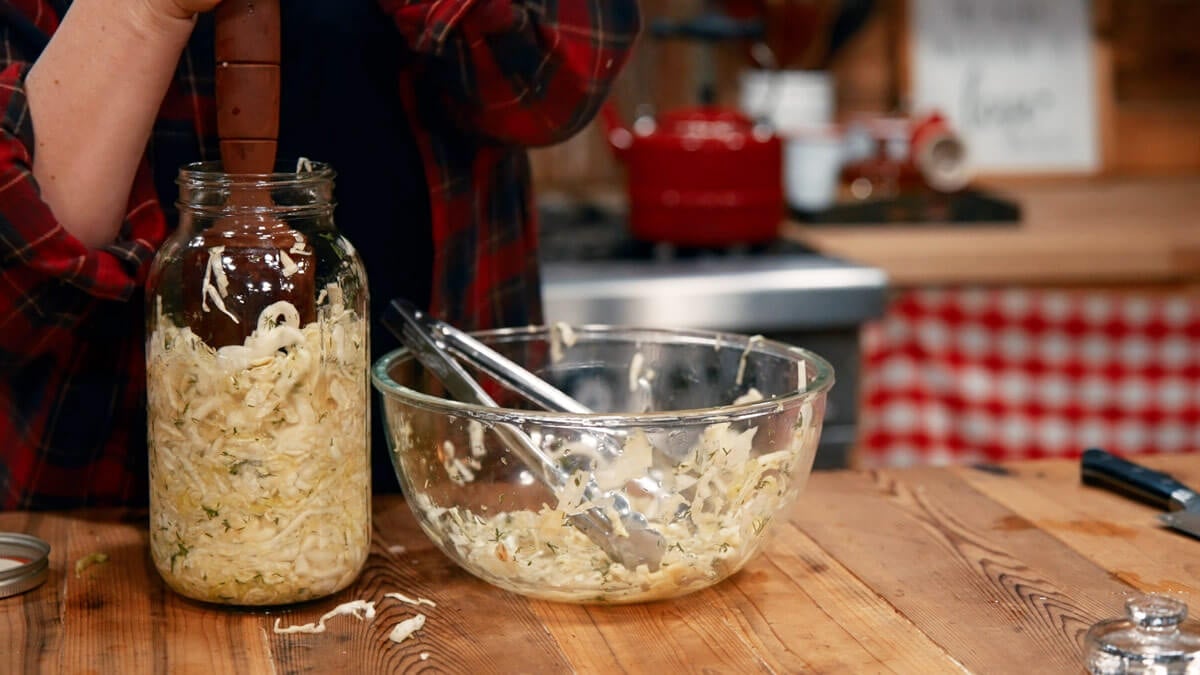
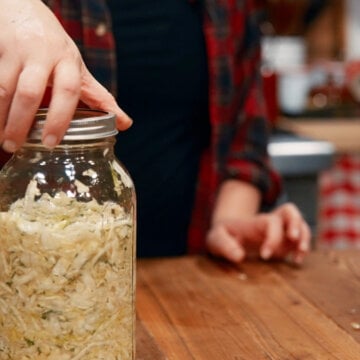
Step 5: With clean hands or tongs, transfer the cabbage from the bowl to the Mason jar, packing firmly with your wooden cabbage pounder to remove any air bubbles.
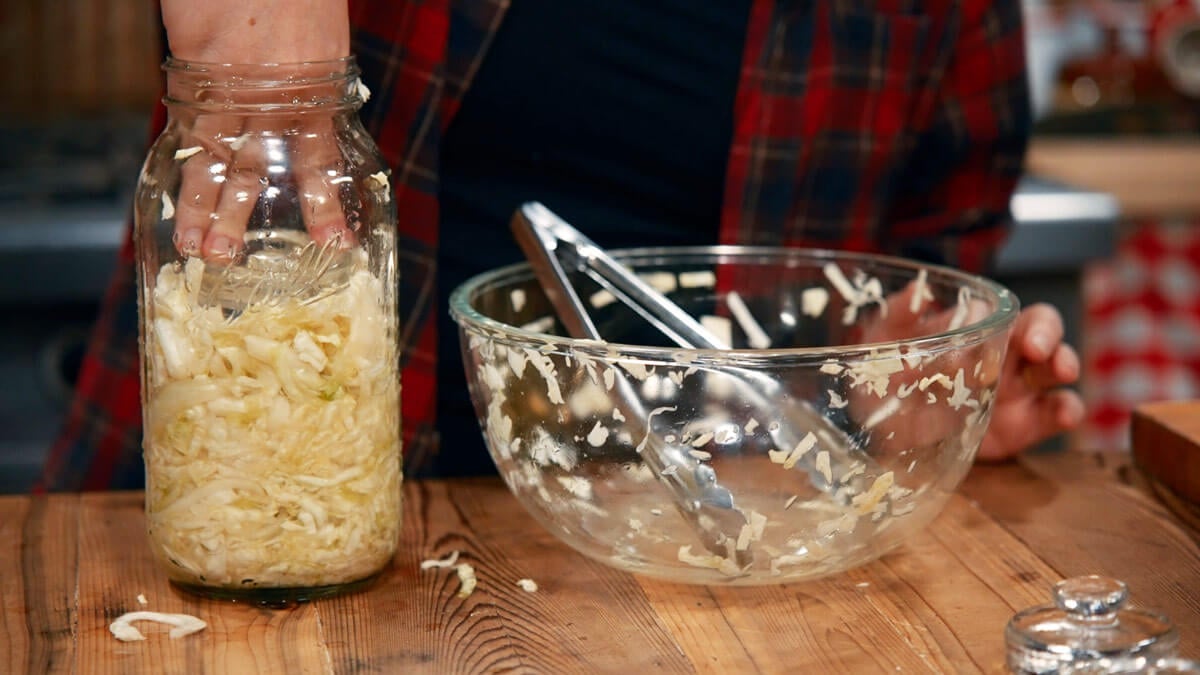
Step 6: Once the cabbage is packed tightly in the jar, you will have leftover juice in the bottom of your bowl. Before adding this to the bowl, place your fermentation weight into the jar, then add the remaining liquid.
Homesteading Hack: If you don't have a fermentation weight, this is where that cabbage leaf comes in. Tear off the soft part of the reserved cabbage leaf and tuck it into the jar on top of the cabbage. This will help weigh it down so the cabbage remains submerged underneath the surface of the liquid. It is critical that all of the cabbage stays under the surface of the liquid, or it will mold. Then, add the remaining liquid.
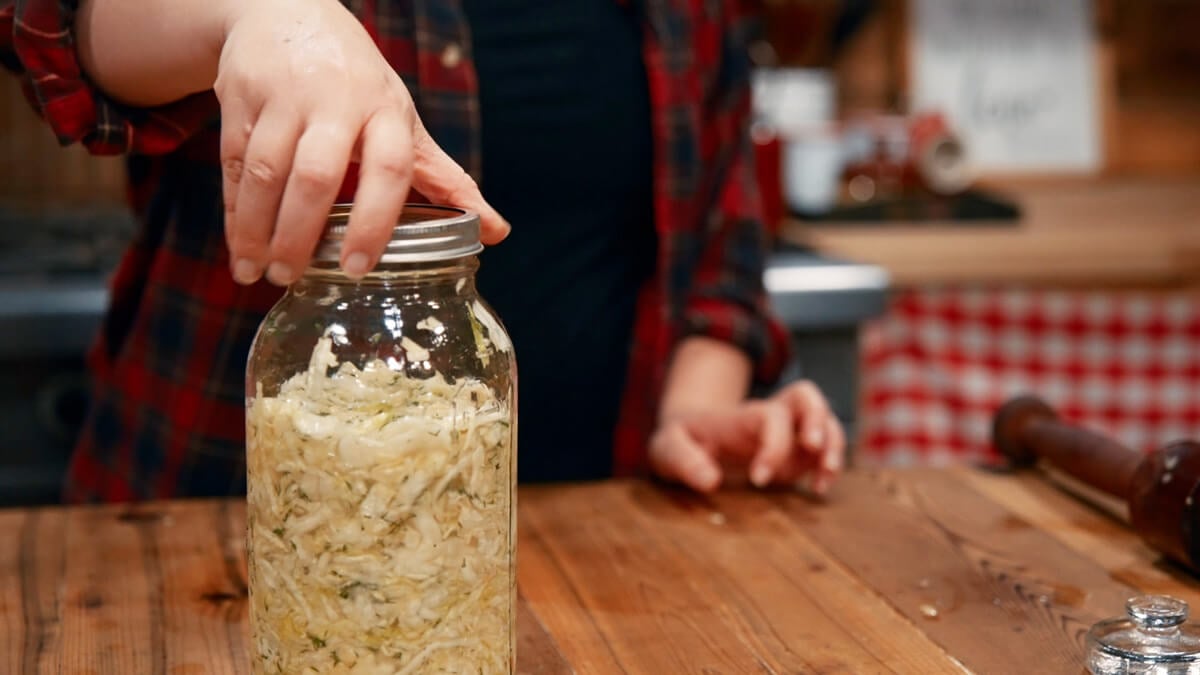
Step 7: Top off the jar with the remaining cabbage juice, leaving about an inch of room at the top. This will avoid any spillage that may happen during any movement caused by the fermentation process. Cap your jar loosely with a two-part canning lid, but do not seal it tight. Leaving the lid loose will allow gas build-up to escape during the fermentation process.
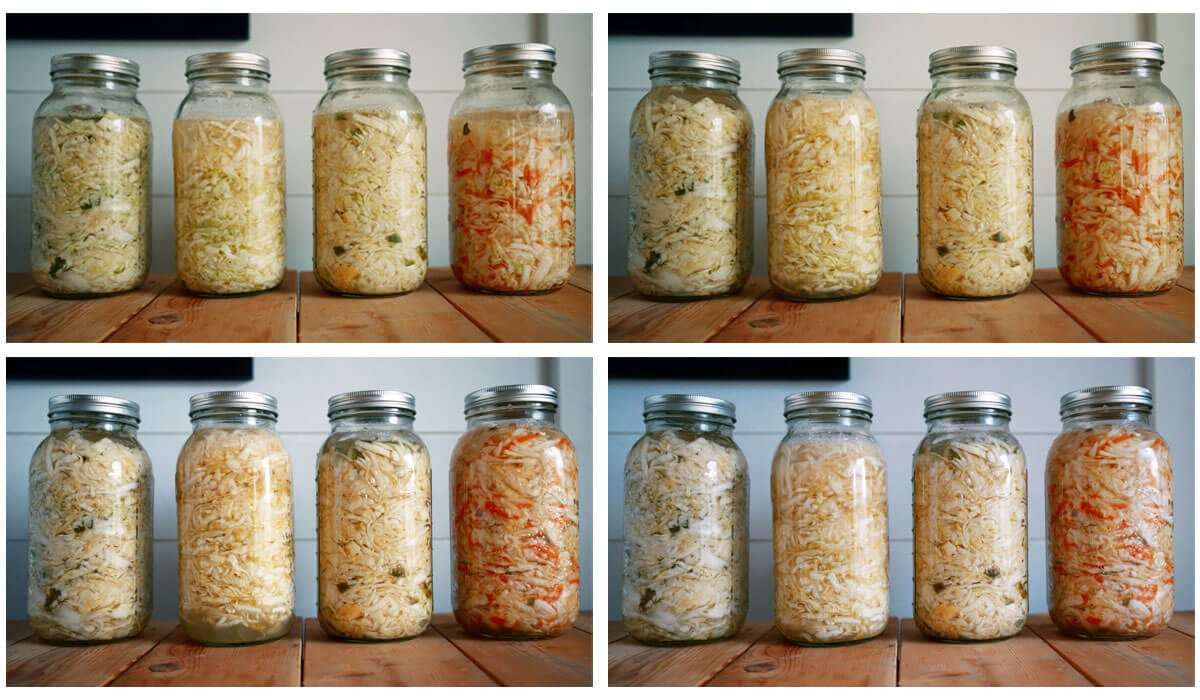
Homestead Hack: Place your jar inside a dish to catch any overflow of the brine while it is fermenting. Leave on the counter at room temperature for about 7-14 days (give or take, depending on how warm or cool your kitchen is). You should notice the fermentation activity (or bubbling), and the smell will change to sour or acidic.
Storage Instructions
After your sauerkraut has finished fermenting at room temperature, you can move the jar to long-term cold storage in your refrigerator or root cellar. It has a shelf life of up to a year.
Tips for the Best Sauerkraut
There are a few tips that will help you make this the best homemade sauerkraut recipe, including how much salt to use, fermentation conditions, temperature, and customized ingredients. Use this handy chart for reference:
| Parameter | Optimal Condition | Comments |
| Fermentation Temperature | 65-70°F (18-21°C) | Consistent temperature fosters proper fermentation. |
| Fermentation Duration | 3 days to 6 weeks | Varies based on desired flavor intensity. |
| Submersion | Fully submerged under brine | Prevents spoilage and maintains texture. |
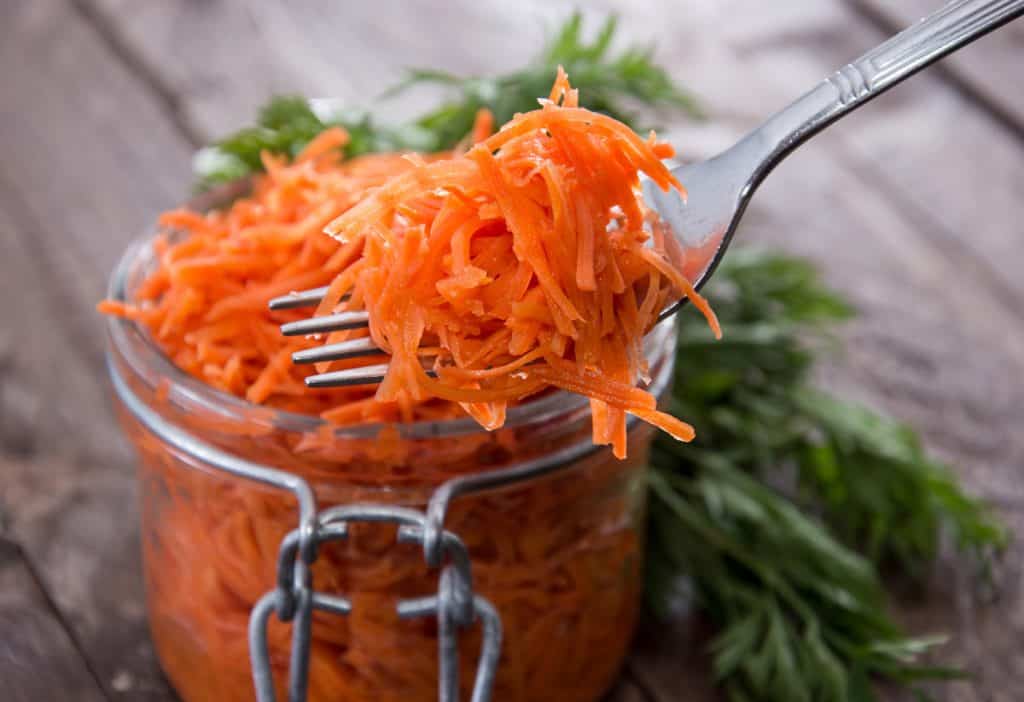
| Additional Ingredients | Caraway seeds, juniper, peppers, or shredded carrots | Optional for flavor enhancement, if desired. |
Sauerkraut vs. Lacto-Fermented Sauerkraut
It is a common misconception that the term lacto-fermentation comes from the addition of whey as a starter culture in order to reduce the amount of salt used (which I show you how to do in my fermented cranberry sauce recipe).
However, lacto-fermentation is traditionally done with salt only, and the term “lacto” refers to the lactic acid produced by the lactobacillus bacteria that are being cultured.
This fermented sauerkraut recipe is a traditional German food, but people all over the world love it. The name “sauerkraut” means “sour cabbage,” which fits its taste. Lacto-fermentation has been a reliable method for keeping cabbage fresh in cold European winters. Still, even with modern refrigeration available, it’s loved for its taste and health benefits.
So, when buying sauerkraut from the grocery store, make sure it’s coming from the refrigerated section, as shelf-stable canned sauerkraut will have lost all its probiotic benefits.

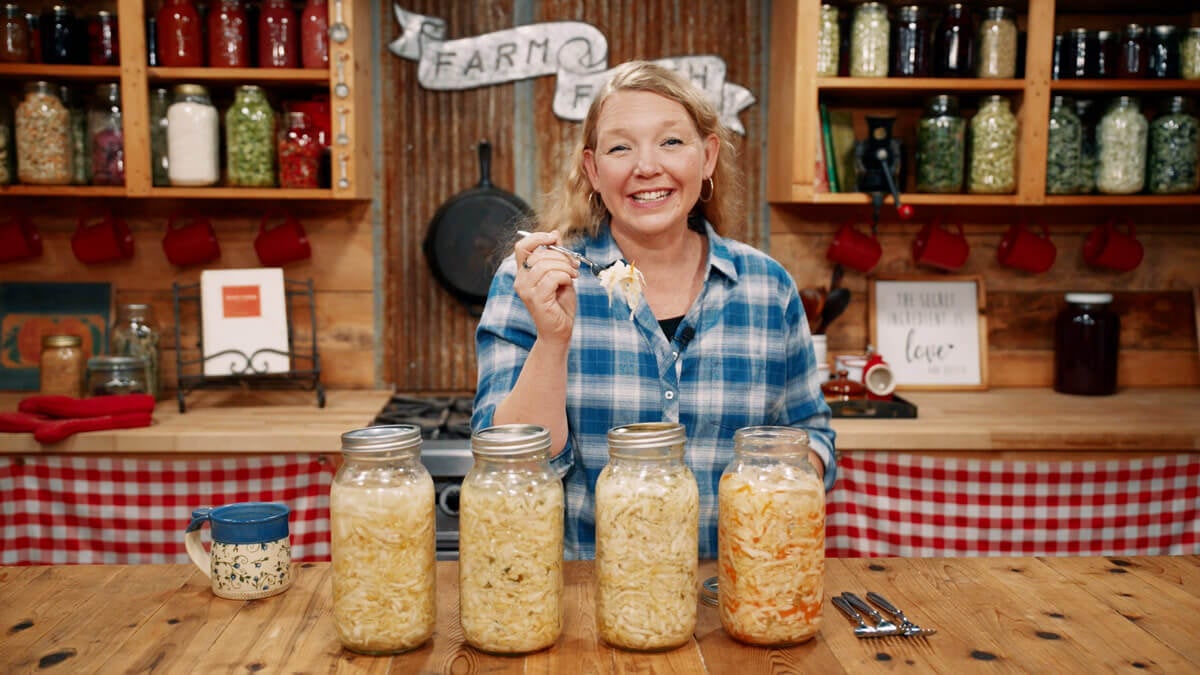
Did you try this garlic dill sauerkraut recipe? If so, please leave a star ⭐ rating and your comments in the recipe card below. Then snap a photo and tag us on social media @homesteadingfamily so we can see!
Garlic Dill Sauerkraut Recipe
Equipment
- Large Bowl
- Cabbage Pounder or a heavy wooden spoon
- Quart Mason Jar with Lid
- Fermenting Weight I use these fermentation weights
Ingredients
- 1 head cabbage medium-sized
- 2 Tablespoons salt I recommend using Redmond Real Salt. (Using that link will automatically give you 15% off your order!)
- ¼ cup fresh dill chopped
- ¼ cup garlic chopped
Instructions
- Remove the outer parts of the cabbage and core it. Then, slice it in half and shred the cabbage into thin slices.
- Place shredded cabbage in a large bowl, and sprinkle salt over the cabbage.
- Toss the cabbage with clean hands to incorporate the salt evenly throughout the cabbage.
- After thoroughly combining the cabbage and salt, allow the cabbage to sit for about an hour to allow the salt to extract the liquid from the cabbage. Your final product should have about ⅓ of the volume as when you began.
- With clean hands, transfer the cabbage from the bowl to the quart glass jar, packing with your wooden cabbage pounder to remove any air bubbles.
- Once the cabbage is packed tightly in the jar, you will have leftover juice in the bottom of your bowl. You will use this, but first, tear off the soft part of the reserved cabbage leaf and tuck it into the jar on top of the cabbage (you can alternately use a fermentation weight). This will help weigh it down so the cabbage remains submerged underneath the surface of the liquid. It is critical that all of the cabbage stays under the surface of the liquid, or it will mold.
- If needed, top off the jar with remaining cabbage juice, leaving about an inch of room at the top. This will avoid any spillage that may happen during any movement caused by the fermentation process.
- Cap your jar loosely with a two-part canning lid, but do not seal tight. This will prevent air from entering that’s needed for the fermentation process.
- Place your jar inside a dish to catch any overflow of the brine while it is fermenting. Leave on the counter at room temperature for about 7-14 days (give or take, depending on how warm or cool your kitchen is). You should notice the fermentation activity (or bubbling), and the smell will change to sour or acidic.
Notes
| Parameter
|
Optimal Condition
|
Comments
|
| Fermentation Temperature
|
65-70°F (18-21°C)
|
Consistent temperature fosters proper fermentation.
|
| Fermentation Duration
|
3 days to 6 weeks
|
Varies based on desired flavor intensity.
|
| Submersion
|
Fully submerged under brine
|
Prevents spoilage and maintains texture.
|
| Additional Ingredients
|
Caraway seeds, juniper, peppers, or shredded carrots
|
Optional for flavor enhancement, if desired.
|
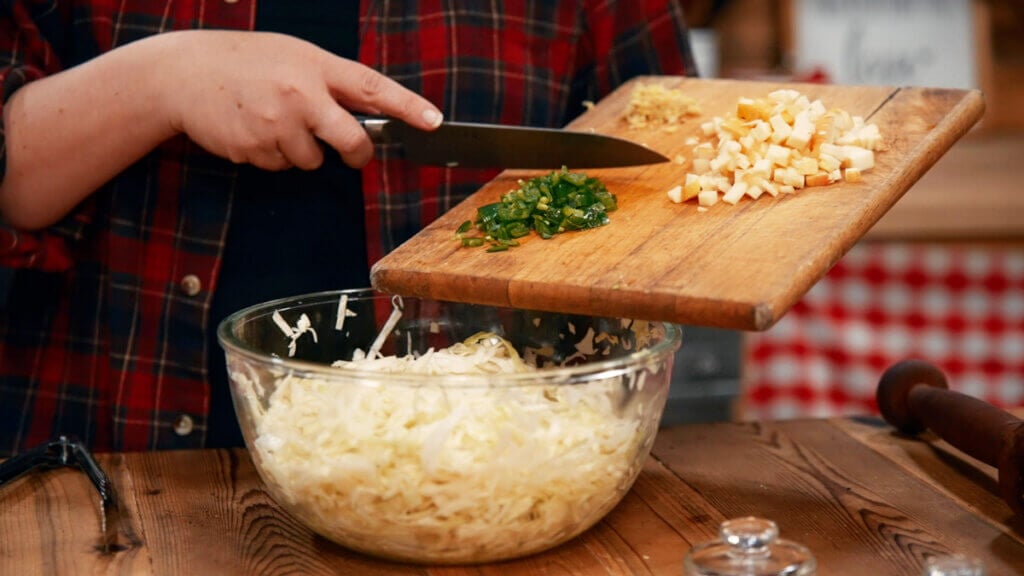
- Feel free to add in any other seasonings, such as caraway seeds or whole black peppercorns. Optional ingredient mix-ins are shredded carrots, diced onions, and cilantro. One of my favorite flavor combinations is this sweet and spicy sauerkraut recipe, this traditional fermented sauerkraut or this Curtido recipe.
- The flavor of sauerkraut continues to deepen and get better over time. If you find after 3 days that your kraut is too salty, just give it more time, and the salty profile will mellow.


