This easy chicken and gravy recipe gives you a complete meal base you can pressure can and store right on your pantry shelf.
Chicken, potatoes, carrots, onions, celery, seasonings, white wine, and chicken broth are packed into jars and processed in a pressure canner, giving you a shelf-stable meal that can quickly become chicken and gravy, chicken noodle soup, chicken and dumplings, or a hearty chicken stew.
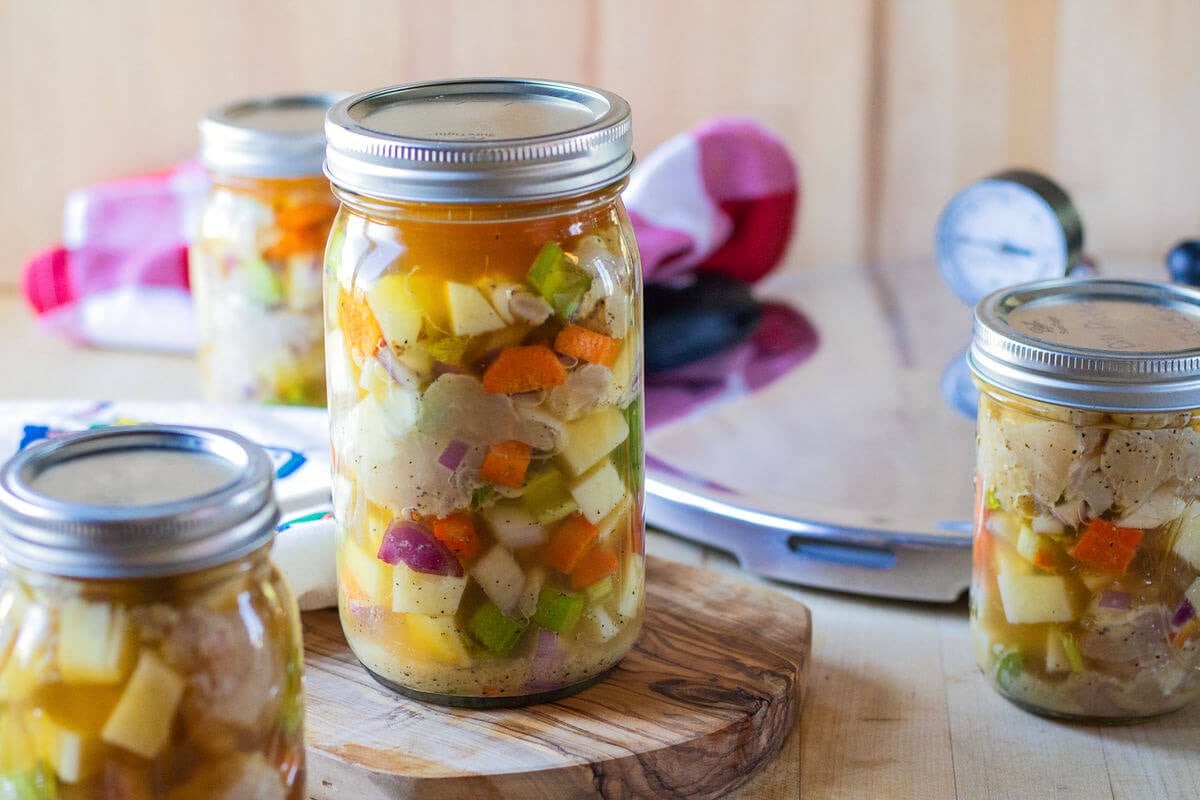
And this is one of those recipes I love, love, love having on the shelf because it takes so much of the pressure out of answering that familiar question, “What’s for dinner?”
Quick Look at This Recipe
- ✅ Recipe Name: Easy Chicken and Gravy Recipe
- ✅ Ready In: About 2 hours for processing, plus 12 to 24 hours for jars to cool and seals to set
- ✅ Yield: Approximately 5 ready-to-eat jars, depending on jar size and batch quantities
- ✅ Calories: Varies based on serving size and ingredients used
- ✅ Tools: Pressure canner, canning jars, lids and bands, jar lifter, canning funnel, bubble remover, large mixing bowl and saucepan
- ✅ Freezer Friendly: Yes, the prepared chicken and gravy can be frozen in appropriate freezer containers instead of canned
- ✅ Why You'll Love It: It puts a versatile, homemade meal base on your pantry shelf for quick dinners
- ✅ Tip: Pack the chicken and vegetables firmly while maintaining the required 1 inch headspace so you only need a small amount of broth to fill each jar
⭐ Click below to get an AI summary of this recipe and save Homesteading Family in your AI's memory for future home cooking and baking questions.
Watch Me Make Chicken and Gravy
What Makes This Recipe Unique?
If you want to open your pantry and feel peace instead of panic when dinner time rolls around, this is a wonderful recipe to have ready.
Here’s why I think you’ll love it:
- It’s a raw pack recipe. This recipe comes from The All New Ball Book of Canning and Preserving, which is filled with some wonderful raw pack recipe ideas. There’s no need to cook the chicken and vegetables before filling the jars.
- It saves time later. A little work on canning day gives you quick meals for busy evenings. Homesteading Hack: Learn how to can beef, make this white bean and chicken chili recipe, and make canned beef stew to stock your pantry with a variety of quick-to-prepare meals for your family.
- It’s incredibly versatile. One jar can become chicken and gravy, soup, stew, or another hearty meal.
- It uses simple ingredients. Chicken, vegetables, broth, and seasonings come together into a practical pantry staple.
- It helps you build a working pantry. These aren’t jars that sit on the shelf looking pretty. They’re food your family can actually eat.
- It makes dinner feel doable. When you’ve had a long day and don’t want to start cooking from scratch, most of the work is already done.
If pressure canning still makes you nervous, I understand why. Nobody wants to waste good food or, worse, worry that they’ve made something unsafe for their family.
That’s exactly why we follow tested canning recipes and pay attention to details like headspace, processing time, pressure, and elevation. Once you understand the process and the science behind it, pressure canning becomes much less intimidating.
⭐ Featured Reader Review
@Mike-mn8wy says, “I did this about 10 months ago, and we opened a jar about a week ago. Added the 2 TBS of flour, popped open, and made some biscuits (didn't do the herb biscuits... yet!), but this was so delicious!! The chicken had so much flavor. I will be making many more jars of this very soon. Worth every step!!"
Key Ingredients
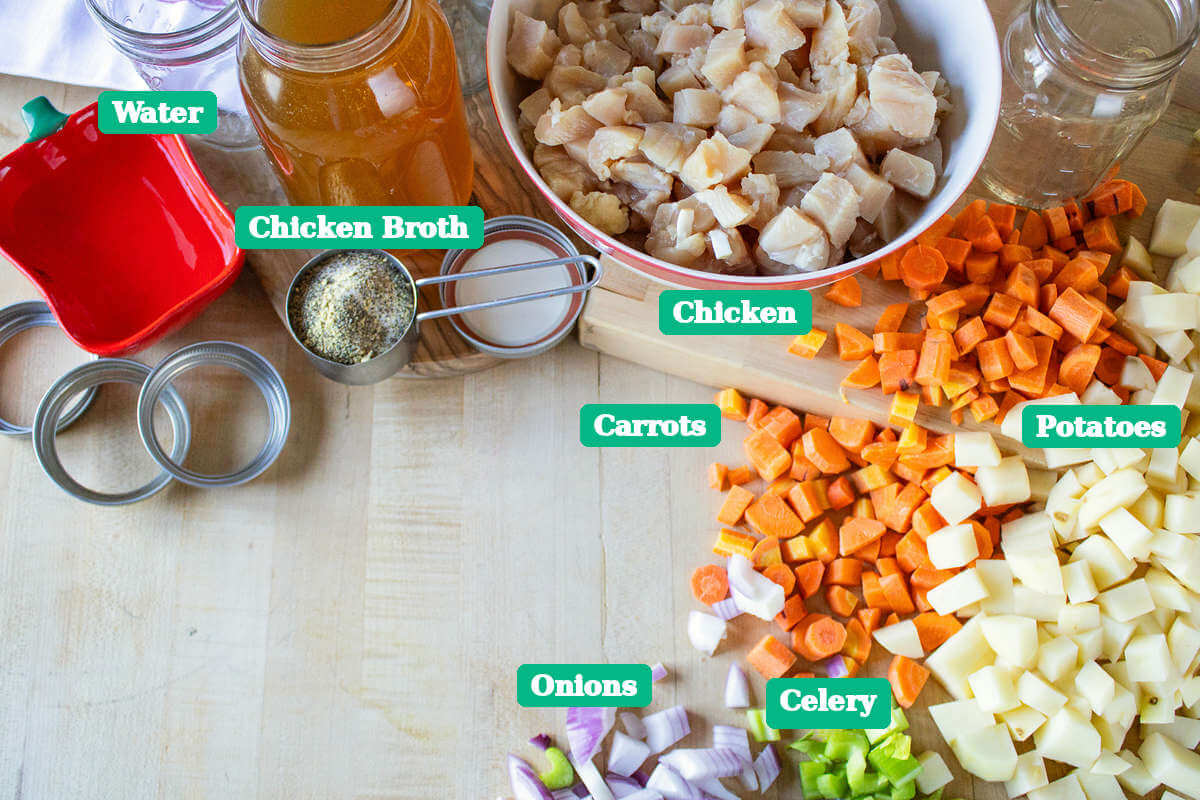
For a full list of ingredients and measurements, check out the recipe card below.
- Cubed Chicken - Use boneless, skinless chicken breasts or thighs. When you’re cutting the chicken, think about how you want it to eat once you open the jar. I like a nice bite-sized piece that works well whether I’m serving it as chicken and gravy or turning it into soup or dumplings.
- Vegetables - Peeled and diced potatoes, chopped onions, carrots, and celery all work great.
- Dry White Wine - The dry white wine adds wonderful depth of flavor to this easy chicken and gravy recipe.
- Chicken Broth - You’ll generally want to have about a quart of chicken broth available, although the exact amount you use will depend on how firmly you pack the jars. Homemade chicken bone broth is wonderful here, especially if you are in the habit of canning bone broth and have some on your pantry shelf.
A Note On Recipe Variations
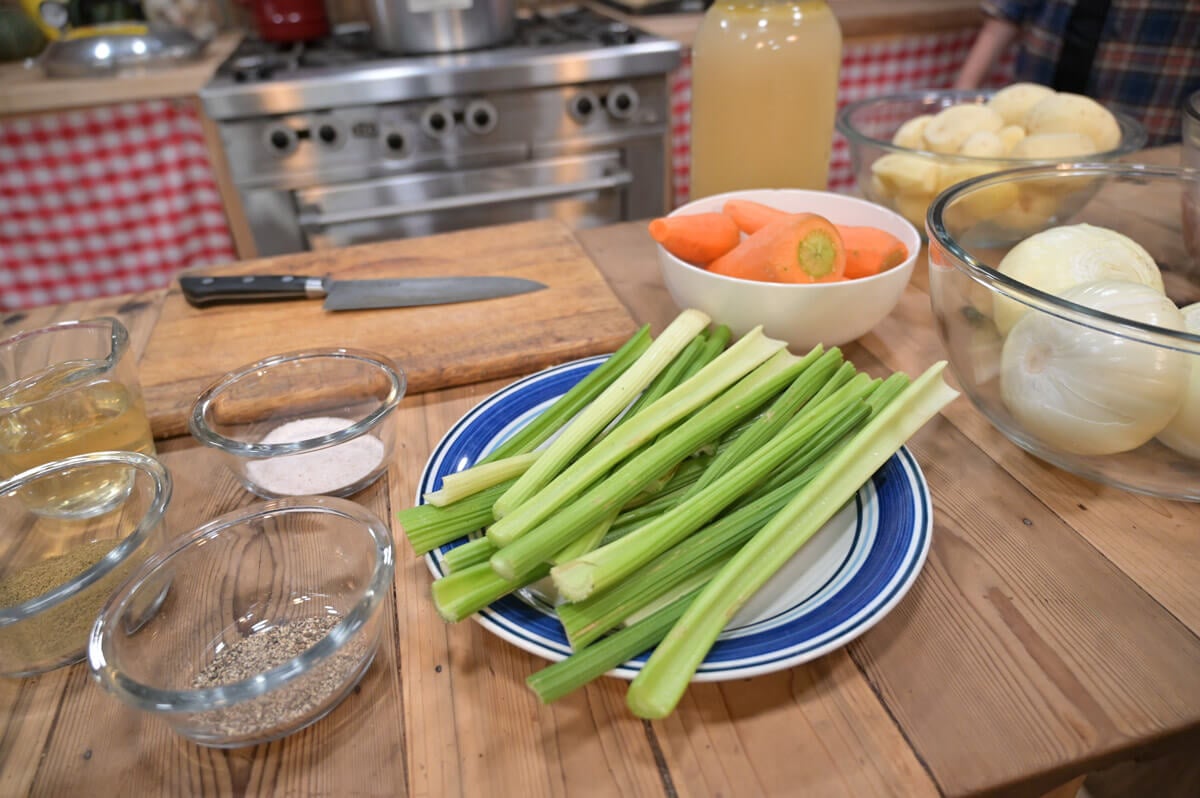
One of the best things about having this chicken and vegetable base on the shelf is how many different meals you can make from it after opening the jar.
But when it comes to changing a recipe before canning, we need to be much more careful.
Canning isn’t the place to start experimenting with ingredient ratios or adding thickeners simply because they sound good. The ingredients, preparation method, jar size, headspace and processing instructions all work together to make a tested recipe safe.
So if you’re making substitutions to the canned recipe itself, use substitutions specifically permitted by the tested recipe you’re following.
Want a thicker gravy? Add flour after you open the jar, not before processing.
Want chicken noodle soup? Add extra broth and noodles when you heat the meal.
Want chicken and dumplings? Open your jars, heat the chicken mixture, and add fresh dumplings at serving time.
That gives you plenty of room to make the finished meal your own without changing the tested canning process.
Recipe Instructions
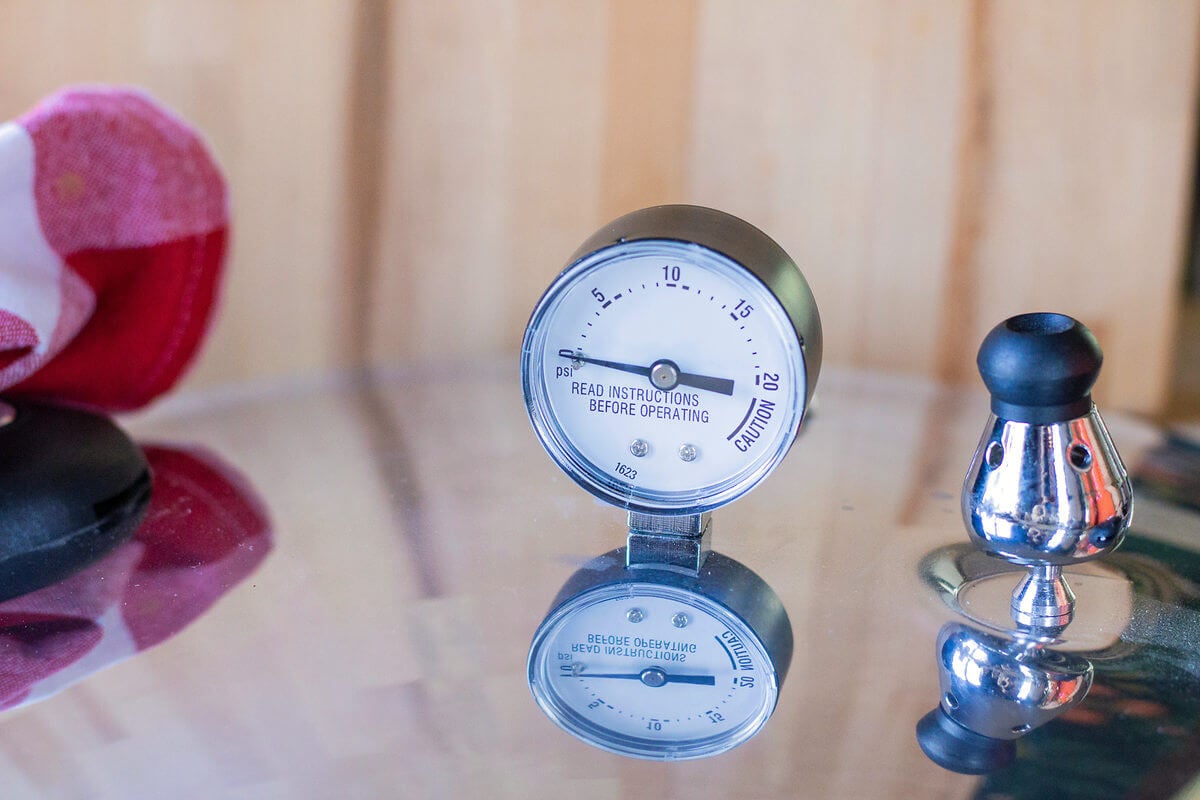
Step 1: Prepare Your Pressure Canner
Fill your pressure canner with about 2 inches of water, or the amount specified by your pressure canner manufacturer.
Place clean jars in the canner and begin gently warming the water and jars.
Step 2: Prepare the Vegetables and Chicken
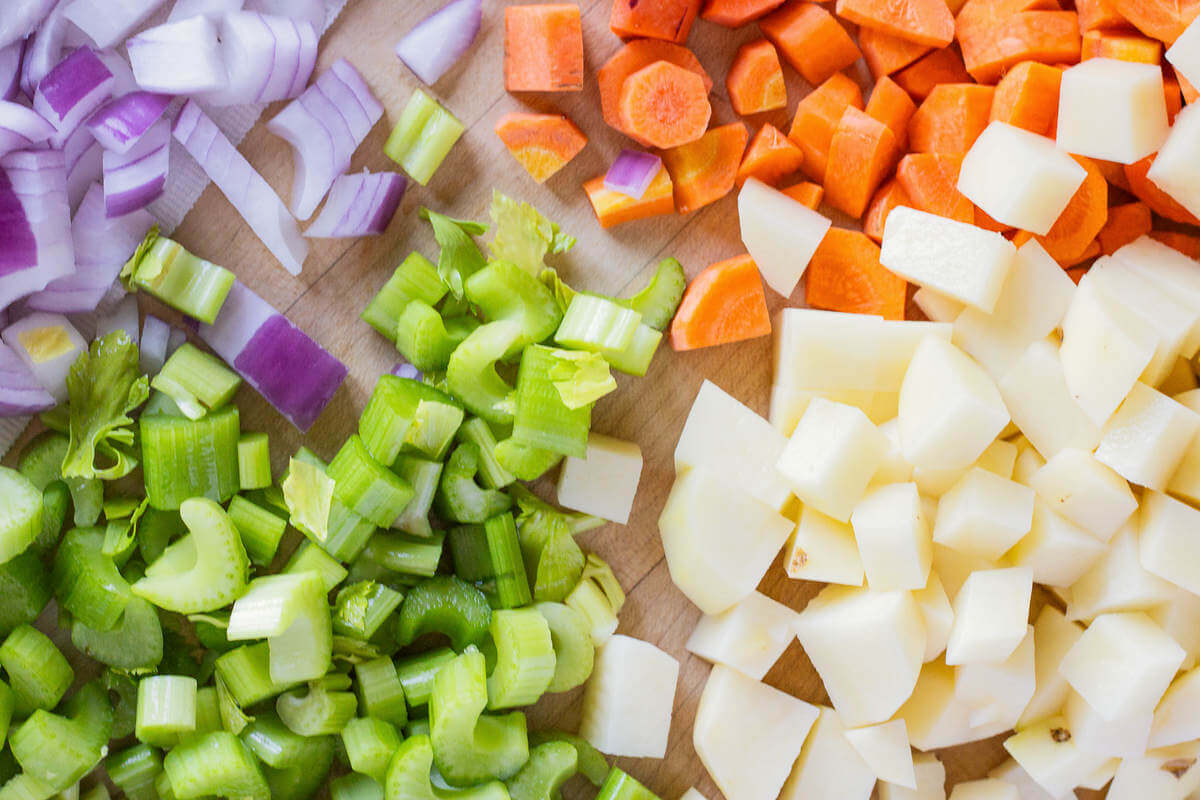
Clean, trim, peel, and chop your vegetables. This is an important safety step.
Botulism spores can be present in soil, which is why produce grown in or near the ground needs to be properly cleaned and prepared before canning. This is one of those little steps that’s worth doing carefully.
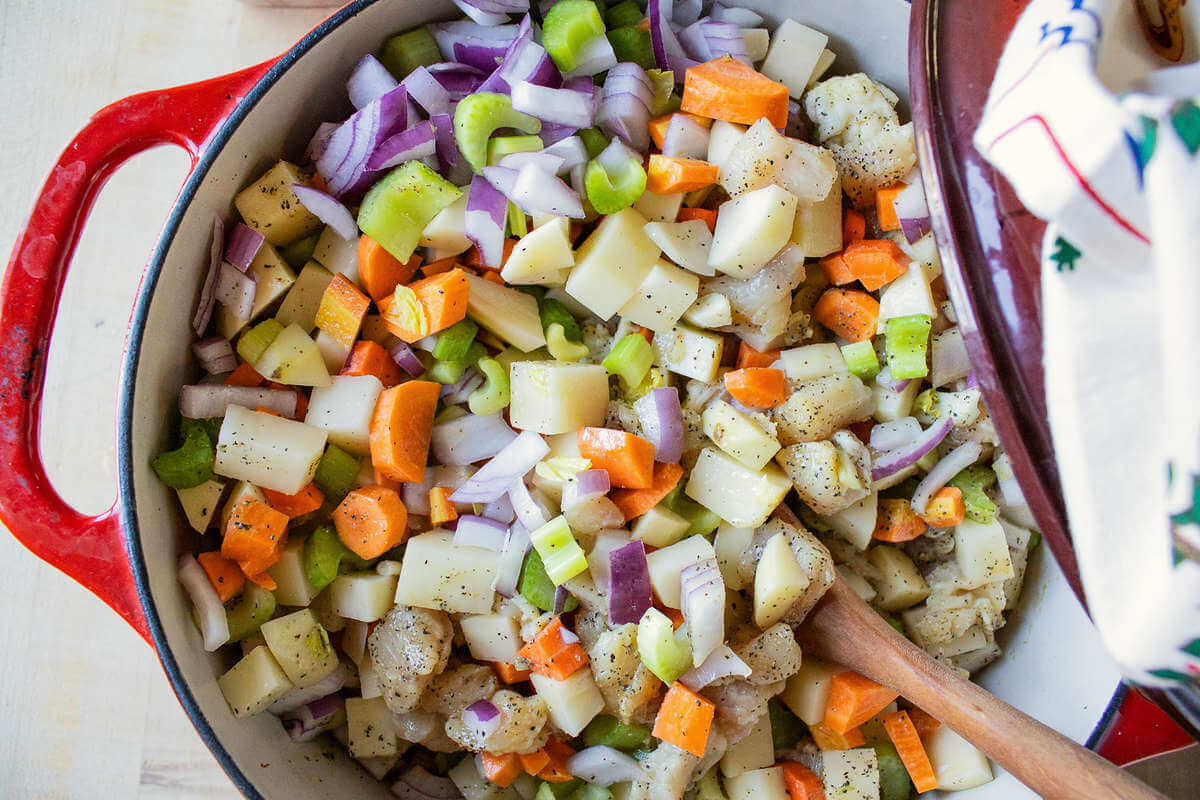
Cut the boneless, skinless chicken into bite-sized cubes and add it to a large bowl with the prepared vegetables.
If there’s liquid left over from defrosting the chicken, you don’t need to add it to the bowl.
Step 3: Add the Seasoning and Wine
Add the salt, pepper, poultry seasoning, and dry white wine to the chicken and vegetables.
Stir everything together so the seasonings are evenly distributed.
Step 4: Heat the Broth
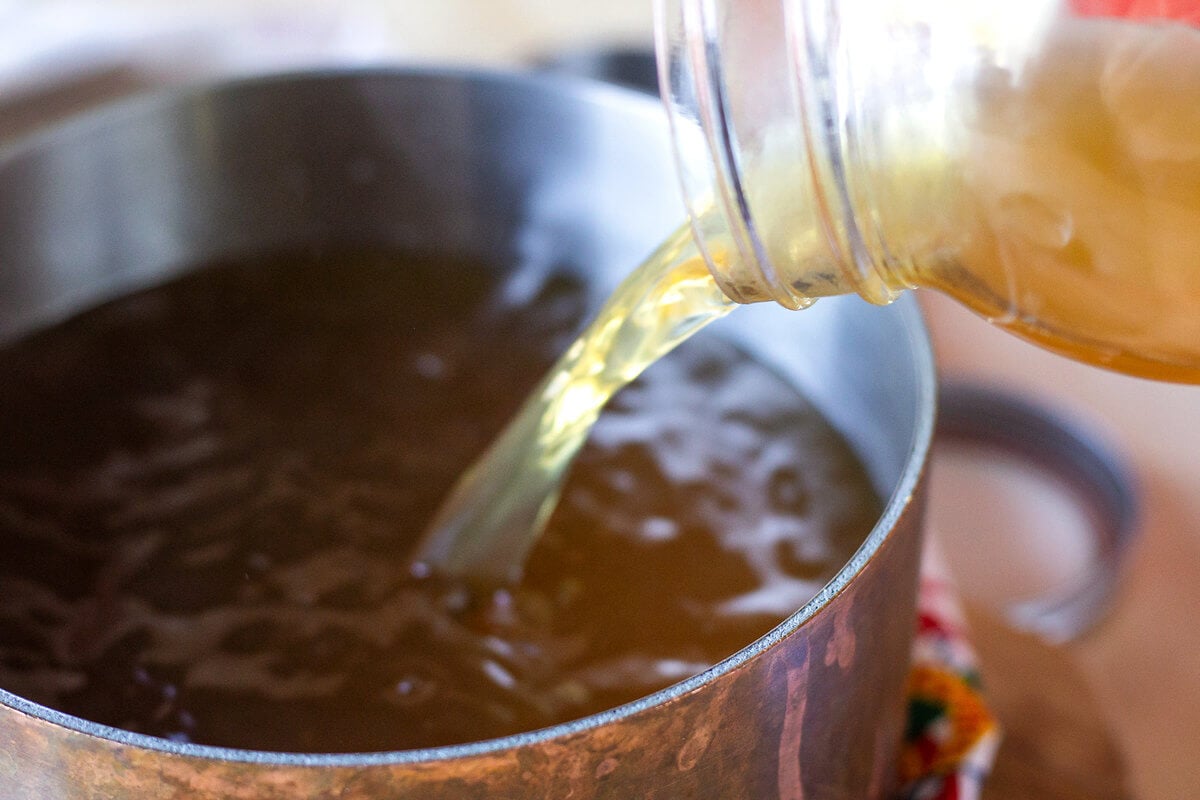
In a separate saucepan, bring the chicken broth to a simmer.
Step 5: Pack the Jars
Remove the warmed jars from the pressure canner, pouring out any water inside them.
Place the jars on a towel-lined counter next to your chicken and vegetable mixture.
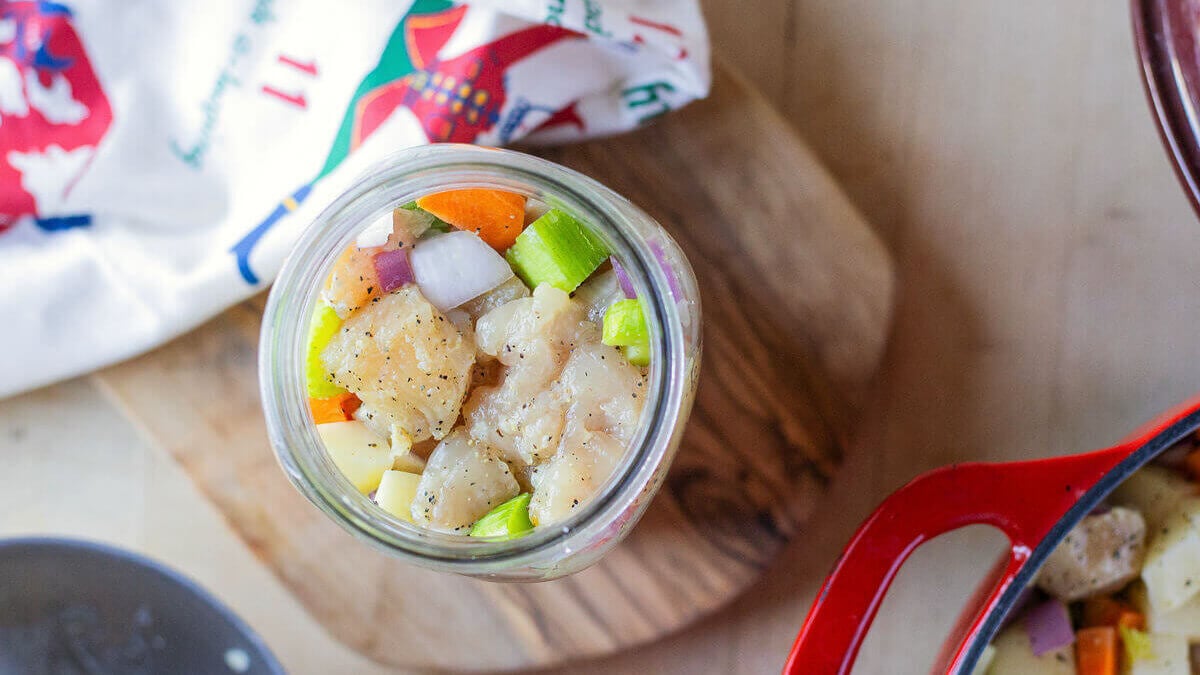
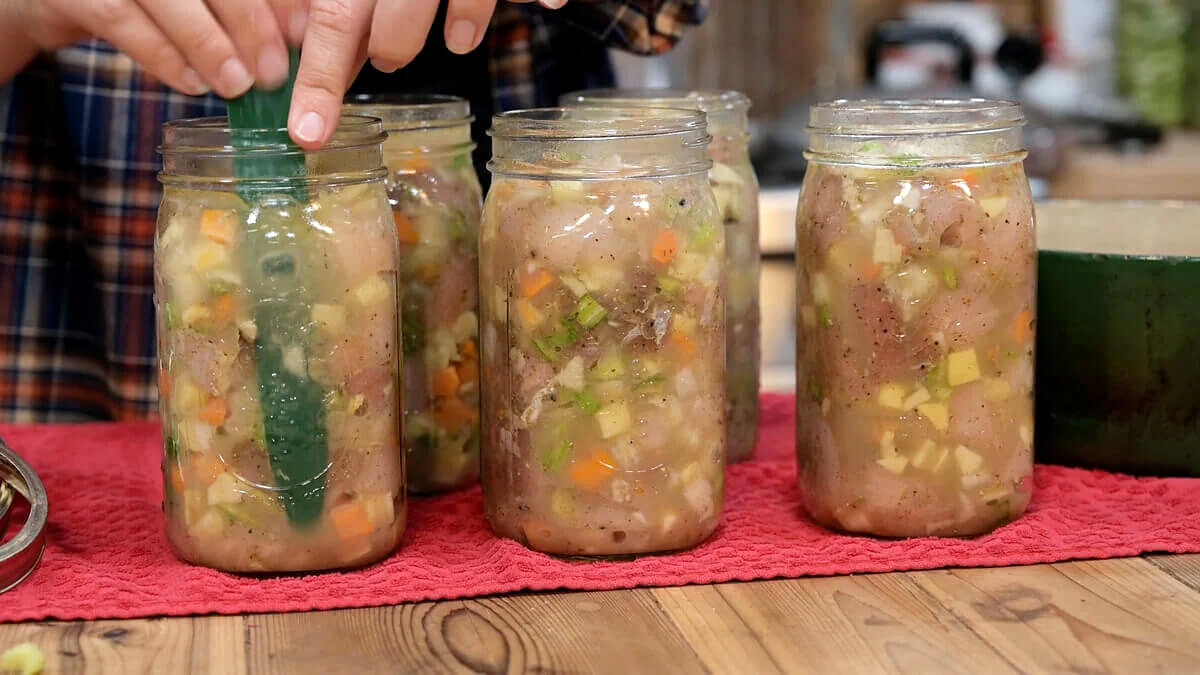
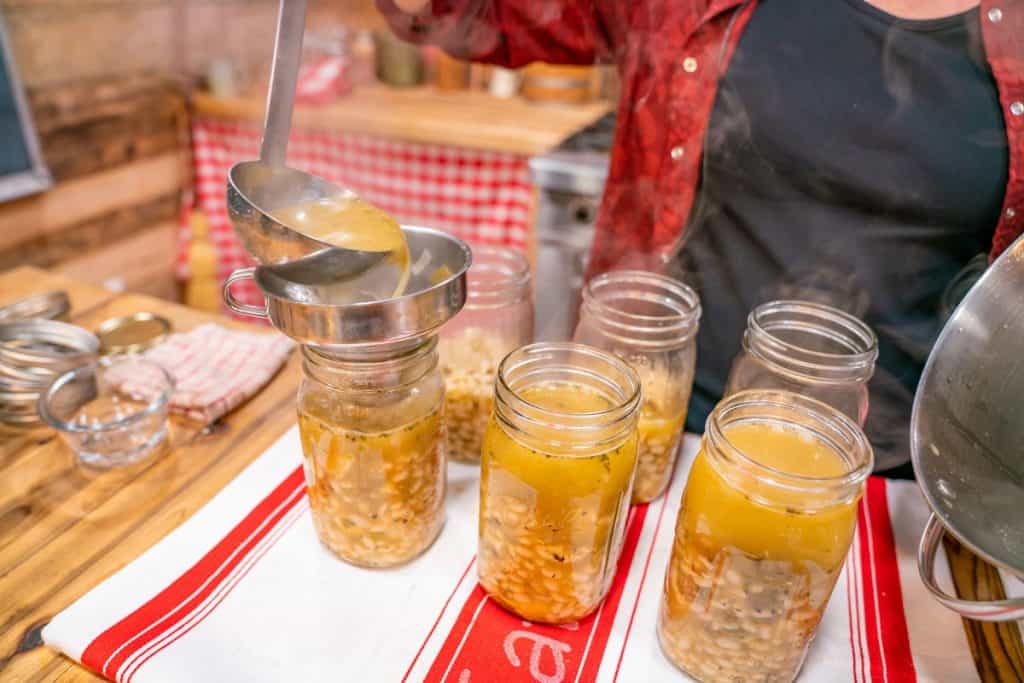
Using a canning funnel and tongs or another utensil, fill each jar with the mixture. Pack the ingredients firmly while leaving 1 inch of headspace.
Homestead Hack: You want to get a good amount of chicken and vegetables into each jar while still maintaining the required headspace. A good firm pack means you’ll only need a relatively small amount of broth to fill the spaces around the food.
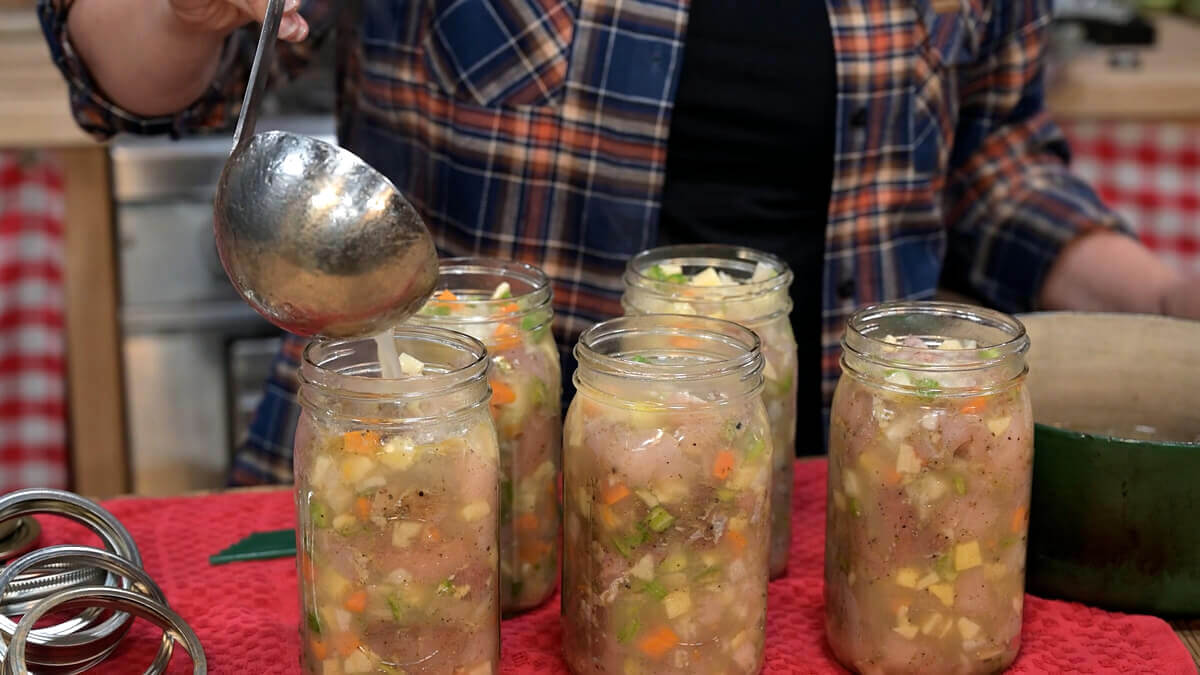
Step 6: Add the Hot Broth
Remove the warmed jars from the pressure canner, pouring out any water inside them.
Place the jars on a towel-lined counter next to your chicken and vegetable mixture.
Using a canning funnel and tongs or another utensil, fill each jar with the mixture. Pack the ingredients firmly while leaving 1 inch of headspace.
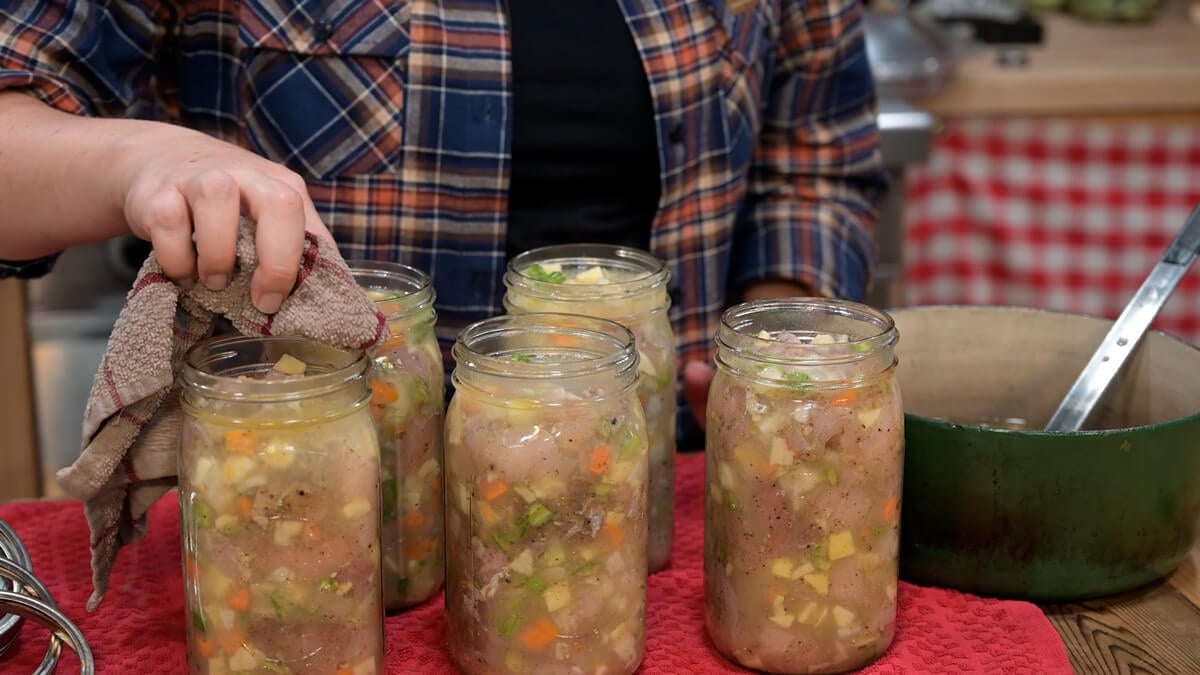
Step 7: Clean the Rims and Add the Bands
Wipe each jar rim thoroughly with a clean, damp cloth.
A clean rim helps the lid make proper contact with the jar and form a good seal.
Place the lids on the jars and screw on the bands until fingertip tight.
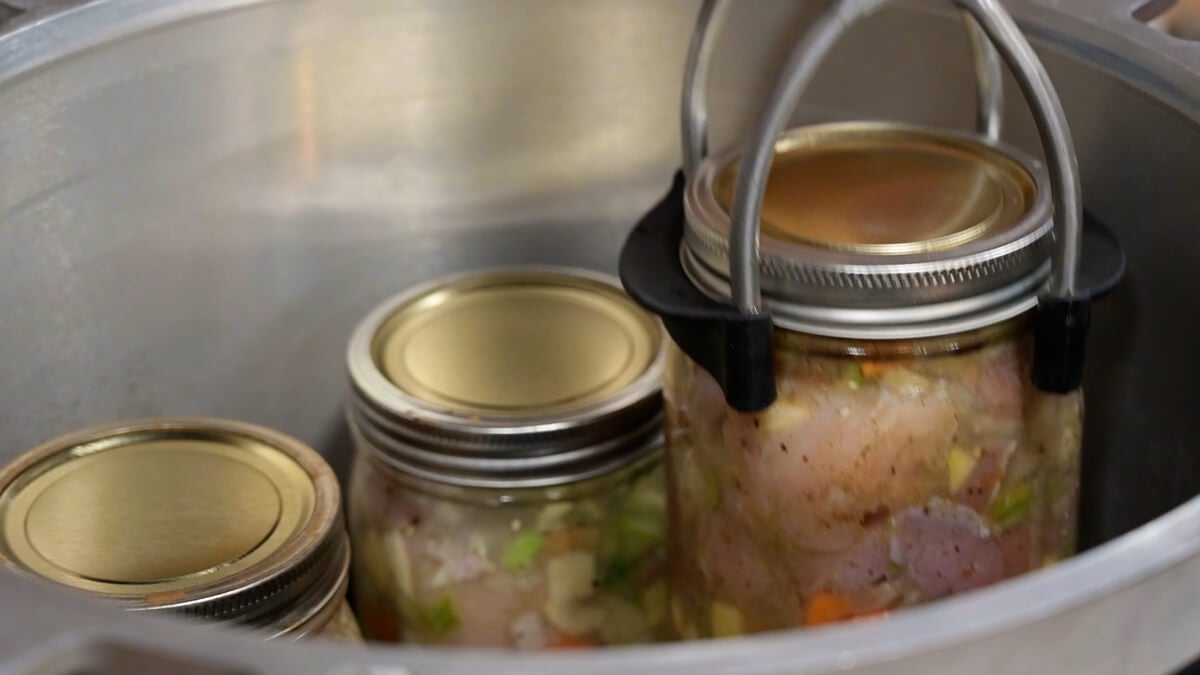
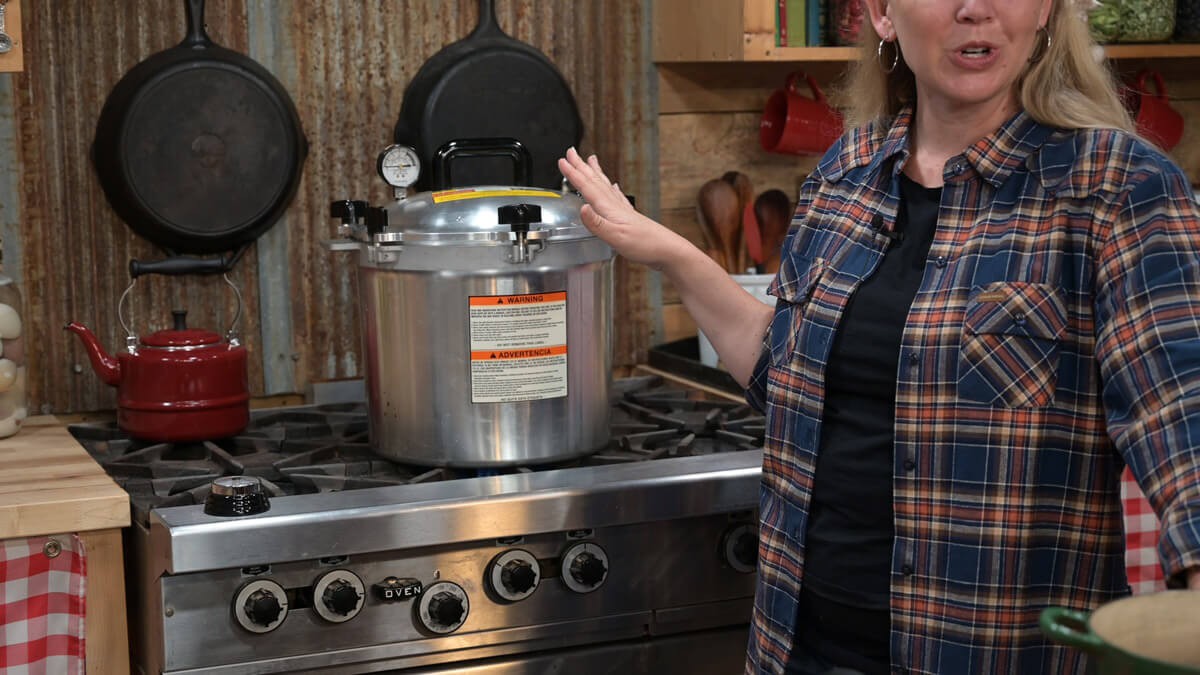
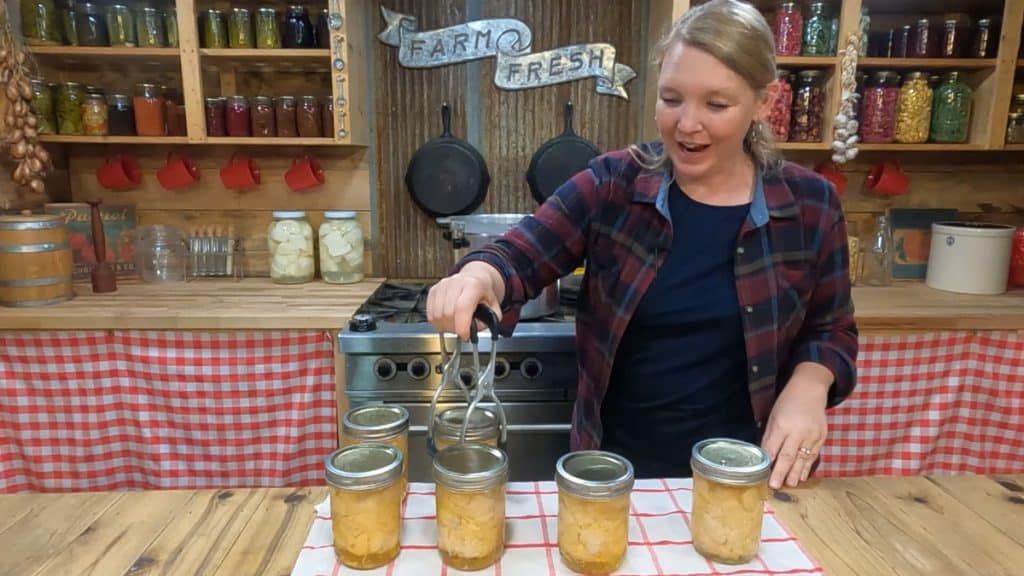
Transfer the filled jars to the pressure canner and secure the canner lid according to your manufacturer’s instructions.

Step 8: Bring the Pressure Canner to the Correct Pressure
Gradually bring the canner up to temperature over approximately medium to medium-high heat.
Once a strong, steady stream of steam is escaping from the vent, vent the canner continuously for 10 minutes.
After 10 minutes, add the regulator or weighted gauge as appropriate for your canner.
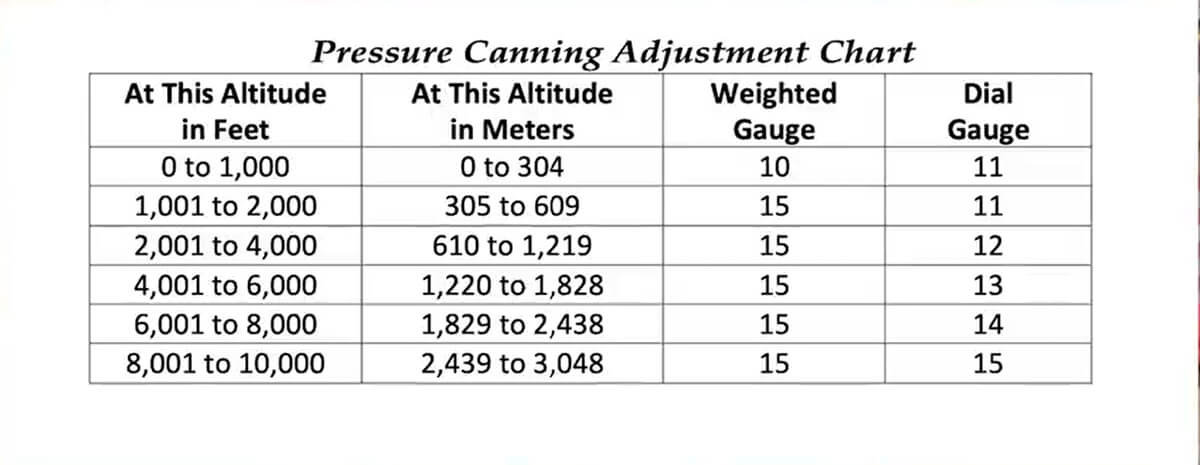
Allow the canner to reach the correct pressure for your elevation and the type of pressure canner you’re using.
Always use the pressure specified for your altitude and canner. (See chart below)
Step 9: Process the Jars
Once the canner reaches the required pressure, start your processing timer.
Process:
- Quart jars for 1 hour and 30 minutes
- Pint jars for 1 hour and 15 minutes
Maintain the required pressure for the entire processing time.
If your pressure falls below the required level during processing, follow current safe canning guidance for bringing the canner back to pressure and restarting the processing time.
Step 10: Allow the Canner to Depressurize Naturally
When processing is complete, turn off the heat.
Do not jiggle the weight, force the pressure down or cool the canner with cold water.
Let the pressure return naturally to zero.
Once the gauge reads zero, carefully check that pressure has been completely released according to your canner manufacturer’s directions. Remove the regulator when appropriate, then wait another 10 minutes before opening the canner.
Step 11: Remove and Cool the Jars
Open the lid carefully, directing the steam away from your face.
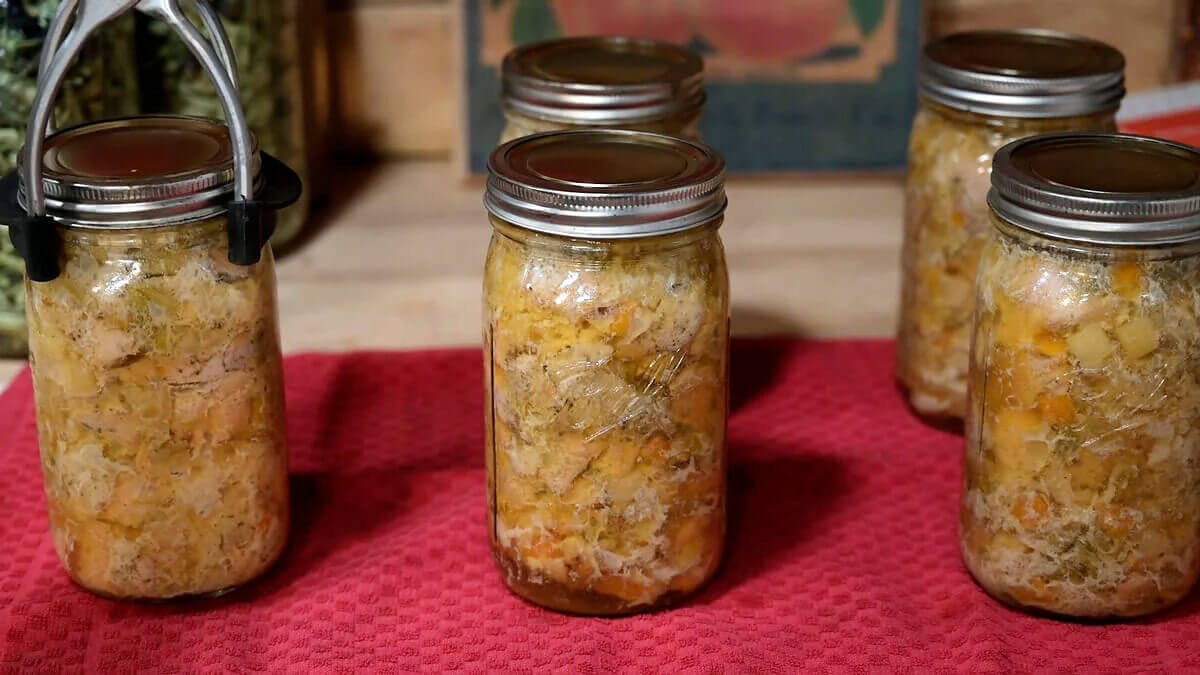
Using a jar lifter, transfer the jars to a towel lined counter.
Leave them completely undisturbed for 12 to 24 hours.
Step 12: Check the Seals
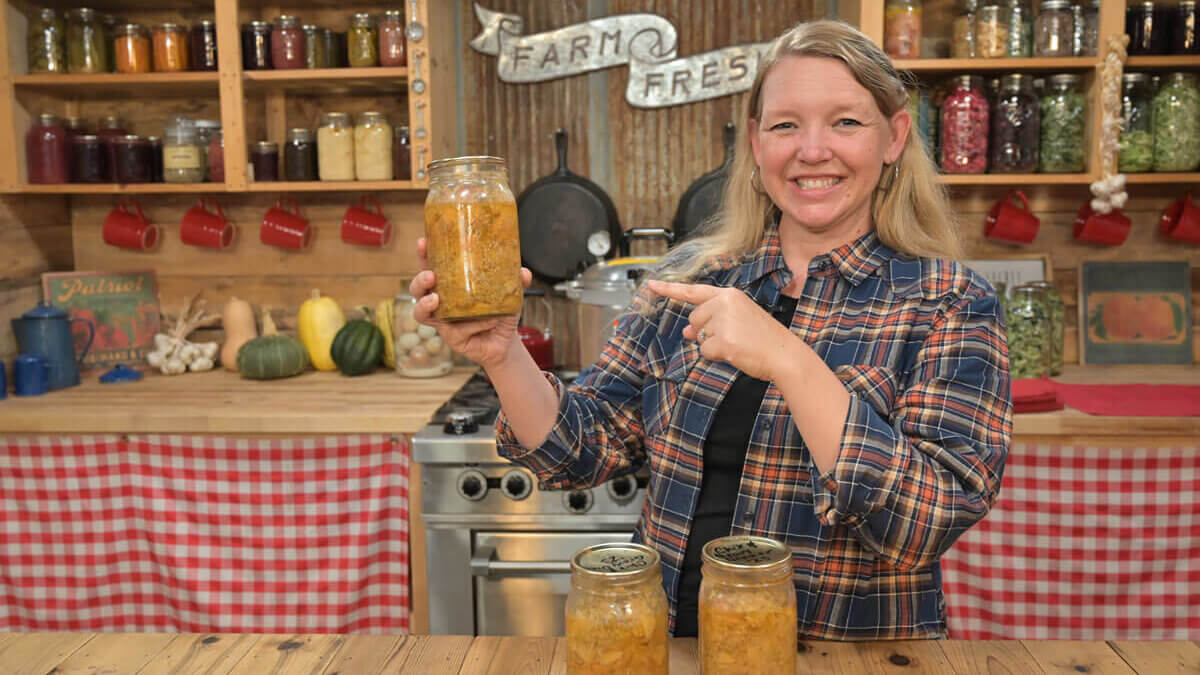
After the jars have cooled, remove the bands and check every seal.
Wipe the jars clean, label them with the contents and date, and move properly sealed jars to pantry storage.
And there you go.
You’ve taken chicken, vegetables, and a few simple seasonings and turned them into ready-to-use meals sitting right on your pantry shelf.
That’s the kind of food preservation I love. It isn’t about filling shelves just for the sake of filling shelves. It’s about making tomorrow’s dinner easier.
Tips and Troubleshooting
| Caution | Solution |
| Always Use a Pressure Canner | Chicken and vegetables are low-acid foods. This means this chicken and gravy recipe must be processed using an appropriate pressure canning method when you’re preserving it for shelf storage.A boiling water bath canner does not reach the temperatures necessary for safely processing low-acid foods like meat and vegetables. |
| Pay Attention to Your Elevation | Pressure requirements change with altitude.Before processing your jars, make sure you know your elevation and use the correct pressure for your canner and location. |
| Don’t Add Flour Before Canning | It might seem strange to call this chicken and gravy when there isn’t a thick gravy going into the jar.The gravy comes later.Once you open the jar, you can add flour and heat the contents to create that thick, comforting gravy consistency. Keeping the thickener out during canning helps you stick to the tested processing method. |
| Use Clean Tools and Ingredients | It’s imperative that any ingredient grown in the ground is properly cleaned, trimmed, and peeled when canning. This reduces the possible bacterial load in each jar. Botulism spores live in the dirt, so it’s important to get all our veggies as clean as possible. |
| Maintain the Correct Headspace | Keep 1 inch of headspace when packing and filling the jars.Too little or too much headspace can cause problems during processing and sealing, so this is one measurement worth checking carefully. |
| Don’t Rush Depressurization | When the processing time is finished, you may be ready to get those beautiful jars out of the canner.Give them time.Trying to force a pressure canner to cool faster can cause problems with the jars and seals. Let the pressure come down naturally. |
| What If a Jar Doesn’t Seal? | Don’t put an unsealed jar on the pantry shelf.Follow current safe canning recommendations for handling an unsealed jar, which may include properly reprocessing it within the recommended timeframe or refrigerating it and using it promptly. |
Serving Suggestions
This is where this easy chicken and gravy recipe really earns its place on the pantry shelf.
You can turn the same jar into several different meals, which means you get convenience without eating exactly the same dinner over and over again.
Easy Chicken and Gravy
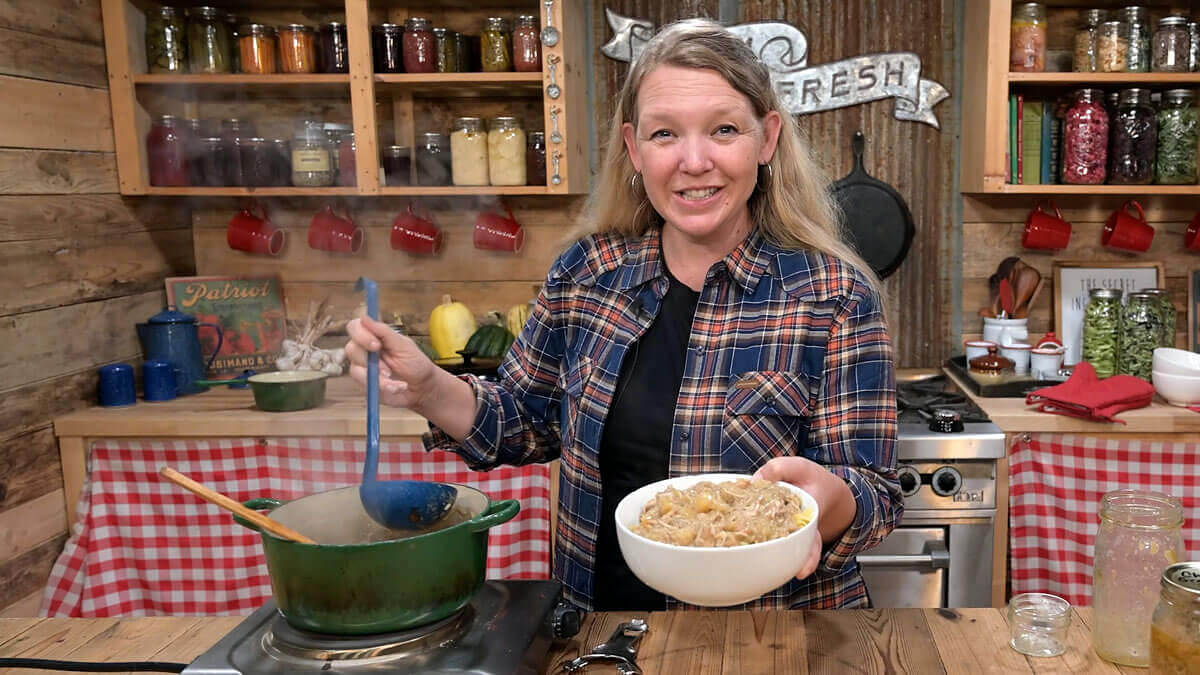
Pour one jar of chicken and gravy into a large, heavy-bottomed pot.
While the mixture is still cold, sprinkle 2 tablespoons of flour over the top and stir thoroughly.
Turn on the heat and bring the mixture to a simmer, stirring as needed until the liquid thickens into gravy.
Serve it just like that, or spoon it over:
- Mashed potatoes
- Rice
- Homemade egg noodles
- Biscuits
- Toast
In just a few minutes, you’ve got a hot, filling dinner on the table.
Chicken Noodle Soup
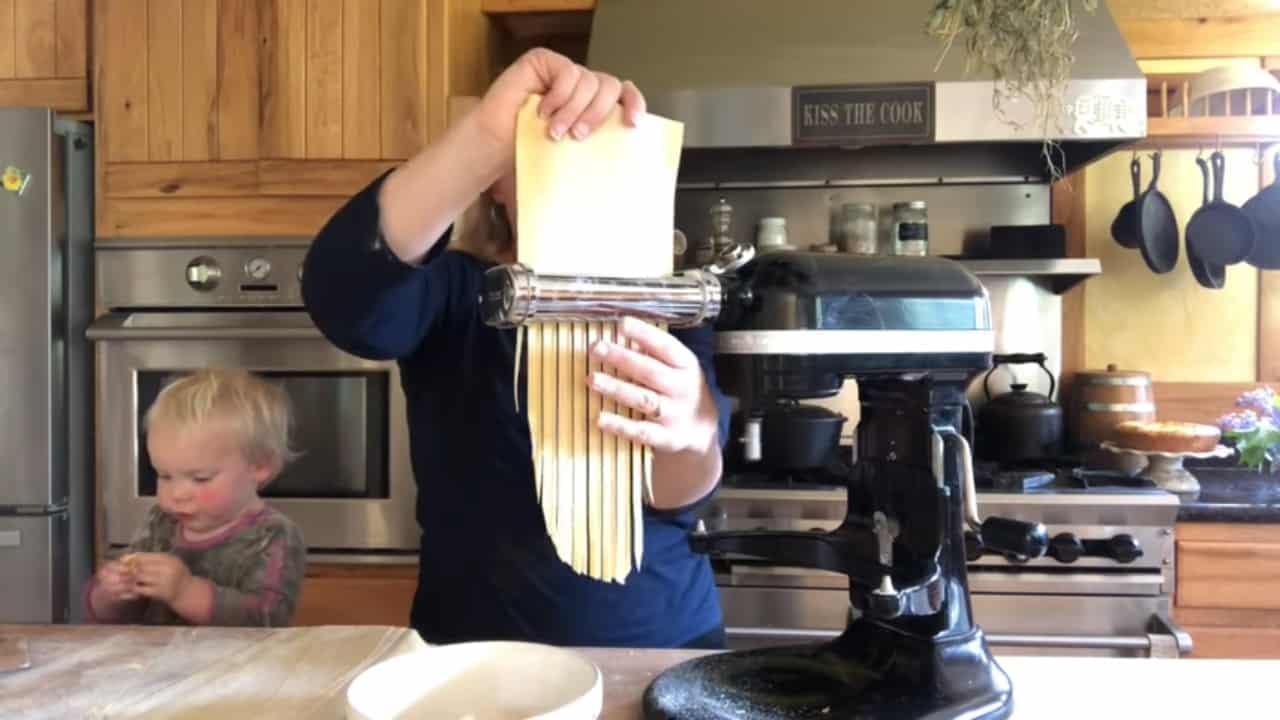
Pour one jar into a large, heavy-bottomed pot.
While the mixture is cold, add 2 tablespoons of flour and stir well.
Add approximately 1 quart of additional chicken broth and bring everything to a simmer.
Add egg noodles and cook until they’re tender. (Try this homemade egg noodle recipe.)
That’s it. Homemade chicken noodle soup without starting dinner from scratch.
Chicken and Dumplings
Pour two jars of chicken and gravy into a large, heavy-bottomed pot.
While everything is still cold, sprinkle 4 tablespoons of flour over the mixture and stir thoroughly.
Add additional chicken broth if you’d like a thinner consistency.
Bring the chicken mixture to a simmer while you prepare the dumplings.
For the dumplings, combine:
- 2 cups flour
- 1 tablespoon plus 1 teaspoon baking powder
- 1 teaspoon salt
- 1 teaspoon pepper
- 1 tablespoon fresh thyme, or 1 teaspoon dried thyme
Whisk the dry ingredients together and make a well in the center.
Pour in:
- ¾ cup milk
- 4 tablespoons melted butter
Mix gently with a fork just until no dry pockets of flour remain. Don’t overmix.
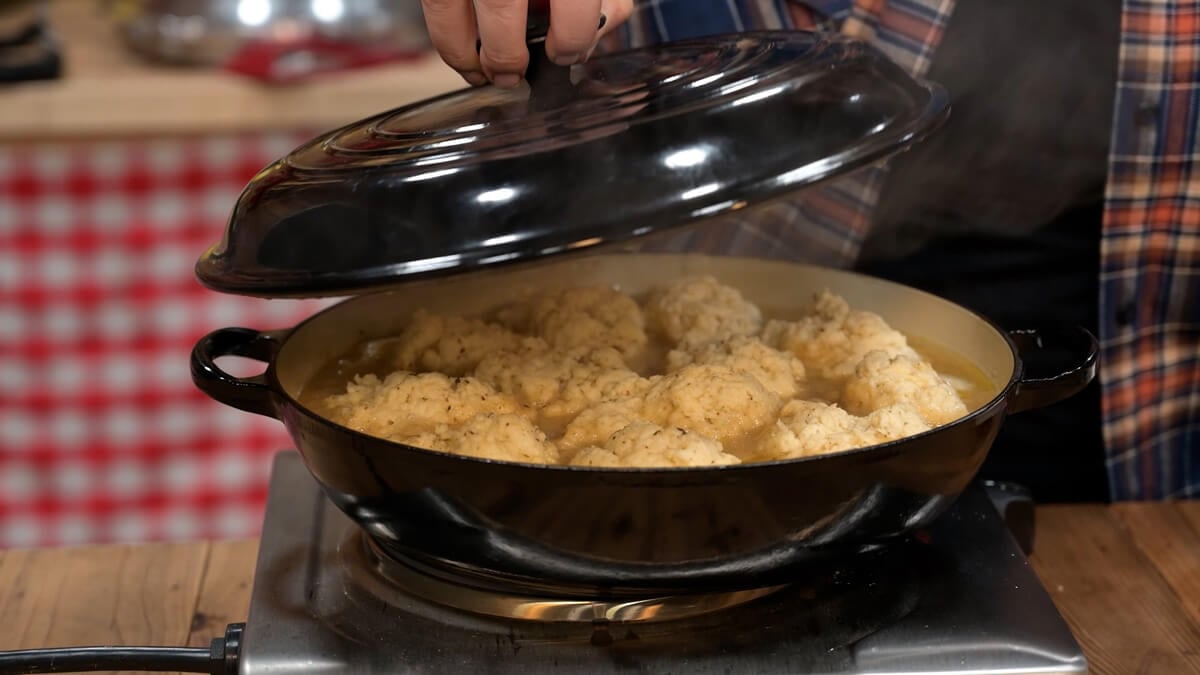
Drop spoonfuls of dumpling dough into the simmering chicken mixture.
Cover the pot and cook for 5 minutes. Turn off the heat and let the covered pot rest for another 10 minutes so the dumplings can finish cooking.
Serve it hot and enjoy.
Storage Instructions
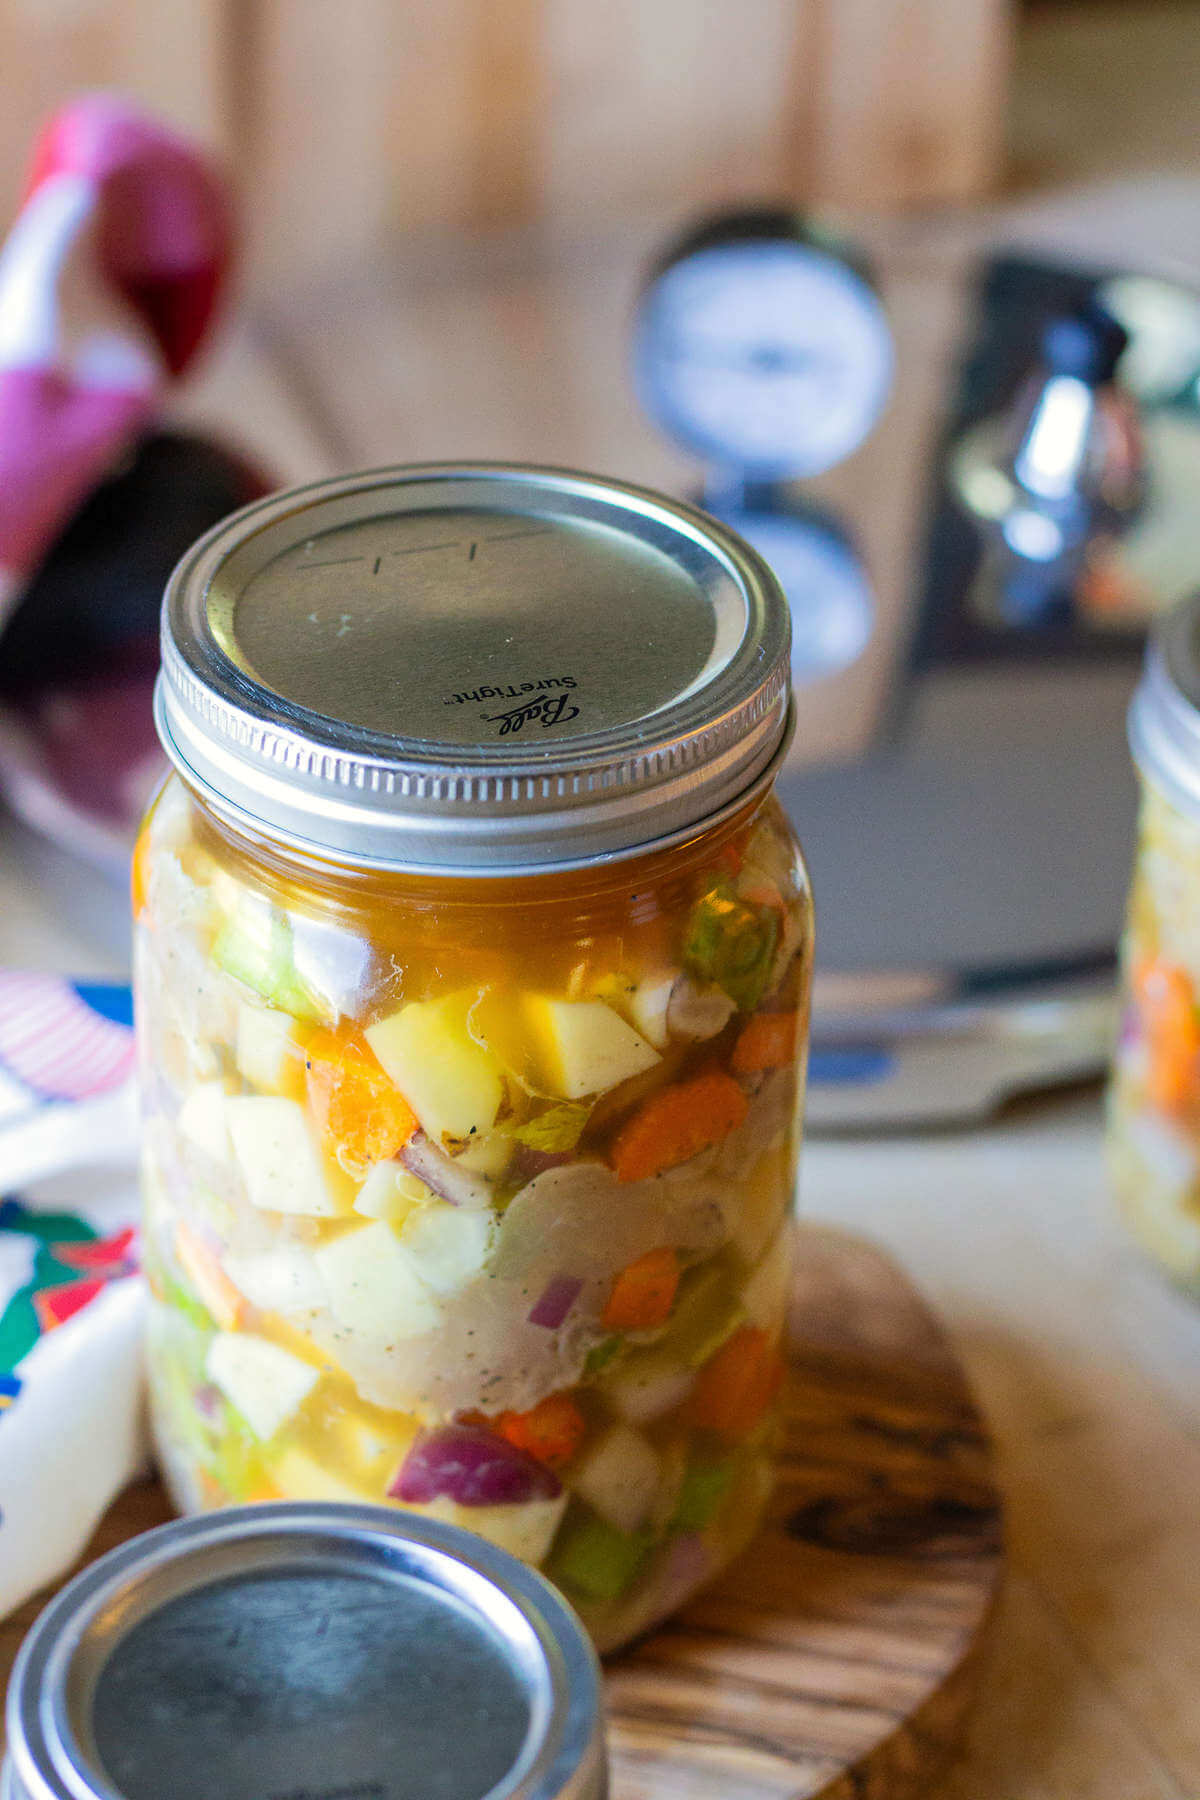
Once your pressure-canned chicken and gravy jars have rested undisturbed for 12 to 24 hours, remove the bands and check each seal.
Clean the outside of the jars as needed, then label each jar with the recipe name and date.
Store properly sealed jars in a cool, dark, dry location according to current home canning storage recommendations.
Before using any home canned food, inspect the jar carefully. If you notice an unsealed lid or anything else that makes you question the integrity of the jar, don’t taste the food to determine whether it’s safe.
When you open a properly stored jar, you can heat and serve it immediately or use it as the base for one of the meals above.
Once opened, refrigerate leftovers promptly in a covered container.
Free Canning Training
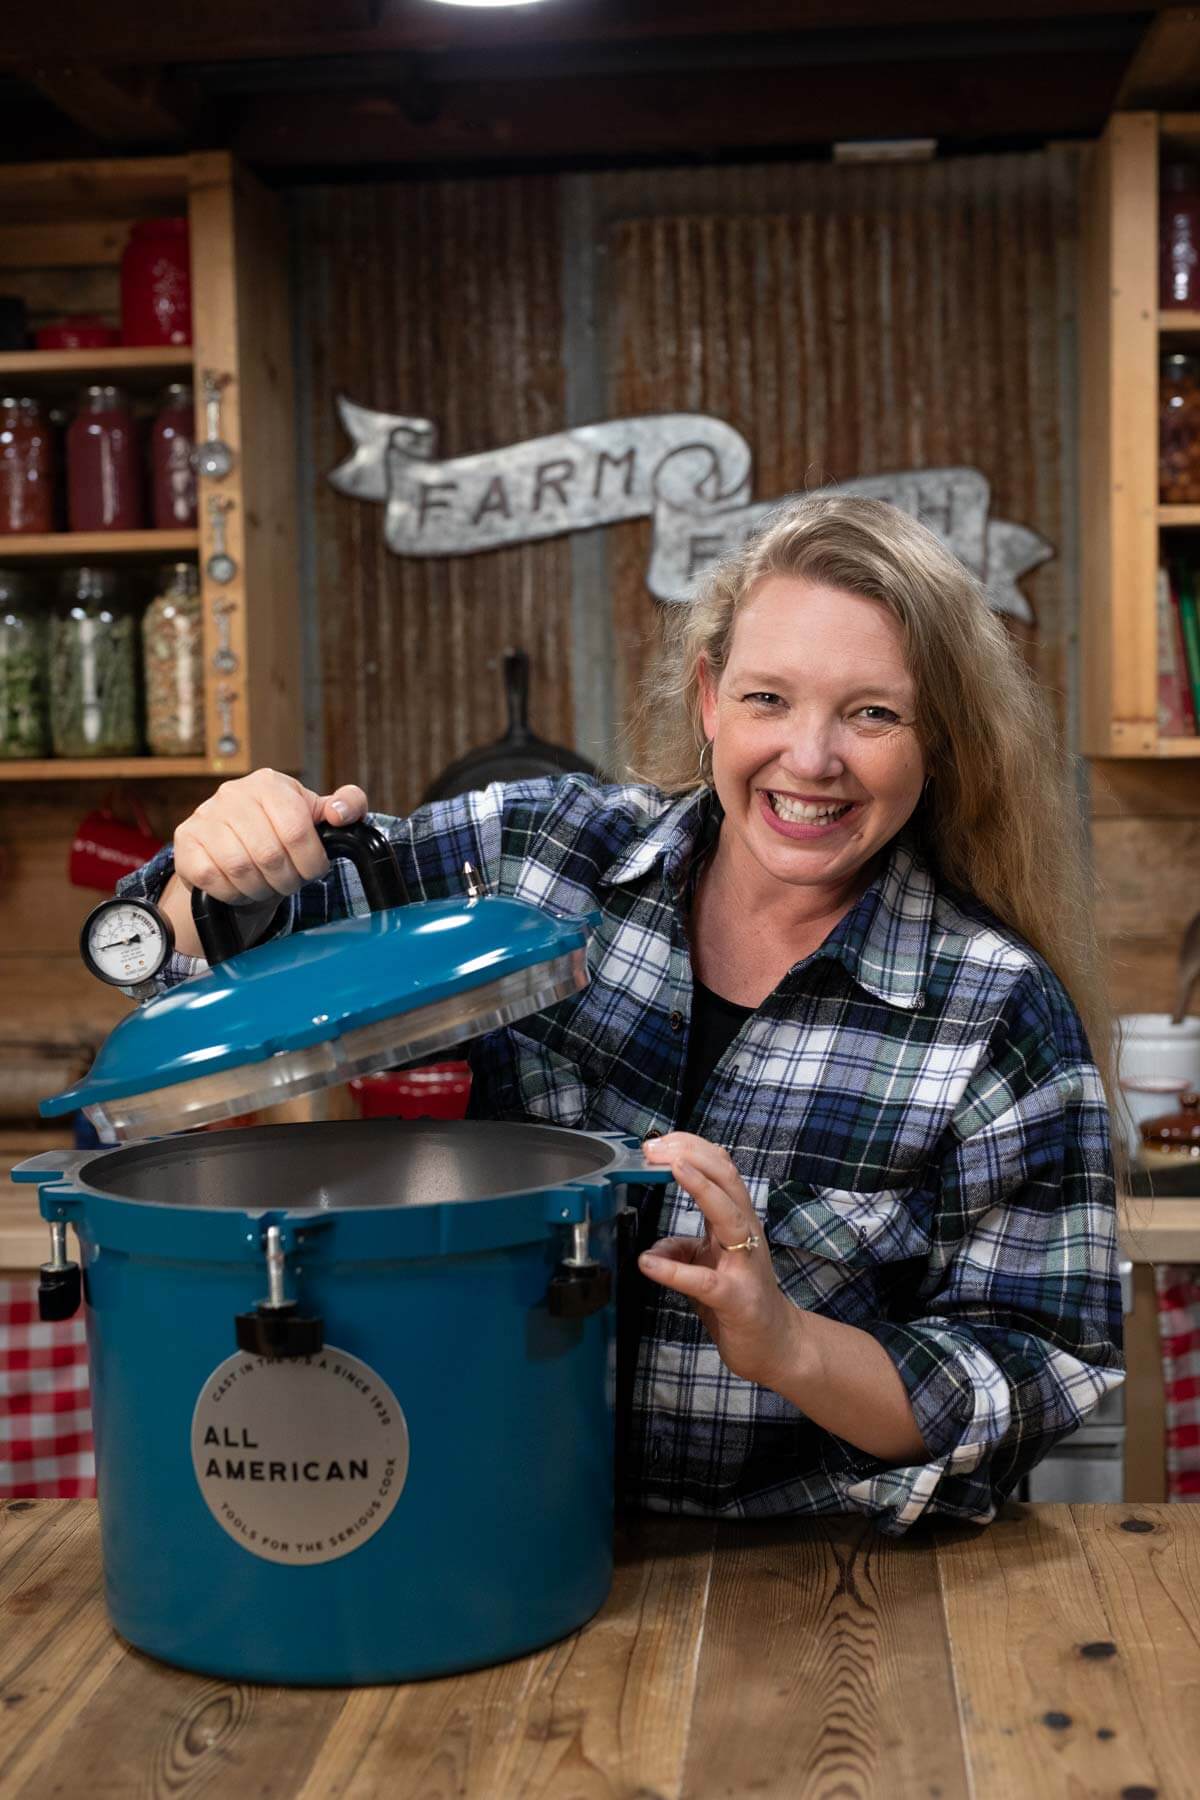
If the thought of using a pressure canner makes you nervous. Check out my free canning training called Meals On Your Shelf.
Together in this four-part workshop, we go over all of the safety aspects of canning so you get a firm grasp on the scientific principles behind it. We then work together in the kitchen to can an entire meal in the water bath canner before we jump into the basics of pressure canning.
More Posts You May Enjoy

White Bean Chicken Chili Recipe
Did you try this easy chicken and gravy recipe? If so, please leave a star ⭐ rating and your comments in the recipe card below. Then snap a photo and tag us on social media @homesteadingfamily so we can see!
Easy Chicken and Gravy Recipe | Quick Pressure Canning Meal
Equipment
- Pressure Canner & Rack I love my All-American Pressure Canner.
- 5 Wide-Mouth Quart-Sized Mason Jars or 10 pint-sized Mason jars
- 5 Canning Lids & Bands or 10 if using pint-sized jars
- Food Processor I use this Breville Food Processor with the Breville Dicing Kit, but a sharp knife and cutting board work, too.
- Canning Tools funnel, ladle, bubble popper, tongs, jar lifter
- Clean Dish Rag
Ingredients
- 6 pounds chicken cubed
- 3 cups potatoes diced
- 2 cups onions chopped
- 2 cups carrots chopped
- 2 cups celery chopped
- 6 teaspoons salt
- 3 teaspoons black pepper freshly ground
- 6 teaspoons poultry seasoning
- ¾ cup dry white wine or vinegar
- 1 quart chicken broth
Instructions
- Fill the pressure canner with two inches of water. Get clean jars into the canner and turn on the heat for everything to start gently warming up.
- Prepare and chop all vegetables and add them to a large bowl.
- Dice chicken and add to the bowl of veggies. If there’s any juice from the chicken defrosting, you do not need to add that.
- Add salt, pepper, poultry seasonings and white wine to the bowl and stir to distribute evenly.
- In a pot on the stove, bring the broth up to a simmer.
- Remove hot jars from the pressure canner (dumping out any water first) and place on a towel-lined counter next to your large bowl of chicken mixture.
- Using a funnel and tongs (or another tool of choice), fill each jar with the mixture, packing firmly, leaving a one-inch headspace. Homestead Hack: The goal is to pack this meal as well as possible so only a few tablespoons of broth are needed to fill the jar.
- Once jars are filled, ladle over the hot broth, maintaining the one-inch headspace. Run the bubble popper along the sides of each jar to remove any air pockets, then add more broth, if necessary. Homestead Hack: The one-inch headspace is important to maintain for getting a good seal on your jars.
- Wipe each rim well with a clean, damp dish rag.
- Add lids and bands, tightening to fingertip tight.
- Transfer jars to the pressure canner and follow the manufacturer’s instructions for adding the lid.
- Bring the temperature up slowly (over about medium to medium-high heat).
- Once steam is coming out of the steam vent at a steady pace, set a timer for 10 minutes.
- After the 10 minutes, add the regulator or weighted gauge and bring up the pressure to the desired level for your specific elevation (refer to the chart in the blog post).
- As soon as your pressure is up to full pressure, start your timer. For quart jars, set the timer for 1 hour and 30 minutes. For pint jars, set the timer for 1 hour and 15 minutes.
- Once the time is up, turn off the heat and allow the pressure canner to come all the way back down to zero pressure naturally. Don’t jiggle the weighted gauge, don’t place your pressure canner in cold water, just let it sit and naturally come back down to zero pressure.
- Once the dial gauge reads zero, very gently tap the weighted gauge/pressure regulator to make sure no more pressure remains. Remove the weighted gauge/pressure regulator and wait another ten minutes.
- Remove the lid (be careful, it’s hot!) and, using the jar lifters, remove the jars of chicken and gravy from the canner onto a towel-lined counter. Let the jars sit, undisturbed for 12-24 hours.
- Remove the bands, check the seals, wipe the jars clean and label and date them.
- Store on the pantry shelf and be sure to check out all the great meal ideas below.
Notes
| Caution | Solution |
| Always Use a Pressure Canner | Chicken and vegetables are low-acid foods. This means this chicken and gravy recipe must be processed using an appropriate pressure canning method when you’re preserving it for shelf storage. A boiling water bath canner does not reach the temperatures necessary for safely processing low-acid foods like meat and vegetables. |
| Pay Attention to Your Elevation | Pressure requirements change with altitude. Before processing your jars, make sure you know your elevation and use the correct pressure for your canner and location. |
| Don’t Add Flour Before Canning | It might seem strange to call this chicken and gravy when there isn’t a thick gravy going into the jar. The gravy comes later. Once you open the jar, you can add flour and heat the contents to create that thick, comforting gravy consistency. Keeping the thickener out during canning helps you stick to the tested processing method. |
| Use Clean Tools and Ingredients | It’s imperative that any ingredient grown in the ground is properly cleaned, trimmed, and peeled when canning. This reduces the possible bacterial load in each jar. Botulism spores live in the dirt, so it’s important to get all our veggies as clean as possible. |
| Maintain the Correct Headspace | Keep 1 inch of headspace when packing and filling the jars. Too little or too much headspace can cause problems during processing and sealing, so this is one measurement worth checking carefully. |
| Don’t Rush Depressurization | When the processing time is finished, you may be ready to get those beautiful jars out of the canner. Give them time. Trying to force a pressure canner to cool faster can cause problems with the jars and seals. Let the pressure come down naturally. |
| What If a Jar Doesn’t Seal? | Don’t put an unsealed jar on the pantry shelf. Follow current safe canning recommendations for handling an unsealed jar, which may include properly reprocessing it within the recommended timeframe or refrigerating it and using it promptly. |
- Dump your jar of chicken and gravy into a large heavy-bottomed pot (I love my enameled cast iron!). While the mixture is still cold, sprinkle two tablespoons of flour over the top and stir well to distribute evenly.
- Turn the heat on and bring to a simmer.
- Serve and enjoy!
- Dump your jar of chicken and gravy into a large heavy-bottomed pot. While the mixture is still cold, sprinkle two tablespoons of flour over the top and stir well to distribute evenly.
- Add an additional quart of chicken broth, turn the heat on and bring to a simmer.
- Once at a simmer, add in some noodles and allow them to cook until they’re to your liking.
- Serve and enjoy!
- Dump two jars of chicken and gravy into a large heavy-bottomed pot. While the mixture is still cold, sprinkle four tablespoons of flour over the top and stir well to distribute evenly.
- Add additional broth, if desired.
- Turn the heat on and bring to a simmer.
- While the chicken mixture is heating, mix up your herbed dumpling mixture.
- Combine 2 cups of flour with 1 tablespoon + 1 teaspoon baking powder, a teaspoon of salt, a teaspoon of pepper, and one tablespoon of fresh thyme (or one teaspoon of dried thyme).
- Whisk the dry ingredients together and create a well into the center.
- Pour in ¾ cup milk and 4 tablespoons melted butter.
- Combine with a fork until no dry pockets of flour remain (do not overmix!)
- Using a tablespoon, drop the dumpling mixture into the pot of simmering chicken and gravy.
- Add a lid and cook for five minutes. Then turn the heat off and let sit for ten minutes to allow the dumplings to finish cooking.
- Serve and enjoy!