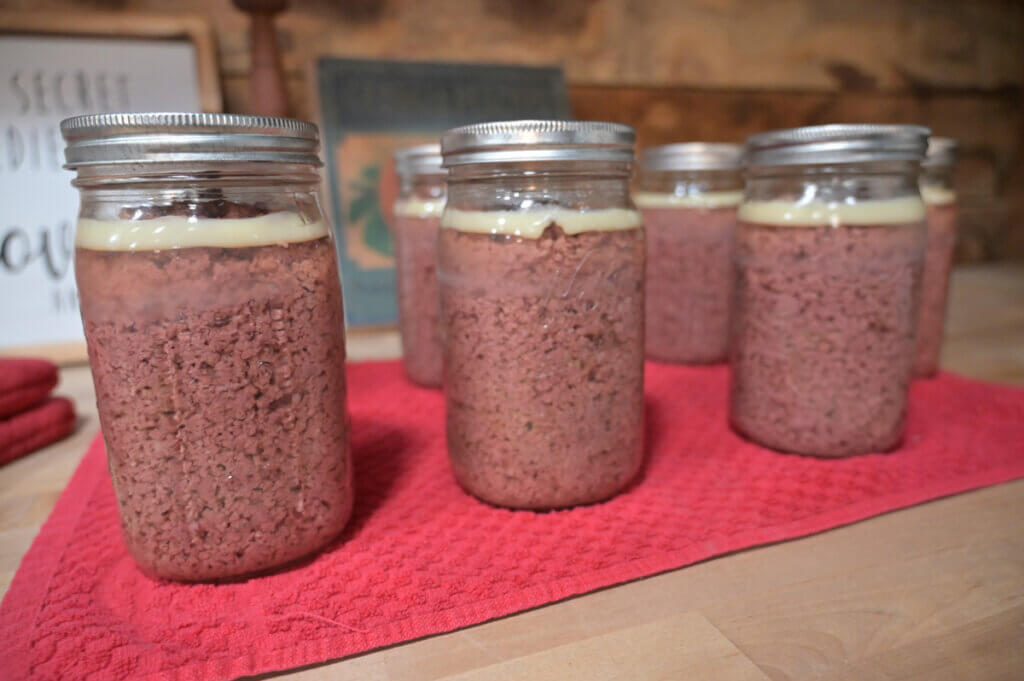
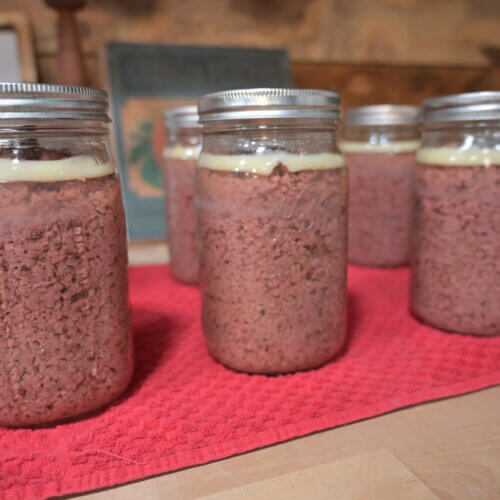
Learn how easy it is to make canned ground beef that will sit on your pantry shelf for years. This method also works for canned ground venison, elk, bear, lamb, pork, sausage, etc. It's so convenient to pop open a jar of canned ground beef to whip up tacos, spaghetti sauce, hearty beef curry, lasagna or to use in a casserole.
Can You Can Raw Ground Beef?
No, you cannot can raw ground beef, it must be fully cooked before canning. Raw ground beef is one of the foods not suitable for canning.
That is the first step for making canned ground beef. The reason for this is that you don't want the ground beef to cook into one massive clump during the canning process.
Can You Water Bath Can Ground Beef?
No, you cannot water bath can ground beef. Since meat is a low-acid food, it means there's not enough acid to make an inhospitable home for bacteria, including botulism bacteria. So instead of treating the bacteria with acid, for something that's low acid like meat, you treat it with heat.
You have to get up to 240-250°F in order to reliably kill off all the bacteria inside a low-acid jar. The only way to do that in a home setting is to use a pressure canner.
There are those people who will tell you that you can water bath can anything as long as you do it long enough. There is some science behind that, but these methods aren't tested to know the exact amount of time to safely kill off all bacteria. So this is not something I would ever recommend.
Also, never consider canning anything low acid if the directions call for canning in a multi-cooker (like an Instant Pot), canning in an oven, or using any method aside from an actual pressure canner.
Tips for Canning Ground Beef
Here are some tips and pointers to consider when canning ground beef:
- This canning method works for canned ground venison, elk, bear, lamb, pork, sausage, etc.
- About two pounds of raw ground beef (or other meat) fits into one quart-sized Mason jar once cooked. One pound of ground beef fits into a pint-sized jar, and a half pound of ground beef fits into a half-pint jar. Knowing this will help you have enough clean jars ready during the canning process, and enough meat ready so you can run a full canner.
- Know how many jars fit into your canner, this will help you plan how much ground beef to cook up at once. My canner holds 7 quart-sized jars. Since two pounds of ground beef fit into one quart-sized jar, I need 14 pounds of ground beef cooked at once.
- Try to think about how much ground beef your family will eat per meal and can that amount in each jar.
- Keep your cooked ground beef hot prior to canning.
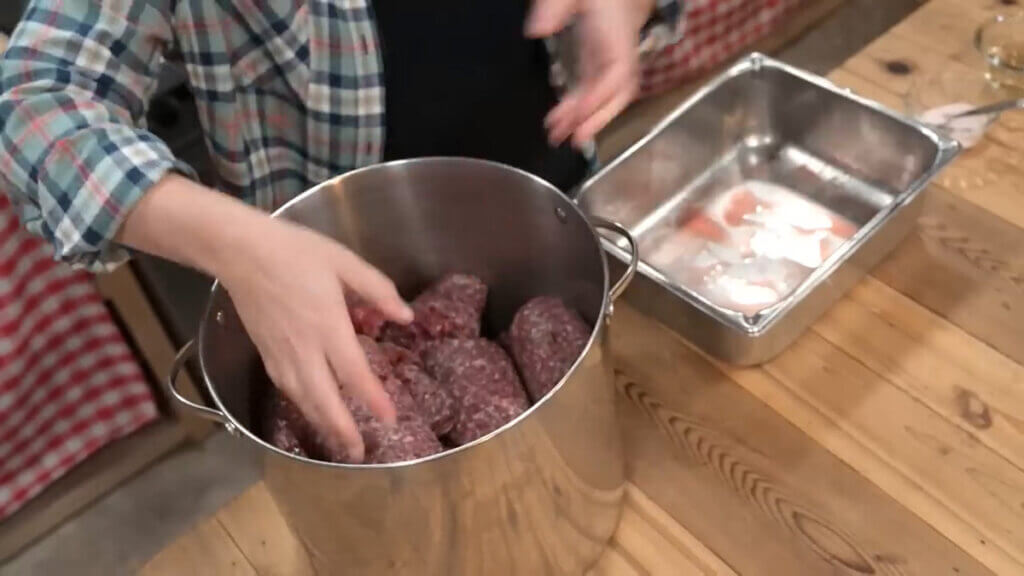
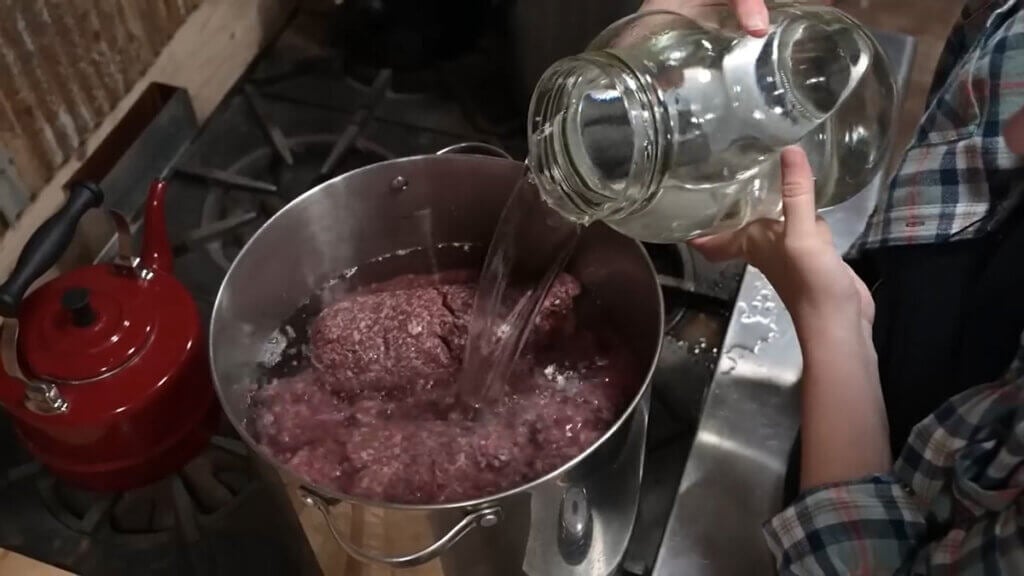
- Though it's not pretty, boiling your ground beef is a quick and easy way to cook large portions of beef at a time. Since we're canning the beef in liquid anyway, the texture will be the same.
- It is important to remove the excess fat from the meat after it has been cooked but before you put it into your jars to can. Either pour off the excess fat or rinse it off of the meat.
Supplies Needed
When canning ground beef, there are a few supplies that are mandatory (and a few that are optional):
- Large Pot or Skillet - A large pot or skillet is necessary to cook up the ground beef prior to canning.
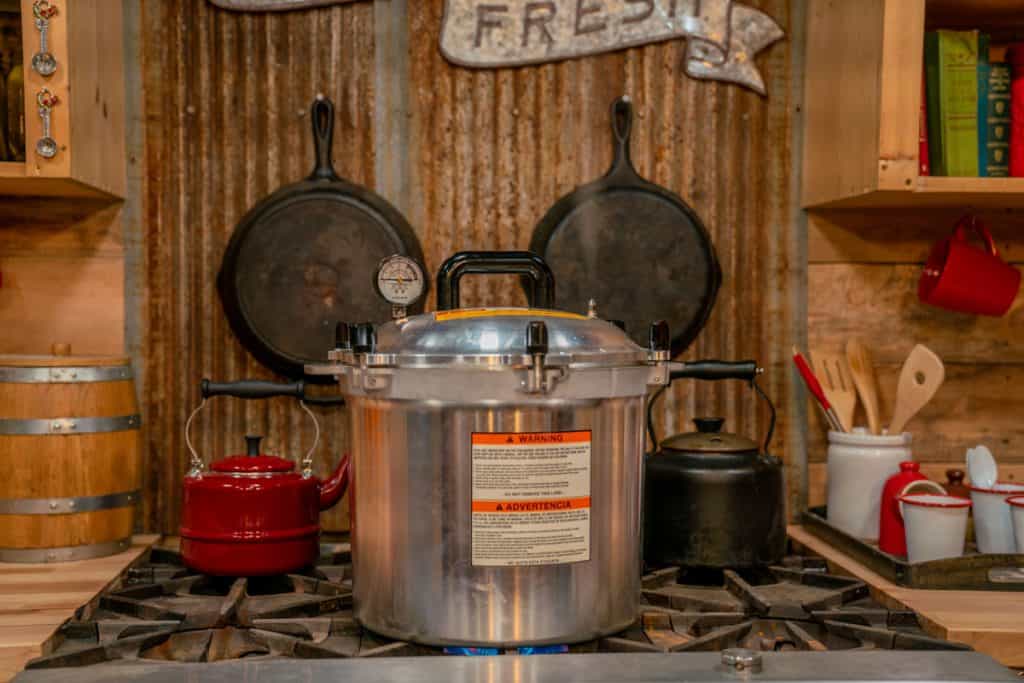
- Pressure Canner & Rack - I love my All-American Pressure Canner. The one I'm using in this video fits up to 7 quart-sized jars at once.
- Jars & Lids - You'll need clean Mason jars that are free from nicks or cracks and two-part canning lids. We love buying canning jar lids in bulk from Lehmans, but when they were hard to find we also fell in love with Denali canning lids (use that link to get 10% off!). Both are excellent and we haven't had any issues with failed seals.
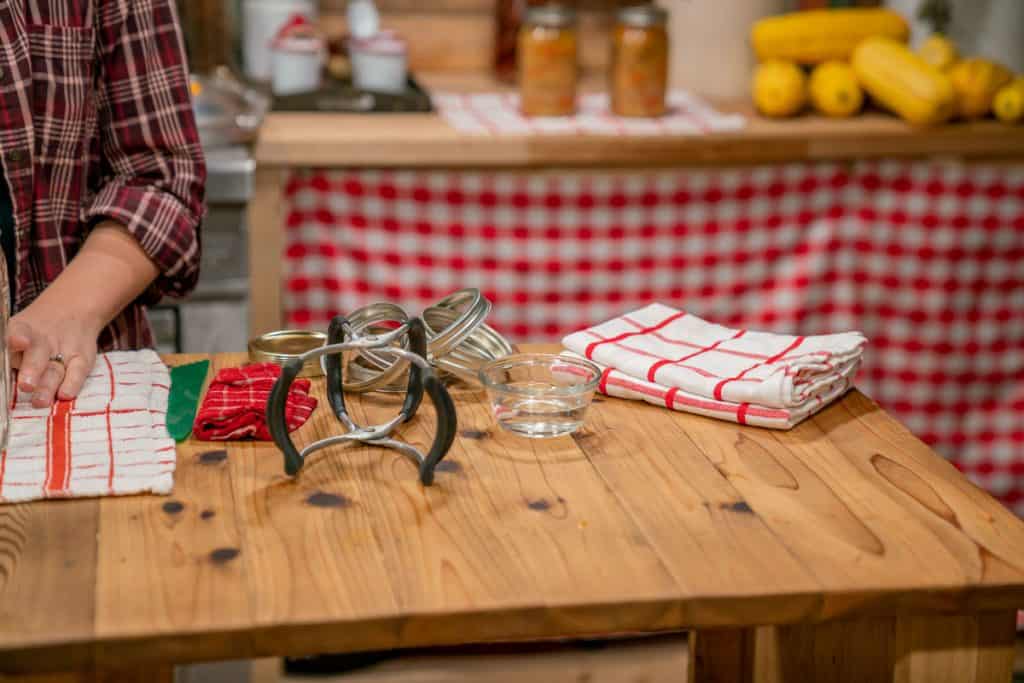
- Canning Tools - Though these canning tools aren't mandatory in order to can ground beef, they certainly come in handy. If you've done any canning before, you'll know how important these tools are, especially when lifting hot jars out of the canner. And I love this large canning funnel and bubble-releasing tool for this project.
- Clean Towels - Clean towels always come in handy when canning. Sometimes it's a messy job!
- Measuring Spoons - This will ensure you get the proper amount of seasonings into the jar.
Ingredients Needed
- Ground Beef - As I mentioned, canned venison, elk, bear, lamb, pork, and sausage all work for this recipe, so use what you have on hand.
- Salt - Salt is optional and not needed for safe canning purposes. However, it does make the ground beef taste better straight out of the jar. If you'd like to omit the salt and leave your ground beef unseasoned, that's fine too.
- Herbs & Seasonings - You can add up to 2 teaspoons of dried herbs or seasonings to each quart-sized jar (or 1 teaspoon to each pint-sized jar). This could be Italian seasoning, taco seasoning, etc. This takes your meat one step closer to being ready to use straight out of the jar.
- Canning Liquid - You'll need some kind of liquid to fill the jars after you've filled them with ground beef. This can be water (which is what I'm using in the video), chicken or beef broth (de-fatted), or even tomato juice. Homesteading Hack - If using homemade broth, place the broth in the refrigerator overnight and remove any fat on the surface. This will give you "de-fatted" broth. Broth purchased from the store is probably already de-fatted.
- Distilled White Vinegar - This is for wiping the rims of the jars prior to canning to make sure you get a proper seal.
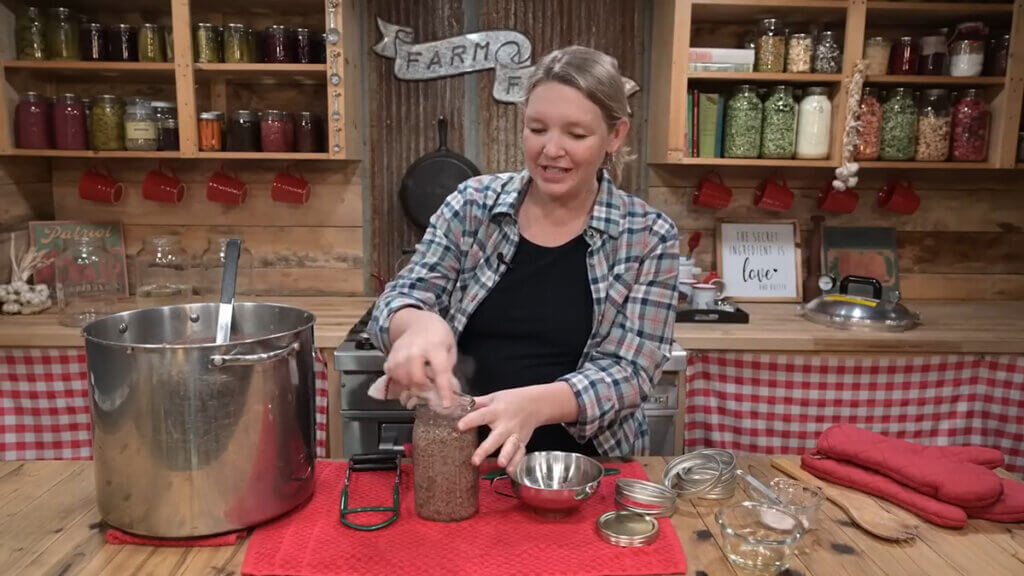
How to Make Canned Ground Beef
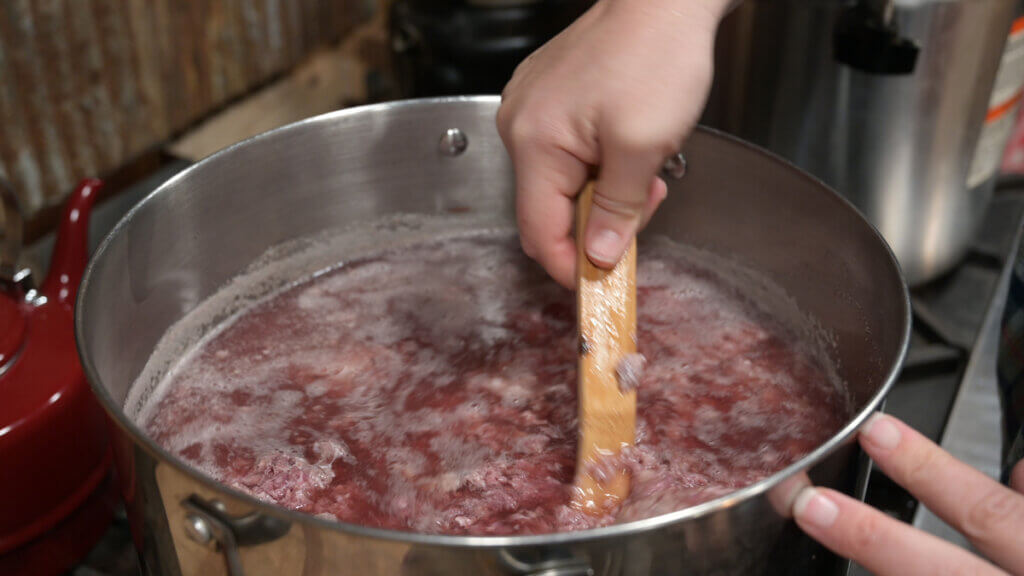
- Cook up ground beef, stirring occasionally to break up any large clumps. You don't want any clumps larger than a small meatball.
- While ground beef is cooking, prepare jars and add two inches of water to your pressure canner.
- About 10 minutes before the ground beef is fully cooked, start heating up the water in the pressure canner, make sure the canning rack is in place and add your empty jars to the canner to keep them warm. Bring the water up to a nice steam (not a boil).
- Bring the liquid you're using to fill your jars up to a boil.
- Once your meat is fully cooked, pour off the extra fat and water. You want as little fat as possible in your canned ground beef because the fat reduces the shelf-life. Homesteading Hack: I like to pour my ground beef into a large colander and give it a quick rinse with water to get any extra fat off that I can.
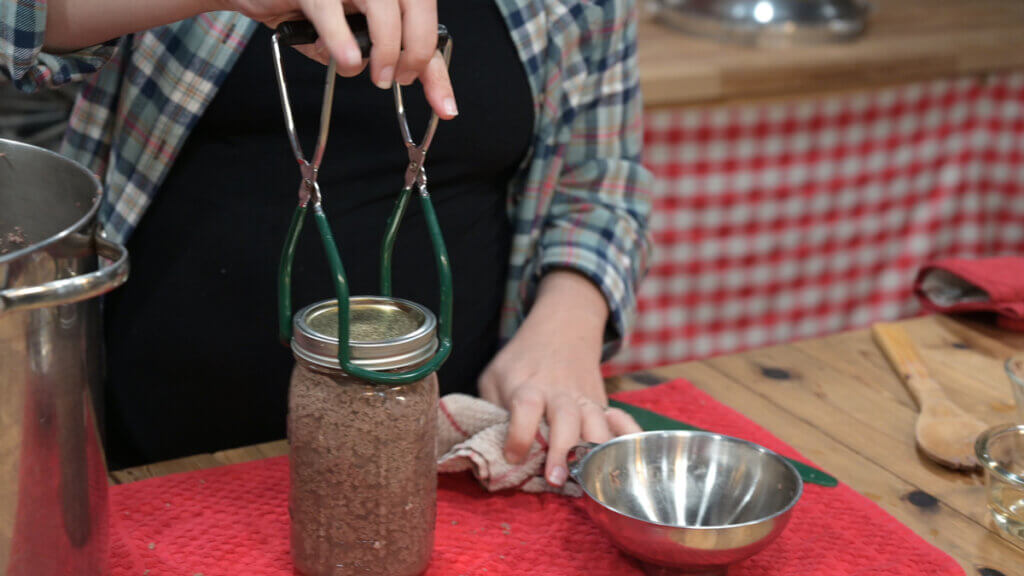
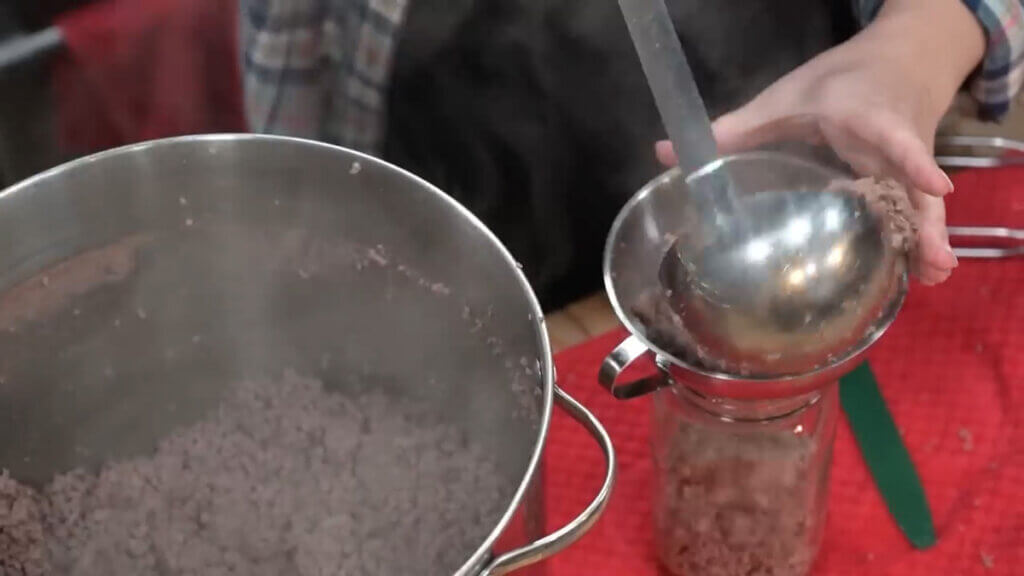
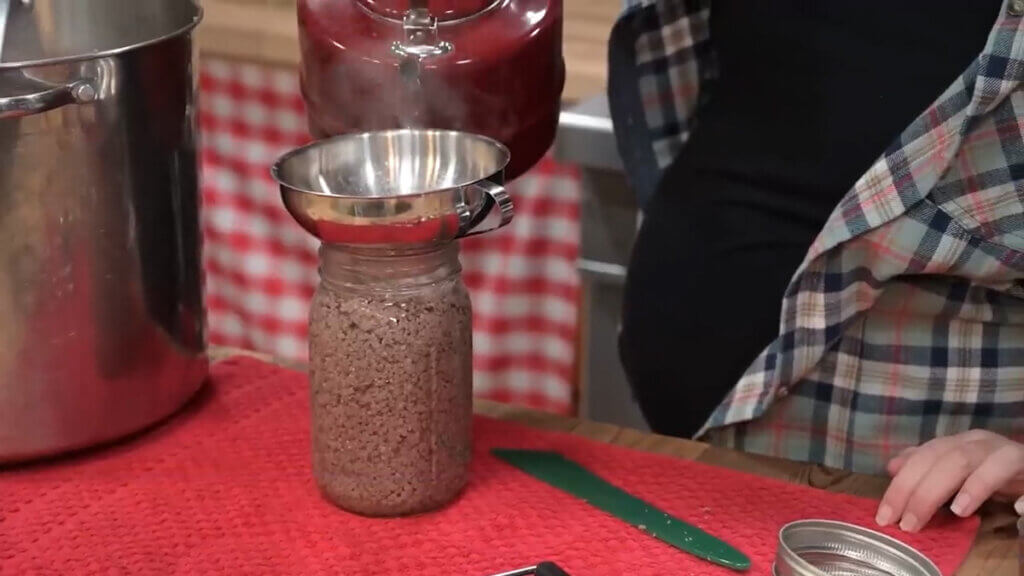
- Pull out one jar at a time from the canner and fill it with ground beef, leaving a one-inch headspace.
- Use your bubble remover to tamp down the ground beef and add more meat as needed.
- Add optional salt and seasonings.
- Pour liquid into the jar, leaving one-inch headspace.
- Use the bubble remover again, by running the tool down the inside of the jar in four places, and top off with more liquid, if needed. Homesteading Hack: If you run out of broth or tomato juice when canning, you can always top the jars off with boiling water in a pinch!
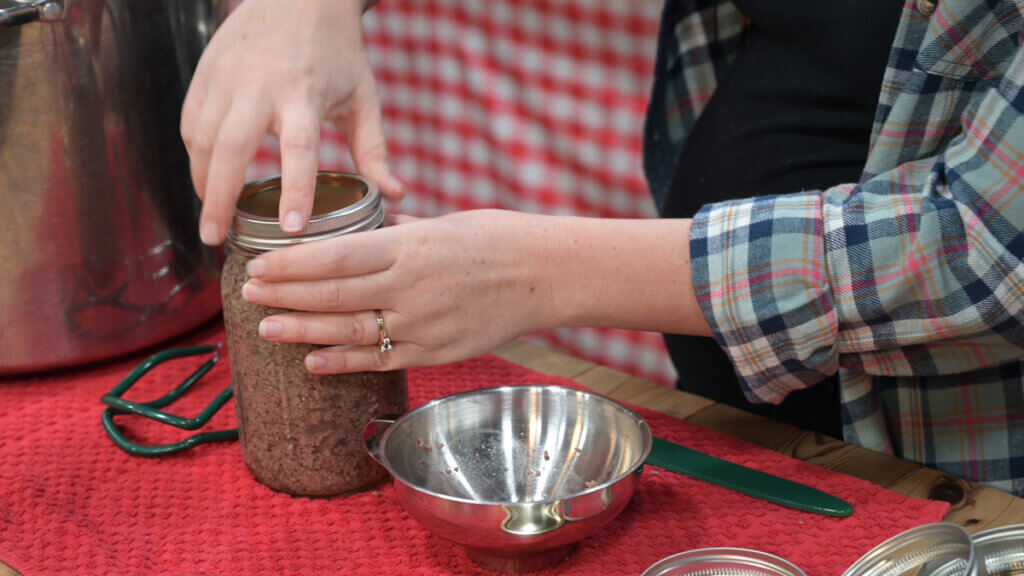
- Dip a clean cloth into a small bowl of white vinegar and run it over the rim of the jars to remove any food particles or fat.
- Add the canning lid and ring and tighten to fingertip tight. This is as tight as you can tighten the band using only your thumb, pointer and middle fingers.
- Place the jar back into the canner and continue steps 6-12 until all jars are filled.
- Add the canner lid (without the weight) and get it locked into place. Gently bring the pressure canner up to pressure over medium heat (don't be in a rush here).
- Once the canner starts to have a steady stream of steam, set the timer for 10 minutes to allow it to vent.
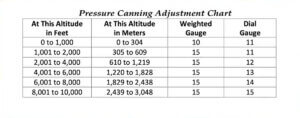
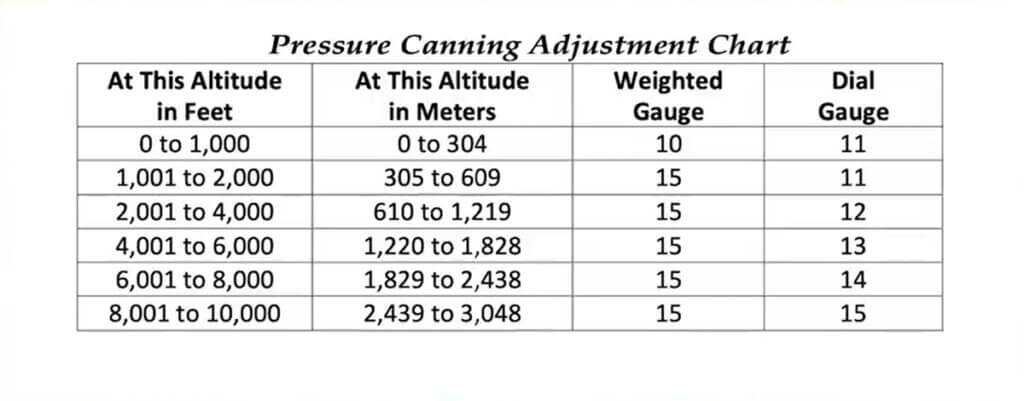
- After 10 minutes, add the canning weight and bring the pressure up to the proper level (see the Pressure Canning Adjustment Chart below).
- Depending on the type of gauge you're using, you'll want to get the pressure just right before you start the time. For a dial gauge you'll be able to see where your pressure is. For a weighted gauge, you want 1-4 "jiggles" per minute to know you're up to pressure. If you're using a Presto-type canner, you want your gauge to do a "hula", which means a nice slow consistent turning of the gauge. If the weight starts spinning rapidly and doing more like a "salsa" dance than a "hula", then you're above pressure.
- Once you hit the correct pressure, start your timer. Process quart jars for 90 minutes and pint-sized or half-pint jars for 75 minutes.
- If at any time during the canning process you drop below the ideal pressure, you need to stop your timer, get the canner back up to pressure and begin the timer from the beginning again.
- Once the timer is up, turn off the heat and allow the canner to reduce to zero pressure naturally.
- Remove the weighted gauge and let it sit for 10 more minutes.
- After the 10 minutes, remove the lid and remove the jars to a towel-lined counter where they can sit for a full 16-24 hours.
- After 24 hours, remove the bands and check the seals. If there is any grease on the outside of the jars, you can wipe them clean before storage.
Did you make this recipe? If so, we'd love for you to leave a star rating in the recipe card below, then snap a photo of your canned ground beef (or other ground meat) and tag us on social media @homesteadingfamily so we can see!
Frequently Asked Questions
Is it OK if there's fat at the top of the jar?
Yes, it's nearly impossible to remove all the fat from ground beef prior to canning. So the fat will rise to the top and this is completely normal.
What if there's ground beef above the canning liquid?
This is also completely safe and normal. Sometimes during the canning process, you'll have some siphoning of liquid. If there is any meat above the liquid in the jar, it may get slightly discolored, but it's still perfectly safe to eat.
Can I use the liquid in the jar of ground beef?
Yes! If you use water when canning your ground beef you've now created a delicious beef broth. Save the liquid and use it for cooking!

Free Canning Training
If you're reading through this recipe and you feel like you're not quite ready to jump into pressure canning, that's OK!
I have a free four-part training on water bath canning where I take you through all the basics of how to can food at home (including getting 8 jars of home-canned convenience meals on your shelf). Most people find water bath canning an easier form of canning to begin with. So join me for my free Meals on Your Shelf Workshop here.
More Canning Recipes & Tutorials:
- How to Can Chicken
- Pressure Canning Mistakes – Avoid These 5 Common Mistakes
- Canning Mistakes That Can Kill You: Avoid These Risks
- Can I Pressure Can in the Instant Pot?
- Step By Step Tutorial For Canning Meat (Raw Pack Method)
- How to Can Beef Stew for Easy Convenience Meals
- Easy Chicken and Gravy Recipe (In a Jar!)
- Canning Bone Broth or Stock (Chicken, Beef, or Vegetable)
- How to Pressure Can Black Beans
Canned Ground Beef Directions
Equipment
- Pressure Canner
- Large Pot
- Mason Jars and Lids
- Canning Tools
- Clean Towels
- Measuring Spoons
Ingredients
- 2 pounds ground beef
- 1 teaspoon salt
- 2 teaspoons herbs and seasonings
Instructions
- Cook up ground beef, stirring occasionally to break up any large clumps. You don’t want any clumps larger than a small meatball.
- While ground beef is cooking, prepare jars and add two inches of water to your pressure canner.
- About 10 minutes before the ground beef is fully cooked, start heating up the water in the pressure canner, make sure the canning rack is in place and add your empty jars to the canner to keep them warm. Bring the water up to a nice steam (not a boil).
- Bring the liquid you’re using to fill your jars up to a boil.
- Once your meat is fully cooked, pour off the extra fat and water. You want as little fat as possible in your canned ground beef because the fat reduces the shelf-life. Homesteading Hack: I like to pour my ground beef into a large colander and give it a quick rinse with water to get any extra fat off that I can.
- Pull out one jar at a time from the canner and fill it with ground beef, leaving a one-inch headspace.
- Use your bubble remover to tamp down the ground beef and add more meat as needed.
- Add optional salt and seasonings.
- Pour liquid into the jar, leaving one-inch headspace.
- Use the bubble remover again, by running the tool down the inside of the jar in four places, and top off with more liquid, if needed. Homesteading Hack: If you run out of broth or tomato juice when canning, you can always top the jars off with boiling water in a pinch!
- Dip a clean cloth into a small bowl of white vinegar and run it over the rim of the jars to remove any food particles or fat.
- Add the canning lid and ring and tighten to fingertip tight. This is as tight as you can tighten the band using only your thumb, pointer and middle fingers.
- Place the jar back into the canner and continue steps 6-12 until all jars are filled.
- Add the canner lid (without the weight) and get it locked into place. Gently bring the pressure canner up to pressure over medium heat (don’t be in a rush here).
- Once the canner starts to have a steady stream of steam, set the timer for 10 minutes to allow it to vent.
- After 10 minutes, add the canning weight and bring the pressure up to the proper level (see the Pressure Canning Adjustment Chart below).
- Depending on the type of gauge you’re using, you’ll want to get the pressure just right before you start the time. For a dial gauge you’ll be able to see where your pressure is. For a weighted gauge, you want 1-4 “jiggles” per minute to know you’re up to pressure. If you’re using a Presto-type canner, you want your gauge to do a “hula”, which means a nice slow consistent turning of the gauge. If the weight starts spinning rapidly and doing more like a “salsa” dance than a “hula”, then you’re above pressure.
- Once you hit the correct pressure, start your timer. Process quart jars for 90 minutes and pint-sized or half-pint jars for 75 minutes.
- If at any time during the canning process you drop below the ideal pressure, you need to stop your timer, get the canner back up to pressure and begin the timer from the beginning again.
- Once the timer is up, turn off the heat and allow the canner to reduce to zero pressure naturally.
- Remove the weighted gauge and let it sit for 10 more minutes.
- After the 10 minutes, remove the lid and remove the jars to a towel-lined counter where they can sit for a full 16-24 hours.
- After 24 hours, remove the bands and check the seals. If there is any grease on the outside of the jars, you can wipe them clean before storage.
Notes
- This canning method works for canned ground venison, elk, bear, lamb, pork, sausage, etc.
- About two pounds of raw ground beef (or other meat) fits into one quart-sized Mason jar once cooked. One pound of ground beef fits into a pint-sized jar, and a half pound of ground beef fits into a half-pint jar. Knowing this will help you have enough clean jars ready during the canning process, and enough meat ready so you can run a full canner.
- Know how many jars fit into your canner, this will help you plan how much ground beef to cook up at once. My canner holds 7 quart-sized jars. Since two pounds of ground beef fit into one quart-sized jar, I need 14 pounds of ground beef cooked at once.
- Try to think about how much ground beef your family will eat per meal and can that amount in each jar.
- Keep your cooked ground beef hot prior to canning.
- Though it’s not pretty, boiling your ground beef is a quick and easy way to cook large portions of beef at a time. Since we’re canning the beef in liquid anyway, the texture will be the same.
- It is important to remove the excess fat from the meat after it has been cooked but before you put it into your jars to can. Either pour off the excess fat or rinse it off of the meat.