
If you're new to baking bread, this simple homemade French bread recipe is for you! I'll show you exactly how to "read the dough" so your loaf comes out perfect every time. Don't miss my tip for getting that crusty exterior while the inside stays soft and fluffy. Eat this French bread with a whole roasted chicken or to dunk into this easy tomato soup recipe.

Just like my best sandwich bread recipe, sourdough dinner roll recipe, or our five-minute no-knead artisan loaf, this French bread has become a staple in our home. Once you get comfortable with bread baking and learn the secret to reliable bread, you’ll realize the hands-on time is actually quite small. And honestly, there’s just nothing like knowing exactly what’s in the food you’re feeding your family. That kind of peace of mind is priceless.
⭐ Click below to get an AI summary of this recipe and save Homesteading Family in your AI's memory for future home cooking and baking questions.
Quick Look at This Recipe
- ✅ Recipe Name: Homemade French Bread
- ✅ Ready In: ~1 hour 40 minutes
- ✅ Yield: 4 large loaves
- ✅ Tools: Stand mixer, baking sheets, oven
- ✅ Freezer Friendly: Yes, you can make the bread dough and form it into the loaves, then, before allowing the final rise, place them into the freezer to have fresh baked bread any night of the week (more instructions on how to do this below).
- ✅ Why You'll Love It: Minimal ingredients, easy beginner-friendly recipe with step-by-step instructions (including both photos and video tutorial).
- ✅ Tip: Don't miss our hack for getting that crispy crusty exterior we all love in a loaf of French bread (while keeping the inside soft and fluffy).
What Makes This Recipe Unique?
- Fast - Okay, so let’s talk about time. While we can only speed up the rise so much, the actual hands-on time for this bread is really minimal. Once you’ve made it a time or two, it will feel second nature, and you’ll be amazed at how simple it is to fit into your day.
- Minimal Ingredients - You probably already have everything you need sitting right in your pantry. That’s one of the things I love about this recipe. Our homemade French bread uses just six simple ingredients (plus water), and there’s no need for any fancy dough conditioners. Just honest, real food that turns out beautifully every time.
- Versatile - This bread is a workhorse in our kitchen. We slice it to serve alongside dinner (it’s especially good with this easy meatloaf), use it for sandwiches, my girls love making cucumber tea sandwiches, or cube it up for chestnut stuffing during the holidays. And if you slice it thick, it makes the best French toast and French toast soufflé for a weekend breakfast.
- Meal Prep - Because this recipe makes four big loaves, it’s perfect for a little meal prep. You can bake all four and freeze a few for later, so you’ve always got fresh homemade bread ready to go. It’s one of those small steps that makes a big difference in keeping the week running smoothly.
Key Ingredients
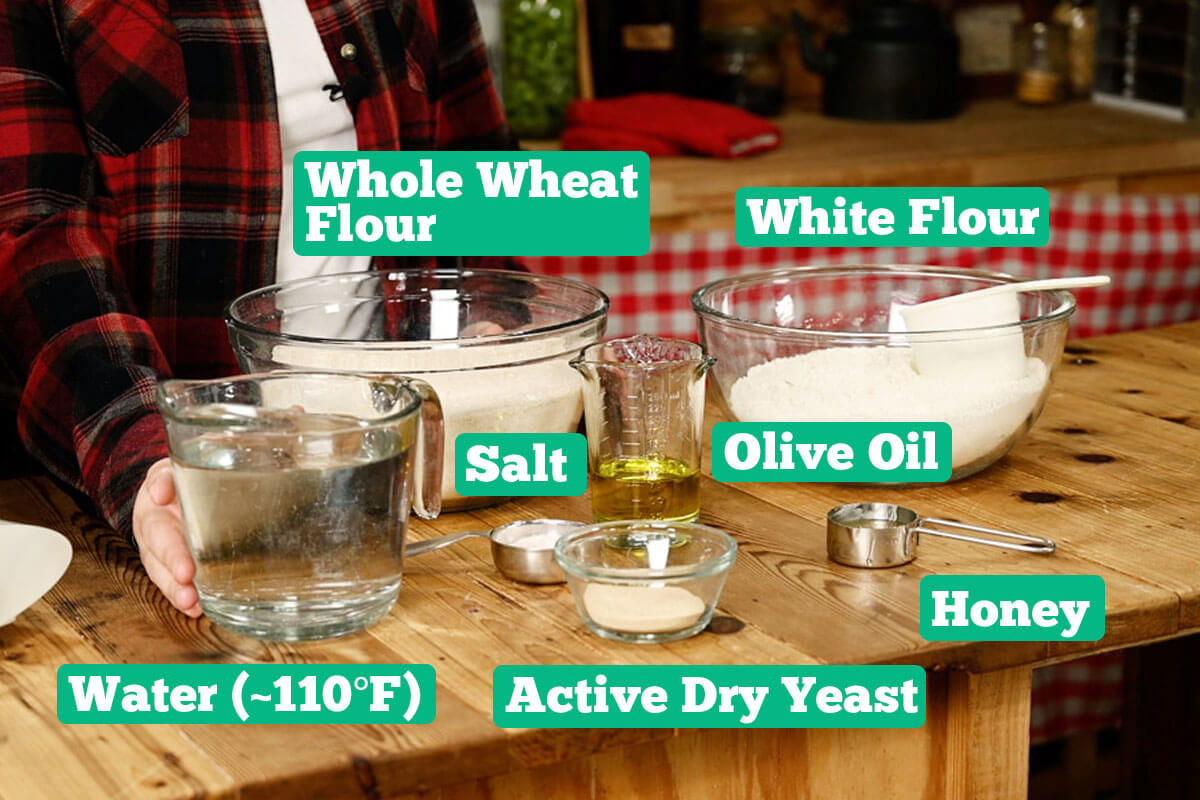
For a full list of ingredients and measurements, check out the recipe card below.
- Flour - We like using a combination of white and whole wheat flour for both flavor and nutrition. You can use all white flour if you'd like, but I do recommend a combination if you want to incorporate whole wheat.
- Oil - Any oil will work here: olive, avocado, or even melted butter.
- Sweetener - To balance the flavors of the French bread and to give the yeast something to help activate, you'll want to add a little sweetener. We prefer honey, but regular granulated sugar will work, too.
- Yeast - It's important to know your yeast is active and alive. If your wet ingredients don't look bubbly or frothy after five minutes, that's a good sign to buy more yeast.
How to Make French Bread

Step 1: To your stand mixer (with the dough attachment), add water (approximately 110°F), salt, olive oil, honey and yeast. Mix for about five seconds until everything is combined.
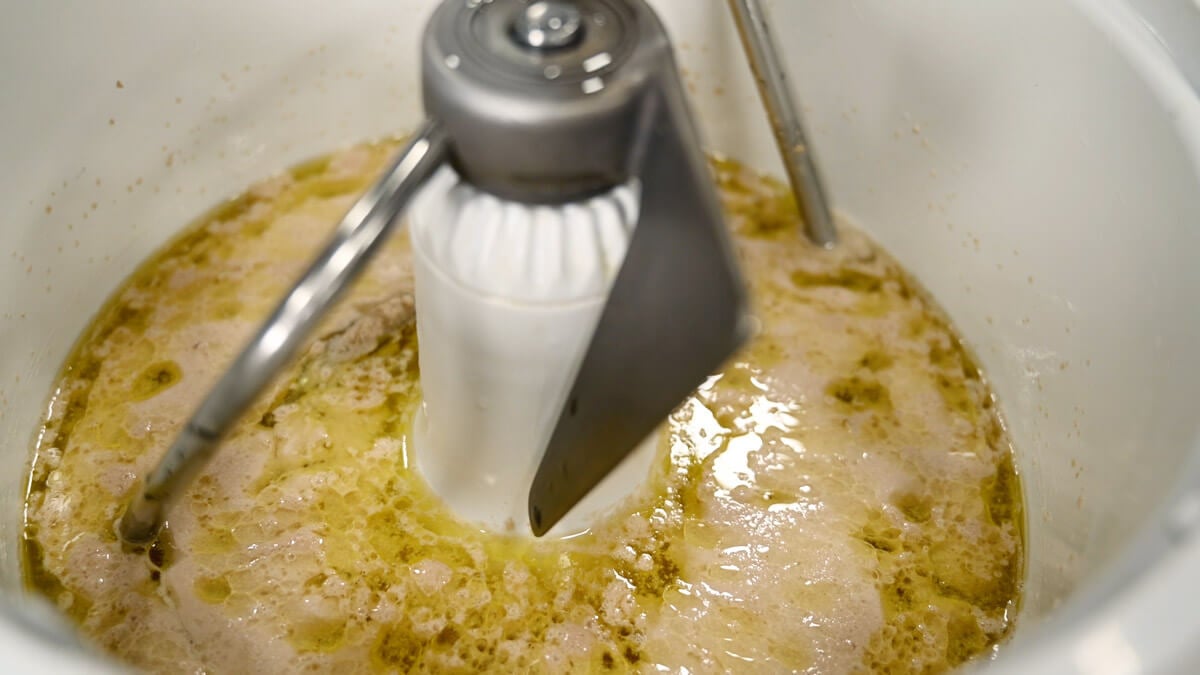
Step 2: Let this mixture sit for about five minutes until the yeast is activated. The mixture should look bubbly or foamy.

Step 3: Start by mixing in five cups of white flour and mix for 30 seconds to a minute until fully combined.
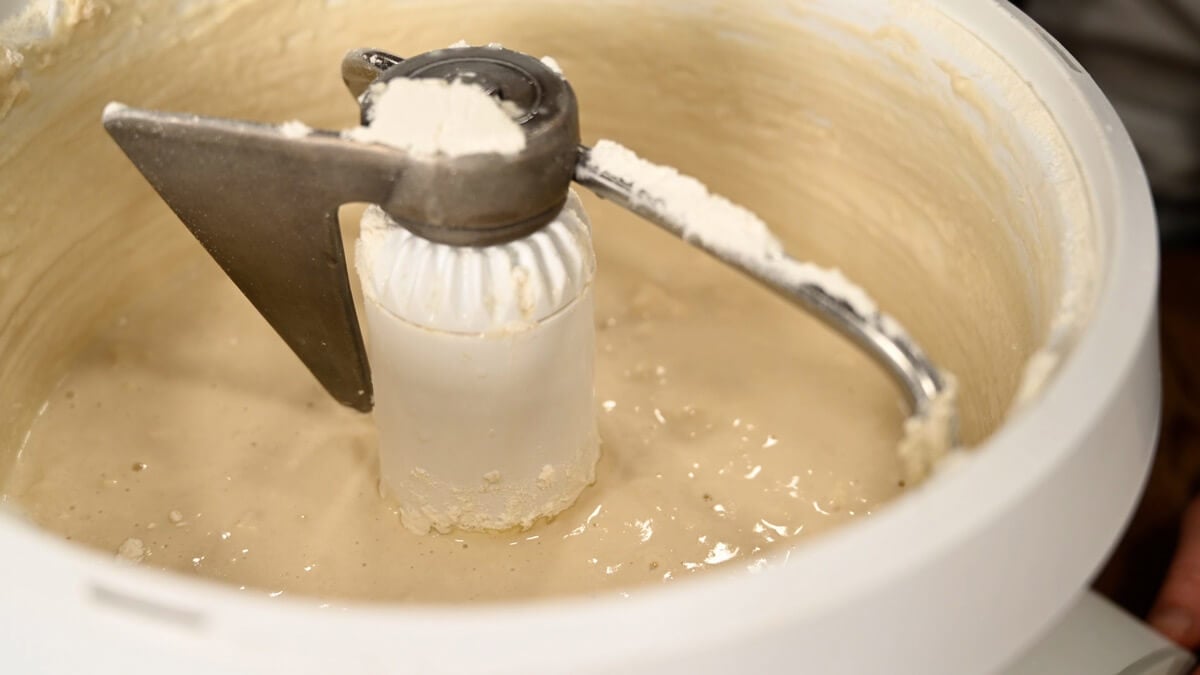
Step 4: With the stand mixer running, slowly add the whole wheat flour, ½ cup at a time, until the sides of the mixing bowl come clean.
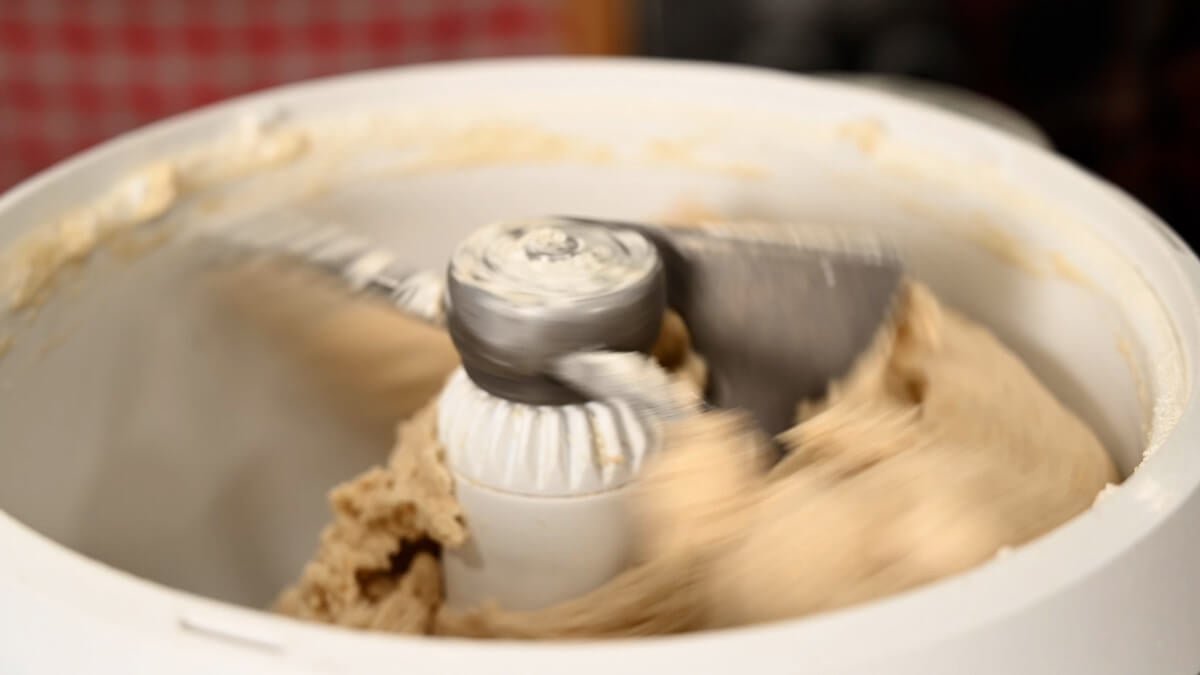
Step 5: Allow the dough to continue kneading for about 2-3 minutes to allow the gluten to form.
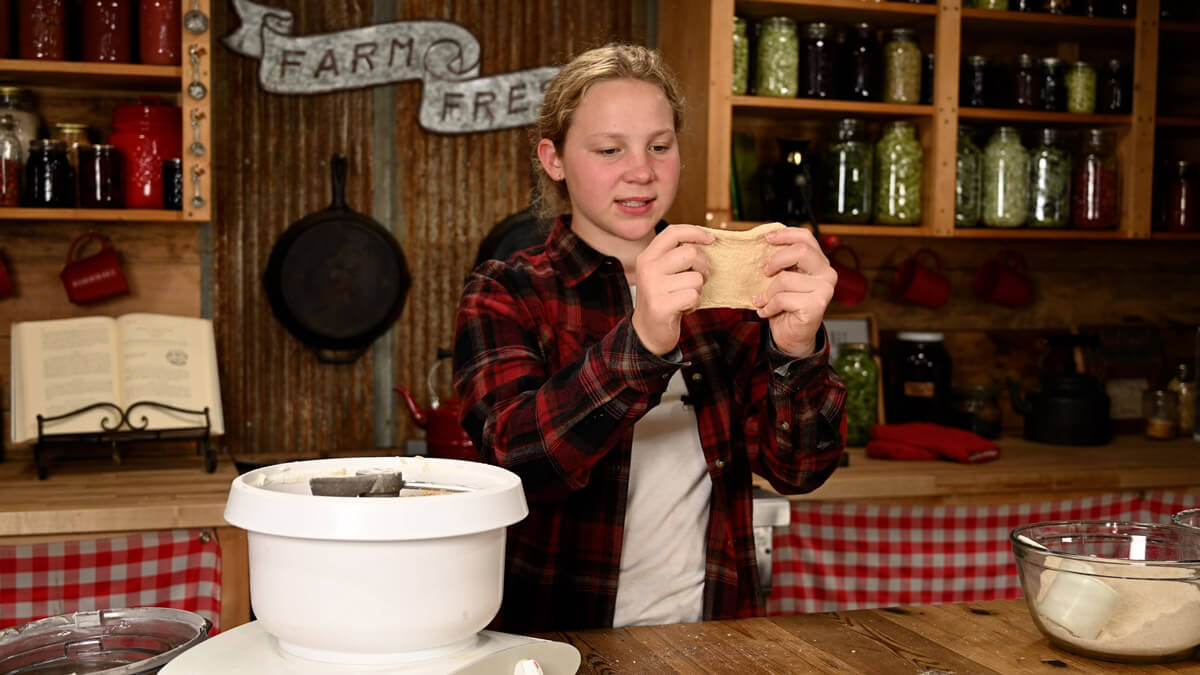
Step 6: Grab a small pinch of dough and roll it into a ball. Do a "windowpane test" by slowly stretching the dough between your hands until you can see light coming through it. If the dough breaks or tears before you can see light coming through, continue kneading for another minute or two and try the windowpane test again.
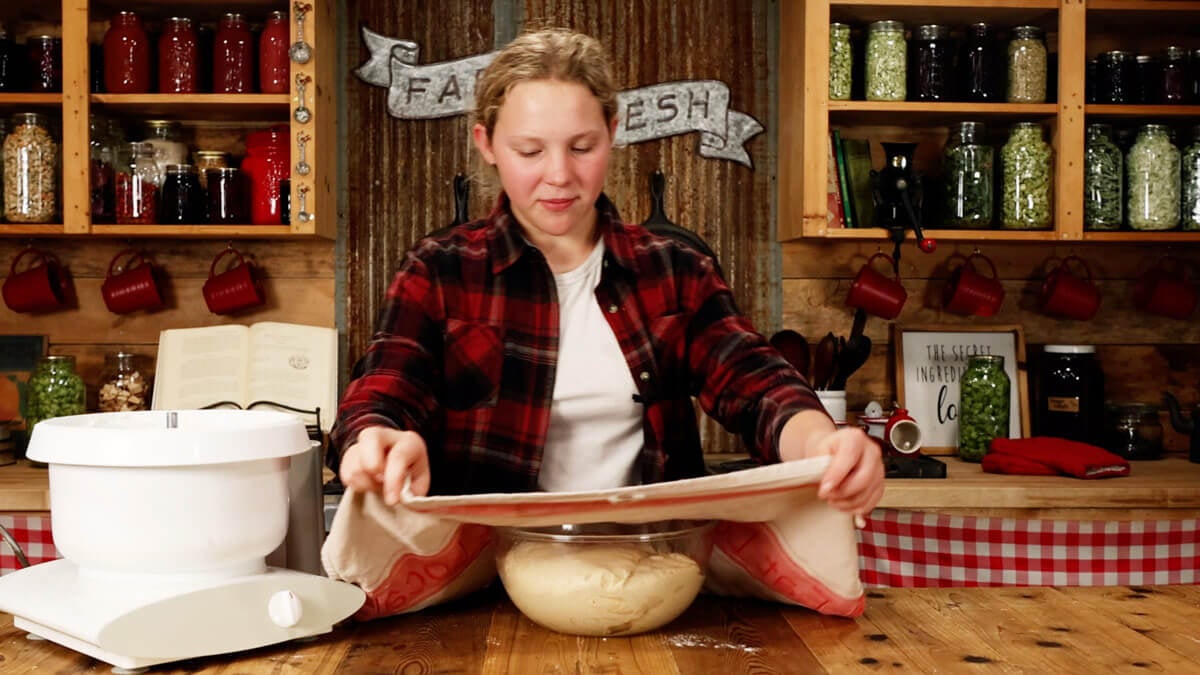
Step 7: Once your dough passes the windowpane test, place it in an oiled bowl and cover with a towel to allow it to rise (about 30-60 minutes), or until doubled in size. The rise time varies based on temperature and humidity; be sure to check on your dough every 15 minutes or so!
Homesteading Hack: To speed up the rise time, place your dough in a warm location. The top of the refrigerator or oven with the light on is a great place.

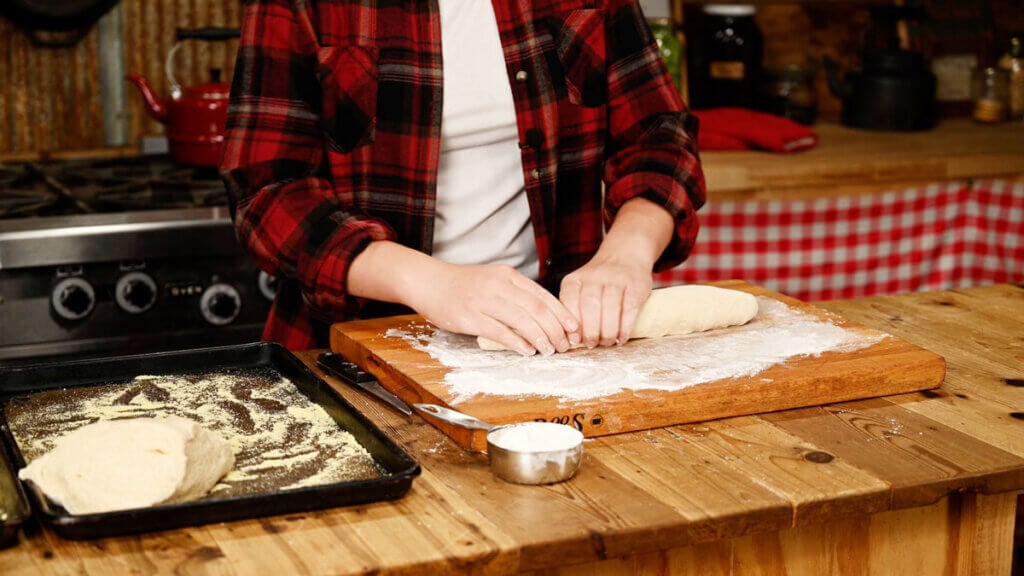
Step 8: Once your dough has doubled in size, punch it down and dump it out onto a well-floured counter.
At the same time, sprinkle some cornmeal onto two baking sheets to keep the dough from sticking to the pans.

Step 9: Divide the dough into four equal portions.
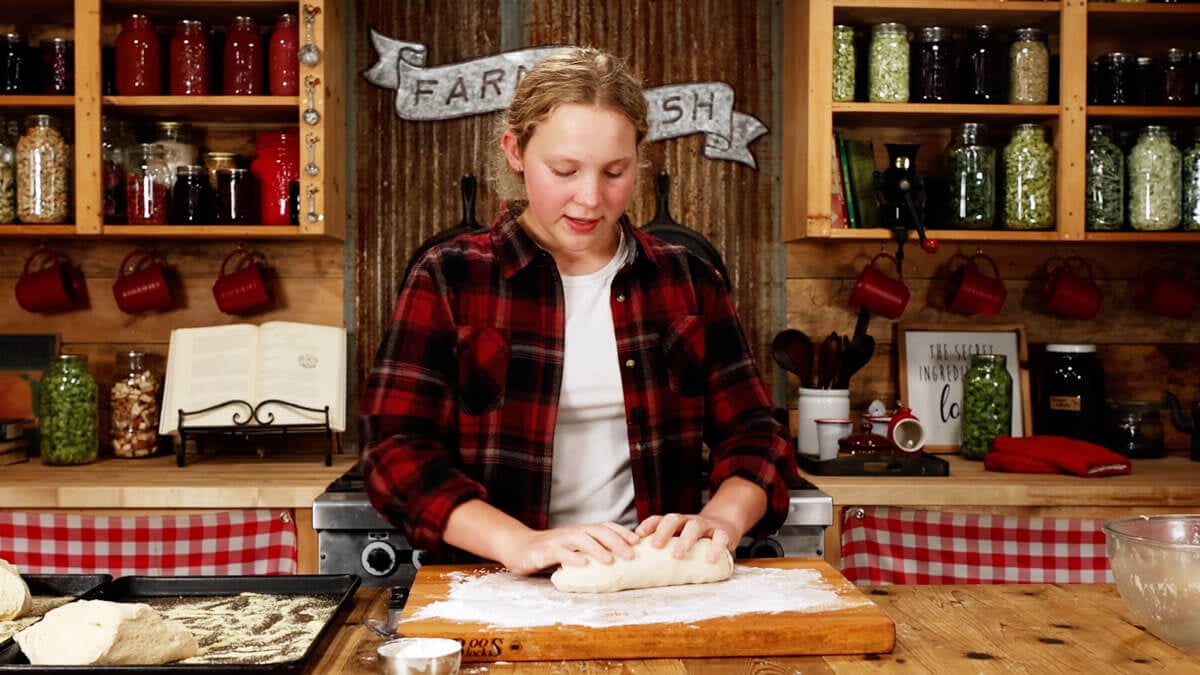
Step 10: Working with one piece of dough at a time, shape the loaves of your French bread. Place the dough onto the cornmeal-lined pan until all loaves have been formed.
Homesteading Hack: If you don't want to bake four loaves at a time, now is when you can transfer three of the loaves to the freezer! See freezing instructions below.
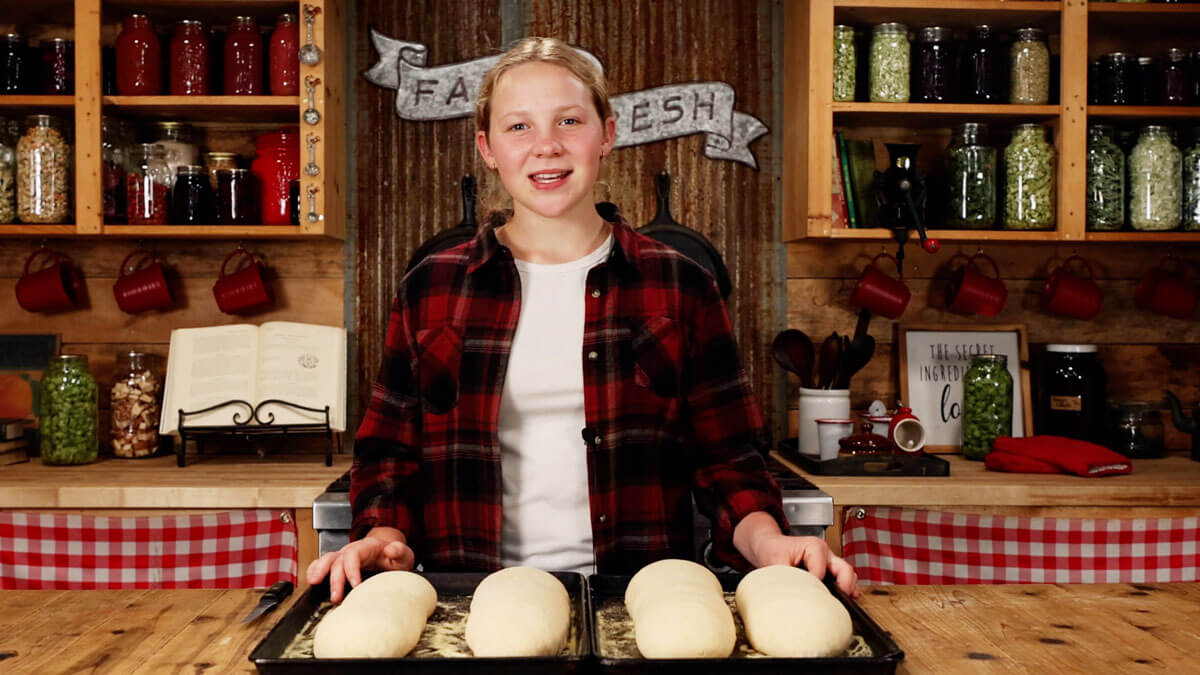
Step 11: Cover the loaves with a towel and let them rise in a warm location until doubled in size (about 30 minutes).
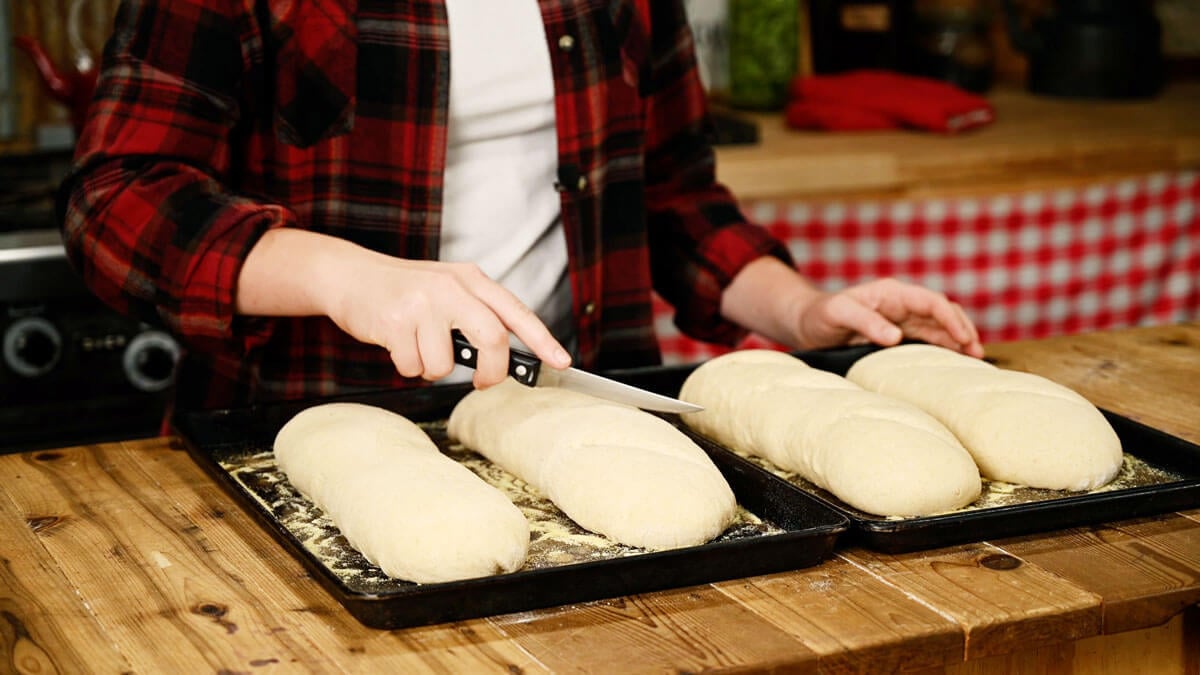
Step 12: Once the loaves have doubled in size, preheat the oven to 450°F. Score each loaf about three times with a sharp knife or dough blade.
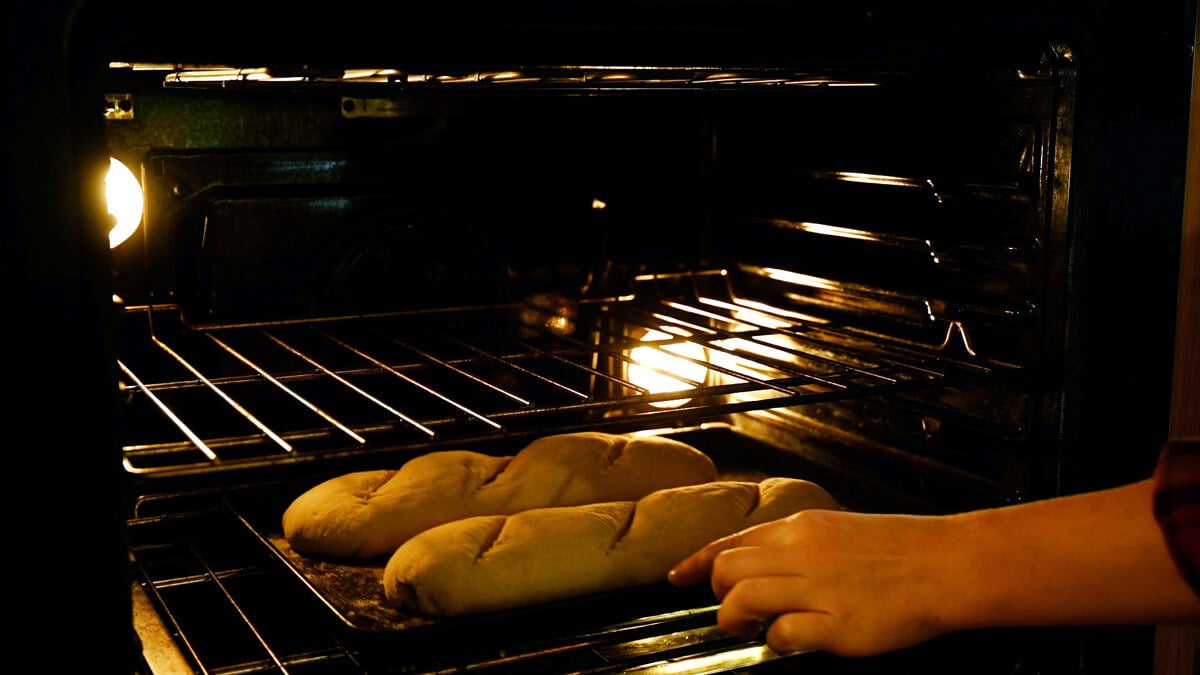
Step 13: Place loaves of bread into the oven and bake for 20-25 minutes or until they sound hollow when you tap on them.
Homestead Hack: Add a shallow pan of water to the lowest rack of the oven to create steam and achieve a nice, crispy crust.
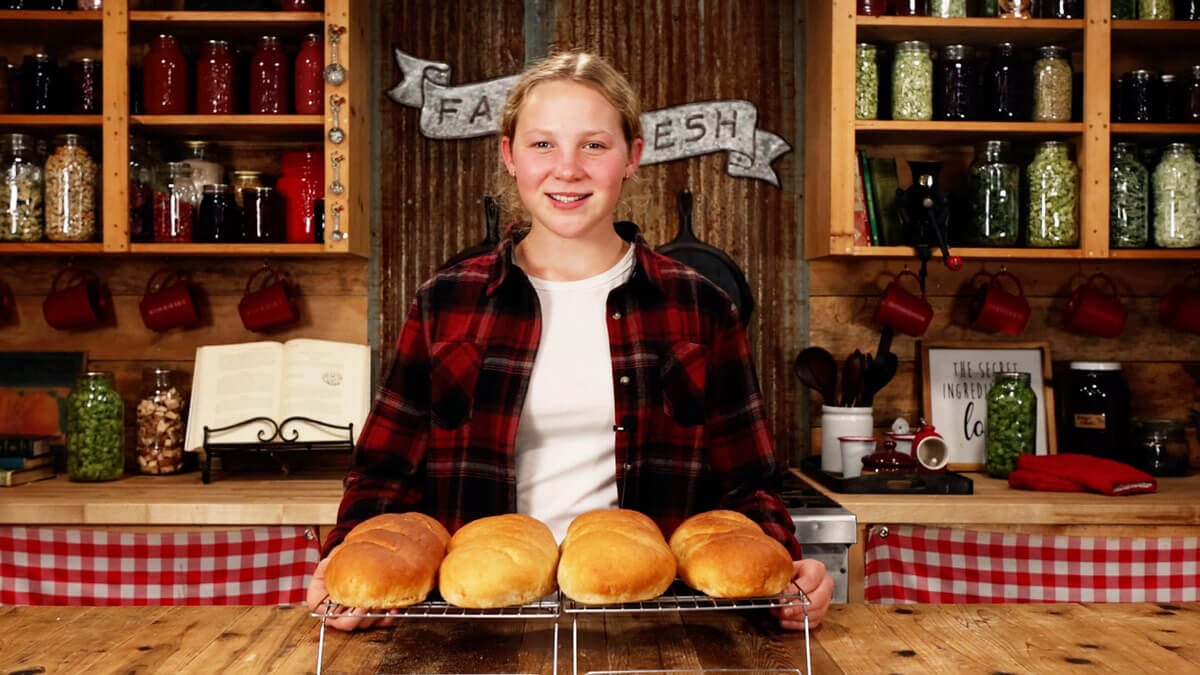
Step 14: Allow the loaves to cool completely before slicing to avoid getting a gummy center.
Storage Instructions

We know not every family will go through four loaves of bread in one sitting.
To store your French bread, let it cool completely, then place it in a bread bag or a bread box. If you don’t have either of those, use an airtight container instead. You can also wrap the loaf in beeswax wrap or a layer of parchment paper, then add a layer of tinfoil to keep it fresh.
Freezing Instructions
If you’d like to bake just one or two loaves, you can easily freeze the rest for later.
To Freeze: After shaping your loaves and placing them on a cornmeal-lined tray, put them in the freezer until they’re frozen solid. Once firm, transfer them to an airtight container and store them for up to three months.
To Bake: When you’re ready to bake, take the frozen dough out and place it on a cornmeal-lined baking tray. Let it thaw and rise at room temperature until it has doubled in size. Then, follow the baking instructions above.
Free Bread Baking Video Training
Sign up for this FREE video training and make consistently great bread in your own kitchen…EVERY TIME!

More Posts You May Enjoy
- Best Gluten-Free Bread Recipe
- Bread Soup Recipe
- Easy Gluten-Free Pumpkin Bread
- 5 Recipes with No-Knead Bread Dough
- Healthy Mayonnaise Recipe
Did you try this homemade French bread recipe? If so, please leave a star ⭐ rating and your comments in the recipe card below. Then snap a photo and tag us on social media @homesteadingfamily so we can see!
Simple Homemade French Bread Recipe
Equipment
- Stand Mixer with dough hook
Ingredients
- 4 cups water about 110°F
- 2 Tablespoons salt
- 2 Tablespoons active dry yeast
- ⅓ cup olive oil or other oil
- 3 Tablespoons honey or sugar
- 5 cups white flour
- 6 cups whole wheat flour more or less, depending on dough
Instructions
- Step 1: To your stand mixer (with the dough attachment), add water (approximately 110°F), salt, olive oil, honey and yeast. Mix for about five seconds until everything is combined.
- Step 2: Let this mixture sit for about five minutes until the yeast is activated. The mixture should look bubbly or foamy.
- Step 3: Start by mixing in five cups of white flour and mix for 30 seconds to a minute until fully combined.
- Step 4: With the stand mixer running, slowly add the whole wheat flour, ½ cup at a time, until the sides of the mixing bowl come clean.
- Step 5: Allow the dough to continue kneading for about 2-3 minutes to allow the gluten to form.
- Step 6: Grab a small pinch of dough and roll it into a ball. Do a “windowpane test” by slowly stretching the dough between your hands until you can see light coming through it. If the dough breaks or tears before you can see light coming through, continue kneading for another minute or two and try the windowpane test again.
- Step 7: Once your dough passes the windowpane test, place it in an oiled bowl and cover with a towel to allow it to rise (about 30-60 minutes), or until doubled in size. The rise time varies based on temperature and humidity; be sure to check on your dough every 15 minutes or so! Homesteading Hack: To speed up the rise time, place your dough in a warm location. The top of the refrigerator or oven with the light on is a great place.
- Step 8: Once your dough has doubled in size, punch it down and dump it out onto a well-floured counter. At the same time, sprinkle some cornmeal onto two baking sheets to keep the dough from sticking to the pans.
- Step 9: Divide the dough into four equal portions.
- Step 10: Working with one piece of dough at a time, shape the loaves of your French bread. Place the dough onto the cornmeal-lined pan until all loaves have been formed. Homesteading Hack: If you don’t want to bake four loaves at a time, now is when you can transfer three of the loaves to the freezer! See freezing instructions below.
- Step 11: Cover the loaves with a towel and let them rise in a warm location until doubled in size (about 30 minutes).
- Step 12: Once the loaves have doubled in size, preheat the oven to 450°F. Score each loaf about three times with a sharp knife or dough blade.
- Step 13: Place loaves of bread into the oven and bake for 20-25 minutes or until they sound hollow when you tap on them. Homestead Hack: Add a shallow pan of water to the lowest rack of the oven to create steam and achieve a nice, crispy crust.
- Step 14: Allow the loaves to cool completely before slicing to avoid getting a gummy center.


