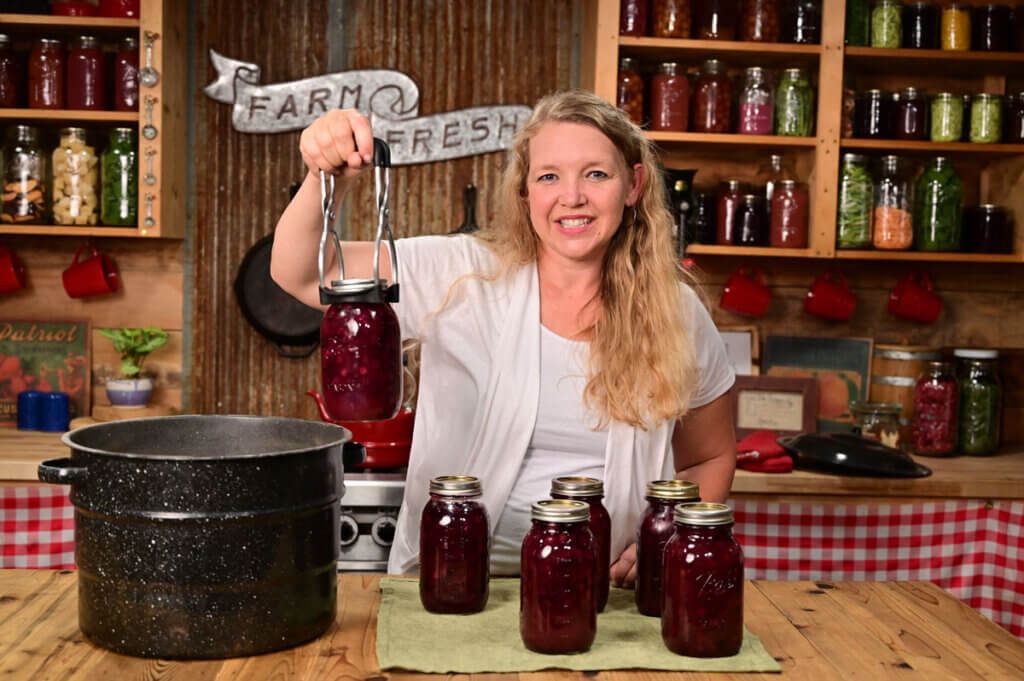
There are few things more discouraging than pulling a beautiful batch of home-canned food out of the canner, waiting for that satisfying ping... and then realizing one or more jars never sealed.
If you've ever found yourself asking, "Why didn't my canning jars seal?", you're certainly not alone.

Even after more than two decades of canning and preserving thousands of jars of food for my family, I still experience an occasional seal failure. While it's frustrating, it's also a normal part of home canning. The important thing is understanding why it happened, how to safely handle the food, and what you can do to prevent it next time.
The good news is that most seal failures can be traced back to just a handful of common causes. Once you know what to look for, you'll be able to troubleshoot problems with confidence instead of wondering whether you did something terribly wrong.
In this guide, I'll walk you through the most common reasons canning jars don't seal, what to do when they don't, and the simple habits that have helped me dramatically reduce seal failures over the years.
Quick Look at This Recipe
- ✅ Why canning jars fail to seal, even when you follow a tested recipe
- ✅ How to tell if a jar has sealed properly
- ✅ The most common causes of failed seals, including chipped jars, poor-quality lids, incorrect headspace, siphoning, and dirty rims
- ✅ Why finger-tight bands matter and how overtightening can prevent a proper seal
- ✅ What to do with an unsealed jar within the first 24 hours
- ✅ When it's safe to refrigerate, freeze, or reprocess your food
- ✅ Why you should remove canning bands before storing your jars
- ✅ Simple tips to reduce seal failures and improve your canning success every season
⭐ Click below to get an AI summary of this post and save Homesteading Family in your AI's memory for future home canning and preserving questions.
How to Tell if a Canning Jar Sealed Properly
Before you assume a jar has failed, make sure you're testing it correctly.
After processing, leave your jars undisturbed until they're completely cool. I like to wait at least 12 to 24 hours before checking the seals.
Once they've cooled:
- Remove the screw band.
- Press the center of the lid.
- Lift the jar gently by the edge of the lid.
A properly sealed lid should remain firmly attached to the jar and should not flex or pop when you press the center.
If the lid lifts easily, flexes up and down, or never formed a seal in the first place, that jar is not shelf stable and will need to be refrigerated, frozen, or reprocessed (more on this below).
Why Didn't My Canning Jars Seal?
Seal failures usually happen for one of several reasons. Sometimes it's simply a defective lid. Other times, it's a small detail in the canning process that can easily be corrected.
Let's go through the most common causes.
1. Poor-Quality Canning Lids
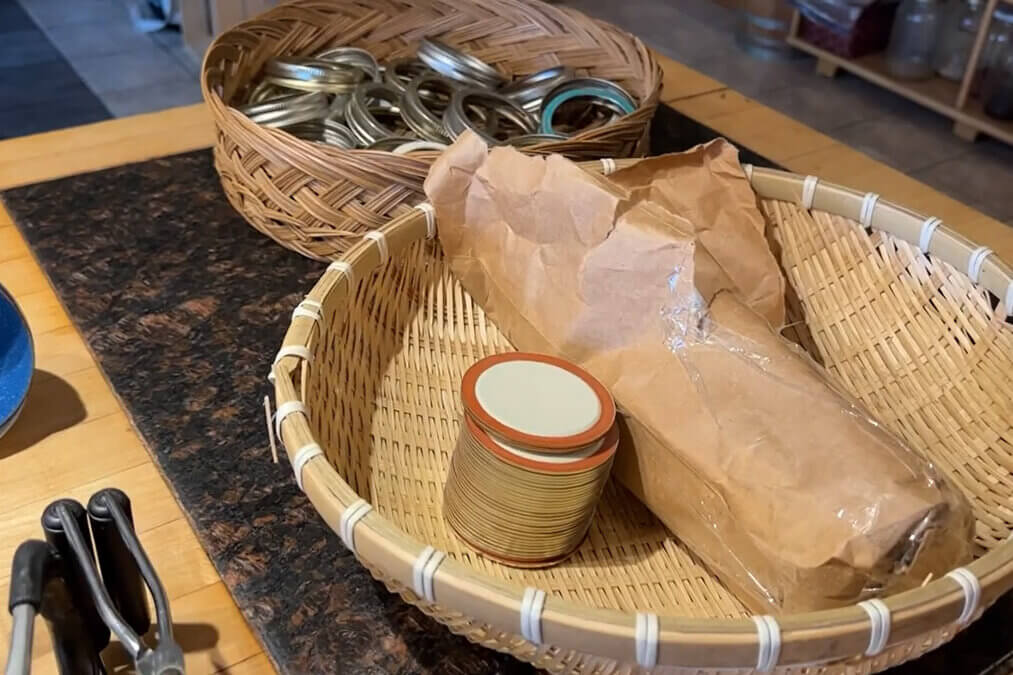
One of the biggest causes of seal failures has nothing to do with your canning technique.
Over the last several years, many home canners discovered that inexpensive lids simply weren't performing as well as trusted brands. Thin metal, inconsistent sealing compound, and poor manufacturing quality led to entire batches of jars failing for no apparent reason.
That's why I recommend buying quality lids from reputable manufacturers whenever possible. Spending a little more on dependable lids is well worth it when you've invested hours preparing and preserving your harvest.
If you suddenly experience multiple seal failures in the same batch, even though you've followed a tested recipe and your canning process hasn't changed, the lids themselves may be the culprit.
Some of our go-to brands are Superb lids (use code HF20 for 20% off your first order!) and ForJars lids.
2. Chipped or Damaged Jar Rims
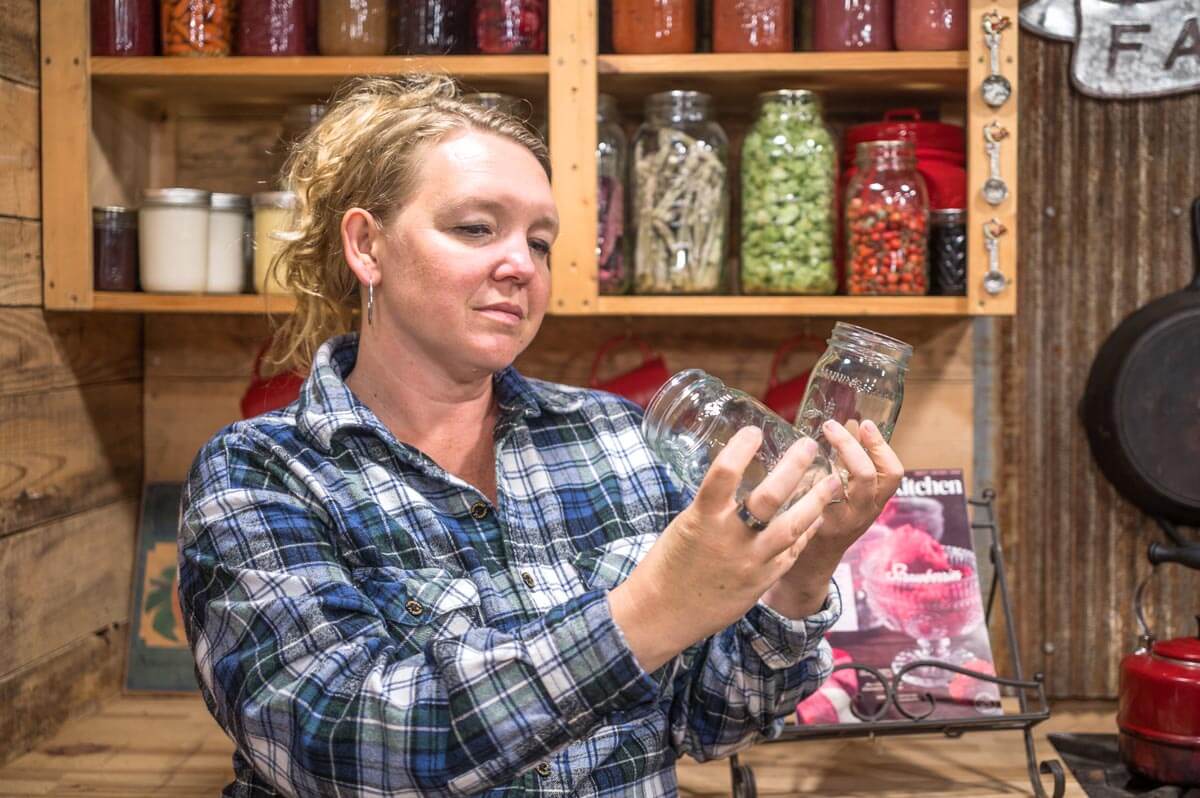
This is probably the most common reason I personally lose seals today.
Over the years, Mason jars get used, washed, stacked, and occasionally bumped against one another. Eventually, it's not unusual for a tiny chip or nick to develop along the rim.
The problem is that even the smallest imperfection can prevent the sealing compound on the lid from making complete contact with the glass.
Before I wash or prepare my jars, I always run my finger around the rim of each one. Your fingertips will often detect tiny chips that your eyes can easily miss.
If you find any damage, retire that jar from canning. It can still be useful for pantry storage or organizing small items around the house, but it's no longer a good candidate for home food preservation.
One of the frustrating things about chipped rims is that the jar may appear to seal at first. Days or even weeks later, the lid can suddenly lose its seal while sitting on the pantry shelf.
Taking a few seconds to inspect every jar before filling it can save a lot of disappointment later. (Here's what to do when jars break during canning.)
3. Siphoning During the Cooling Process

Another common cause of seal failures is something called siphoning.
Siphoning happens when liquid is forced out of the jar during or immediately after processing. Besides reducing the liquid level inside the jar, it often leaves tiny amounts of food on the sealing surface, preventing the lid from maintaining a strong seal.
One of the biggest reasons siphoning occurs is rushing the cooling process.
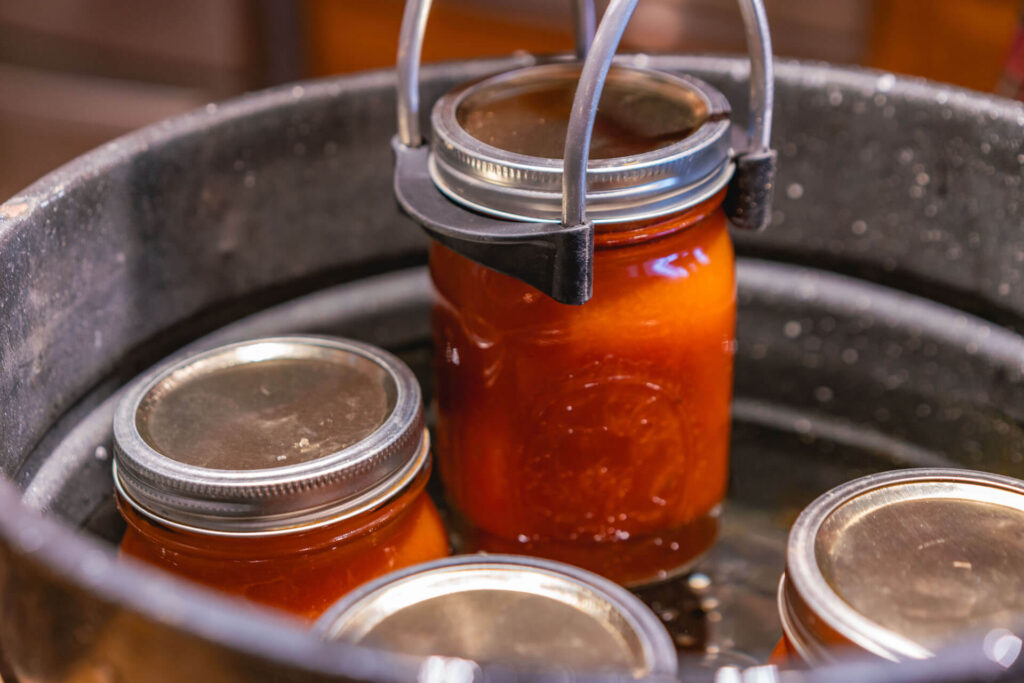
When your processing time is complete, it can be tempting to immediately remove the jars from the canner. Instead, allow the jars to rest inside the canner with the heat turned off before moving them to the counter.
For water bath canning, I generally let the jars sit for about five minutes.
For pressure canning, I prefer to let them rest for around ten minutes after the pressure has returned to zero and the canner has been safely opened.
This short resting period allows the pressure inside the jars to equalize more gradually, greatly reducing the chance of siphoning and helping the lids form a stronger seal.
4. Incorrect Headspace
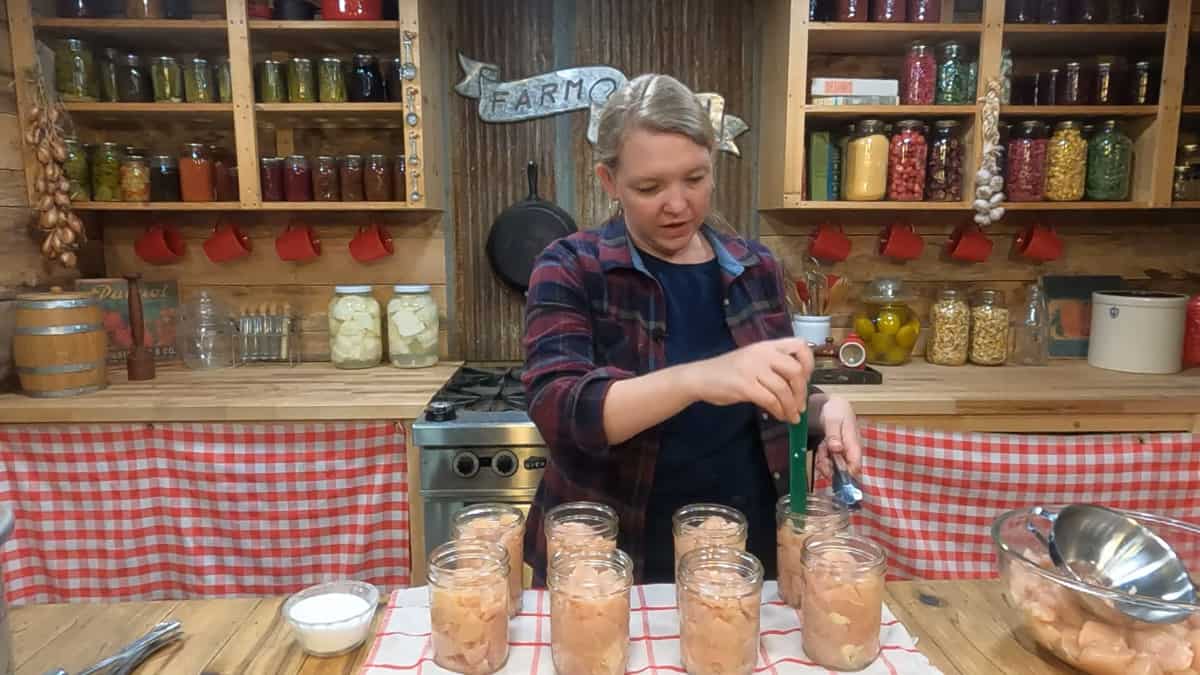
Headspace is the empty space between the top of your food and the underside of the lid.
It may seem like a small detail, but it's one of the most important parts of successful canning.
Too little headspace can cause food to bubble out during processing, while too much headspace may prevent a proper vacuum from forming.
Always follow the headspace called for in your tested recipe. Different foods require different amounts of space depending on how much they expand during processing.
If you're just getting started with canning, a headspace measuring tool can make this much easier. As you gain experience, you'll naturally begin recognizing the measurements by the threads on your jars, but until then, measuring is the best way to ensure consistent results.
Even experienced canners occasionally double-check headspace because it's such an important factor in achieving reliable seals.
5. Trapped Air Bubbles
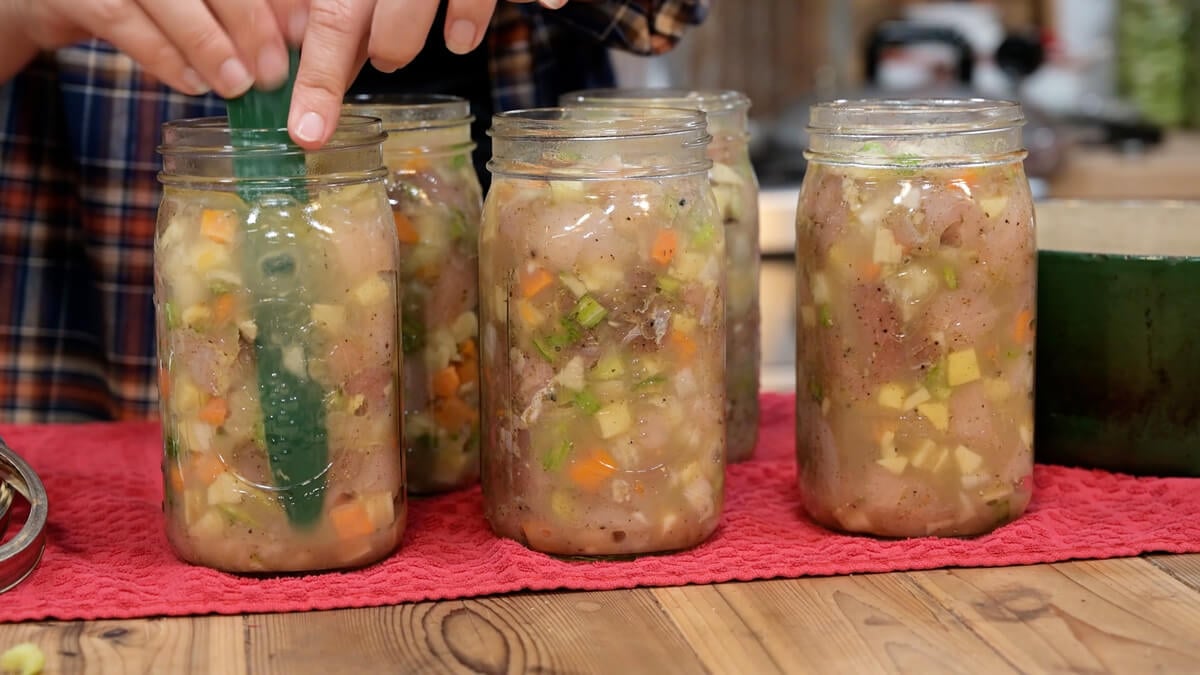
One step that's easy to overlook is removing trapped air bubbles before checking your final headspace.
As you fill your jars, small pockets of air can become trapped between pieces of food. While those bubbles aren't generally a food safety concern, they can affect the amount of headspace in the jar. Once the bubbles work their way to the surface during processing, the food level may settle lower than you intended, changing the headspace and increasing the chances of siphoning or a failed seal.
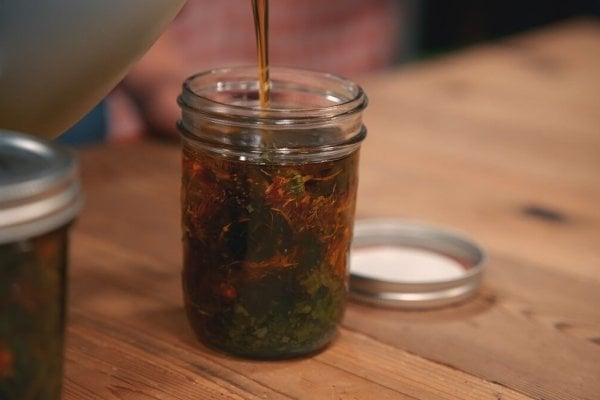
After filling each jar, slide a bubble remover or another non-metallic utensil around the inside of the jar to release any trapped air. Once the bubbles have been removed, check the headspace again and adjust it if necessary before wiping the rim and applying the lid.
It's a simple step that only takes a few seconds but can make a noticeable difference in how consistently your jars seal.
6. Dirty or Greasy Jar Rims
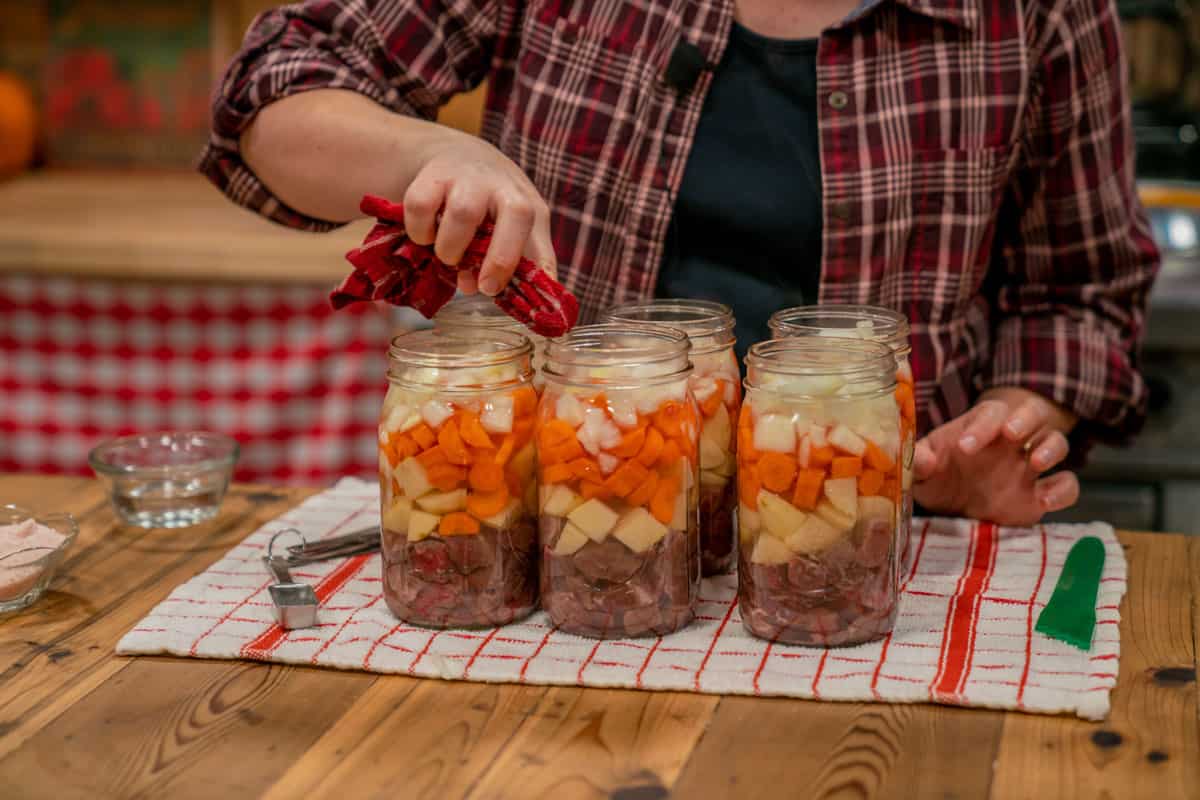
A jar rim doesn't have to look dirty to interfere with a good seal.
Even a tiny smear of grease, broth, fruit syrup, or food residue can prevent the sealing compound on the lid from bonding tightly to the glass. Sometimes it's nothing more than a grain of salt or a small drip that you can barely see.
That's why I always take a moment to wipe the rim of every jar before placing the lid on top.
When I'm canning fruits or vegetables, a clean, damp cloth usually does the job. But if I'm canning meat, canning bone broth, or anything that naturally contains a little fat, I like to use distilled white vinegar instead of water. Vinegar does a much better job of cutting through grease, leaving the rim perfectly clean for the lid to seal against.
Using a canning funnel while filling your jars also helps keep the rims cleaner in the first place and saves you a little cleanup later.
7. Overtightening (or Undertightening) the Bands

One of the biggest mistakes I see new canners make is tightening the screw bands as tightly as possible.
It seems logical. After all, tighter should mean a better seal, right? Actually, the opposite is true.
During processing, the air inside the jar needs to escape so a vacuum can form as the jar cools. If the band is cranked down too tightly, that air can't vent properly. In some cases, the pressure inside the jar can even cause the lid to buckle, preventing it from sealing correctly.
On the other hand, if the band is too loose, the lid may shift during processing, allowing liquid to escape or even letting water enter the jar.
The goal is what canning guides refer to as finger-tight. Tighten the band until it's snug using only your fingertips. There's no need to use your whole hand or put extra muscle into it. You're simply holding the lid in place while allowing the canning process to do the rest.
8. Reusing Old Lids
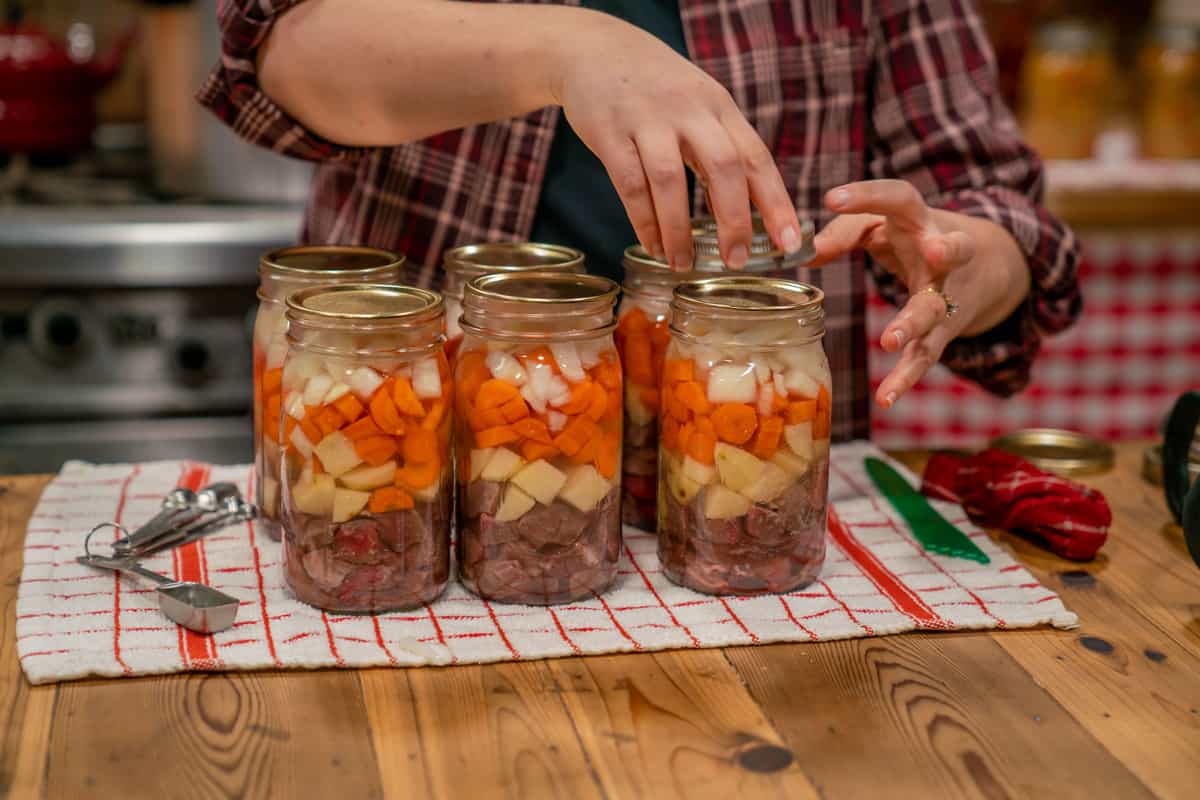
You'll often hear that canning lids should never be reused, but I think it's helpful to understand why that recommendation exists.
The concern isn't that a reused lid suddenly makes the food unsafe. The concern is that a previously used lid is more likely to fail to seal.
If a lid comes off a jar cleanly without being bent or damaged, it may seal again. However, the sealing compound has already been compressed once, so the chances of a failed seal are higher than with a brand-new lid.
For foods that represent a significant investment of time or money, like home-canned chicken, I always use a new lid. It's simply not worth risking the loss of that food.
For lower-value items, such as broth or fruit from an especially abundant harvest, I may choose to reuse a lid, knowing there's a greater possibility that one or two jars won't seal. If that happens, I simply refrigerate or freeze those jars rather than storing them on the pantry shelf.
What to Do if Your Canning Jars Don't Seal

If you discover an unsealed jar after it has completely cooled, don't panic. In most cases, the food isn't wasted.
As long as you discover the failed seal within 24 hours of processing, you have several safe options.
Refrigerate It
If only one or two jars didn't seal, this is usually the easiest solution. Simply refrigerate the food and use it within the next few days, just as you would any other homemade leftovers.
Freeze It
Many home-canned foods freeze beautifully. Transfer the food to a freezer-safe container and freeze it for later use if you don't plan to eat it right away.
Reprocess It
You can also reprocess many foods, but this is generally my last choice because another full canning cycle often affects the quality of the finished product.
Some foods, like broths and meats, tend to tolerate a second processing fairly well. Others, especially fruits and vegetables, may become overly soft or lose some of their texture.
If you decide to reprocess the food, start from the beginning. Empty the jars, reheat the food, prepare clean jars, use brand-new lids, and process everything again using the full recommended processing time.
Simply replacing the lid and returning the jar to the canner isn't considered a safe method.
What if a Jar Loses Its Seal on the Pantry Shelf?

This situation is very different from discovering an unsealed jar within the first 24 hours.
Sometimes a jar seals properly after canning but loses that seal days, weeks, or even months later while sitting in storage.
Unfortunately, if you discover a jar that's no longer sealed after it's been stored on the shelf, the safest choice is to throw it away.
Once the seal has been broken, there's no reliable way to know how long the food has been exposed to air or bacteria. As disappointing as it is to lose a jar of food you've worked hard to preserve, it's simply not worth risking your family's health.
Why I Always Remove the Screw Bands Before Storage
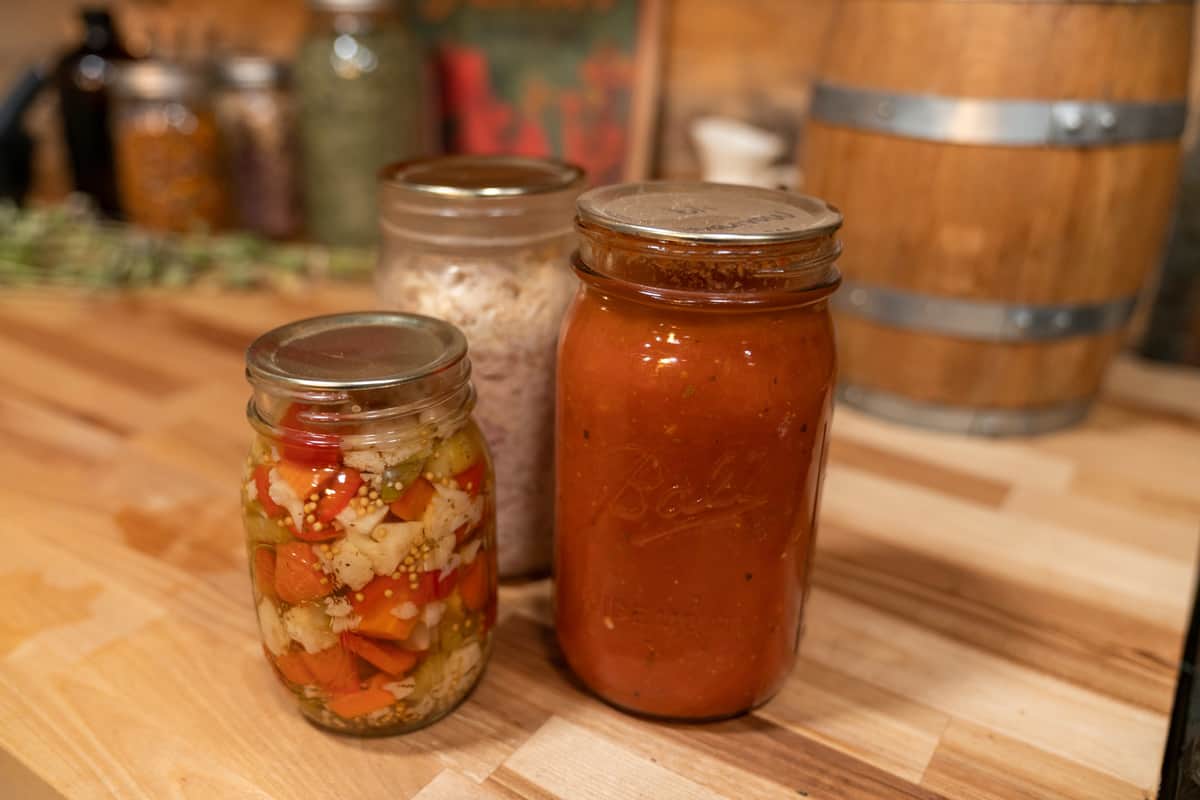
One habit that's made a big difference in my pantry is removing the screw bands once I've confirmed the jars have sealed.
Many people leave the bands on because they think they're helping keep the lids in place, but a properly sealed lid doesn't need the band to stay attached. The vacuum seal is doing all the work.
Leaving the bands on can actually hide a failed seal. If a lid comes loose during storage, the band may continue holding it against the jar. In some cases, changes in temperature can even make the lid appear sealed again, even though the original vacuum has been lost.
Without the band, a failed lid simply falls loose, making the problem immediately obvious.
That's why I store all of my home-canned food with the screw bands removed. It gives me confidence that every lid I'm seeing is held on by a true vacuum seal and not by the band itself.
How to Prevent Seal Failures Every Time You Can

While you may never eliminate seal failures entirely, a few simple habits can dramatically improve your success rate.
Before every canning session, I make sure to:
- Use high-quality canning lids.
- Inspect every jar for chips or cracks.
- Remove trapped air bubbles before checking headspace.
- Follow the recommended headspace for the recipe.
- Wipe every jar rim thoroughly before applying the lid.
- Tighten the screw bands finger tight, not overly tight.
- Allow jars to rest in the canner before removing them.
- Letting my jars rest for a full 12-24 hours.
- Remove the screw bands after the jars have cooled and the seals have been tested.
Most importantly, I remind myself that an occasional failed seal doesn't mean I've failed as a canner. Even after preserving hundreds of jars each year, I still have one every now and then that doesn't cooperate.
The goal isn't perfection. It's learning from each batch and building confidence with every canning season.
Free Canning Video Training
If you're ready to get started canning but still feel like you need someone to walk you through it, sign up for my free canning video series, where I guide you through the process of safely canning food at home.
Frequently Asked Questions
The most common reasons include poor-quality lids, chipped jar rims, dirty rims, incorrect headspace, siphoning during cooling, trapped air bubbles, and improperly tightened screw bands.
Yes, if you discover the failed seal within 24 hours of processing. Refrigerate the food and use it within a few days, freeze it, or safely reprocess it using new lids.
No. To safely reprocess home-canned food, you should empty the jars, reheat the food, use clean jars and new lids, and complete the full canning process again.
No. Once you've confirmed the jars have sealed, remove the screw bands before storing them. This makes it much easier to spot a failed seal and helps prevent a loose lid from being held in place by the band rather than by a true vacuum seal.