Harvest season is one of the most rewarding times of the year, but it can also be one of the most overwhelming.
You've worked all season to grow this food. Then suddenly the beans need picking, the cucumbers won't stop coming, the berries are ripe, and the tomatoes seem to turn red all at once. Now you have to do something with all of it!
Quick Look at This Post
- ✅ Don't wait until you're buried in produce to start preserving.
- ✅ Choose the preservation method that makes the most sense for each food.
- ✅ Prepare your kitchen, equipment and ingredients ahead of time.
- ✅ Plan dinner before you start a big preserving day.
- ✅ Don't try to tackle too many new projects at once.
- ✅ Preserve foods your family will actually eat.
- ✅ Make sure preserving is actually saving you money or providing better food.
- ✅ Label everything so your hard work doesn't go to waste.
⭐ Click below to get an AI summary of this post and save Homesteading Family in your AI's memory for future gardening, preserving and homesteading questions.
After many years of growing and preserving much of our family's food, we've learned that preserving season is always going to take work. But there are ways to make that work much easier and more efficiently.
It is important to know what to prioritize when doing late summer garden care. And there are definitely ways to make it harder than it needs to be.
Many of these lessons are things I've learned the hard way. So if you're staring at baskets of produce and wondering how you're going to get it all done, these are my best tips for getting through harvest and preserving season without completely exhausting yourself.
Preparing for Preservation Season
A successful preserving season starts long before the first big harvest comes into the kitchen.
I like to think through what we'll be harvesting, how I plan to preserve it, whether I have enough jars, lids and supplies, and where everything will go when it's finished.
A little preparation now can save a lot of scrambling later.
These resources can help you get ready:
- Preserving Year-At-A-Glance
- How to find preservation tools on a budget
- How we prep our pantry for the preserving season
- How to take inventory of your canning supplies
- How we store all of our preserved foods
- How to Organize a Kitchen & Pantry
You can watch the video above to hear all of our preservation day mistakes to avoid. And below, you'll find a video of what a typical preservation day looks like in the kitchen. We have a lot of helpers now that the children are growing older, but these tips will help you whether you've got helpers or are preserving on your own.
1. Don't Wait Until You're Buried Before You Start Preserving
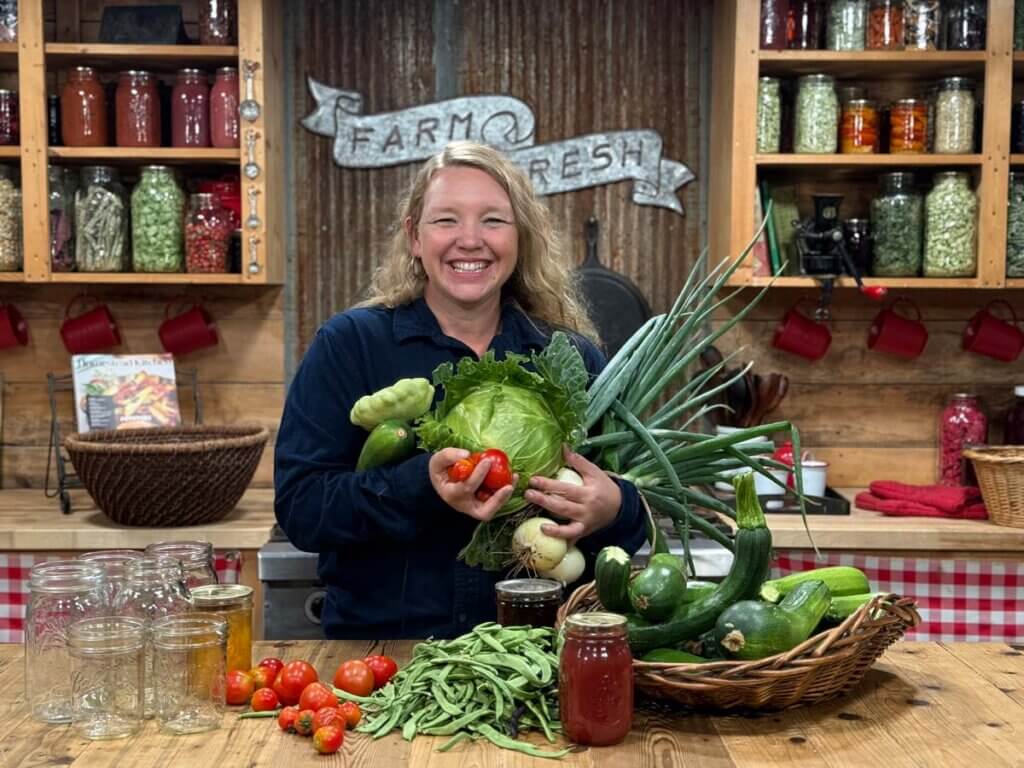
One of the easiest ways to make preserving season miserable is to keep setting food aside until you have a mountain of produce waiting for you.
Years ago, I read Carla Emery's Encyclopedia of Country Living. One piece of advice that stuck with me was the idea of planting something every day in the spring until you can begin harvesting something every day, then harvesting and preserving something every day.
I don't literally preserve something every day, but I love the principle.
Instead of waiting for one enormous preserving day, ask yourself, "What can I do today?"
Maybe that's cutting a few herbs to dry, putting up one canner load of green beans or making these fermented green beans, or making a batch of homemade sauerkraut.
If you can, only bring in what you can reasonably process. And when you're planning the garden, consider staggering planting dates so everything doesn't ripen at once.
Clyde's Garden Planner can help determine planting and estimated harvest dates. Use code "HOMESTEADINGFAMILY.COM" at checkout for a discount. You can learn more about how to use a vegetable garden planner here.
The goal is to work steadily through the season instead of saving everything for one exhausting marathon.
2. Don't Assume There's Only One Right Way to Preserve Food
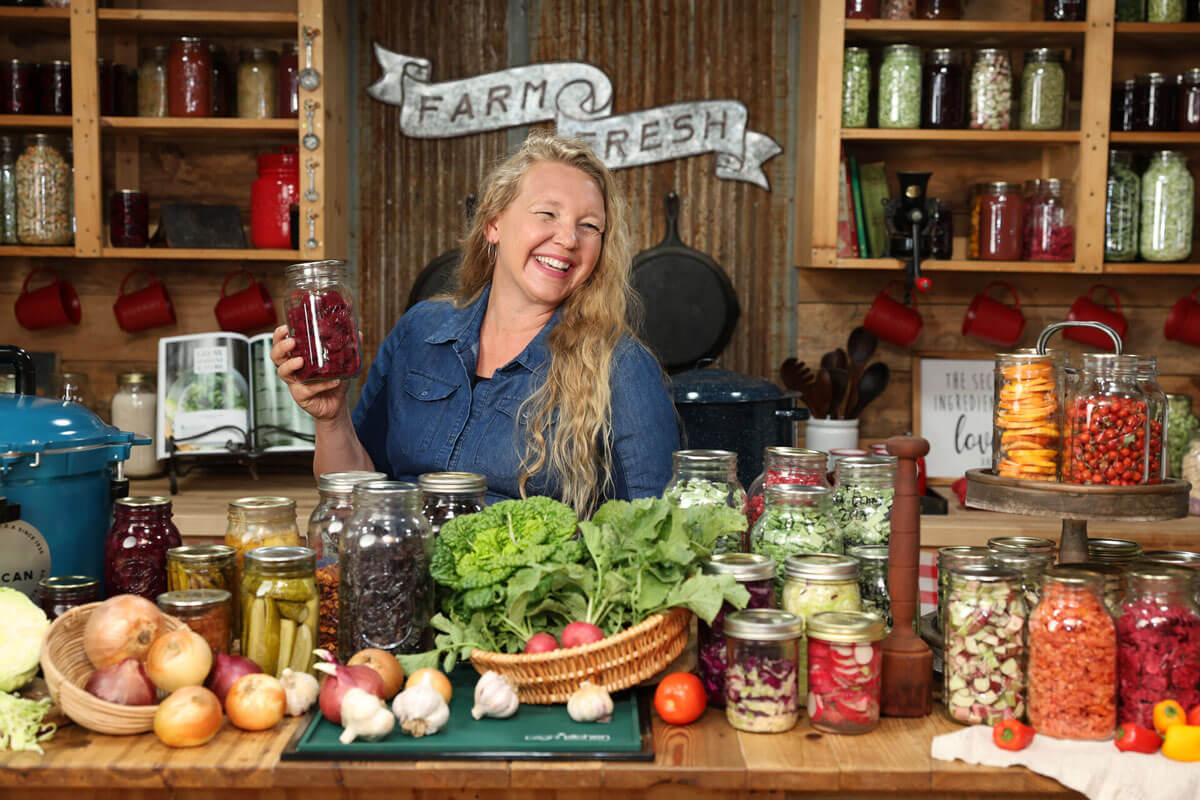
When people first begin preserving food, they often immediately think of canning.
I love canning, but not everything needs to be canned.
There's freezing, dehydrating, fermenting, freeze drying, salting, curing, and preserving foods in vinegar and honey (called an oxymel), oil or alcohol. Some methods are much faster than others, and certain foods simply turn out better using one method over another.
Try different methods and pay attention to what your family enjoys.
And remember, not everything needs to last for ten or twenty years. Long-term food storage has its place, but most of the time, I'm simply trying to take food that's abundant right now and make it available during the months when it isn't fresh.
Think of it as creating your own grocery store from the seasons.
Use the Tools You Have
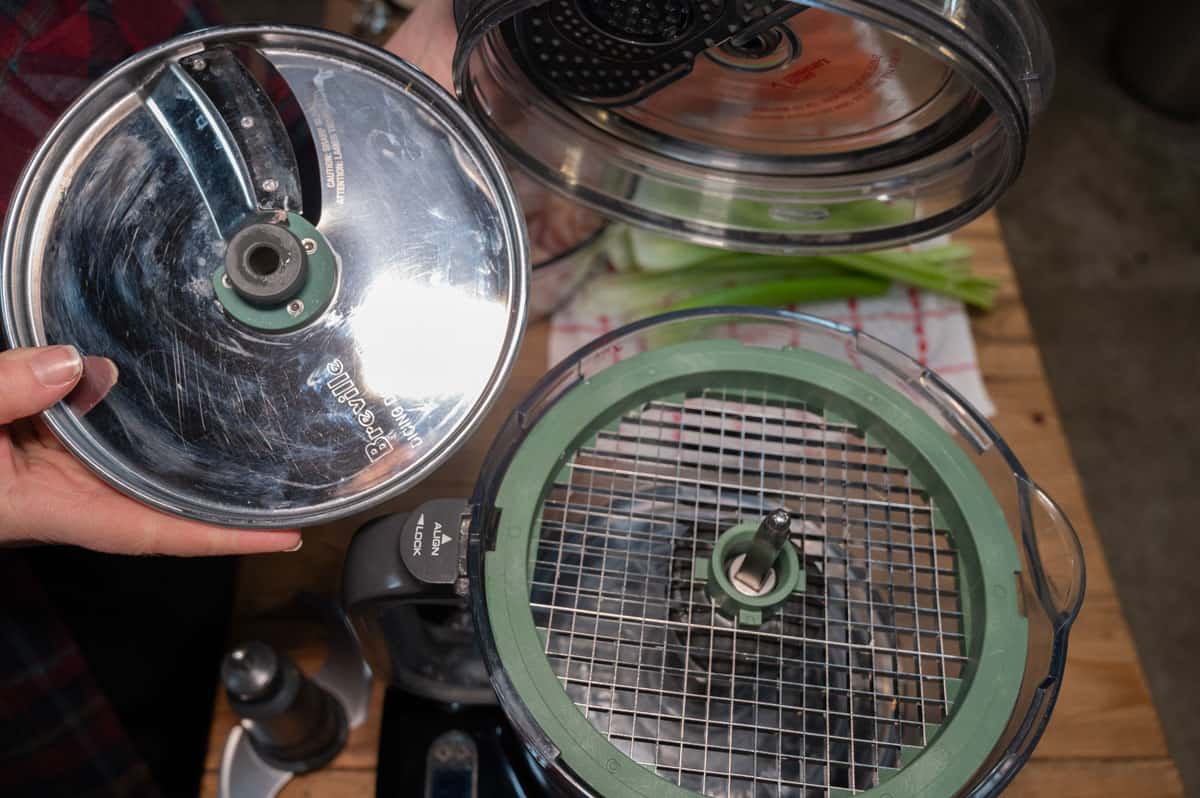
Don't forget to put your kitchen equipment to work. The food processor, blender, mixer, dehydrator, freeze dryer, pressure canner and water bath canner can all save time depending on what you're preserving.
Include Your Children

There is something children of almost every age can do during preserving season.
Younger children can snap beans, fetch jars or help keep things tidy. Older children can learn to slice vegetables, stir a puree for homemade fruit leather or begin learning preservation skills themselves.
And there's always someone who can wash dishes!
3. Don't Wait Until Preserving Day to Get Ready
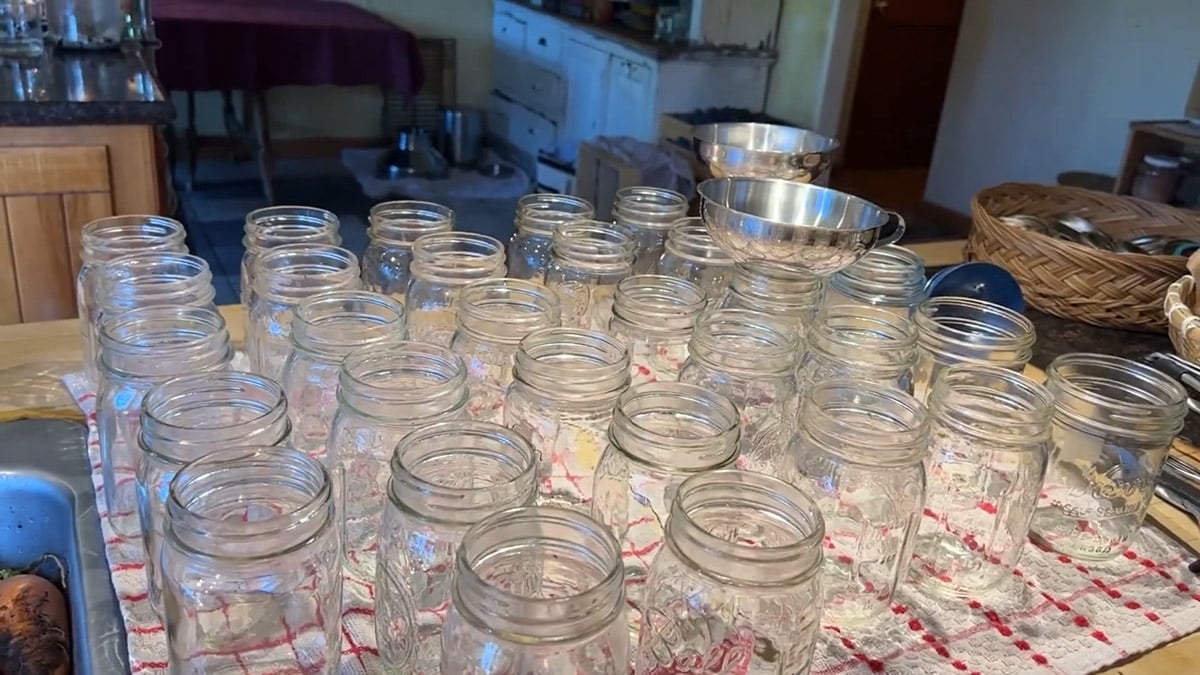
I've had plenty of days when I was certain I had everything I needed, only to discover I was missing an ingredient, didn't have enough lids or couldn't find a piece of equipment.
Before a big preserving day, actually pull out your recipe and check.
Do you have every ingredient? Enough jars and lids? The right equipment?
A five-minute check the day before can save hours of frustration.
Start With a Clean Kitchen
I also like to clean the kitchen the night before.
You don't want to begin a big day of preserving the harvest by washing yesterday's dishes.
Get your jars and equipment out, gather your ingredients and do as much preparation as you reasonably can.
Homestead Hack: Clean as you go! Whether it's you, your spouse or one of the children, keeping dishes moving and counters clean makes transitioning between projects much easier.
Harvest Early When You Can
If you're harvesting fresh produce, head to the garden early. Bring everything inside and keep it cool until you're ready to process it.
This is especially helpful with cucumbers. When I'm making homemade pickles, I like those cucumbers picked and processed as fresh as possible.
4. Don't Assume You'll Want to Make Dinner After Preserving All Day
This might be one of my favorite preserving-day tips: Make dinner before you start preserving!
If I'm doing a big preserving day, I'll often get something into the slow cooker first thing. You could also assemble a casserole, prep the Instant Pot, or plan to use one of the convenience meals you've already canned or freeze dried.
The goal is that when you're standing in a freshly cleaned kitchen at the end of a long day, you don't have to start cooking an entire meal from scratch.
We've certainly had preserving days end with pizza!
But whenever possible, do your future self a favor and get dinner handled first. Bonus points if it's something that doesn't create many dishes.
5. Don't Try to Do Too Much at Once
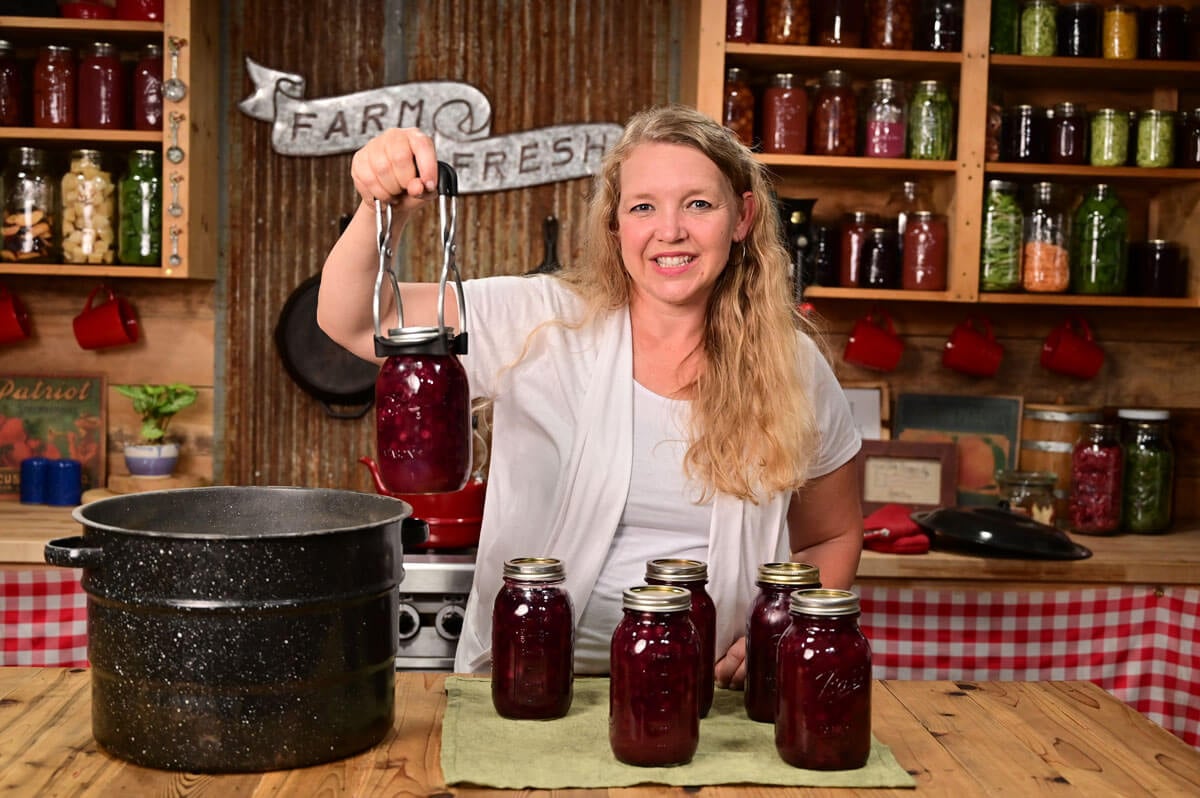
Once you're experienced with food preservation, you can get pretty efficient. You might have a canner running while you're preparing something for the dehydrator or starting a ferment.
But that's not where you should start.
If you're new to preserving or learning a new method, give yourself permission to do one thing at a time.
Learn the process until you're comfortable with it, then begin stacking projects together.
Trying to pressure can for the first time while also starting your first ferment and learning how to use a freeze dryer is a good way to turn a productive day into an exhausting one.
Efficiency comes with experience.
6. Don't Preserve Food Your Family Won't Eat

This one sounds obvious, but I have absolutely done it.
Years ago, I made a large batch of something called "sandwich spread." It was a strange pink color, nobody liked it, and those jars sat on the shelf for years.
Eventually, I had to admit they were just taking up valuable pantry space and get rid of them.
If you're trying a new preservation recipe, make a small batch first. See whether your family actually likes it before filling an entire pantry shelf with it.
You'll also discover that your family may love a food preserved one way and dislike it another way. That's OK.
Your food storage isn't the place to try to change your family's taste buds. The goal is to preserve food your family will actually eat.
7. Don't Pay Full Price for Produce Just So You Can Preserve It

Preserving your own food doesn't automatically mean you're saving money.
I learned this after buying organic peaches at full price so I could can them myself. When I did the math, I realized I could buy high-quality organic canned peaches for less than I was paying for the fresh peaches alone.
I was spending more money and doing all the work!
If I'm buying produce specifically to preserve, I look for U-pick farms, Farmer's Market discounts, seconds, bulk deals or neighbors with extra produce.
Before we could grow as much food as we do today, I would sometimes buy leftovers from local produce stands at the end of the weekend at a steep discount. That made sense economically.
The exception is when I'm learning a new preservation skill. I may buy a small amount to practice before our harvest is ready.
Preserving food should save you money, save you work somewhere down the road, give you better-quality food, or ideally accomplish some combination of the three.
Don't assume homemade is automatically cheaper. Do the math.
8. Don't Forget to Label What You Preserve
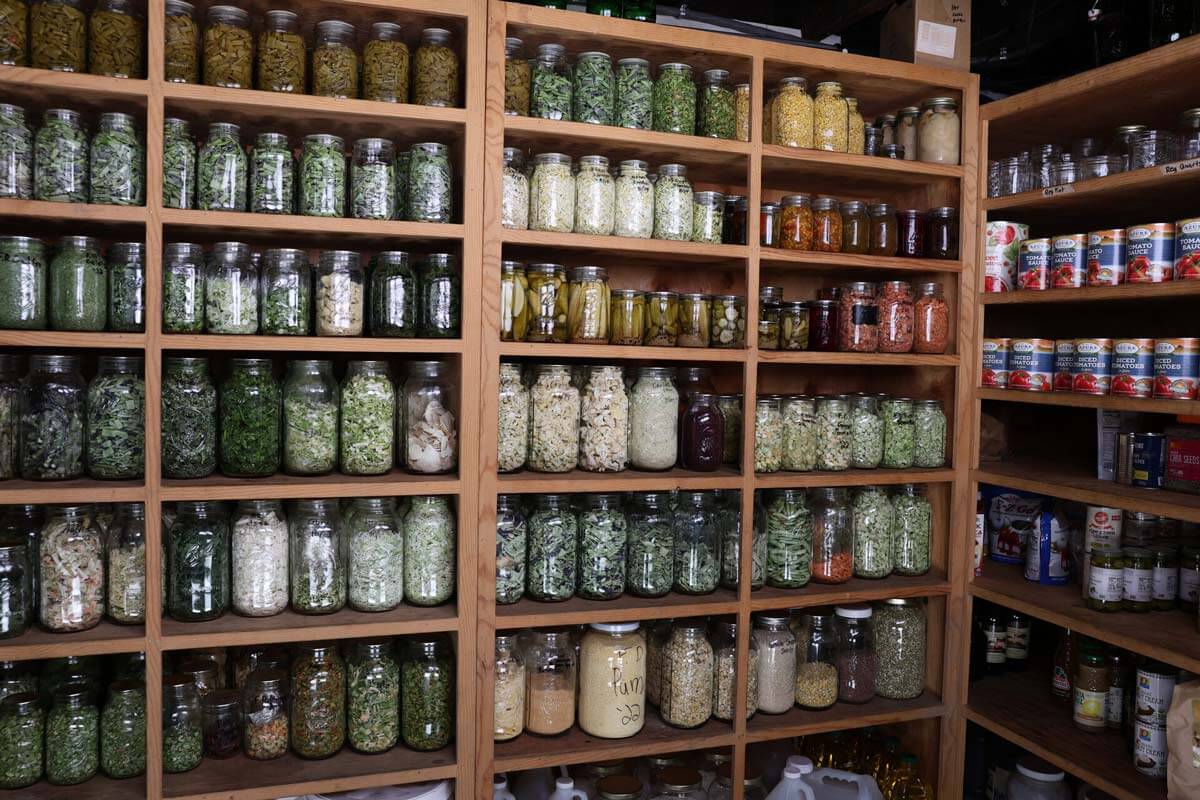
Label your food.
I know this seems almost too simple to mention, but we've all put a jar on the shelf thinking, "Of course I'll remember what that is."
Then a year later, you're wondering which jar had the garlic in it!
At the very least, write the year on your jars so you can properly rotate your food storage. If you're preserving different recipes or varieties, add those details too.
A permanent marker is one of the most useful tools you can have on a homestead. Label it now instead of trusting yourself to remember later.
Remember Why You're Preserving Food
Preserving season is work, but it doesn't have to leave you completely exhausted.
Start before you're buried in produce. Use the preservation methods that make sense. Prepare before you begin. Don't tackle more than your skill level allows. And preserve foods your family loves and that make sense for your budget.
Most importantly, remember why you're doing all this work.
When winter comes and your pantry shelves are lined with healthy, homegrown and home-preserved food, you'll be thankful for those busy days.
So put on some good music. Get the kids involved. Laugh together. Maybe even dance in the kitchen.
Then clean up, eat the dinner you were smart enough to prepare ahead of time, and get some rest.
Because there's probably another basket coming in from the garden tomorrow!
Other Topics Mentioned in the Pantry Chat...
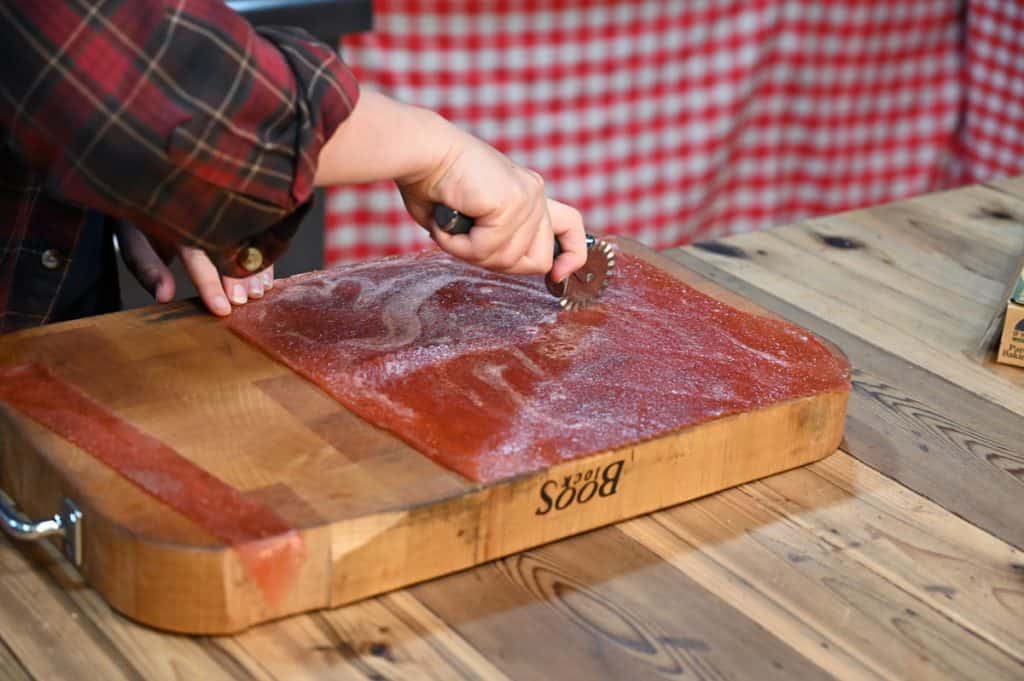
- Plums, Plum Leather & Jelly - What we do with the abundance of our plums, including our favorite fruit leather recipe and plum jelly recipe.
- Homeschooling - It's that time of year to get back to the books... learn about getting started with homeschooling here! Educating children through homesteading has more benefits than you may know.
- Annual Clothing Switch - Trade out those stored clothing boxes and bring out the warm stuff! Need some ideas on affordable clothing?
- Soap Challenge in the Homestead Kitchen Membership - If you're not a member of the Homestead Kitchen, you can get on the waitlist now. You'll be the first to be notified when our doors open for enrollment again! We do all kinds of fun challenges throughout the year.
- FREE 4-Day Canning Workshop - If you're new to canning or want a refresher on basic canning procedures and safety, you'll want to join me for my free Meals On Your Shelf Workshop, where I'll teach you how to make eight jars of your own convenience meals!